- Micropropagation, or tissue culture, allows rapid cloning of plants from small pieces.
- While professional labs are expensive, you can create a functional setup at home on a budget.
- DIY alternatives to costly lab equipment make this advanced technique accessible to home gardeners.
- Setting up a home micropropagation system is a rewarding way to propagate rare plants, ensure disease-free stock, and expand your collection efficiently.
Dreaming of cloning your favorite plants faster and more efficiently? Want to grow dozens of rare varieties from just a small piece, or ensure your plants start disease-free? While setting up a full-scale laboratory for plant tissue culture might seem daunting and costly, creating a functional home micropropagation setup is more accessible than you think. It’s an empowering journey into the fascinating world of plant science, allowing you to exponentially increase your plant collection right from your kitchen counter or a dedicated space in your home. Let’s explore how you can build your own setup without breaking the bank.
Contents
- What is Micropropagation (And Why Do It At Home)?
- Why Does Professional Micropropagation Cost So Much?
- Building Your Budget Home Micropropagation Setup
- Creating Your Sterile Zone: The Still Air Box (SAB)
- Sterilizing Tools and Media: Pressure Cooker Power!
- Gathering Your Supplies
- Essential Supplies for Your Setup Checklist
- Tips for Success with Your Home Setup
- Get Started Today!
What is Micropropagation (And Why Do It At Home)?
Think of micropropagation as high-tech cloning. Instead of taking a cutting and hoping it roots in soil or water, you take a tiny piece of a plant – a leaf section, a bud, or even just a few cells – and grow it in a sterile environment on a nutrient-rich gel or liquid medium. This allows the plant tissue to multiply rapidly, eventually forming tiny plantlets that can be transferred to soil.
Why would a home gardener delve into this?
- Rapid Multiplication: Grow dozens or even hundreds of new plants from a single piece of a parent plant much faster than traditional methods.
- Propagate Difficult Plants: Many plants that are tricky to root from cuttings thrive in tissue culture.
- Disease-Free Plants: Starting from sterile tissue helps ensure your new plants are free from common pests and diseases.
- Grow Rare Varieties: Easily increase stock of desirable or expensive plant types.
- Space Efficiency: Grow many plants in a small area during the initial stages.
- It’s Rewarding: There’s a unique satisfaction in growing a plant from a microscopic level.
Why Does Professional Micropropagation Cost So Much?
Commercial plant tissue culture labs require significant investment. The high costs stem primarily from:
- Infrastructure: Dedicated sterile rooms, growth chambers with precise climate control, and clean workstations.
- Specialized Equipment: High-end laminar flow hoods to create a sterile airflow, large autoclaves for sterilizing media and tools, and precise laboratory instruments.
- Consumables: Large quantities of specific chemicals, media components, and sterile vessels that need constant replenishment.
- Quality Control: Testing to ensure cultures remain contamination-free and genetically stable.
These requirements add up quickly, making professional setups expensive. However, for home micropropagation, we can cleverly substitute many of these costly components with budget-friendly alternatives.
Building Your Budget Home Micropropagation Setup
The key to affordable home micropropagation is replacing expensive lab equipment with functional, less costly items. You can significantly reduce costs by using your existing space and some clever DIY solutions.
Creating Your Sterile Zone: The Still Air Box (SAB)
The most crucial step in micropropagation is maintaining sterility to prevent contamination from bacteria and fungi. Professional labs use laminar flow hoods, which are costly. At home, you can use a Still Air Box (SAB).
A SAB is essentially a sealed container (like a large clear storage tub) with holes for your arms. It works by creating a zone where the air is still. Dust and airborne contaminants settle, leaving the air inside relatively clean for manipulation. While not as foolproof as a laminar flow hood, a well-used SAB dramatically reduces contamination risk for home setups. You can build one for $50-$100 depending on the materials.
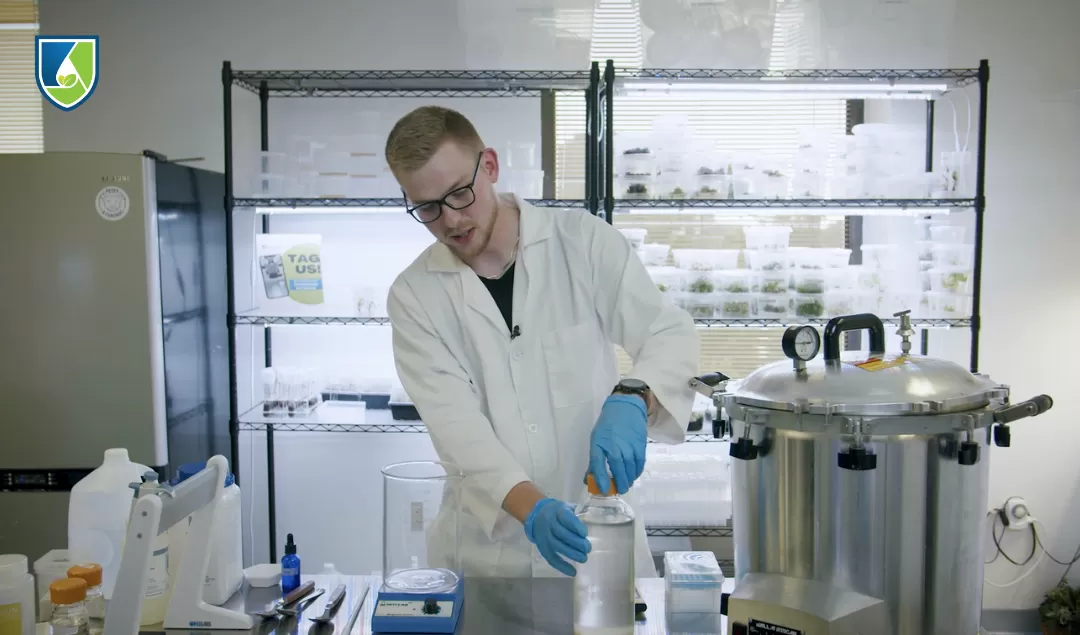
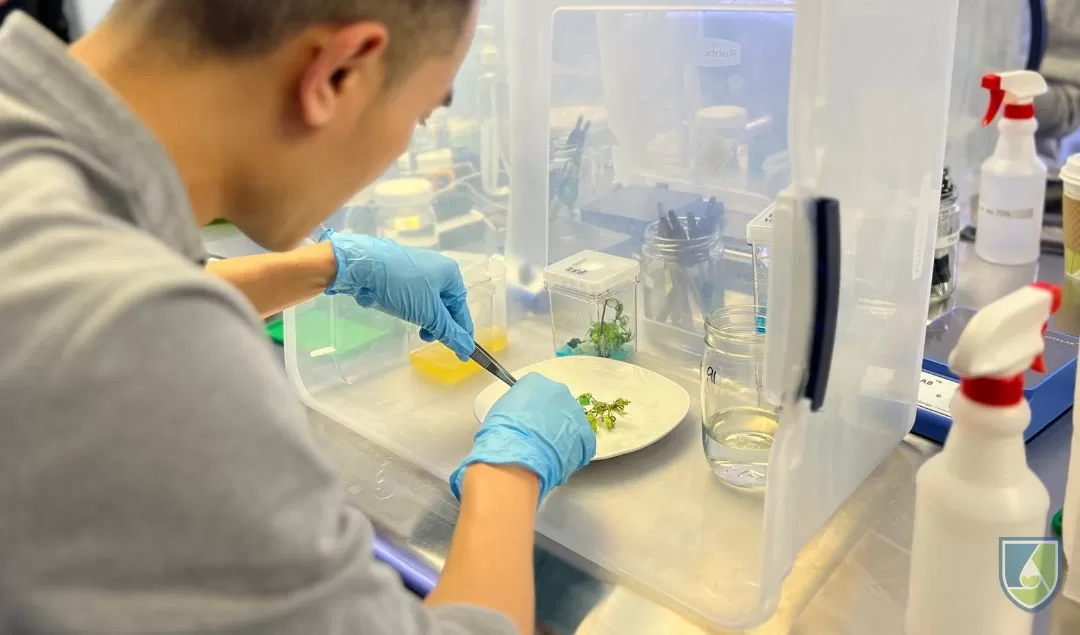 Student working with plant tissue cultures inside a still air box for sterility
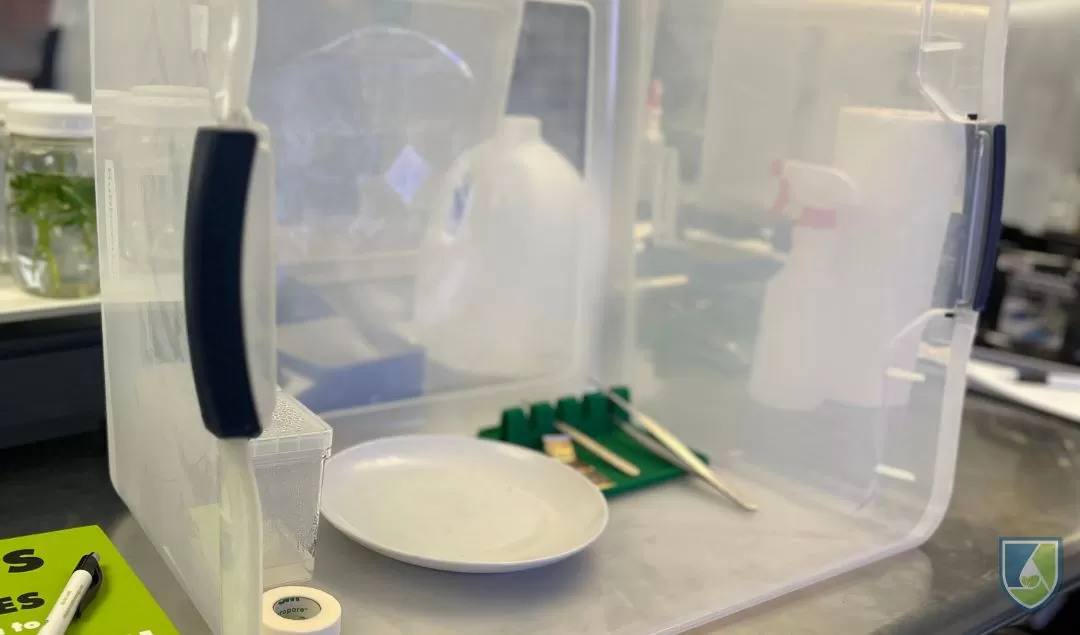 Close-up of a homemade still air box setup for budget plant micropropagation
Sterilizing Tools and Media: Pressure Cooker Power!
Autoclaves are used in labs to sterilize media and tools using high heat and pressure. For a home setup, a pressure cooker is an excellent, affordable substitute. A standard stovetop pressure cooker ($70-$120) can achieve the necessary temperatures and pressures to effectively sterilize your culture media, jars, and metal tools like forceps and scalpels.
You can also sterilize certain tools or surfaces using heat (passing metal tools through a flame, like from an alcohol lamp) or chemical sterilization agents.
Gathering Your Supplies
Beyond the sterile workspace and sterilization method, you’ll need basic supplies:
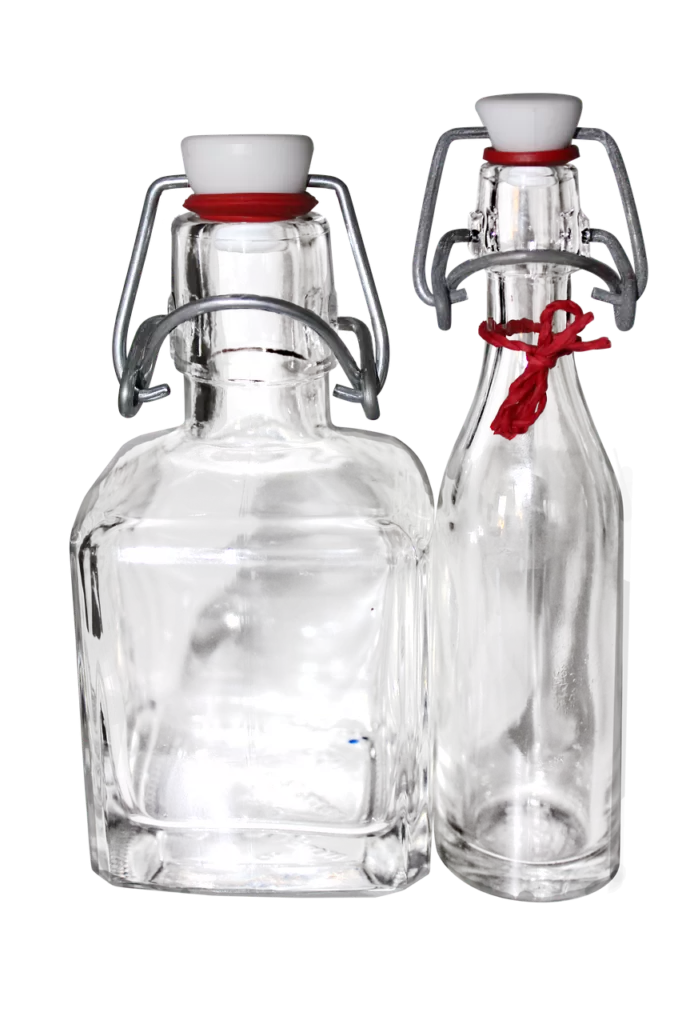
- Culture Vessels: Glass jars with lids (like mason jars) are perfect and much cheaper than lab-specific vessels. Ensure they can withstand sterilization.
- Growth Medium: This is the nutrient mix the plant tissue grows on. It contains macro and micronutrients, vitamins, sugar (as a carbon source), and often plant hormones (auxins and cytokinins) to stimulate growth and rooting. You can buy pre-mixed powdered media or budget-friendly tissue culture kits that contain everything you need to get started, including media components.
- Sterilization Agents: Household bleach (sodium hypochlorite) for surface sterilizing explants (the plant pieces) and potentially wiping down your SAB. Ethanol (rubbing alcohol) for sterilizing tools and your workspace.
- Tools: Forceps, a scalpel or sharp blade for cutting plant tissue. These must be sterile.
- Light Source: Simple LED grow lights or even bright shop lights will work to provide the necessary light for plantlet growth once they are established in culture. A simple rack to hold your jars under lights might cost $25-$50.
Considering the cost of a DIY SAB ($50-$100), a pressure cooker ($70-$120), a budget-friendly kit (some start around $80), and some basic tools/lighting ($50-$100), you’re looking at a total cost that can indeed fall in the $280-$400 range to get your initial home micropropagation setup running.
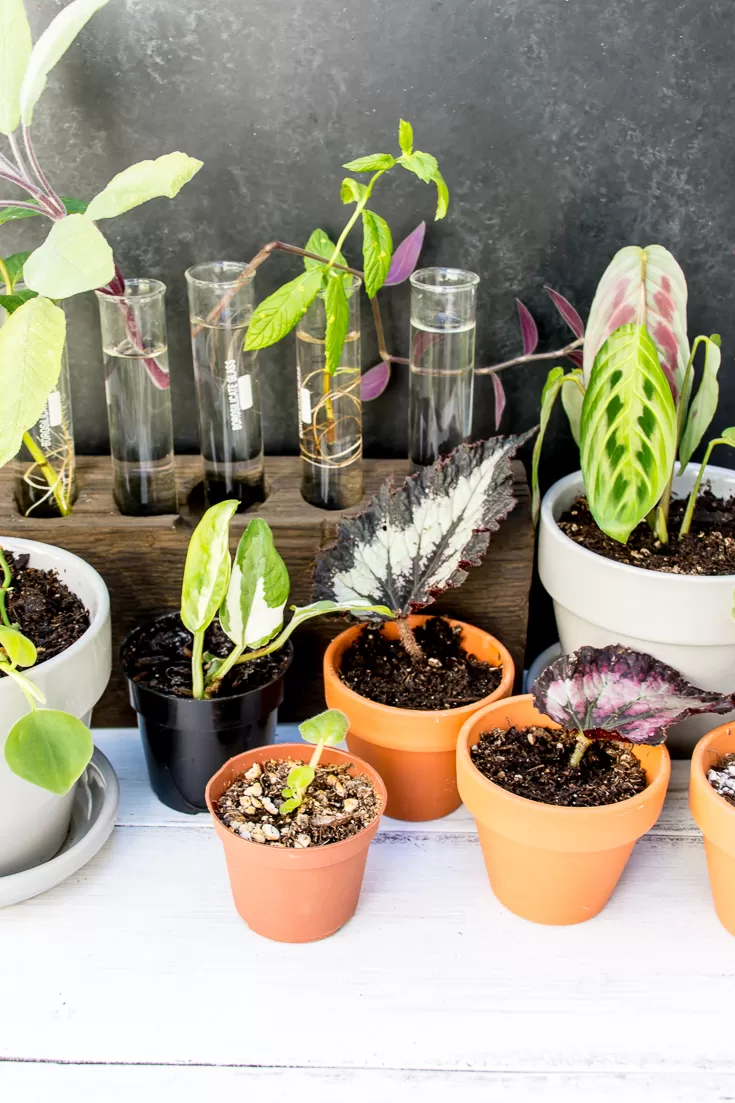
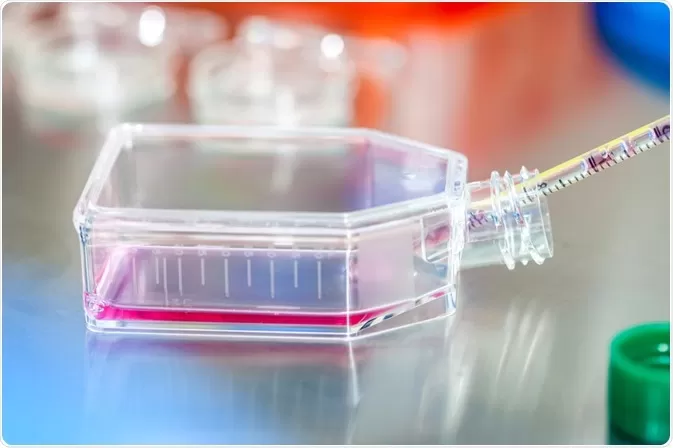
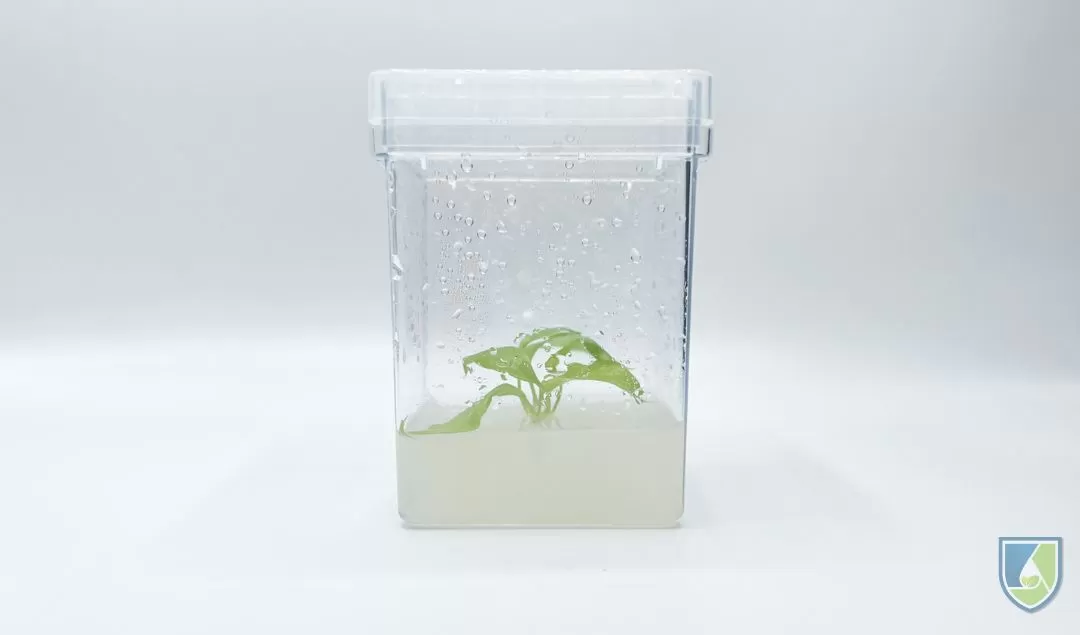 Healthy plant tissue cultures growing in glass jars under controlled lighting
Essential Supplies for Your Setup Checklist
Here’s a simple list of the kinds of things you’ll need for your home micropropagation setup:
- Still Air Box (DIY or purchased)
- Pressure Cooker or Microwave
- Glass Culture Vessels (Jars with lids)
- Pre-mixed Tissue Culture Media or Kit (containing nutrients, agar/gelling agent, maybe hormones)
- Sugar (often included in media or kits)
- Bleach (Sodium Hypochlorite solution)
- Rubbing Alcohol (Ethanol)
- Sterile Water (from pressure cooker/autoclave cycle)
- Forceps
- Scalpel or Razor Blades
- Alcohol Lamp (optional, for flaming tools)
- LED Grow Light(s)
- Shelving or Rack for cultures
 Plant Cell Technology Starter Kit with media, jars, and supplies for home tissue culture
Tips for Success with Your Home Setup
Embarking on home micropropagation is exciting! Here are a few tips to help you succeed:
- Hygiene is Paramount: Sterility is everything. Clean your workspace, tools, and hands meticulously. Work diligently inside your SAB. Assume everything is trying to contaminate your cultures!
- Start Simple: Begin with easier plants known to tissue culture well. Research specific protocols for the plants you want to propagate.
- Be Patient: Tissue culture takes time. Stages of growth and multiplication can take weeks.
- Expect Contamination: It happens to everyone, even in professional labs. Learn to identify contamination early and discard affected cultures to prevent spread. Your technique will improve with practice.
- Record Keeping: Note down your procedures, media formulations, and observations. This helps you learn and refine your process.
Get Started Today!
Setting up a home micropropagation setup is a rewarding journey that opens up incredible possibilities for expanding and diversifying your plant collection. By utilizing budget-friendly alternatives and focusing on meticulous sterile technique, you can bring this advanced propagation method into your home without the need for a full-scale laboratory investment. It’s a testament to the fact that cutting-edge plant propagation can be accessible to passionate home gardeners.
Are you ready to try your hand at growing plants from tiny pieces? Share your thoughts in the comments below or share this guide with a fellow plant enthusiast! Explore more fascinating plant care and propagation techniques on Thelittle.garden.