Here’s what you’ll discover about propagating lavender from stems:
- It’s the best way to get plants identical to the parent, especially for hybrids.
- You can use either soft green or woody brown stem sections.
- The process is straightforward, involving a few simple steps.
- Timing matters, but both fall and spring propagation are possible.
- You can grow many new plants from just one healthy mature plant.
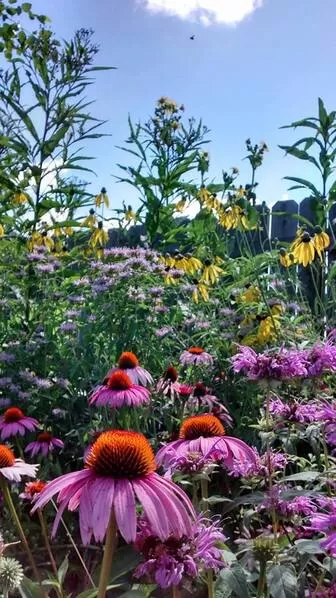
Imagine filling your garden with fragrant lavender, enjoying its beautiful purple blooms and calming scent, all starting from just a few snipped stems! Sounds like a dream, right? Well, it’s completely achievable through lavender stem propagation. Forget buying new plants; propagating from cuttings is not only rewarding but also the most reliable way to create perfect duplicates of your favorite lavender varieties. Whether you’re aiming for rows of fragrant hedges or just a few extra pots for your patio, learning how to root lavender stems is a skill that will bring you endless joy (and free plants!).
Contents
Why Propagate Lavender From Cuttings?
While some plants grow easily from seed, lavender often behaves differently. Many popular varieties, like Lavandula x intermedia, are hybrids and simply don’t produce viable seeds. For those that do produce seeds, such as Lavandula angustifolia types, the seedlings may not inherit the desirable traits of the parent plant. This means your beautiful, deep purple ‘Hidcote’ might yield seedlings with lighter flowers or different growth habits if grown from seed. Propagation from cuttings, however, creates an exact clone, guaranteeing your new plant will be just like the one you took the cutting from. Plus, it’s generally a faster and more reliable method than waiting for seeds to germinate and grow.
-
Lavandula x intermedia
- Common Name: Lavandin, French Lavender (often confused with L. dentata)
- Zone: Typically 5-9 (varies by cultivar)
- Light: Full sun (at least 6-8 hours daily)
- Humidity: Prefers low humidity
- Water: Drought tolerant once established; water sparingly, especially in humid climates
-
Lavandula angustifolia
- Common Name: English Lavender
- Zone: Typically 5-8 (varies by cultivar)
- Light: Full sun (at least 6-8 hours daily)
- Humidity: Prefers low humidity
- Water: Drought tolerant once established; water sparingly
Choosing the Right Time for Propagation
Gardeners often debate the best time to propagate lavender cuttings. There are two main windows that tend to be most successful:
- Autumn (Fall): Propagating in autumn allows the cuttings to develop roots over the cooler months, getting them ready for planting out in the spring. This gives them a head start before facing the challenges of summer heat.
- Spring: Taking cuttings in spring means your young plants will develop during the warmer, longer days, preparing them for planting in the fall. This can protect them from the harshness of their first winter outdoors.
Ultimately, the choice often comes down to personal preference and your local climate. Both seasons can yield great results!
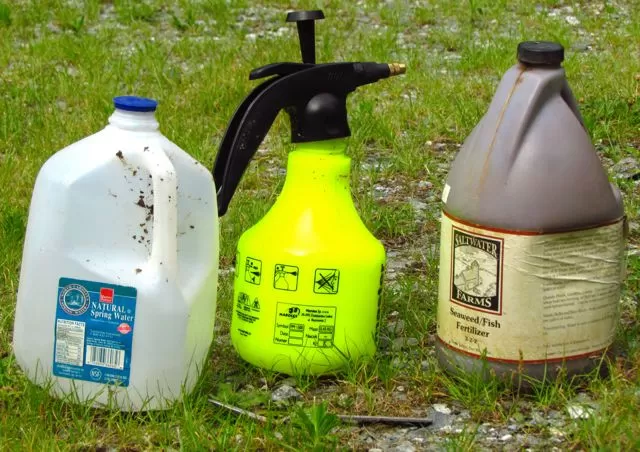
Gathering Your Materials
Before you head out to take cuttings, make sure you have everything ready:
- Seedling trays or small pots
- A well-draining seed starting mix or propagation mix (a mix of perlite and peat moss works well)
- Sharp, clean pruning snips or a sharp knife
- A healthy, mature lavender plant
- Optional: Rooting hormone (either powder or liquid)
- Watering can or spray bottle
Taking the Cuttings
Selecting the right stems is key to successful lavender stem propagation. Look for healthy, vigorous growth that is free from pests or disease.
You can propagate lavender using either softwood or semi-hardwood cuttings:
- Softwood Cuttings: These are taken from the tip of new, green growth that snaps easily when bent. They root quickly but are more susceptible to drying out. Usually taken in late spring or early summer.
- Semi-Hardwood Cuttings: These are taken from slightly more mature stems that are starting to become woody at the base but still have soft growth at the tip. They are less prone to wilting and are often taken in late summer or early fall.
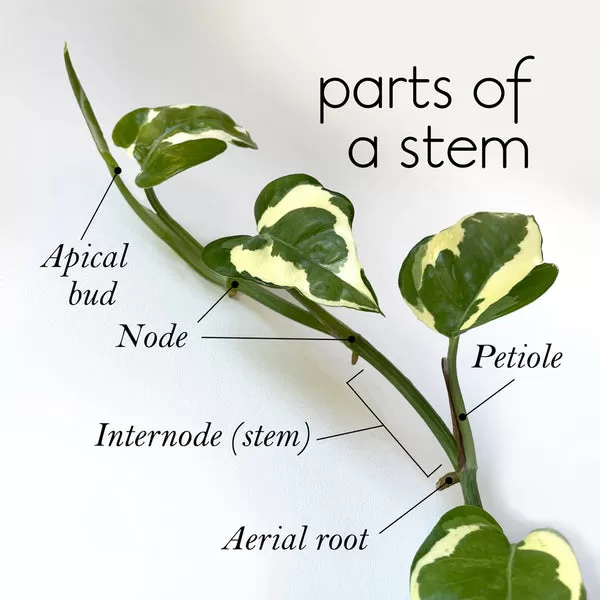
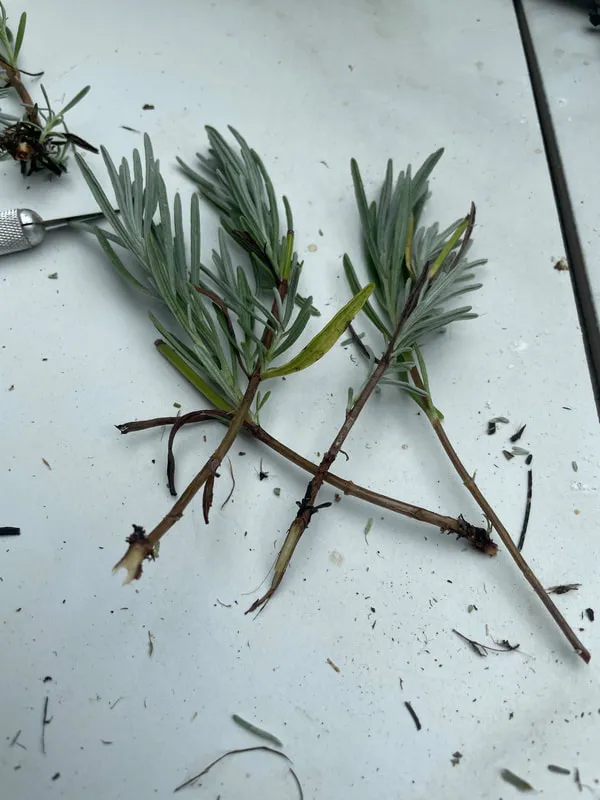
For best results, aim for cuttings that are about 3-4 inches long. Cut just below a leaf node.
 Bundles of healthy lavender stems ready for propagation cuttings
Preparing the Cuttings
Once you have your stems, it’s time to prepare them for rooting:
- Remove the leaves from the bottom inch or two of the cutting. This prevents the leaves from rotting when they are below the soil line.
 Gardener's hand stripping leaves from the lower section of a lavender stem cutting
- Make a fresh cut at the very base of the stem. Some gardeners recommend making this cut at a slight angle to increase the surface area for rooting.
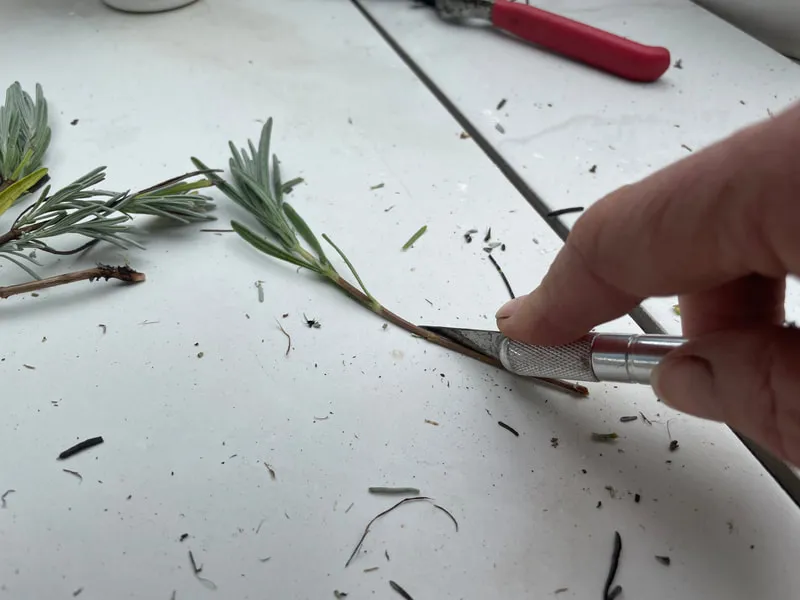 Making an angled cut on the base of a lavender stem cutting with a sharp knife for better rooting
- If you are using rooting hormone, dip the cut end of the stem into the hormone powder or liquid according to the product instructions. While lavender can often root without hormone, it can help speed up the process and offer some protection against rot.
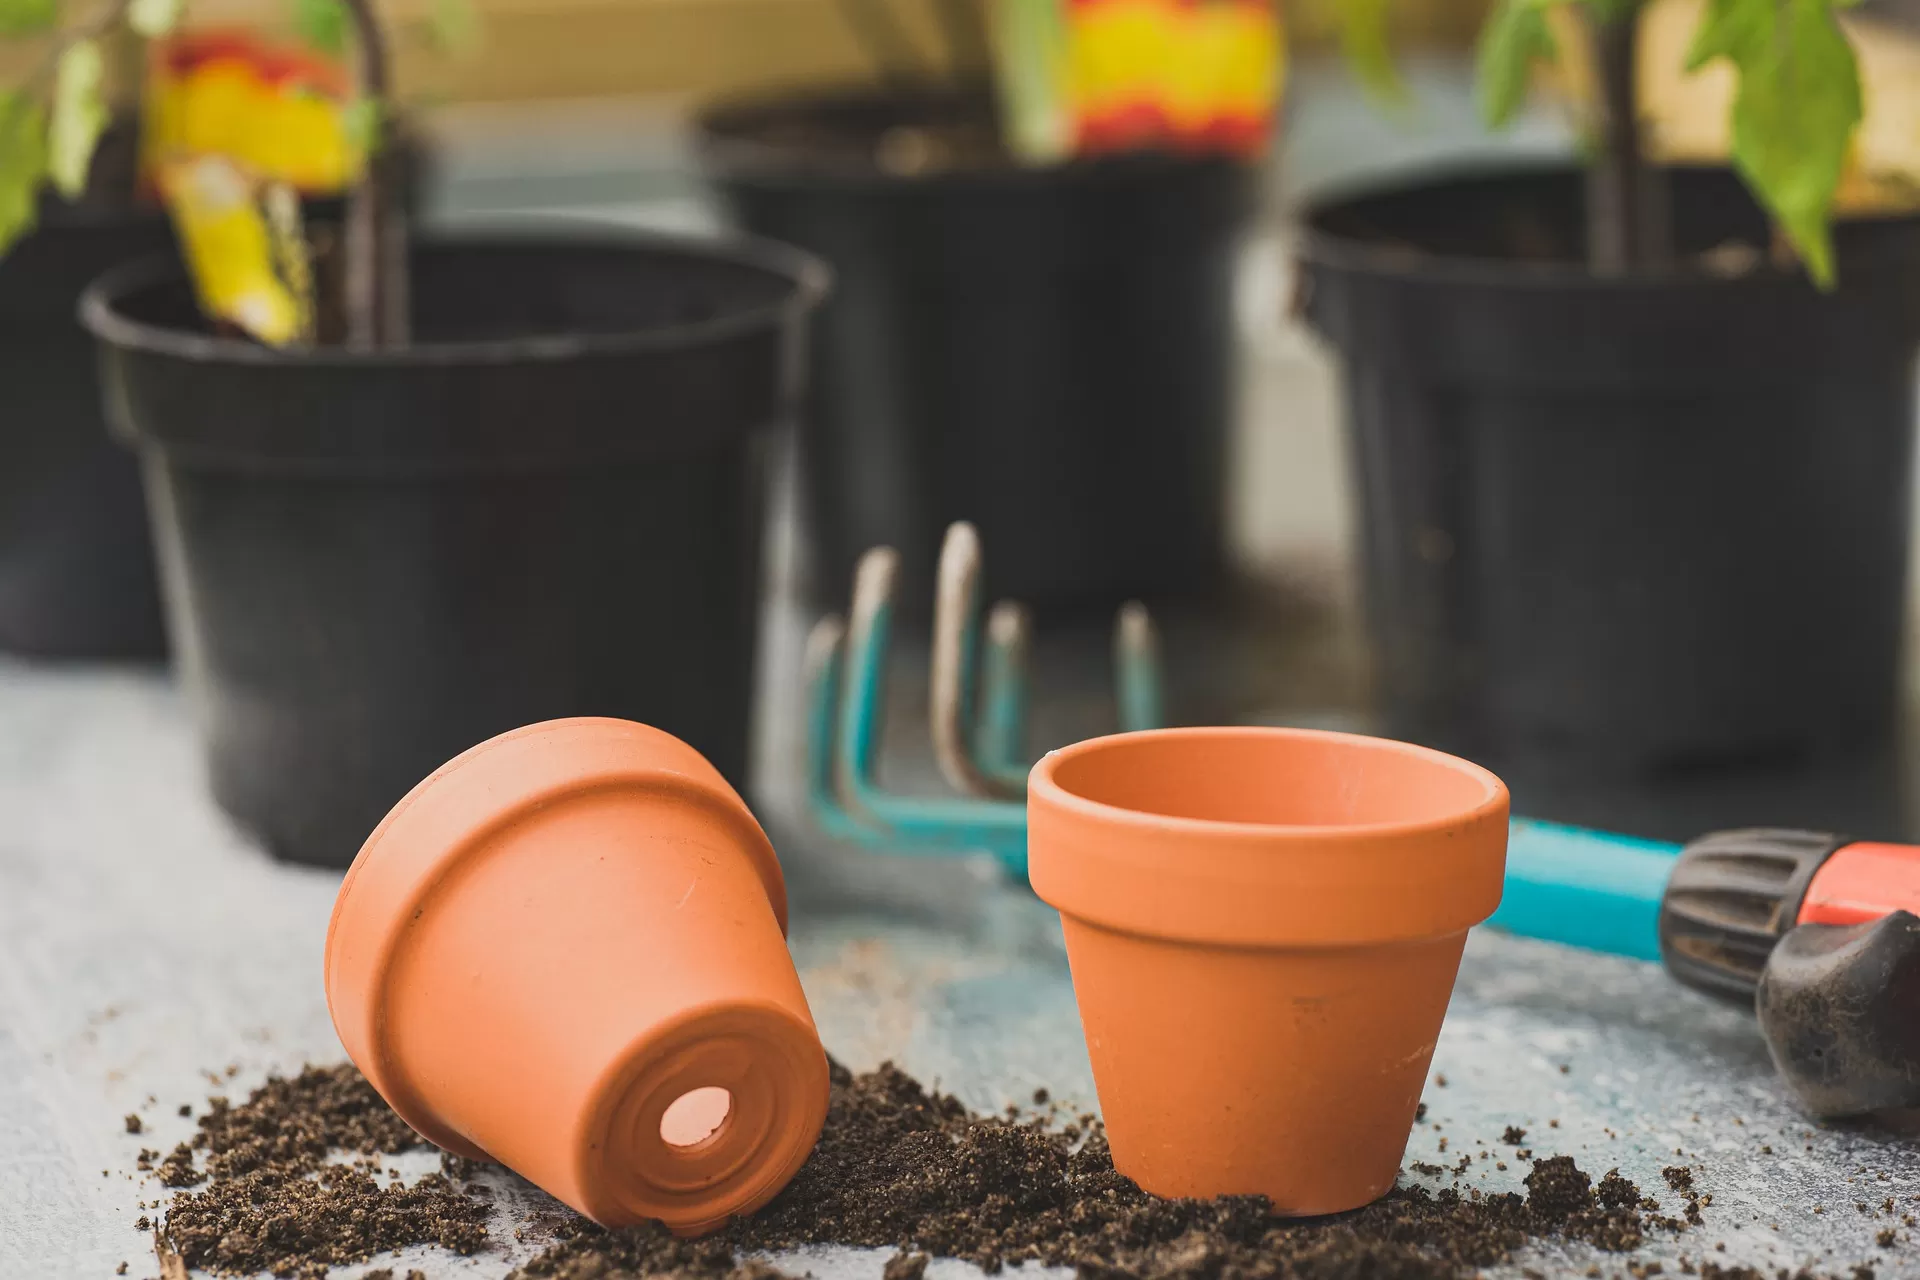
Planting and Initial Care
Fill your seedling trays or pots with your chosen propagation mix and water it thoroughly so it’s evenly moist but not soggy. Use a pencil or dibber to make small holes in the mix. Gently insert one prepared cutting into each hole, ensuring the stripped section is below the surface. Lightly firm the mix around the base of each cutting.
Water again gently after planting. Place your tray or pots in a bright location out of direct sunlight. Keeping the cuttings in a humid environment helps prevent them from drying out before they develop roots. A clear plastic dome or a simple plastic bag placed over the tray can create a mini-greenhouse effect. If you don’t have a warm greenhouse, a heating mat placed under the tray can provide the gentle bottom heat that encourages roots to form.
Mist the cuttings regularly, especially if not using a humidity dome, to keep the air around them moist. The soil should remain consistently slightly damp.
Growing On
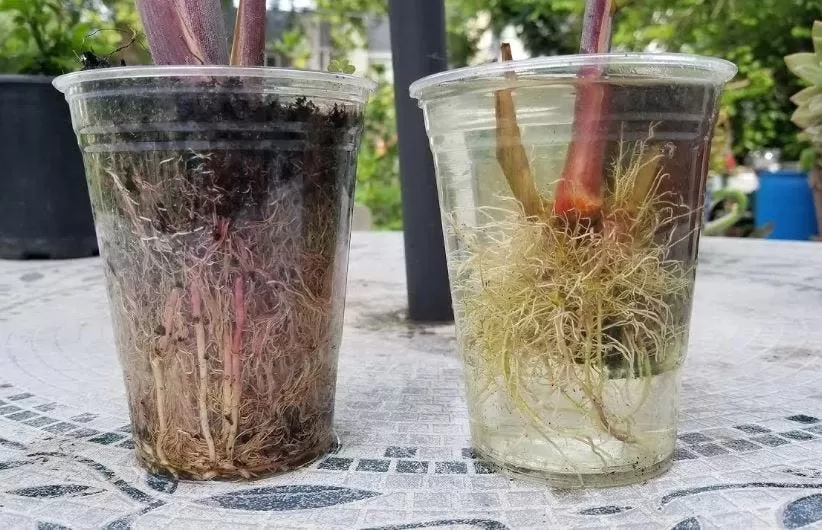
After several weeks to a few months (depending on the type of cutting, conditions, and time of year), you should start to see signs of growth. You might notice new leaves appearing, or if you gently tug on a cutting, you’ll feel resistance indicating roots are forming. Another sign is seeing small roots emerging from the drainage holes at the bottom of the tray or pot.
Once a healthy root system has developed, it’s time to move your new lavender plants into slightly larger pots (around 3-4 inches). Gently remove the rooted cutting from its original cell or pot, taking care not to damage the roots, and plant it into a pot filled with standard potting soil. Water well after transplanting.
As your young plants grow, you might notice them trying to flower. While it’s exciting to see buds, it’s best to pinch these blooms off during the first year. This redirects the plant’s energy into developing a strong root system and bushier growth, which will pay off with more abundant flowers in subsequent years.
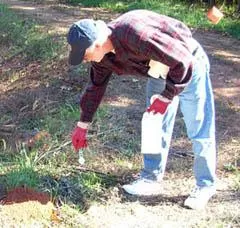
Hardening Off Before Planting Out
Before transplanting your lavender babies into the garden bed or larger containers outdoors, it’s crucial to “harden them off.” This process gradually acclimates them to outdoor conditions like wind, sun, and temperature fluctuations. Over a week or two, place the potted plants outside in a sheltered spot for increasingly longer periods each day, bringing them back inside at night. Start with just a few hours in a shaded location, then gradually increase the time outside and expose them to more sun. This prevents transplant shock.
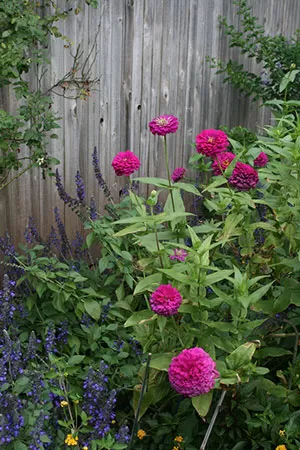
The Rewards of Lavender Propagation
There’s something truly magical about taking a small piece of a plant and helping it grow into a thriving, independent specimen. Lavender stem propagation is a wonderfully rewarding process that lets you multiply your favorite fragrant plants for free. With a little patience and care, you can easily grow a whole patch of beautiful lavender to enjoy for years to come.
Have you tried propagating lavender? What tips have worked best for you? Share your experiences in the comments below, or share this guide with your fellow garden enthusiasts!