- Keep your beloved houseplants perfectly watered, even when you’re away.
- Discover a simple, low-cost DIY wicking system.
- Ensure plants get just the water they need, preventing over or under-watering.
- Gain confidence in indoor plant care, whether you’re a seasoned pro or just starting.
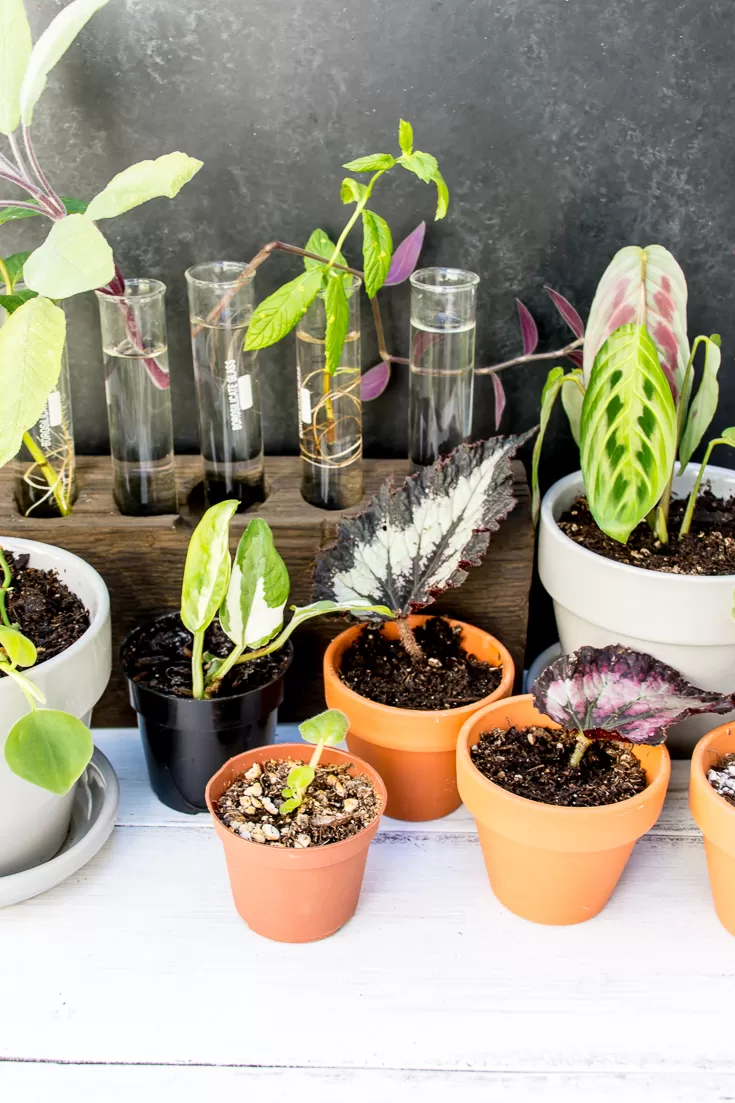
There’s a unique joy in cultivating a thriving indoor jungle. Our houseplants bring life, color, and tranquility into our homes. But let’s be honest, keeping them consistently happy and hydrated can feel like a juggling act, especially when life calls us away for a few days or weeks. While you might be focused on setting up DIY indoor cutting stations for houseplants to expand your green family, ensuring your existing leafy friends don’t suffer from thirst is just as crucial. What if I told you there’s a brilliant, simple DIY solution that lets your plants drink exactly what they need, whenever they need it?
Based on my own experiences (like the time Anne and I set this up before a road trip, and our plants seriously thrived!), a DIY self-watering wicking system is a game-changer. It’s easy to set up, incredibly effective, and takes the guesswork out of watering. It ensures your plants stay hydrated and healthy, leaving you free to travel or focus on other projects, like perfecting your DIY cutting station setup.
Contents
- Why a DIY Self-Watering Wicking System Works Wonders
- Materials You’ll Need
- Step-by-Step Guide to Setting Up Your Watering System
- Step 1: Prepare Your Materials
- Step 2: Attach the Paper Clips
- Step 3: Set Up the Water Reservoir
- Step 4: Insert the Wicks
- Step 5: Ensure Proper Water Flow (The Downward Slope)
- Seeing the System in Action
- Returning Home & Ongoing Use
- Conclusion
Why a DIY Self-Watering Wicking System Works Wonders
This ingenious method uses the natural process of capillary action, allowing your plants to draw water from a reservoir via a cotton string or wick. Here’s why it’s so effective:
- Precise Hydration: Plants absorb only the amount of water they require, eliminating the risk of waterlogged soil or root rot, a common killer for houseplants.
- Tailored Watering: Every plant has different water needs. With this system, each plant individually wicks up the water it needs, regardless of its neighbor.
- Effortless Care: Once set up, the system takes care of the watering itself. You don’t need to do anything daily, making it perfect for vacations or busy schedules.
Even if you’re not traveling, this system can be a lifesaver for anyone new to houseplants or unsure about watering schedules. It prevents the common “black thumb” dilemma by providing consistent, optimal moisture.
 Diagram illustrating a simple DIY houseplant self-watering wicking system setup
Convinced yet? Let’s dive into how you can create your own DIY self-watering wicking system at home. It takes about 30 minutes and is best done the day before you need it to be fully operational.
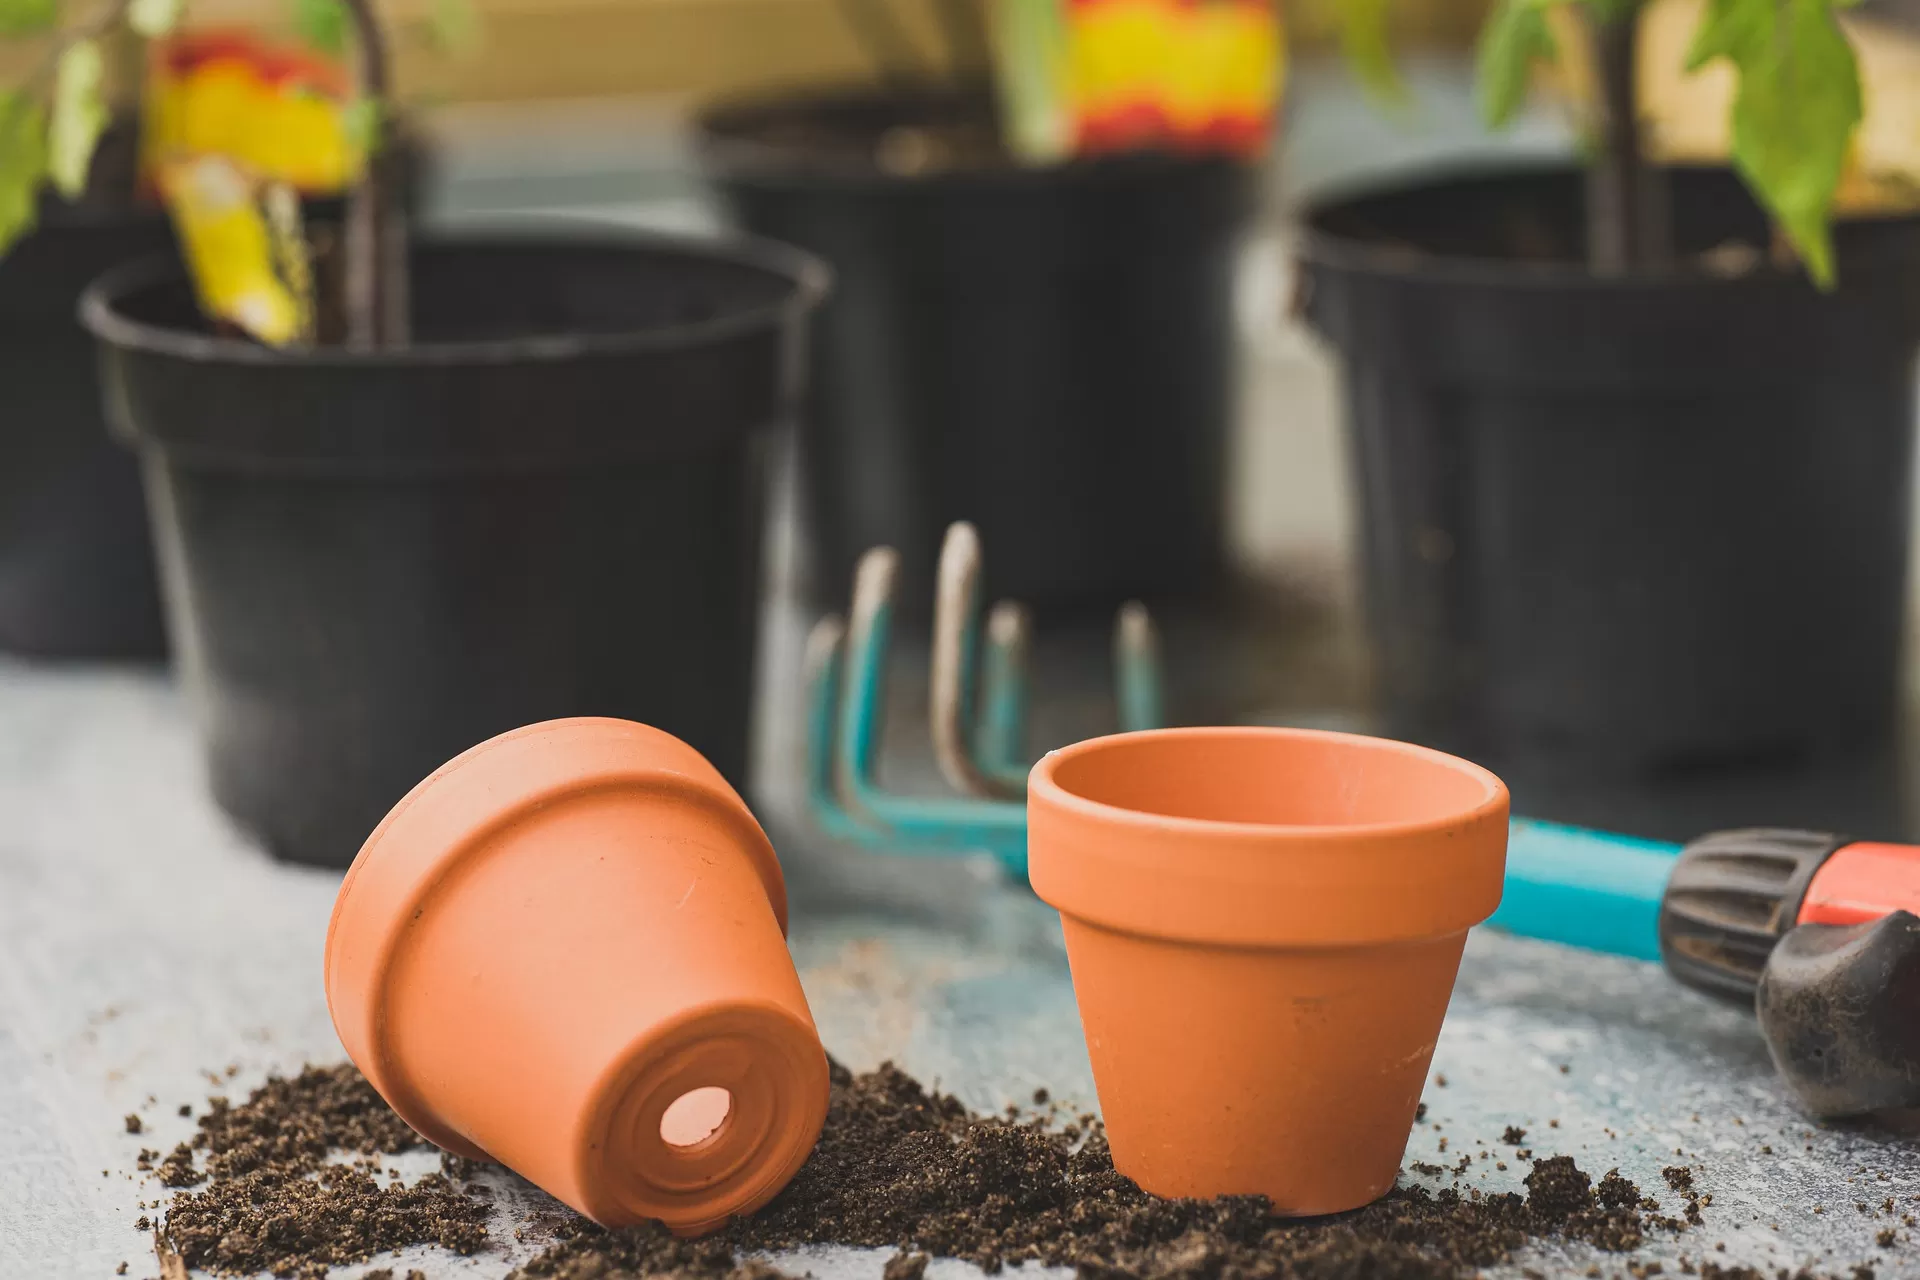
Materials You’ll Need
Gather these simple items, many of which you likely already have around the house:
- 100% cotton string (about two feet per plant)
- Scissors
- Paper clips (one per string)
- A large pot or container, like a pasta pot (at least 4-quart capacity recommended)
- A short stool or elevated surface
 Cutting cotton string or fabric strips, essential materials for a DIY self-watering setup
Step-by-Step Guide to Setting Up Your Watering System
Follow these steps to get your self-watering system up and running:
Step 1: Prepare Your Materials
Gather all the houseplants you want to include in the system. Cut a piece of 100% cotton string for each plant, making each segment approximately two feet long. If you don’t have cotton string, an old 100% cotton t-shirt can be cut into long, thin strips to use as wicks.
Step 2: Attach the Paper Clips
Tie a paper clip securely to one end of each piece of string. This will act as a weight to keep the string submerged in the water reservoir.
 Tying a paper clip to the end of a cotton string for the DIY houseplant watering system
Step 3: Set Up the Water Reservoir
Fill your large pot (like a pasta pot) with water, aiming for about 4 quarts or enough to last your intended time away. Place this pot on a short stool or another elevated surface. The key is to have the water reservoir positioned above the level of your plant pots. Gravity will assist in pulling the water down the wick. Arrange your plants around the elevated water pot.
 Elevating a pot of water on a stool, the reservoir for a DIY plant watering system
Step 4: Insert the Wicks
Take the end of a string with the paper clip attached and place it into the pot of water. Make sure the paper clip is submerged, anchoring the string. Take the other end of the same string and gently bury it about one to two inches deep into the soil of a nearby houseplant. Use your finger to press the soil firmly around the string, holding it in place. Repeat for each plant.
 Placing the paper clip end of the cotton string into the elevated water pot for self-watering
 Gently burying the cotton string end into the soil of a houseplant for the wicking system
Step 5: Ensure Proper Water Flow (The Downward Slope)
This step is critical! Check each string running from the water pot to the plant. The string must have a consistent downward slope from the reservoir to the plant’s soil. If the string dips below the rim of the plant pot at any point before reaching the soil, water will not be able to travel efficiently up that dip due to gravity. Adjust the string by gently pulling any excess slack back towards the water pot to ensure a smooth, downward path.
 Incorrect setup diagram for a DIY self-watering system showing a dip in the string preventing water flow
 Correct setup diagram for a DIY self-watering system with the string sloped downwards for proper wicking
Seeing the System in Action
Within about an hour of setting up, you should begin to notice the soil around where the string is buried becoming visibly moist as the plant starts wicking water.
 Close-up view showing the cotton string correctly inserted into the houseplant's soil
 Multiple houseplants connected to the central water reservoir using the DIY wicking system
 Houseplant with its self-watering wick string visibly entering the pot
 Detailed look at how the DIY watering wick enters the side of the houseplant pot
Returning Home & Ongoing Use
When you return, there will likely still be water in the reservoir, depending on how long you were away and how many plants were connected. Gently remove the strings from the plants’ soil and the water pot. You can resume your regular watering routine after about ten minutes.
You don’t have to limit this system to just when you’re traveling! For consistent watering perfection, you can adapt this method for daily use. Keep plants in their usual spots and place smaller water bowls on elevated surfaces (like stacks of books) near them. Refill the bowls as needed, and your plants will continue to receive just the right amount of water, consistently. Consistent moisture is key not just for established plants but also for helping new cuttings root successfully, making this concept useful even when you are setting up DIY indoor cutting stations for houseplants.
Conclusion
Setting up a DIY self-watering wicking system is a simple, cost-effective way to ensure your houseplants remain perfectly hydrated, whether you’re heading out of town or simply want to simplify your daily care routine. This system empowers your plants to take control of their watering needs, leading to healthier, happier foliage. Give it a try and see the difference consistent, self-regulated watering can make!
Have you ever used a self-watering system for your plants? Are you planning to set one up? Share your experiences or questions in the comments below!