Embarking on the journey of plant tissue culture can feel like stepping into a tiny, magical world right on your windowsill or workbench. It’s a powerful technique for propagating beloved plants, creating disease-free specimens, and even cloning rare varieties. Yet, like any delicate process, it comes with its unique set of challenges. Feeling discouraged by fuzzy growth on your precious plantlets or mysterious browning in your sterile jars? You’re not alone. Successfully navigating the miniature landscape of tissue culture requires patience, precision, and a keen eye for identifying problems early. The good news? Most common hiccups have clear solutions. This guide is designed to help you tackle the most frequent obstacles, providing practical tips for troubleshooting common tissue culture issues and boosting your confidence in this fascinating propagation method.
- Tiny Worlds, Big Challenges: Plant tissue culture offers incredible propagation potential but demands precision.
- Contamination is King: Microbial invaders (fungi, bacteria) are the most frequent and devastating problem.
- Beyond Microbes: Browning (oxidation) and glassiness (vitrification) are also common physiological issues.
- Prevention is Key: Mastering aseptic technique is your first line of defense.
- Learn to Identify: Recognizing specific problems early is crucial for saving your cultures.
Contents
- What is Plant Tissue Culture (Micropropagation)?
- Why Troubleshooting is Essential in Your Home Lab
- Common Issues in Plant Tissue Culture
- Microbial Contamination: The Invisible Enemy
- Browning or Oxidation
- Vitrification (Glassiness)
- Poor or Abnormal Growth
- Troubleshooting and Preventing Issues
- Mastering Aseptic Technique
- Optimizing Media and Conditions
- Dealing with Oxidation
- Addressing Vitrification
- Managing Contamination
- Conclusion
What is Plant Tissue Culture (Micropropagation)?
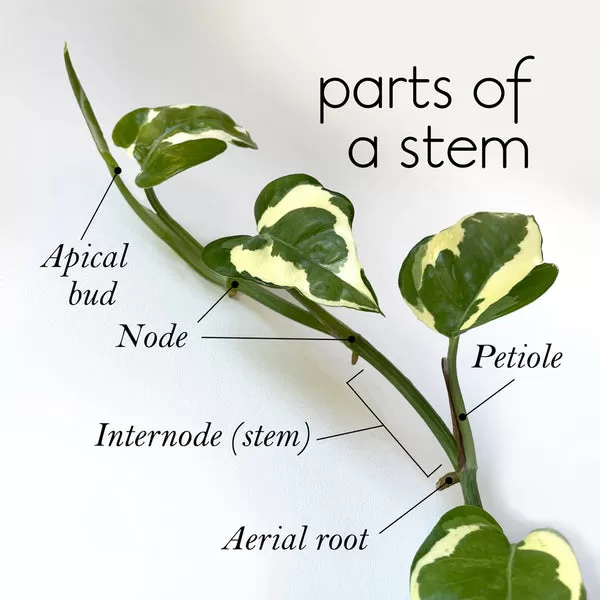
At its heart, plant tissue culture, or micropropagation, involves taking small pieces of plant material (explants) – like a leaf snippet, stem node, or even a few cells – and growing them in a sterile laboratory or clean workspace on a nutrient-rich gel or liquid medium. This controlled environment, free from pests and diseases, allows these tiny pieces to multiply rapidly or develop into whole plantlets. Think of it as giving your plant ideal baby food and a perfect nursery, prompting it to grow and replicate itself on a miniature scale.
Why Troubleshooting is Essential in Your Home Lab
Imagine carefully sterilizing your tools, preparing your media, selecting a perfect explant, and patiently waiting for growth, only to see a fuzzy mold or slimy film take over your jar within days. It’s disheartening, to say the least. In the confined, nutrient-rich environment of a culture vessel, contaminants and physiological stresses can spread quickly, potentially wiping out an entire batch. Learning to identify, prevent, and troubleshoot these issues is absolutely critical to achieving consistent success and turning those disappointing failures into valuable learning experiences. It’s about becoming a detective in your tiny plant world.
Common Issues in Plant Tissue Culture
Working with tiny plant pieces in sterile jars presents unique challenges compared to growing in soil. Here are some of the most frequent problems you might encounter:
Microbial Contamination: The Invisible Enemy
This is by far the most common and frustrating problem. Microbes like bacteria, fungi, and yeast are everywhere in our environment. Introducing even a single spore or cell into your sterile culture vessel can lead to rapid, detrimental growth that outcompetes or poisons your delicate plant tissue.
- Bacterial Contamination: Often appears as a cloudy or milky haze in liquid media, or a slimy, spreading film on solid agar. It can grow very fast.
- Fungal Contamination: Typically visible as fuzzy, thread-like growth (mold) on the surface of the medium or directly on the plant tissue. Can be white, green, black, or other colors.
- Yeast Contamination: May cause turbidity in liquid cultures or small, shiny colonies on agar. Often smells like fermentation.
Sources of contamination are numerous: inadequately sterilized explants, contaminated media, non-sterile tools, airborne spores, dust particles, or even microbes from your own skin or clothing.
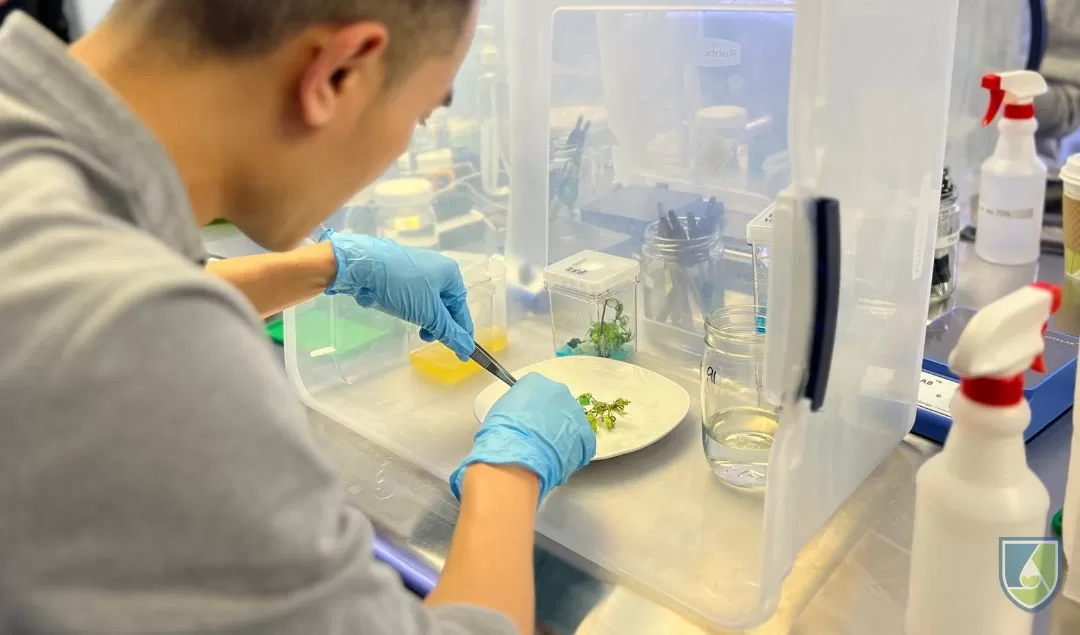
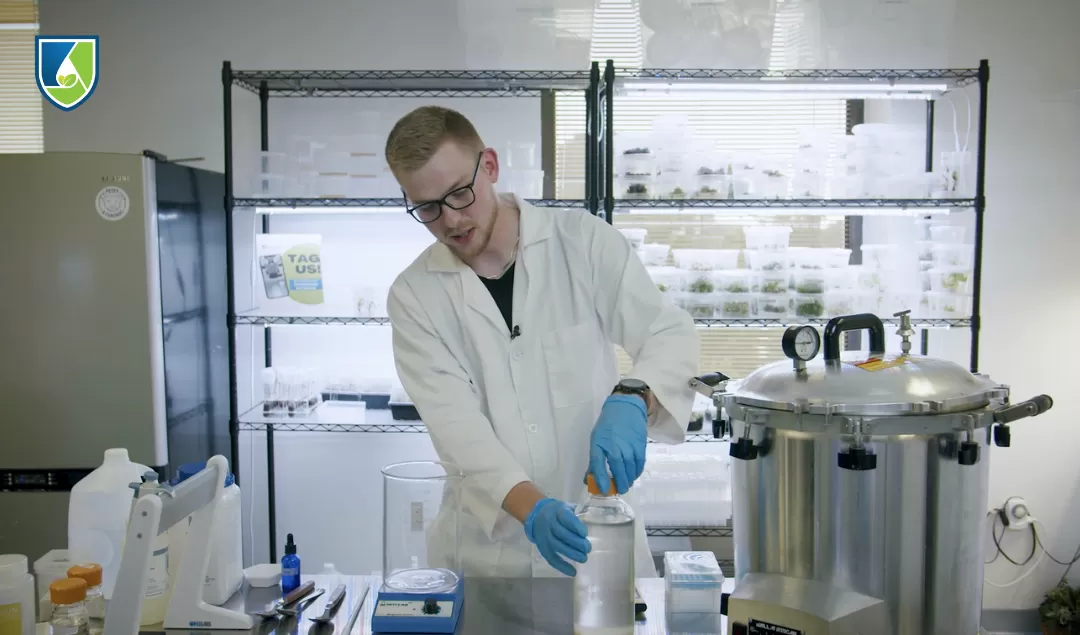
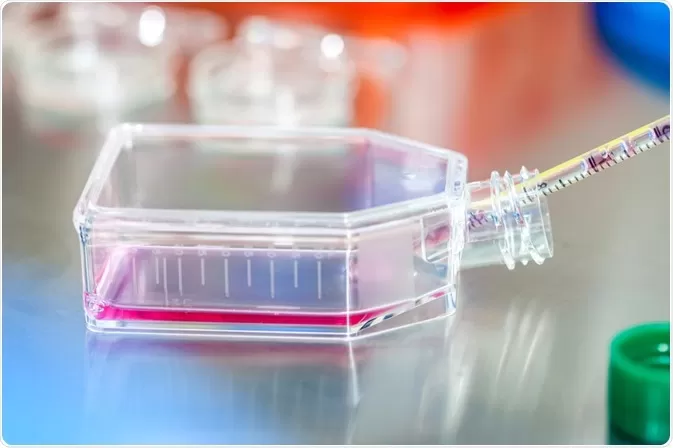 Descriptive alt text for a stock image showing a person working in a sterile laboratory setting with flasks, symbolizing the careful technique required in plant tissue culture to prevent contamination.
Browning or Oxidation
Sometimes, instead of growing, your explant turns brown or black, often bleeding dark pigments into the surrounding medium. This is called phenolic oxidation. It happens when cells are damaged during explant preparation, releasing compounds that oxidize and become toxic to the tissue. Some plant species are more prone to this than others.
Vitrification (Glassiness)
Also known as hyperhydricity, vitrification occurs when plant tissues take on a waterlogged, translucent, and often brittle or glassy appearance. Vitrified tissues are typically unable to grow further or survive transplanting outside of culture. It’s often linked to high humidity in the vessel, certain media components, or specific growth regulator concentrations.
Poor or Abnormal Growth
You might see a lack of growth, slow growth, or abnormal development (like stunted shoots, fused leaves, or callus forming instead of shoots). This can be due to a variety of factors, including:
- Incorrect media formulation (wrong nutrients, hormones, or pH).
- Issues with the explant itself (poor quality, disease).
- Inadequate environmental conditions (wrong light level, temperature, or photoperiod).
- Genetic factors of the plant variety.
Troubleshooting and Preventing Issues
The key to success lies in prevention, primarily through strict aseptic technique, and then in early detection and corrective action.
Mastering Aseptic Technique
This is non-negotiable for preventing microbial contamination.
- Sterilize Everything: Your workspace (use rubbing alcohol or bleach solution), your tools (autoclave, pressure cooker, or flaming), your culture media (autoclave or pressure cooker), and your explants (surface sterilization with bleach or hydrogen peroxide solutions).
- Work in a Clean Space: Use a laminar flow hood if possible, or create a still-air box or work in a small room with minimal air movement after letting dust settle.
- Personal Hygiene: Wear clean clothes, tie back hair, and sanitize your hands before working.
- Minimize Exposure: Open culture vessels only when necessary and for the shortest time possible. Work quickly and deliberately.
Optimizing Media and Conditions
Ensure your media formulation is appropriate for the plant species and the stage of growth you desire (initiation, multiplication, rooting). Pay attention to:
- Nutrient Balance: Using a reliable, well-known media recipe (like MS medium) is a good start.
- Growth Regulators: Correct type and concentration of auxins and cytokinins are critical for directing growth.
- pH Level: Usually slightly acidic (around 5.8) is optimal for agar solidification and nutrient uptake.
- Environment: Maintain consistent temperature, provide appropriate light intensity and duration for your plant species.
Dealing with Oxidation
- Fresh Explants: Use healthy, actively growing plant material.
- Minimize Damage: Cut explants cleanly with sharp, sterile tools.
- Anti-Oxidant Treatments: Sometimes dipping explants in an antioxidant solution (like citric acid or ascorbic acid) or using media additives (like activated charcoal) can help reduce browning.
- Frequent Transfer: For severely browning tissues, transfer to fresh media every few days until they stabilize.
Addressing Vitrification
- Reduce Humidity: Ensure proper ventilation if using a vessel with a filter. Adjust sealing if too airtight.
- Adjust Media: Lowering the concentration of gelling agent (agar) or specific growth regulators might help.
- Increase Osmotic Potential: Adding osmotic agents like mannitol can sometimes reduce water uptake.
Managing Contamination
If you spot contamination:
- Isolate Immediately: Remove the contaminated vessel from your clean workspace to prevent spores from spreading.
- Dispose Safely: Autoclave or pressure cook contaminated cultures before discarding to kill microbes.
- Identify Source: Try to figure out why it got contaminated (was the explant sterilization ineffective? Was the media not sterile? Did you touch something?) and adjust your protocol. You cannot “save” a contaminated culture by simply transferring the plant tissue; the microbes are usually in the tissue or surrounding medium.
Successfully growing plants through tissue culture is incredibly rewarding. While setbacks happen, each issue is a learning opportunity. By understanding the common problems like contamination, browning, and vitrification, and implementing robust prevention and troubleshooting strategies, you significantly increase your chances of success. Don’t let initial failures discourage you. With practice and attention to detail, you’ll become adept at creating your own miniature plant paradise.
Conclusion
Troubleshooting common tissue culture issues is a core part of the micropropagation journey. From battling microbial invaders to preventing physiological stresses like browning and vitrification, awareness and preparedness are your best tools. By focusing on meticulous aseptic technique, optimizing your media and environmental conditions, and carefully observing your cultures for early signs of trouble, you can overcome most obstacles. Embrace the challenges as opportunities to refine your skills, and soon you’ll be successfully multiplying your favorite plants in sterile bliss.
Ready to try your hand at preventing contamination or have you faced a baffling tissue culture problem? Share your experiences or questions in the comments below! Explore more guides on plant propagation and care on Thelittle.garden to expand your green thumb skills.