
What are common Rising Sun Redbud tree problems home gardeners may encounter? Let’s explore!
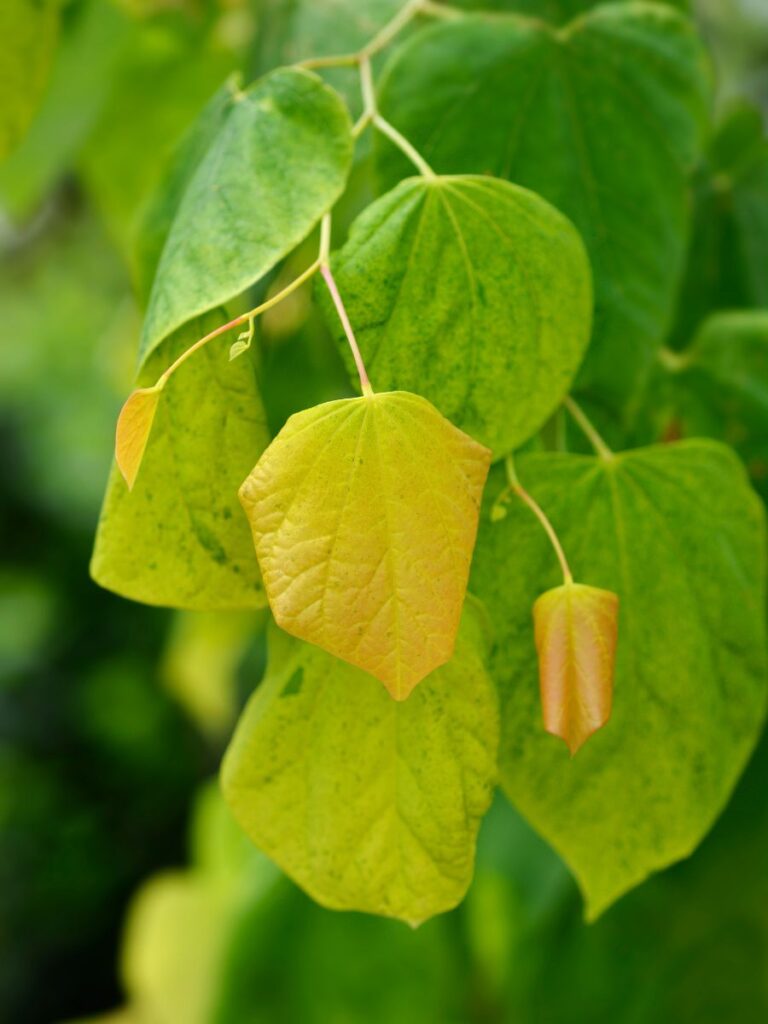
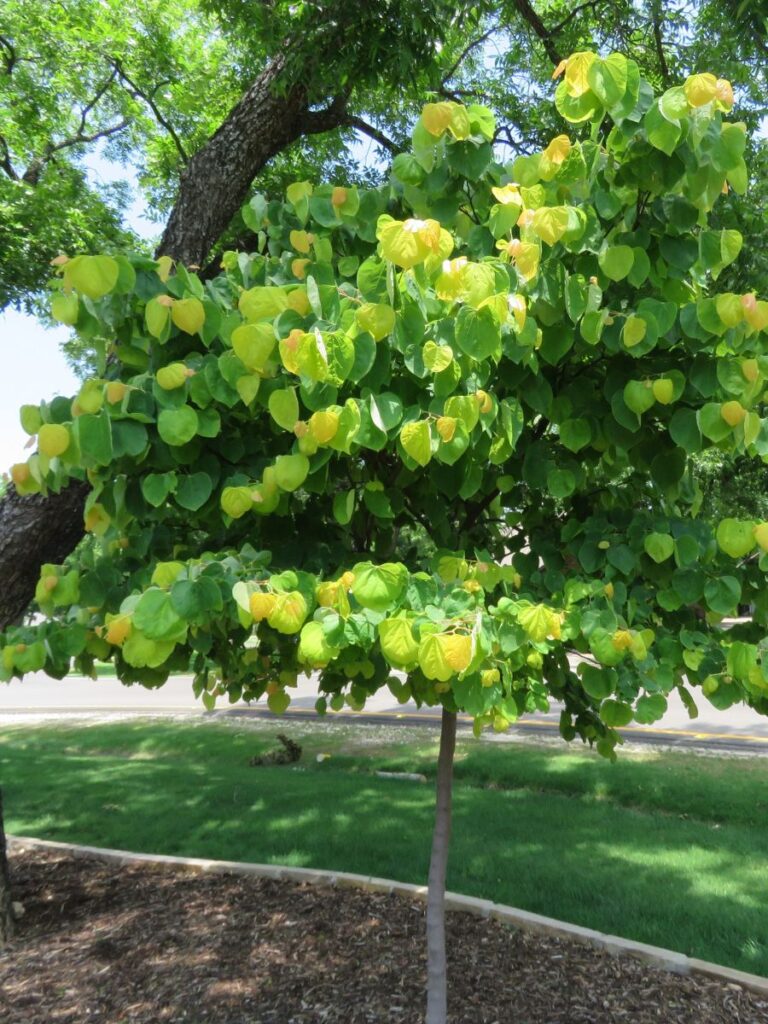
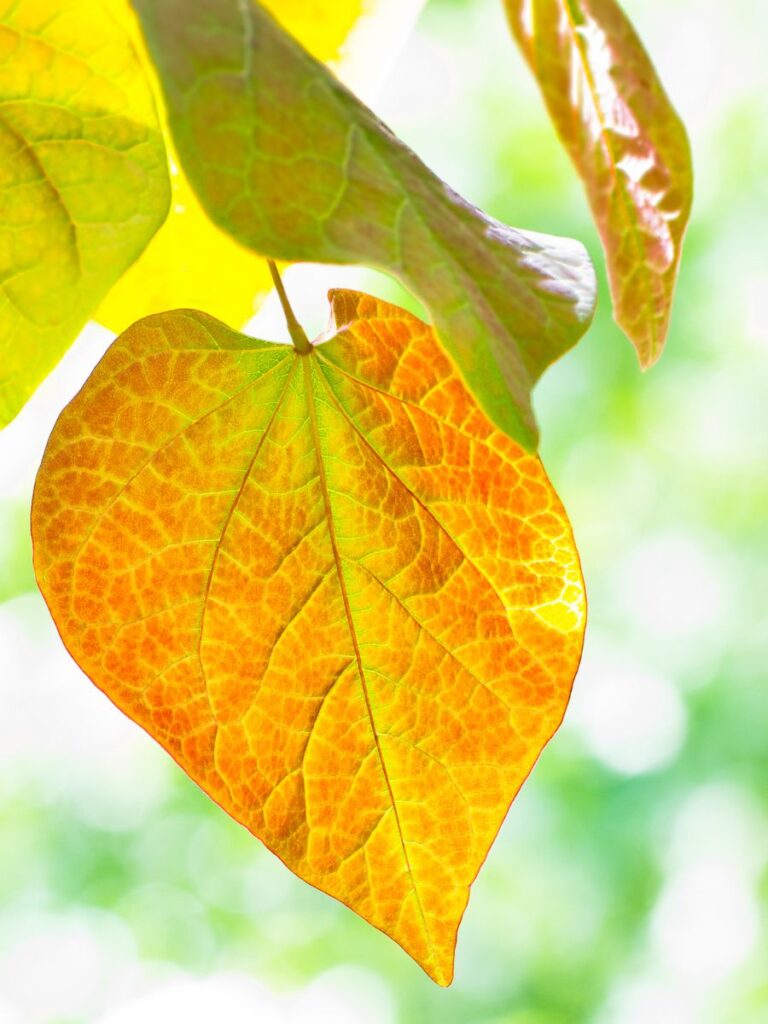
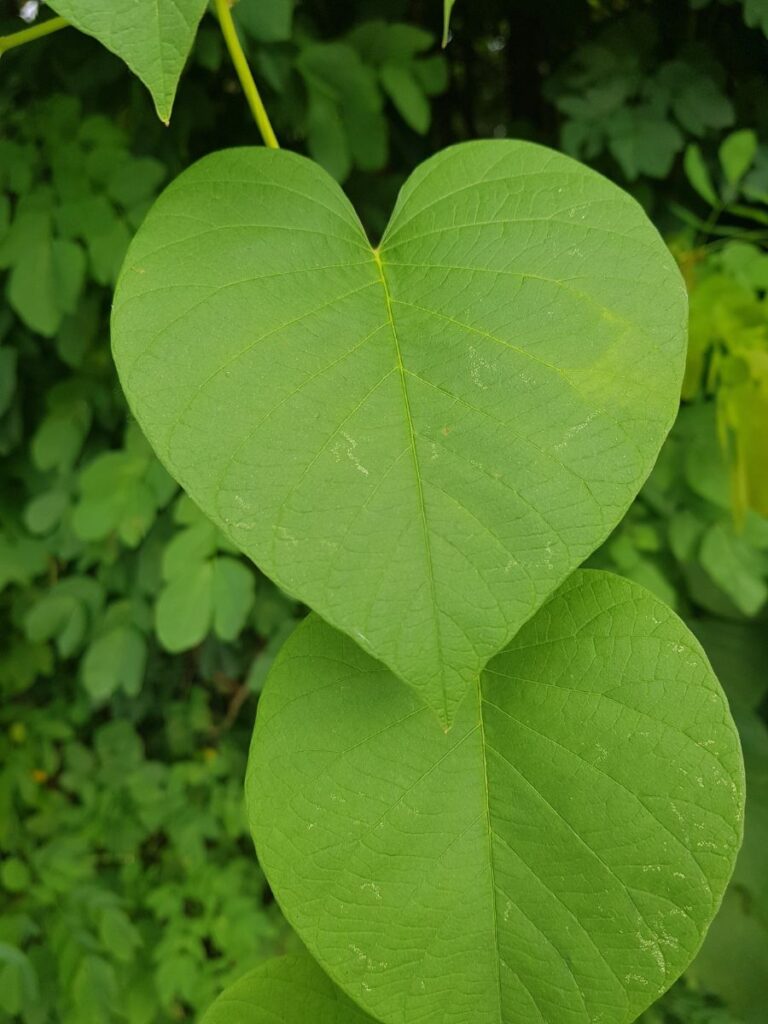
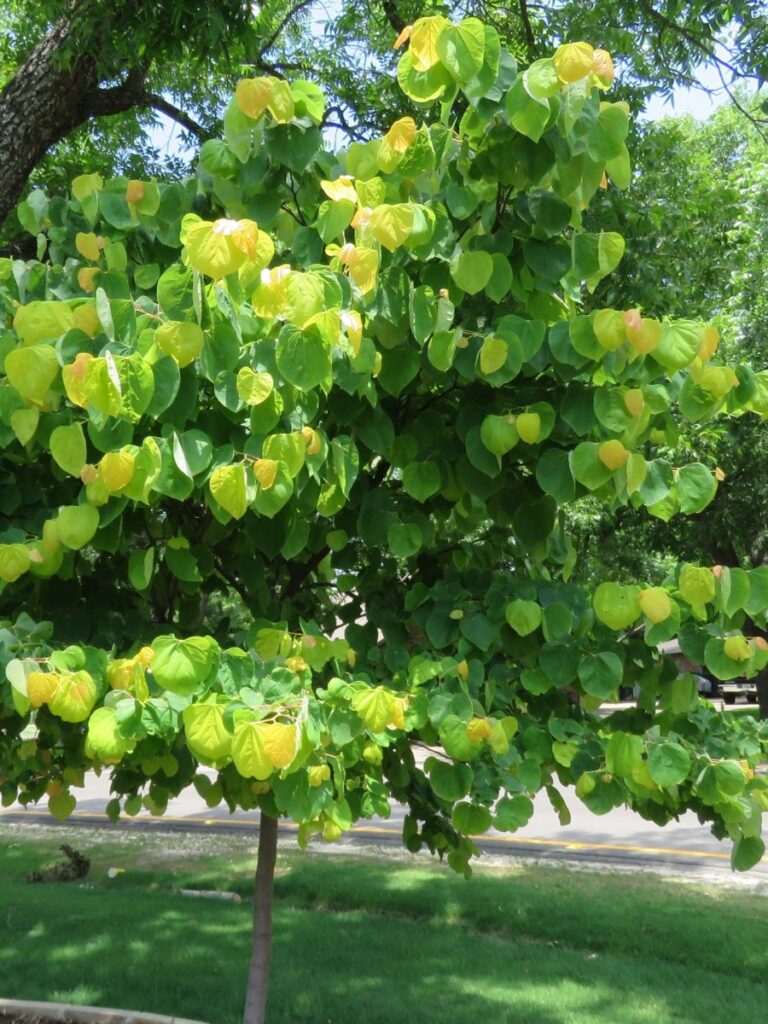
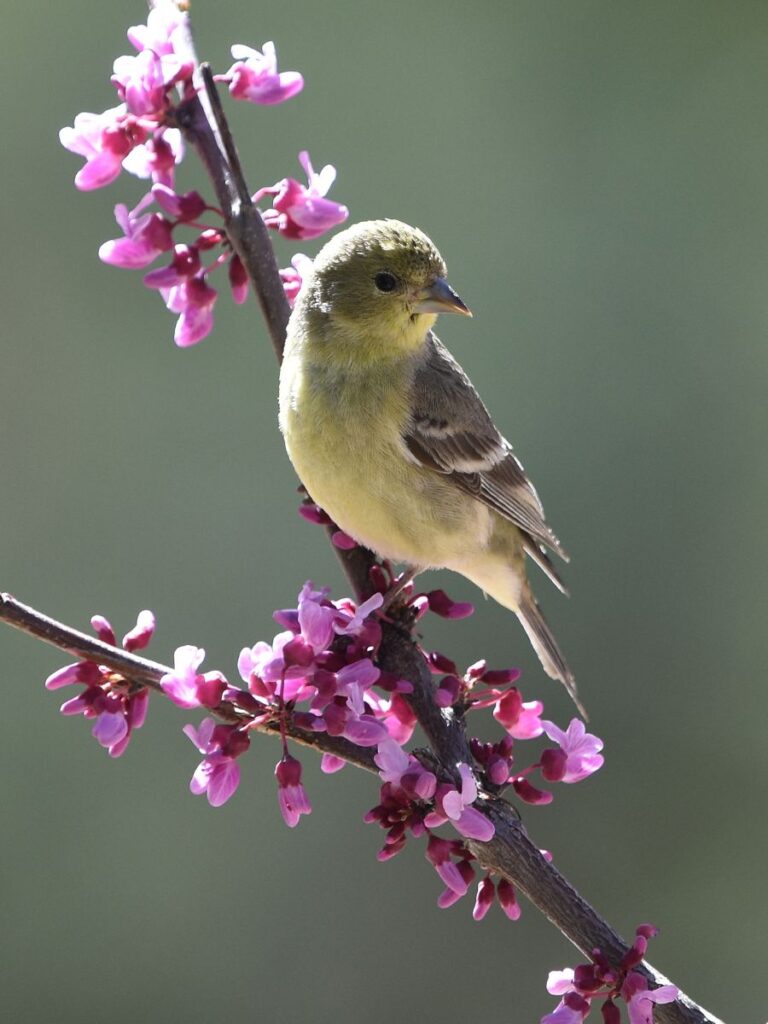
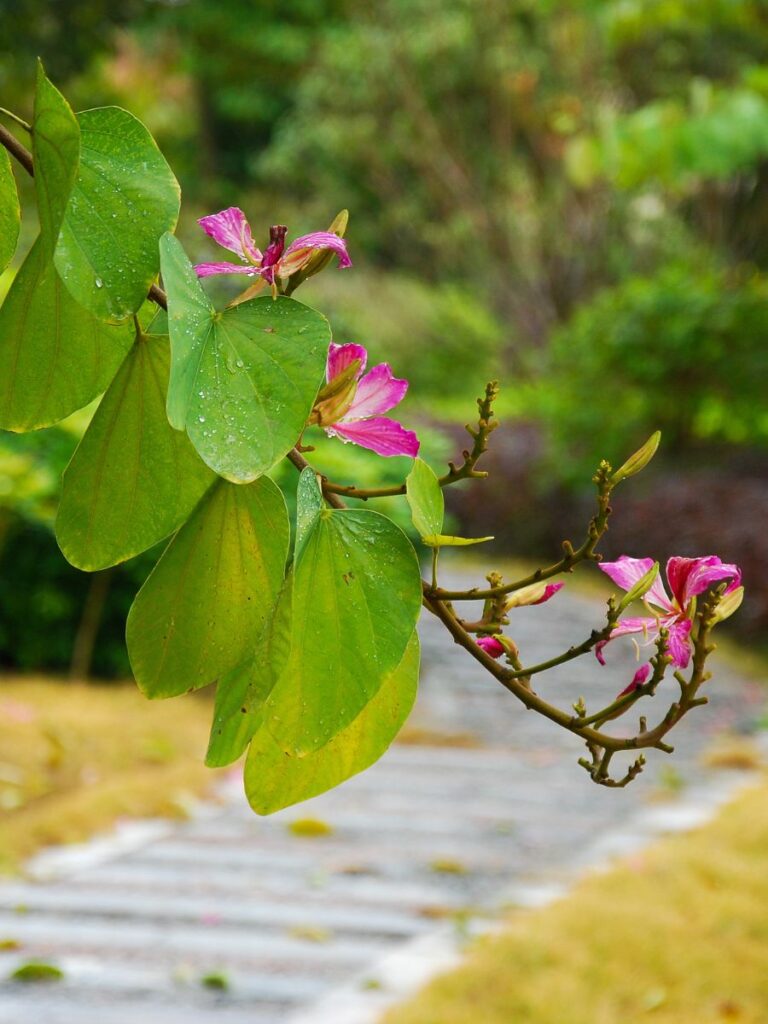
Rising Sun Redbud trees are like the botanical Cupids of the plant world, flaunting heart-shaped leaves adorned with a palette ranging from green to hues of yellow and red.
You're reading: 5+ Rising Sun Redbud Tree Problems & Caring Guide
The moment I stumbled upon an image, unaware of their existence, I instantly knew my garden needed the perpetual touch of a tree that appears to be in a perpetual state of love!
Of course, once you’ve set your heart on adding one to your garden, it’s crucial to delve into the potential vulnerabilities this tree might face.
Just imagine how disheartening it would be to witness love wither away too soon simply because we were uninformed.
Without further ado, let’s get scrolling!
Basic Rising Sun Redbud Facts (Cercis Canadensis)
Before getting into Rising Sun Redbud tree problems, let’s first explore the fundamental care requirements for this lovely plant.
Natural Habitat: Originating from Eastern North America, this tree thrives in hardiness zones 5 to 9.
Pruning: It’s advisable to prune preferably in late winter or early spring to encourage healthy growth.
Sunlight: The Rising Sun Redbud enjoys full sun, part sun, and part shade, offering flexibility in its light requirements.
Water: Known for its drought tolerance, you’ll only need to consider watering during extended dry spells of 2-3 weeks.
For newly planted trees, a twice-weekly watering routine is recommended.
But once established, they can largely rely on natural weather patterns. Additionally, Eastern Redbuds require less water during the winter.
Temperatures: For optimal growth, aim for temperatures between 65 and 80°F (18 and 27°C).
While the Eastern Redbud is pleasantly cold-tolerant, its sweet spot lies above 10°C.
Remember to provide winter protection when temperatures dip below -15°C.
Soil: Preferring well-drained soil, ensure proper drainage for optimal growth.
Planting: Spring and fall are the ideal seasons for planting, providing the most favorable conditions for successful establishment.
Common Rising Sun Redbud Tree Problems
Eastern Redbuds (Cercis canadensis) are generally hardy trees, but like any plant, they can face certain problems.
- Verticillium Wilt:
- Symptoms: Wilting, yellowing, and browning of leaves, often on one side of the tree.
- Cause: Fungal infection (Verticillium dahliae or Verticillium albo-atrum).
- Prevention and Treatment: Plant resistant cultivars, maintain overall tree health, and avoid planting in soil with a history of the disease.
- Canker Diseases:
- Symptoms: Sunken areas, dead bark, and sometimes oozing sap on branches or trunk.
- Cause: Fungal or bacterial infections.
- Prevention and Treatment: Prune affected branches, ensure proper watering, and apply fungicides if necessary.
- Leaf Spot Diseases:
- Symptoms: Dark spots on leaves, yellowing, and premature leaf drop.
- Cause: Fungal or bacterial infections.
- Prevention and Treatment: Prune infected leaves, ensure good air circulation, and apply fungicides if needed.
- Aphids:
- Symptoms: Distorted leaves, honeydew on leaves, and sooty mold.
- Cause: Infestation by aphids.
- Prevention and Treatment: Natural predators like ladybugs can help control aphids. In severe cases, insecticidal soaps may be used.
- Caterpillars:
- Symptoms: Chewed or skeletonized leaves.
- Cause: Caterpillar feeding.
- Prevention and Treatment: Handpick caterpillars or use biological controls like Bacillus thuringiensis (Bt).
- Root Rots:
- Symptoms: Wilting, yellowing, and dieback, particularly in wet or poorly-drained soils.
- Cause: Fungal infections in the roots.
- Prevention and Treatment: Plant in well-drained soil, avoid overwatering, and use fungicides if needed.
- Deer Damage:
- Symptoms: Bark damage, especially in winter when food is scarce.
- Prevention and Treatment: Use deer repellents, fencing, or other measures to deter deer.
Rising Sun Redbud Pests & Powdery Mildew
Redbuds stand as resilient trees, blessed with a natural hardiness that shields them from many pests and diseases.
Read more : Propagating Polka Dot Plant: A Step-by-step guide
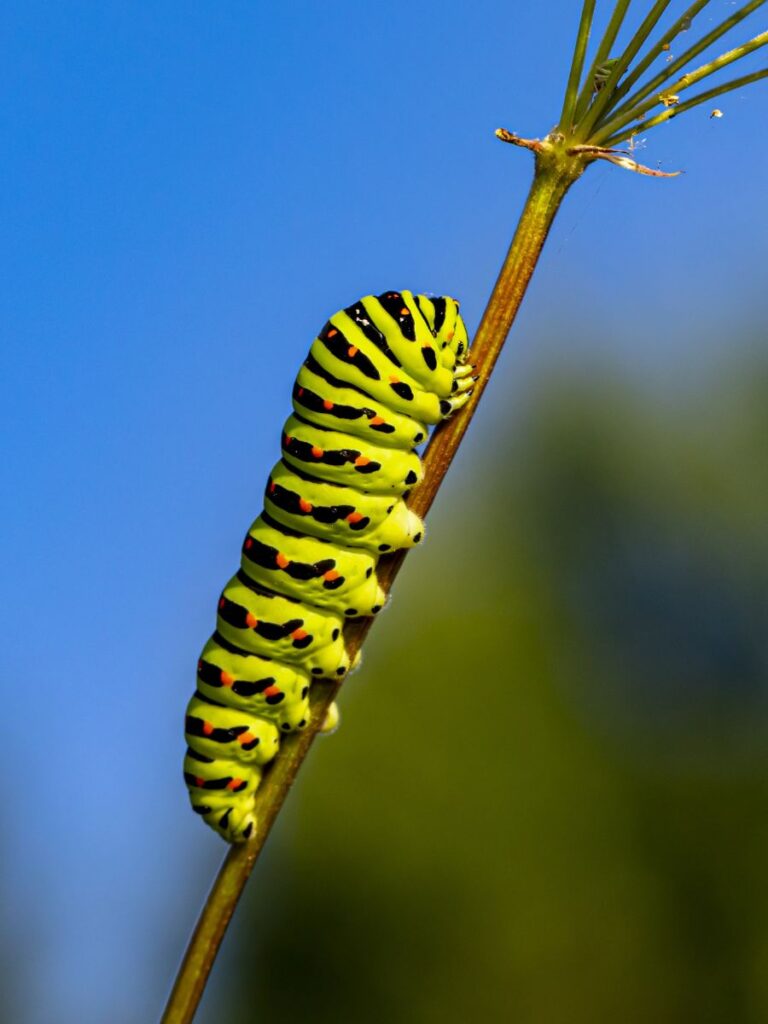
While they graciously play host to moths and butterflies like the Eastern Tiger Swallowtail Butterfly and the Imperial Moth, these fluttering visitors pose no significant threat to the tree.
Even encounters with leaf-miners and Redbud Leaffolder Moths, though resulting in minor aesthetic damage, generally do not significantly weaken the tree.
Regular monitoring coupled with minimal maintenance becomes the key to keeping our resilient Redbuds in their prime.
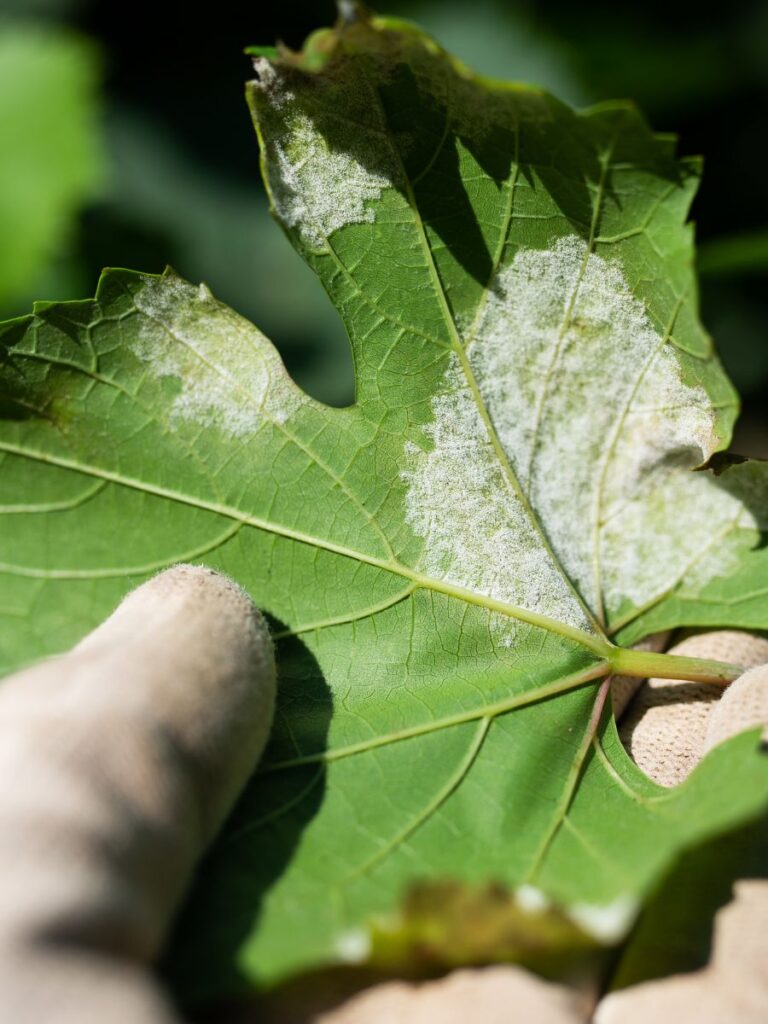
Powdery Mildew
On rare occasions, redbuds might develop a touch of powdery mildew, especially when planted in overly wet conditions.
The good news is, this is typically insufficient to harm the tree, and with just a bit of minimal maintenance, it can stay in excellent shape.
Preventing Powdery Mildew
Powdery mildew is an unwelcome visitor for every plant, no doubt about it.
Even the sturdiest ones can fall victim, often due to excessive moisture in the air.
The silver lining, however, is that this issue, while widespread, is easily manageable.
To keep it at bay for your Rising Sun Redbud, consider the following:
- Adequate spacing, ensuring proper air circulation, and steering clear of overwatering can effectively prevent powdery mildew.
- Research indicates that trees thrive best when planted in sizable clusters rather than as solitary individuals in an open lawn or field. So, opt to plant redbuds as understory trees or in groups of 3 to 7.
- This particular plant flourishes, especially when nestled near a house with a dark exterior or positioned as an understory tree in a charming shade garden.
How to Plant Rising Sun Redbud
When you receive your ‘The Rising Sun’ redbud from nursery gardens, it will be in a white, fabric grow bag.
These bags are designed to promote root health by preventing root circling and choking.
Planting the tree is a simple process that begins with removing the grow bag.
- Use a knife to cut the bag vertically on two sides.
- Gently rip it away from the root ball, ensuring no damage is done to the roots.
- Dig a hole that matches the depth of the root ball and is slightly wider.
- Place the tree into the hole and fill in the space around the root ball with the excavated soil.
- Make sure to keep the trunk straight as you fill the hole.
How to Water Newly Planted Rising Sun Redbud
During the first weeks post-planting, ensuring optimal watering is pivotal for the successful establishment of your newly planted tree.
Employ the following technique using a garden hose:
- Insert the hose into the bottom of the hole from the side, turning on the water.
- Allow the water to bubble up out of the hole, then move the hose to the opposite side and repeat.
- Once completed, turn off the hose and fill the hole with settled soil to its original level.
For the first two weeks: provide daily watering using a gentle trickle from the hose for about 10 minutes, especially if temperatures reach 65 degrees Fahrenheit or higher.
For the next two weeks: reduce watering to every three days. After the initial three-day interval, transition to a weekly watering routine until January, provided temperatures remain above 40 degrees and there is no snow or rainfall.
Note: In case of significant rainfall (1″ per day or week) at any point during the year, skip watering during those weeks.
How to Propagate Redbud
You can use the semi-hardwood cutting method to propagate Redbud.
Timing:
- Select Suitable Material:
- Choose semi-hardwood stems, which are usually taken from the current season’s growth that has started to mature.
- Optimal time is typically in late summer to early autumn when the wood is partially hardened but not overly woody.
How to Propagate Redbud (Step-by-step):
1. Select Healthy Cuttings
Choose stems that are healthy, free from diseases, and have a length of about 4 to 6 inches.
Cut just below a node (the point where leaves attach to the stem).
2. Remove Leaves
Read more : Repotting Japanese Maple Trees: When, Where, How to Repot These Plants
Trim away the leaves from the lower half of the cutting.
Leave a few leaves on the upper half to aid in photosynthesis.
3. Optional Use of Rooting Hormone
Dip the cut end of the stem in rooting hormone if desired.
While Redbuds can root well without it, using rooting hormone can enhance the process.
4. Prepare Planting Medium
Use a well-draining rooting medium. A mix of perlite and peat or perlite and vermiculite works well.
Moisten the medium slightly.
5. Insert Cuttings
Make a hole in the planting medium using a stick or pencil.
Insert the cut end of the Redbud cutting into the hole.
Firm the soil around the cutting.
6. Provide Humidity
Place the pot or tray in a plastic bag or cover it with a plastic dome to create a humid environment.
This helps prevent excessive moisture loss from the leaves.
7. Place in Indirect Sunlight
Keep the cuttings in a location with indirect light.
Avoid direct sunlight, as it may cause excessive drying.
8. Maintain Moisture
Keep the soil consistently moist but not waterlogged.
Mist the cuttings regularly to maintain humidity.
9. Rooting Time
Roots generally develop over a period of several weeks to a few months.
You can gently tug on the cutting to check for resistance, indicating root development.
10. Transplanting
Once roots are well-developed, transplant the cuttings into individual pots or into the desired planting location.
Additional Tips:
- Temperature: Maintain a warm environment, ideally around 70°F (21°C).
- Patience: Rooting time can vary, so be patient and monitor the progress regularly.
- Monitor for Diseases: Keep an eye out for any signs of diseases, and address them promptly if they occur.
We hope your Redbud will give you great scenes in years to come!
Source: https://thelittle.garden
Category: Gardening