Key takeaways:
- Black-eyed Susans are hardy perennials that can be transplanted in spring or fall
- Divide and transplant to maintain plant health and prevent overcrowding
- Follow the 3-step process: prepare, divide, and transplant for best results
- Proper timing and care during transplanting ensures successful establishment
Black-eyed Susans, with their cheerful yellow petals and dark centers, are the rock stars of any garden. These low-maintenance perennials not only bring a touch of wild beauty but also attract butterflies and handle drought like champs. If you’re considering giving your Black-eyed Susans a new home in the garden, you’ve come to the right place. In this article, we’ll guide you through the three essential processes of transplanting these beloved flowers, ensuring they thrive in their new location.
Understanding Black-eyed Susans
Before we dive into the transplanting process, let’s get to know our floral friends a bit better. Black-eyed Susans (Rudbeckia hirta) are native North American plants belonging to the sunflower family, Asteraceae. These vibrant perennials bloom from mid-summer until the first frost, adding a splash of golden glory to gardens and landscapes.
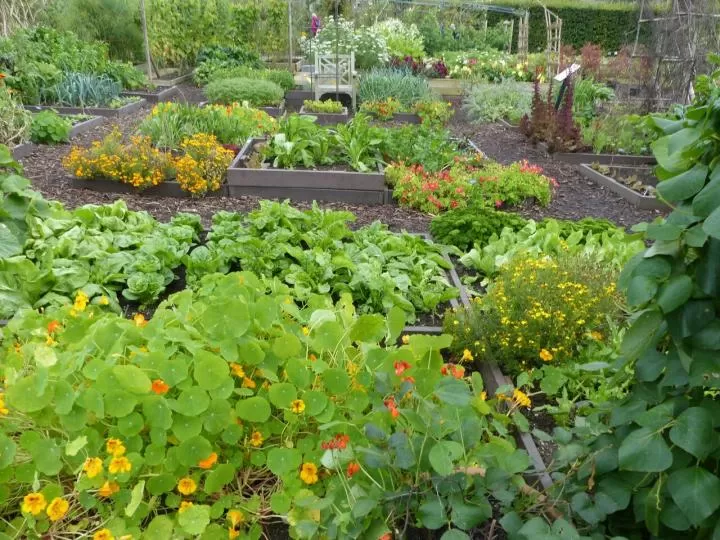
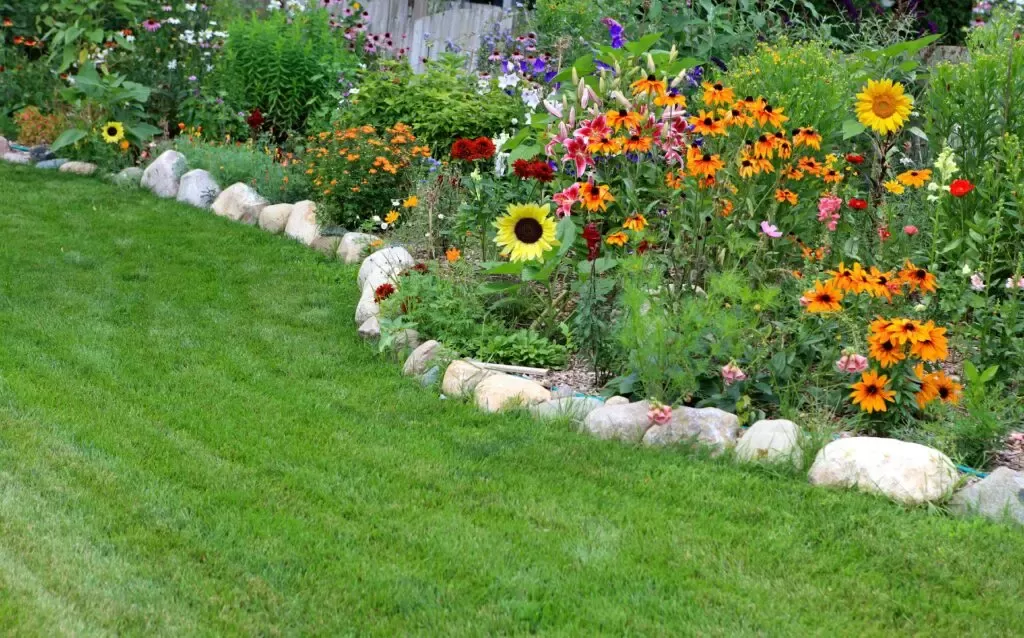
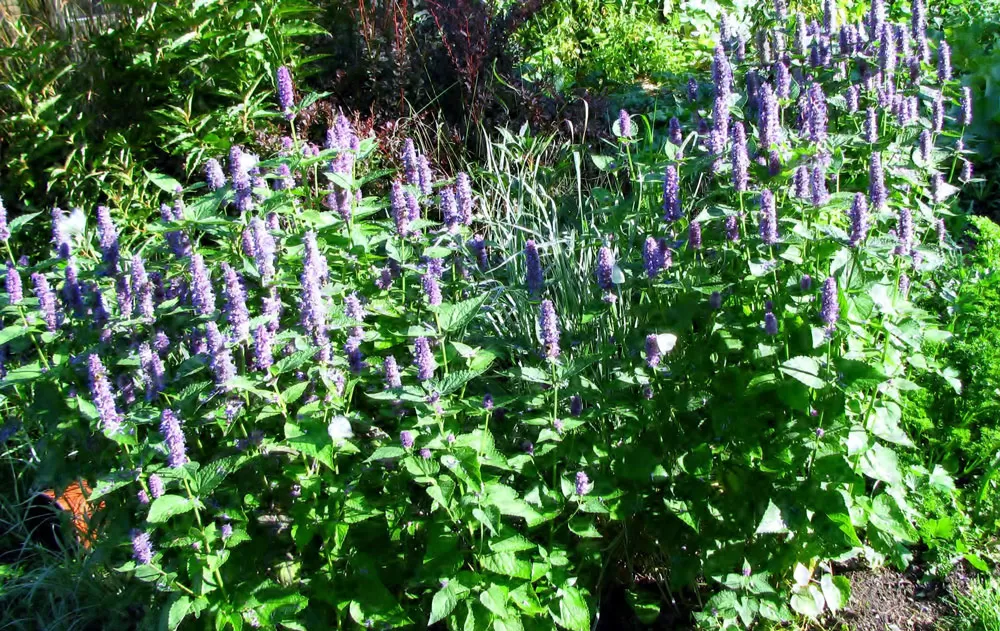
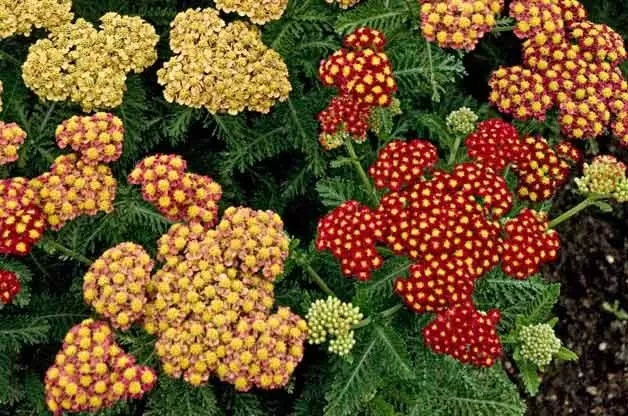
 Black-eyed Susan flowers in a garden
Black-eyed Susans are known for their:
- Bright yellow or gold petals with dark centers
- Drought tolerance and easy care
- Ability to attract pollinators
- Long blooming period
Now that we’re acquainted with these garden superstars, let’s explore the three crucial processes for successful Black-eyed Susan transplantation.
Process 1: Timing Your Transplant
Knowing when to transplant your Black-eyed Susans is the first step to success. While these resilient plants can handle transplanting year-round, certain times are more favorable for their relocation.
Optimal Transplanting Seasons
- Spring: As the ground thaws and before new growth emerges
- Fall: After blooming and before the first frost
Fall is particularly ideal as it allows the roots to establish before winter dormancy. However, don’t let timing hold you back – these tough plants can adapt even if transplanted outside the recommended seasons.
Signs It’s Time to Transplant
Watch for these indicators that your Black-eyed Susans are ready for a new home:
- Weak stems or fewer leaves
- Decreased blooming
- Overcrowding in their current location
Remember, Black-eyed Susans can multiply quickly, so dividing and transplanting helps maintain their health and prevents them from overtaking neighboring plants.
Process 2: Preparing for Transplant
Proper preparation is key to a successful Black-eyed Susan transplant. Think of it as giving your plants a spa day before their big move!
Tools and Materials Needed
- Shovel
- Garden shears
- Bucket filled with water
- All-purpose fertilizer or compost (optional)
Steps to Prepare
- Water the plants deeply a day before transplanting to hydrate and loosen the soil.
- Choose a new location with well-draining soil and adequate sunlight (6-8 hours daily).
- Prepare the new planting holes, making them about 12 inches deep and wide.
- Enrich the soil with compost or fertilizer if needed.
Process 3: The Transplanting Procedure
Now comes the exciting part – moving your Black-eyed Susans to their new home!
Step-by-Step Transplanting Guide
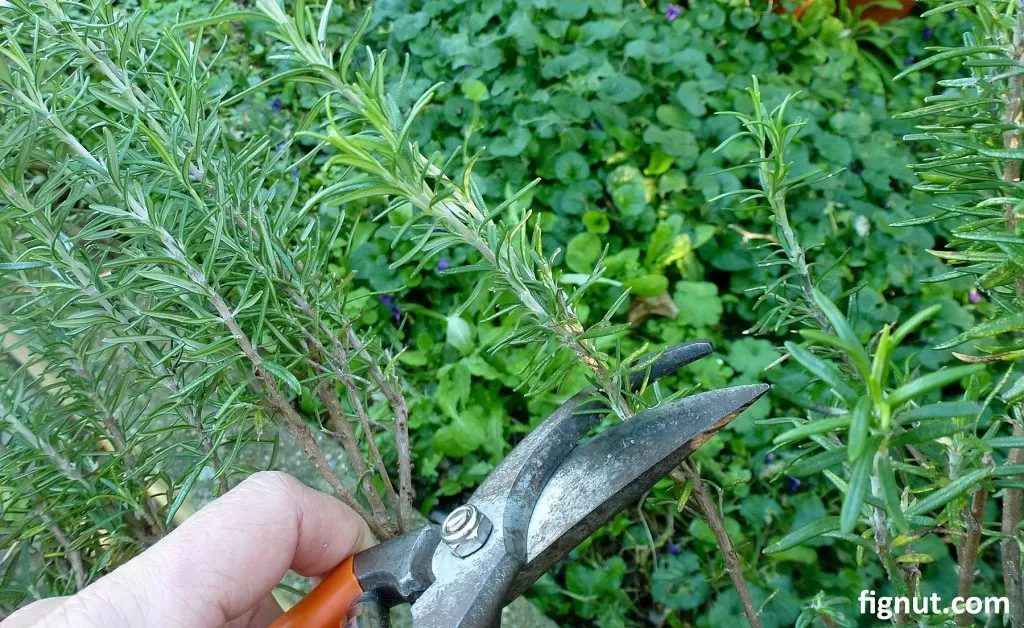
- Trim back the stems to about 4 inches from the ground for easier handling.
- Dig a circle around the plant, angling the shovel to lift the entire root ball.
- If dividing, gently separate the roots into smaller sections.
- Place the divided plants in a water-filled bucket and let them soak for about an hour.
- Plant each section in the prepared holes, ensuring the crown is at soil level.
- Backfill with soil and water thoroughly.
- Apply a 1-inch layer of mulch around the plants to retain moisture.
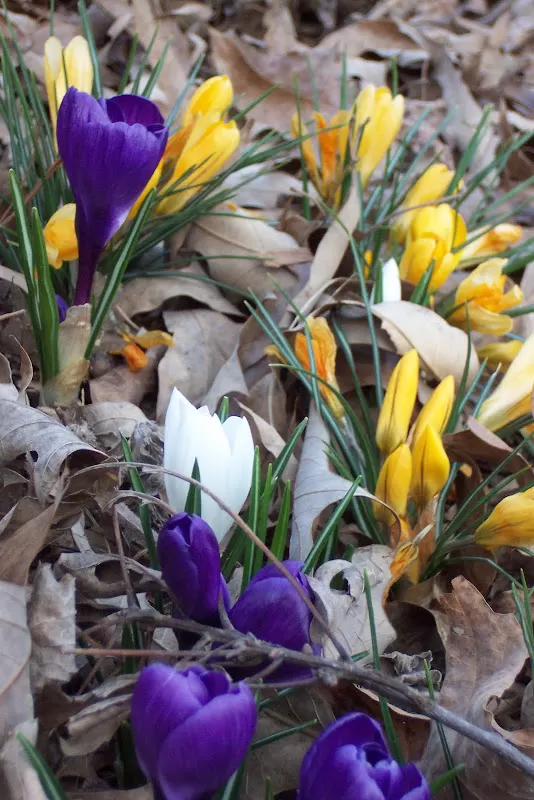
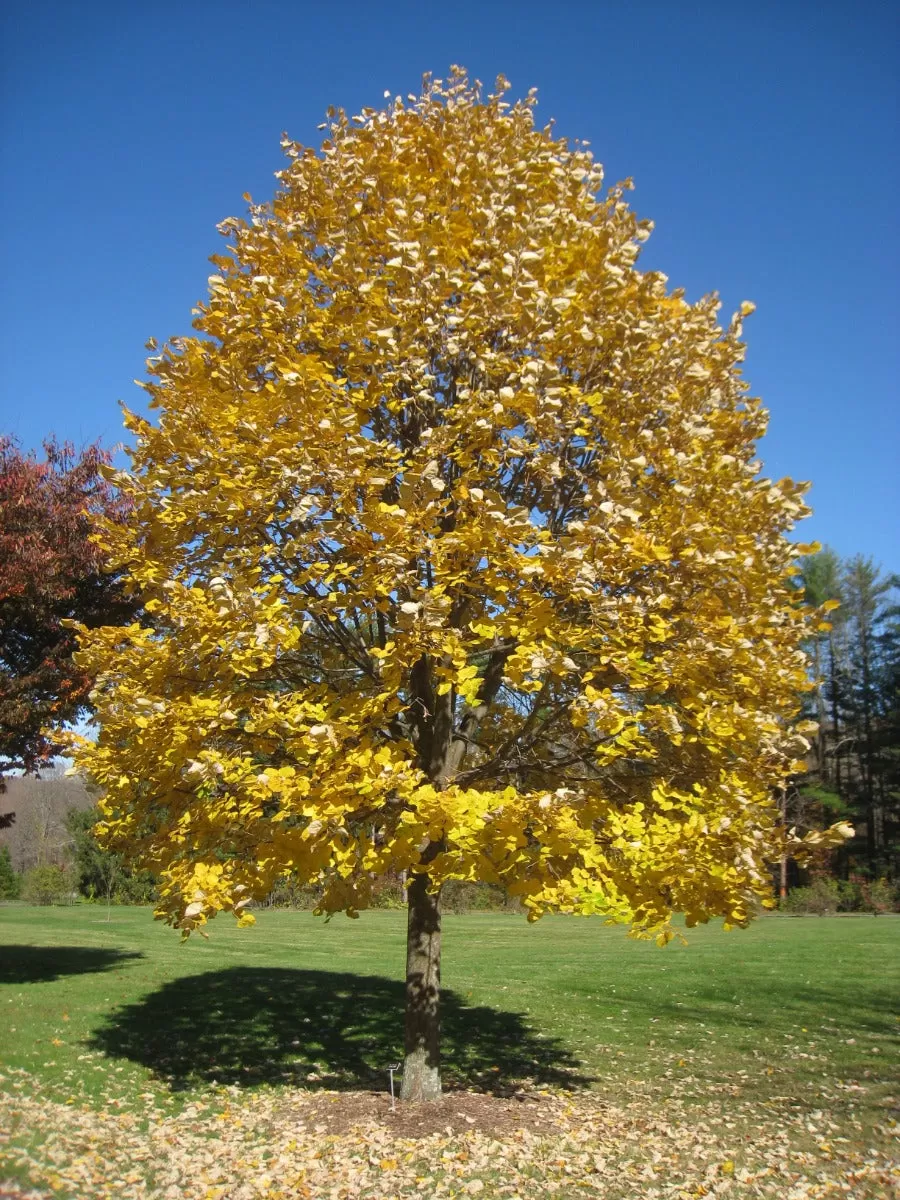
Black-eyed Susan flowers in a garden
Post-Transplant Care
- Water regularly for the first few weeks to help establish roots.
- Be patient – it may take a few weeks for the plants to fully recover and show new growth.
Frequently Asked Questions
To round out your Black-eyed Susan transplanting knowledge, here are answers to some common questions:
-
Do Black-eyed Susans need to be divided?
Yes, dividing every 3-4 years maintains plant health and prevents overcrowding. -
Can Black-eyed Susans grow in shade?
They prefer full sun but can tolerate partial shade. Aim for at least 6 hours of sunlight daily. -
How do you deadhead Black-eyed Susans?
Pinch or cut off fading flowers just below the base of the petals to encourage more blooms. -
How deep should you plant Black-eyed Susans?
A 12-inch deep hole is sufficient for their fibrous root system. -
How long do Black-eyed Susans live?
Typically 2-3 years, but they self-seed readily, creating the appearance of longer-lived plants.
Conclusion
Transplanting Black-eyed Susans is a rewarding process that helps maintain the health and beauty of these beloved garden stars. By following the three essential processes – timing, preparation, and proper transplanting techniques – you can ensure your Black-eyed Susans will continue to bring joy and color to your garden for years to come.
Remember, these resilient plants are forgiving, so don’t be afraid to give transplanting a try. With a little care and attention, your Black-eyed Susans will thrive in their new home, creating a stunning display that attracts both butterflies and admiring glances.
Have you successfully transplanted Black-eyed Susans in your garden? Share your experiences and tips in the comments below. And if you found this guide helpful, don’t forget to share it with your fellow gardening enthusiasts!