Key takeaways:
- Amaranth is easy to grow in containers, perfect for beginners and experienced gardeners
- Use a deep pot (6 inches to 1 foot) with a well-draining potting mix
- Provide 4-6 hours of direct sunlight daily and water regularly
- Prevent pests with organic solutions like neem oil and garlic-chili spray
- Harvest frequently to encourage continuous growth and enjoy nutritious greens

Are you looking for a low-maintenance, nutrient-packed green to grow at home? Look no further than amaranth! This versatile and resilient plant is not only a breeze to cultivate but also a powerhouse of nutrition. In this guide, we’ll walk you through the simple steps to grow lush amaranth greens in pots, right on your balcony or patio. Get ready to embark on a rewarding journey that will fill your plate with homegrown goodness!
Contents
- Setting the Stage for Success
- Choosing the Perfect Pot
- Mixing Up the Perfect Potting Soil
- Sowing the Seeds of Success
- Selecting and Planting Your Amaranth Seeds
- Nurturing Your Amaranth Garden
- Sunlight and Water: The Dynamic Duo
- Feeding Your Greens
- Troubleshooting: Overcoming Garden Hurdles
- Battling the Weed Invasion
- Pest Control, the Natural Way
- When Seeds Refuse to Sprout
- Slow and Steady Growth
- Harvesting Joy: Reaping the Rewards of Your Labor
Setting the Stage for Success
Choosing the Perfect Pot
When it comes to growing amaranth, size does matter – but don’t worry, we’re not talking about sprawling garden beds here! A container with a depth of 6 inches to 1 foot is your ticket to success. Amaranth has a knack for developing deep roots, so giving them room to stretch out is key.
Pro tip: Want to know my secret weapon? Cleaned paint buckets! They’re sturdy, lightweight, and provide the perfect depth for happy amaranth plants. Plus, it’s a great way to upcycle and add a touch of DIY charm to your garden.
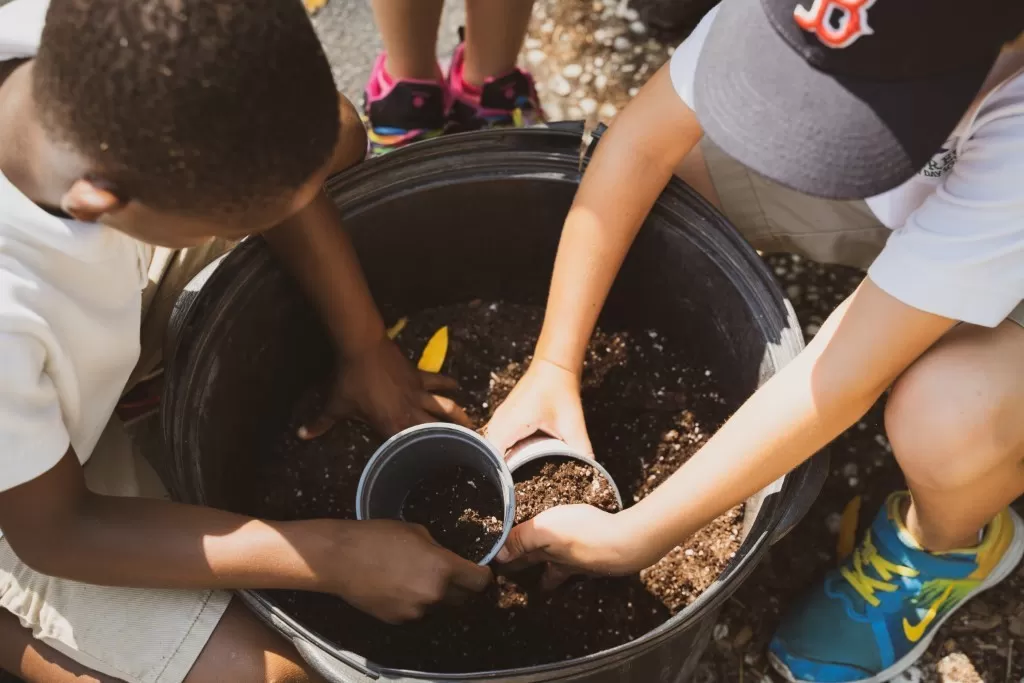
Mixing Up the Perfect Potting Soil

Now, let’s talk dirt – or rather, the perfect potting mix. Here’s a simple recipe that’ll have your amaranth singing with joy:
- 40% homemade compost (your plants’ favorite comfort food)
- 60% soil medium (a blend of regular soil and coco peat)

Coco peat is our secret ingredient here. This lightweight, absorbent material made from coconut husks helps retain moisture while keeping things airy. It’s like a spa day for your plant roots!
For an extra boost of protection, consider adding a sprinkle of neem mix to your potting soil. It’s nature’s way of saying “No entry” to pesky insects.
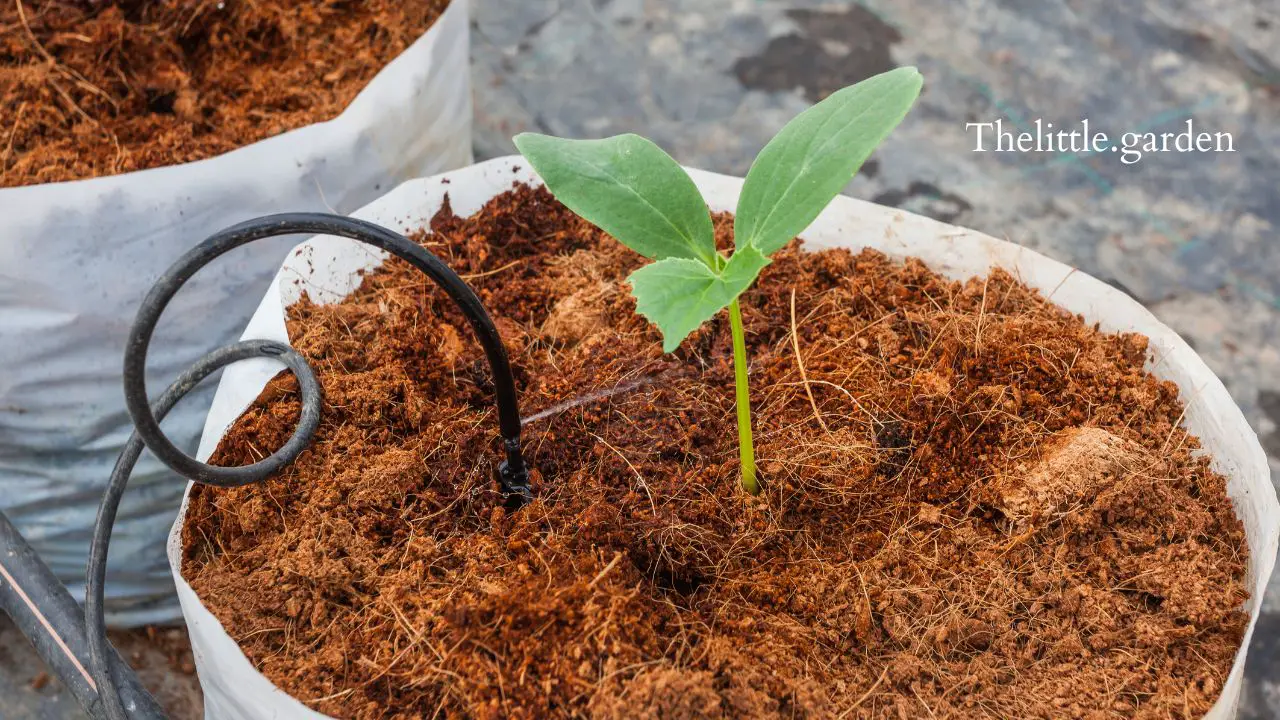
Sowing the Seeds of Success
Selecting and Planting Your Amaranth Seeds
If you’re a seasoned amaranth grower with seeds from last season, fantastic! But for those starting fresh, don’t hesitate to pick up some high-quality seeds from a reputable store. Think of it as an investment in your future salads!
Planting is where the magic begins:
- Fill your chosen container with your expertly crafted potting mix.
- Sprinkle the seeds lightly over the surface – remember, we’re aiming for a lush crop, not a crowded party!
- Gently cover the seeds with a thin layer of soil (about ¼ to ½ inch).
- Water daily, showing your seeds some love and encouragement.
Here’s a little trick I’ve learned along the way: Add a splash of bio enzyme to your watering can. It’s like a health tonic for your plants, promoting growth and keeping those unwanted pests at bay. I’ve used this method and didn’t see a single insect until my third harvest!
Nurturing Your Amaranth Garden
Sunlight and Water: The Dynamic Duo
Amaranth is a sun-loving plant, so find a spot on your balcony or terrace that basks in at least 4-6 hours of direct sunlight daily. Think of it as your plant’s daily dose of vitamin D!
When it comes to watering, consistency is key. A daily drink will keep your amaranth happy, but be careful not to overdo it. Nobody likes soggy feet, plants included!
Feeding Your Greens
Every two weeks, treat your amaranth to a nutrient boost with some homemade compost. It’s like serving them a gourmet meal, and they’ll thank you with abundant growth and vibrant leaves.
Troubleshooting: Overcoming Garden Hurdles
Even the most attentive gardeners can face challenges. Here’s how to tackle common issues:
Battling the Weed Invasion
Keep an eye out for uninvited guests like kulfa plants, bathua plants, and wild amaranth. These sneaky weeds can steal nutrients from your prized amaranth. Regular weeding sessions will ensure your greens get all the good stuff they need.
Pest Control, the Natural Way
In the world of organic gardening, pests can be a bit of a nuisance. But fear not! Here are some eco-friendly solutions:
- Neem spray: Nature’s pest repellent
- Garlic-chili spray: A spicy deterrent for bugs
- Bio enzyme spray: A probiotic shield for your plants
If you notice persistent pest issues, try moving your containers to a new spot. Sometimes, a change of scenery is all it takes!
When Seeds Refuse to Sprout
It happens to the best of us – sometimes, seeds just don’t want to wake up. If your seeds aren’t sprouting, it’s best to start fresh with a new batch. Think of it as giving your garden a second chance at greatness!
Slow and Steady Growth
If your amaranth seems to be taking its sweet time growing, consider these factors:
- Sunlight: Are they getting enough? Remember, 4-6 hours of direct sunlight is ideal.
- Water: Keep that soil consistently moist, but not waterlogged.
- Nutrients: A bi-weekly compost treat can work wonders.

Harvesting Joy: Reaping the Rewards of Your Labor
Growing amaranth in pots is more than just gardening – it’s a journey of discovery, patience, and ultimately, delicious rewards. Imagine plucking fresh, vibrant leaves for your salads or stir-fries, knowing they’re packed with nutrients and free from harmful chemicals.
Two containers of amaranth seeds can transform into a bountiful feast for your family. It’s a wonderful way to involve your loved ones, especially children, in the magic of growing food. Not only will they learn valuable skills, but they’ll also develop a deeper appreciation for the food on their plates.
So, why wait? Embark on your amaranth growing adventure today. Your taste buds will thank you, your wallet will breathe a sigh of relief, and you’ll have the satisfaction of nurturing something truly special right at home.
Remember, every leaf you harvest is a testament to your care and dedication. So go ahead, get your hands dirty, and watch as your little amaranth garden transforms into a thriving green oasis. Happy growing!