- Know When to Pick: Harvest kale leaves when they are about the size of your hand for mature greens, or smaller for tender baby leaves.
- Harvest Smart: Snip outer, older leaves first, near the base of the stem, leaving the central bud and younger leaves to continue growing.
- Encourage More Growth: Regular harvesting (every 5-7 days) and leaving at least two-thirds of the plant intact promotes a continuous supply.
- Frost is Your Friend: For sweeter kale, consider harvesting after the first light frost.
- Store Properly: Keep your harvested kale fresh by washing, drying thoroughly, and storing it in the refrigerator.
There’s a special kind of magic in stepping into your garden and snipping fresh greens for dinner. And when it comes to robust, nutrient-packed leaves, kale is a true champion! If you’ve been wondering about harvesting kale leaves in a way that keeps your plants productive all season long, you’re in the right place. Imagine the satisfaction of a continuous supply of this vibrant vegetable, straight from your soil to your table. It’s easier than you think, and with a few simple techniques, you’ll be a kale harvesting pro in no time!
Contents
- Getting to Know Your Kale: A Quick Overview
- The Art of Harvesting Kale Leaves: When and How
- Spotting the Sweet Spot: When Are Kale Leaves Ready?
- The Gentle Snip: Proper Harvesting Techniques
- Maximizing Your Harvest: Tips for Continuous Growth
- Prioritize the Elders: Pick Outer, Older Leaves First
- Protect the Crown: Leave the Terminal Bud Intact
- Just Enough: How Much Kale to Pick at Once
- The Weekly Ritual: Regular Harvesting for More Kale
- Pro Tips for a Bountiful Kale Harvest
- The Magic of Frost: Sweeter Kale Awaits
- Garden Housekeeping: Removing Unhealthy Leaves
- Weatherproofing Your Kale Patch
- After the Snip: Storing Your Freshly Harvested Kale
- Your Kale Adventure Continues
Getting to Know Your Kale: A Quick Overview
Before we dive into the how-to of harvesting, let’s appreciate the plant itself. Kale is a wonderfully resilient and giving member of the brassica family.
- Scientific Name: Brassica oleracea var. sabellica (most common for curly kale) or Brassica oleracea Acephala Group
- Common Name: Kale, Borecole
- Zone: Typically hardy in USDA zones 2-11, thriving in cooler weather.
- Light: Prefers full sun (at least 6 hours a day) but can tolerate partial shade.
- Humidity: Adapts to a range of humidity levels, generally moderate.
- Water: Requires consistent moisture, especially during dry spells. Aim for well-drained soil to prevent waterlogging.
The Art of Harvesting Kale Leaves: When and How
Knowing the right moment and method for harvesting kale leaves is key to enjoying a long and bountiful season. It’s a delightful dance between taking what you need and encouraging the plant to give more.
Spotting the Sweet Spot: When Are Kale Leaves Ready?
Timing is everything! Generally, your kale will be ready for its first significant harvest about 70 days after planting, when the outer leaves are roughly the size of your hand. These mature leaves are fantastic for cooking. Don’t wait too long past this stage, as overly mature leaves can become tough and a bit bitter.
But what if you can’t wait? Good news! About 25-30 days after planting, you can start picking “baby kale” or microgreens. These smaller, tender leaves are incredibly delicious raw in salads or smoothies. I remember the first time I snipped a few baby leaves – their delicate texture was a revelation!
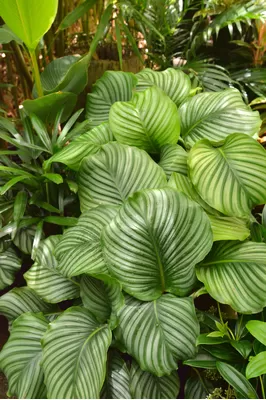
 Vibrant green kale leaves ready for harvesting in a home garden
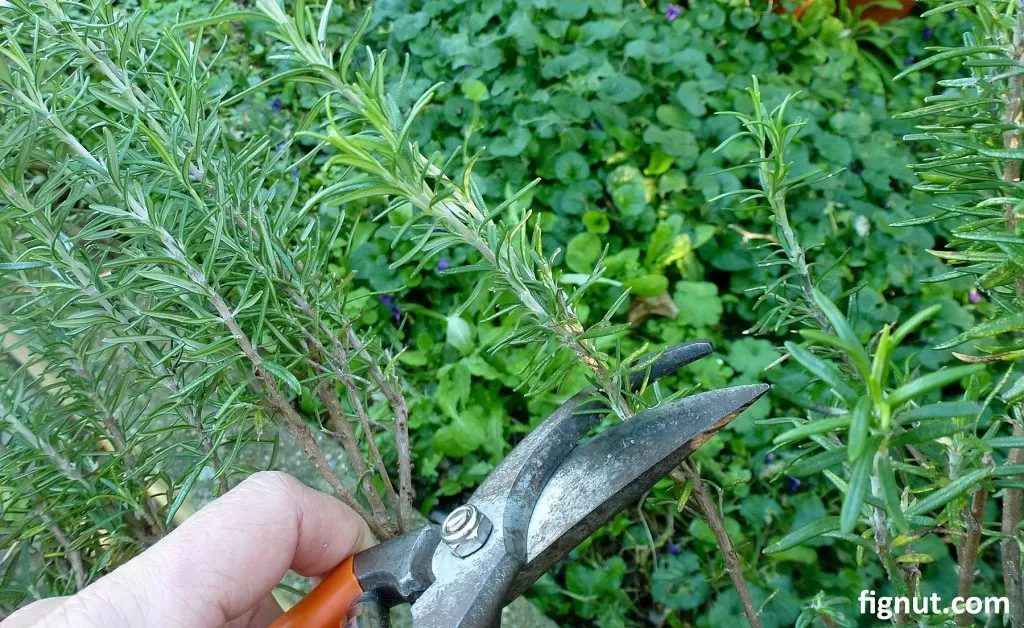
The Gentle Snip: Proper Harvesting Techniques
Harvesting kale isn’t about yanking leaves off; it’s a more refined process that ensures the plant’s continued health.
- Choose Your Tools: Clean, sharp scissors or pruning shears are your best friends here. You can also use your fingers to snap off leaves if they come away cleanly.
- Target the Base: Grasp the leaf you want to harvest firmly but gently. Make your cut or snap near the main stalk of the plant, leaving a small stub of the leaf stem (about an inch) attached to the main stalk.
- Preserve the Plant’s Core: Crucially, never cut the main central stalk or the root system. Kale is designed to keep producing from its growth points. Damaging the core will halt or significantly slow down new leaf production.
Maximizing Your Harvest: Tips for Continuous Growth
The real joy of growing kale is its “cut-and-come-again” nature. With a little care in how you harvest, your kale plants will reward you week after week.
Prioritize the Elders: Pick Outer, Older Leaves First
Always start your harvest with the largest, oldest leaves, which are typically found at the bottom and outer edges of the plant. These are the most mature and the first to potentially turn bitter or yellow. By removing these, you not only get the best-tasting leaves at their peak but also encourage the plant to direct its energy towards producing new, fresh growth from the center. This simple step helps prevent the plant from “bolting” (flowering prematurely).
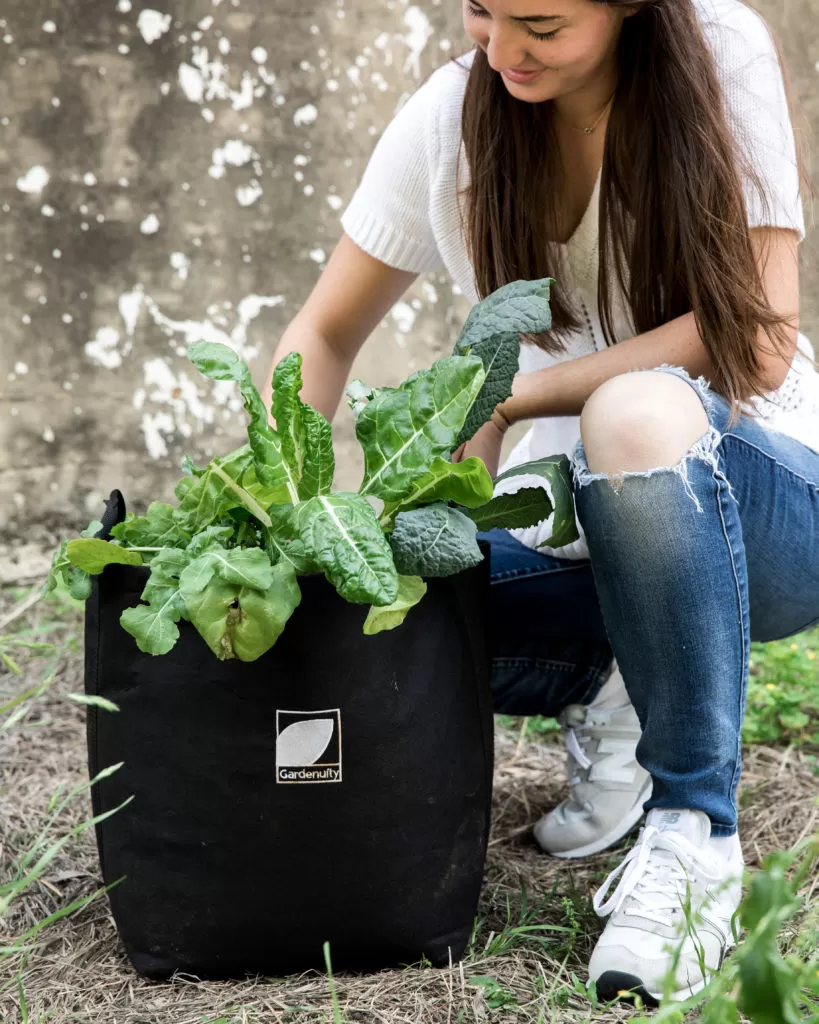
 A gardener carefully inspecting a large kale leaf before harvesting from the plant
Protect the Crown: Leave the Terminal Bud Intact
At the very top center of your kale plant, you’ll find the terminal bud. This is the main growing point. It’s essential to avoid picking or damaging this bud. Leaving it intact is a cornerstone of harvesting kale leaves for continuous production. As long as this central point is healthy, your kale will keep unfurling new leaves.
Just Enough: How Much Kale to Pick at Once
A good rule of thumb is to harvest about a fistful of leaves per plant per session, or roughly one-third of the plant’s total leaves. However, this is flexible. If you need more for a big family meal or a special recipe, go ahead and pick what you need, as long as you leave at least two-thirds of the healthy leaves and the terminal bud untouched. The plant is quite resilient! I’ve often harvested generously for a big batch of kale chips, and my plants just keep on giving.
The Weekly Ritual: Regular Harvesting for More Kale
Consistency is key. Plan to visit your kale patch for harvesting every 5 to 7 days. Regular picking signals the plant to keep producing. If mature leaves are left on the plant for too long, they can start to yellow and decay, which can discourage new growth and even attract pests. Make it a pleasant weekly garden task!
Pro Tips for a Bountiful Kale Harvest
Beyond the basics, a few extra insights can elevate your kale game.
The Magic of Frost: Sweeter Kale Awaits
Here’s a secret cherished by seasoned gardeners: kale tastes even better after a light frost! If you’re growing kale into the fall, try to wait until after the first frost to do a significant harvest. The cold weather triggers the plant to convert starches into sugars, resulting in leaves that are remarkably sweeter and more tender. I once did a taste test with pre-frost and post-frost kale from my own garden – the difference was noticeable and delightful!
Garden Housekeeping: Removing Unhealthy Leaves
During your regular harvesting rounds, keep an eye out for any leaves that are yellowing, spotted, or damaged by pests. Snip these off immediately and dispose of them (preferably not in your active compost if they show signs of disease). This isn’t just for aesthetics; removing unhealthy leaves prevents the plant from wasting energy on them and helps stop the potential spread of problems.
Weatherproofing Your Kale Patch
Kale is impressively cold-hardy, but if you want to extend your harvesting kale leaves season deep into winter, especially in colder climates, providing some protection can make a big difference. Simple row covers, a cold frame, or even a draped tarp secured against wind can shield your plants from the harshest conditions. This creates a microclimate that can keep your kale producing when everything else in the garden has succumbed to the cold.
After the Snip: Storing Your Freshly Harvested Kale
You’ve successfully harvested your beautiful kale leaves! Now, how do you keep them fresh until you’re ready to enjoy them?
- Wash Well: Rinse the leaves thoroughly under cold running water to remove any garden soil, debris, or tiny insects. Hot or warm water can cause wilting, so stick to cold.
- De-Stem (Optional): If you don’t plan on using the tough central stems, you can remove them now. Fold the leaf in half lengthwise and slice along the stem, or simply tear the leafy parts away.
- Dry Thoroughly: This is a crucial step! Excess moisture is the enemy of crisp kale. Pat the leaves dry with a clean kitchen towel or use a salad spinner. Allow them to air dry for a few more minutes if needed.
- Bag It Up: Place the dry leaves in a resealable plastic bag or an airtight container. Some folks like to add a paper towel to the bag to absorb any lingering moisture.
- Refrigerate: Store your kale in the crisper drawer of your refrigerator. Properly stored, it should stay fresh and tasty for one to two weeks. Check on it periodically; if leaves start to wilt or yellow significantly, it’s time to use them up or compost them.
Your Kale Adventure Continues
Mastering the art of harvesting kale leaves is a rewarding journey that brings fresh, healthy food to your table for months on end. It’s about understanding the plant’s rhythm and working with it to encourage abundance. There’s nothing quite like the pride of serving a dish made with kale you’ve nurtured and harvested yourself.
What are your favorite ways to use freshly harvested kale? Do you have any personal tips for a continuous kale supply? Share your thoughts and experiences in the comments below – we’d love to hear from our community of garden enthusiasts! And don’t forget to explore more gardening wisdom here at The Little Garden.