- Key Takeaways:
- Elderberries (Sambucus spp.) are easy-to-grow shrubs perfect for edible landscapes and attracting wildlife.
- They thrive in full sun to part shade and moist, slightly acidic soil.
- Planting from bare root or potted plants in spring or fall is ideal.
- Propagation is best done through stem cuttings for reliable results.
- Consistent watering, annual fertilization, and proper pruning are key to plant health and fruit production.
- Raw elderberries are toxic and must be cooked before consumption.
Dreaming of picking your own elderberries for homemade syrups, jams, or pies? Growing elderberries at home is not only rewarding but also surprisingly straightforward! These beautiful shrubs, known botanically as Sambucus spp., offer delicate white flowers in summer followed by clusters of dark berries in late summer or early fall. Whether you’re an experienced green thumb or just starting your gardening journey, learning how to grow elderberries can add a unique and productive element to your landscape. Let’s dive into the simple steps to cultivate these versatile plants right in your backyard.
Quick Guide to Growing Elderberries (Sambucus spp.):
- Common Name: Elderberry
- Scientific Name: Sambucus spp.
- Growing Zone (USDA): 3 to 11 (Varies by species/variety)
- Light Requirements: Full sun to part shade (6-8 hours daily for best fruiting)
- Water Requirements: Approximately 1 to 2” per week, especially for young plants; keep soil consistently moist but not soggy.
- Soil Preference: Slightly acidic, moist, well-draining soil (pH 5.5 to 6.5). Amend heavy clay with compost.
- Fertilizer: Annually in early spring with organic, balanced fertilizer or compost.
- Common Pests/Diseases: Aphids, Mealybugs, Scale, Borers, Powdery Mildew, Voles, Deer.
- Harvest Time: July to September, depending on variety.
- Plant Size: Typically 8 to 10’ high, 8’ wide.
- Recommended For: Edible foodscape gardens, wildlife gardens, ornamental gardens, native gardens.
Getting Started: Planting Your Elderberry Bushes
Elderberry plants are commonly available as bare root or potted specimens. Potted plants often establish slightly faster, but bare root options can be more budget-friendly. The best time to plant potted elderberries outdoors is in spring after the last threat of frost has passed. Bare root plants can go in a little earlier, as soon as the soil is workable following the winter thaw. If you miss the spring window, don’t worry! Elderberries can also be planted in the fall, ideally at least six weeks before your first expected frost.
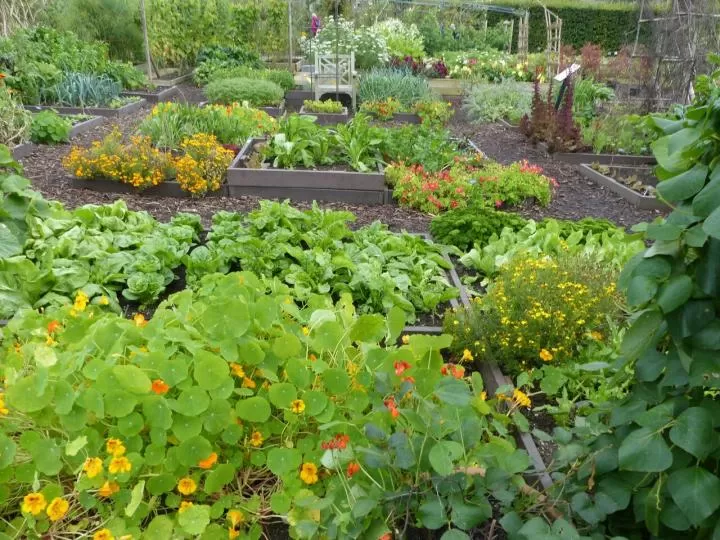
Choose a location that receives ample sunlight – full sun to part shade is ideal. Elderberries tend to be most fruitful when they get at least 6 to 8 hours of bright light each day. According to seasoned grower Christopher Chaisson of Eleven Acre Farm, a spot with some light afternoon shade can be beneficial. Good drainage is important, but elderberries also love consistent moisture, so select a site where the soil stays moist but doesn’t become waterlogged.
To plant, dig a hole roughly twice as wide as your plant’s root ball and slightly deeper. If you’re planting a bare root elderberry, soak the roots in water for 12 to 24 hours before putting it in the ground. For potted plants, water them thoroughly before removing them from their nursery containers to minimize transplant shock. Gently loosen any roots that are circling within the pot.
Amend the soil you removed from the hole with some well-rotted compost or aged manure to enrich the planting site. If planting a bare root bush, create a small mound of soil in the center of the hole to support the plant’s crown. Position the elderberry plant in the hole so the crown sits an inch or two deeper than it was in its nursery pot. Spread out the roots, backfill the hole halfway with your soil mixture, and water well to settle the soil and eliminate air pockets. Then, fill the rest of the hole, gently firming the soil around the base of the plant.
When planting multiple elderberry bushes, ensure adequate spacing – at least 8 feet apart is recommended to allow for good air circulation and future growth. Finish by spreading a 2 to 3-inch layer of organic mulch, like shredded bark or straw, around the base of your new plants. Keep the mulch a few inches away from the stems to prevent moisture-related issues. Trust me, I learned this the hard way myself!
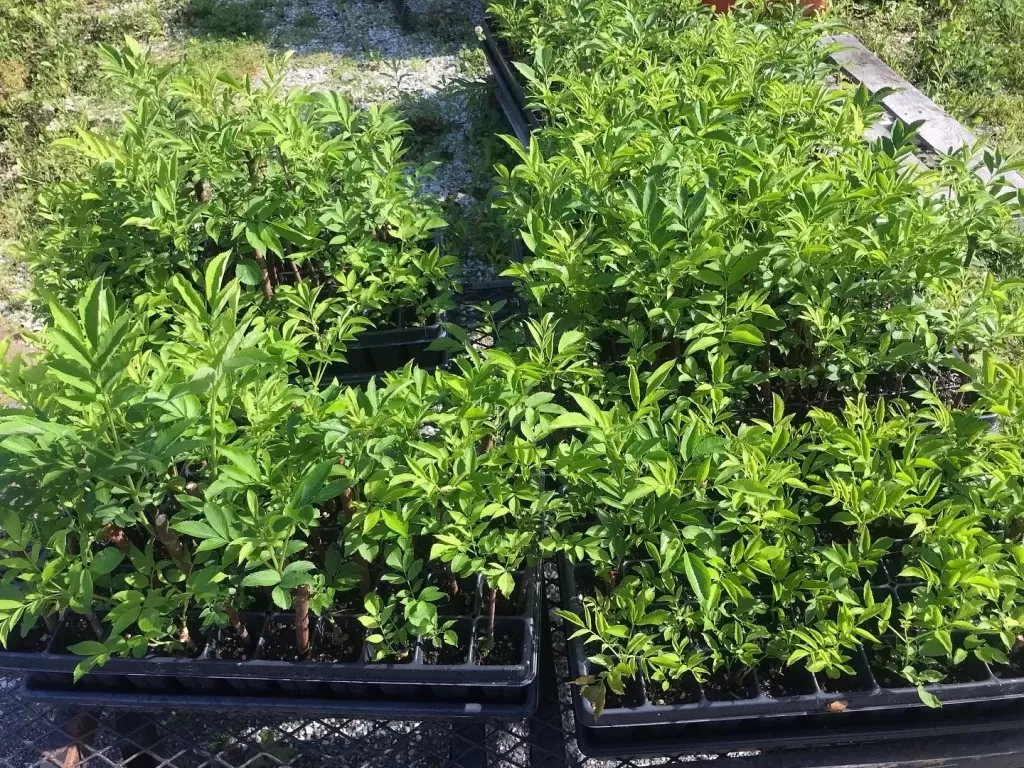 Young elderberry plants being transplanted
How to Grow Elderberry from Seed and Cuttings
While birds happily sow wild elderberry seeds, growing garden varieties from seed is generally unreliable and the resulting plants may not have the desired traits. The most successful way to propagate elderberries is from cuttings – often taken during pruning!
To start new plants from cuttings, take 4 to 6-inch long softwood cuttings from a healthy elderberry bush in the spring using clean pruners. Softwood is flexible and not yet fully woody. Each cutting should have at least two sets of leaf nodes, cut at a 45-degree angle just below a node. Carefully strip off any leaves from the bottom portion of the cutting.
You can root elderberry cuttings in either water or soil. For water propagation, place the prepared cuttings in a clean glass of water, ensuring the nodes are submerged but the leaves stay dry. Put the glass in bright, indirect light and wait for roots to develop. Once roots are at least 2 inches long, transplant the cuttings into pots filled with moist potting mix.
Christopher Chaisson prefers soil propagation, which often leads to stronger roots. Plant the cuttings directly into pots filled with moist potting mix. Keep the pots in bright, indirect light and water regularly to keep the soil consistently moist but never waterlogged. You’ll know your cuttings have successfully rooted when you see new leaf growth emerging and the cutting resists a gentle tug.
Expert Tip: Christopher Chaisson suggests removing any flowers that appear on young elderberry plants during their first two to three years. While it might seem counterintuitive, this directs the plant’s energy into developing a strong root system and framework, leading to larger and more abundant berry harvests in the future!
 Heavy clusters of dark elderberries hanging from a branch
Caring for Your Elderberry Bushes
Elderberry bushes are relatively low-maintenance once established, but providing consistent care will ensure a healthy, productive plant.
Watering Your Elderberry Plants
Elderberries are quite thirsty plants and appreciate consistently moist soil. Young plants will need regular watering, typically about 1 to 2 inches per week, especially during their first one to two years. Established plants are more tolerant of drier spells but will still benefit from supplemental watering during hot, dry weather. Always water at the base of the plant to keep foliage dry and help prevent fungal diseases.
Light Requirements for Fruiting
In their natural habitat, elderberries often grow in the dappled shade of larger trees. However, in a garden setting, they perform best with more light. Aim for a location that provides full sun to part shade. As mentioned earlier, at least 6 to 8 hours of direct sunlight daily is usually necessary for the best fruit production. Too much shade will result in fewer berries.
Soil and Feeding
Elderberries are quite adaptable to different soil types but truly thrive in moist, well-draining soil that’s slightly acidic, with a pH between 5.5 and 6.5. If your soil is heavy clay or lacks organic matter, amending it generously with compost before planting will significantly improve drainage and fertility.
Once planted, elderberries aren’t heavy feeders. A single annual application of fertilizer in early spring is usually sufficient. Use a balanced organic fertilizer or simply top-dress the soil around the plant with a layer of compost. Avoid over-fertilizing, as this can lead to excessive leafy growth at the expense of flowers and fruit.
Gardener’s Insight: Christopher Chaisson points out that while elderberries can tolerate consistently moist soil, they really struggle in dense clay that becomes compacted and waterlogged. If you have heavy clay, improving it with compost is essential for success.
Pruning Elderberry Bushes
Pruning elderberries is optional but can help maintain plant shape and encourage more fruit production. Elderberries produce most abundantly on new growth (one-year-old wood). The best time to prune is in late winter or early spring while the plant is dormant.
Remove any dead, damaged, or weak stems at the base. You can also prune away suckers that emerge from the roots. To encourage renewal and bigger berries, you can selectively prune out some of the older, less productive canes, cutting them back to the ground. Aim to leave a mix of one, two, and three-year-old canes. You can also trim back the tips of canes by up to one-third to reshape the bush.
Pollination for a Better Harvest
While some elderberry varieties are self-pollinating, most common cultivars benefit greatly from cross-pollination. To ensure a good harvest, it’s highly recommended to plant at least two different, compatible elderberry varieties near each other. Bees and other pollinators will do the rest of the work, transferring pollen between the flowers. Make sure the varieties you choose are known to be good pollinators for each other!
Growing Tip: Elderberries have shallow root systems that can struggle against aggressive weeds. Keeping the area around your bushes clear of weeds is crucial. A layer of mulch is a great help in suppressing weeds and retaining soil moisture.
Managing Pests and Diseases
Elderberries are generally quite resilient, but they can occasionally face issues with pests like aphids, mealybugs, scale, voles, deer, and borers. Diseases like powdery mildew can also occur.
Implementing an integrated pest management (IPM) strategy is the most sustainable approach. This involves monitoring plants regularly, encouraging beneficial insects, and using targeted treatments only when necessary. For larger pests like deer, tall fencing is often the most effective deterrent. Loose tree guards can protect young stems from voles. Companion planting with strongly scented herbs or flowers can sometimes help deter insect pests.
Powdery mildew, a fungal disease, appears as white, powdery patches on leaves. It’s often caused by poor air circulation and high humidity. Watering the plants at the base rather than overhead and ensuring proper spacing between plants can help prevent it.
One pest I’ve personally encountered is the elderberry borer, which tunnels into the stems, leaving behind sawdust and causing canes to die back. The best defense against borers is prevention: purchase healthy plants from reputable sources and prune out and destroy any affected canes promptly during the dormant season.
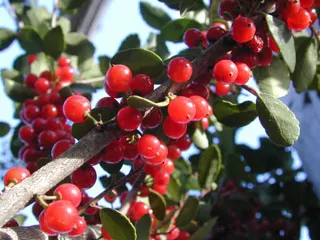
 A close-up of fresh, dark elderberries on the bush, ready for picking
Harvesting Your Delicious Elderberries
The journey from delicate white elderflowers to plump, dark berries is one of the most rewarding parts of growing elderberries. Elderflowers, which appear from early to mid-summer, can be harvested sparingly for culinary uses or crafts. Remember, every cluster of flowers is a potential cluster of berries, so don’t take too many if your goal is fruit!
The berries mature from green to red and finally to a deep purple or black color, depending on the variety. Harvesting typically occurs from July through September. Christopher Chaisson advises harvesting when the clusters (called umbels) are heavy with berries, drooping downwards, have turned their mature color (usually dark purple to black), and the berries feel slightly soft.
Harvest the entire berry cluster by snipping the stem with pruners. Once harvested, the next step is separating the berries from the stems. This can be a bit tedious, but it’s important because elderberry stems, leaves, and roots are toxic. One clever method Christopher suggests is using a piece of stainless steel hardware cloth (like 1/2 to 5/8 inch mesh) to rub the berries off the umbels into rinse water. Alternatively, you can freeze the entire berry-filled umbels; once frozen, the berries become easier to separate by tumbling or sifting them through a screen.
Fresh elderberries are quite perishable and also tart, so they are rarely eaten raw. It is crucial to note that raw elderberries are toxic and must be cooked thoroughly before consumption. They are traditionally used to make cooked syrups, jams, jellies, pies, sauces, or even wine. If you have a large harvest, freezing or dehydrating the berries allows you to preserve them for later use. Dried elderberries also require cooking before use.
Foraging Note: While growing elderberries in your garden is safest, wild elderberries can sometimes be foraged. Wild berries are often smaller and less sweet than cultivated ones. If you choose to forage, always use a reliable plant identification guide to correctly identify elderberries and avoid look-alikes, as some toxic plants have similar-looking berries.
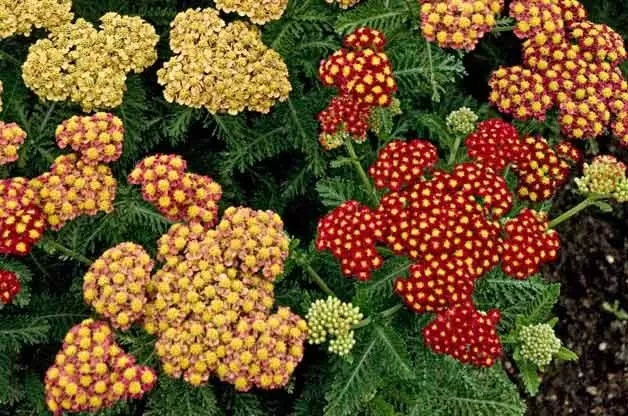
 Ornamental elderberry variety 'Black Lace' with dark foliage and pink flowers
Popular Elderberry Varieties to Explore
The two main species commonly grown are American elderberry (Sambucus canadensis) and European elderberry (Sambucus nigra). Within these species, many popular cultivars offer different traits regarding fruit production, growth habit, and ornamental appeal.
If your primary goal is harvesting delicious fruit, consider these reliable varieties:
- ‘Adams’: A classic, highly productive variety known for its large clusters of dark berries.
- ‘York’: Another vigorous grower that produces a heavy yield of flavorful berries.
- ‘Nova’: An earlier-fruiting variety, great if you’re eager for a quicker harvest.
For those interested in supporting local ecosystems and attracting pollinators, look for elderberry varieties native to your specific growing region.
Elderberries aren’t just for eating; many varieties are also stunning ornamental plants perfect for adding drama and texture to the landscape:
- ‘Black Lace’: A favorite for its deeply cut, dark purple-black foliage, resembling Japanese maple leaves, and contrasting pinkish-white flowers. It’s perfect for adding a “goth garden” or dramatic element.
- ‘Black Beauty’: Similar to ‘Black Lace’ with striking dark foliage and fragrant pink flowers, making a bold statement in borders or as a specimen plant.
- ‘Lemony Lace’: Offers fantastically bright, chartreuse to golden-yellow leaves, bringing vibrant color and fine texture to the garden.
 Elderberries on a bush covered with a protection bag to deter birds
Frequently Asked Questions About Elderberry Bush Care
What do elderberry plants look like?
Elderberry plants are typically multi-stemmed, deciduous shrubs ranging from 8 to 10 feet tall and wide. They have compound leaves with pointed, serrated leaflets. In early summer, they are covered in large, flat-topped clusters of creamy white, often fragrant flowers. These flowers develop into drooping clusters of small, dark red to purple-black berries in late summer or fall.
Where can I buy elderberry plants?
You can find bare root elderberry plants from many online nurseries and mail-order catalogs during the dormant season (late winter/early spring). Potted elderberry plants are commonly available at local garden centers and nurseries, especially in the spring and early summer.
How long does it take for an elderberry bush to produce fruit?
Elderberry bushes typically take about 2 to 3 years after planting to start producing a significant harvest of berries. While you might see a few flowers or berries in the first year, it’s best to prune them off (as recommended earlier) to encourage the plant to focus on developing a strong root system for future, more abundant yields.
Growing your own elderberries is a deeply satisfying process, connecting you with nature’s cycles and providing you with a bounty of versatile fruit. With the right location and consistent care, your elderberry bushes will flourish, offering beautiful blooms, valuable wildlife habitat, and delicious berries for years to come.
What are your favorite ways to use elderberries? Share your recipes or growing tips in the comments below! And be sure to explore other helpful guides on Thelittle.garden for more ideas to make your garden dreams a reality.