- Creeping Phlox is low-maintenance and pest-resistant, making it ideal for container gardening
- Provide well-draining soil with a pH of 6.0-8.0 and at least 6 hours of sunlight daily
- Water weekly and fertilize twice a year with a balanced 10-10-10 fertilizer
- Can be grown from seeds, cuttings, or division in containers
- Thrives in USDA zones 5-9 with temperatures between 68-95°F
Creeping Phlox (Phlox subulata) is a charming perennial ground cover that can bring a fairytale-like touch to any garden or patio. While traditionally grown in the ground, this versatile plant adapts beautifully to container gardening with the right care. Let’s explore how to successfully grow this vibrant beauty in containers.
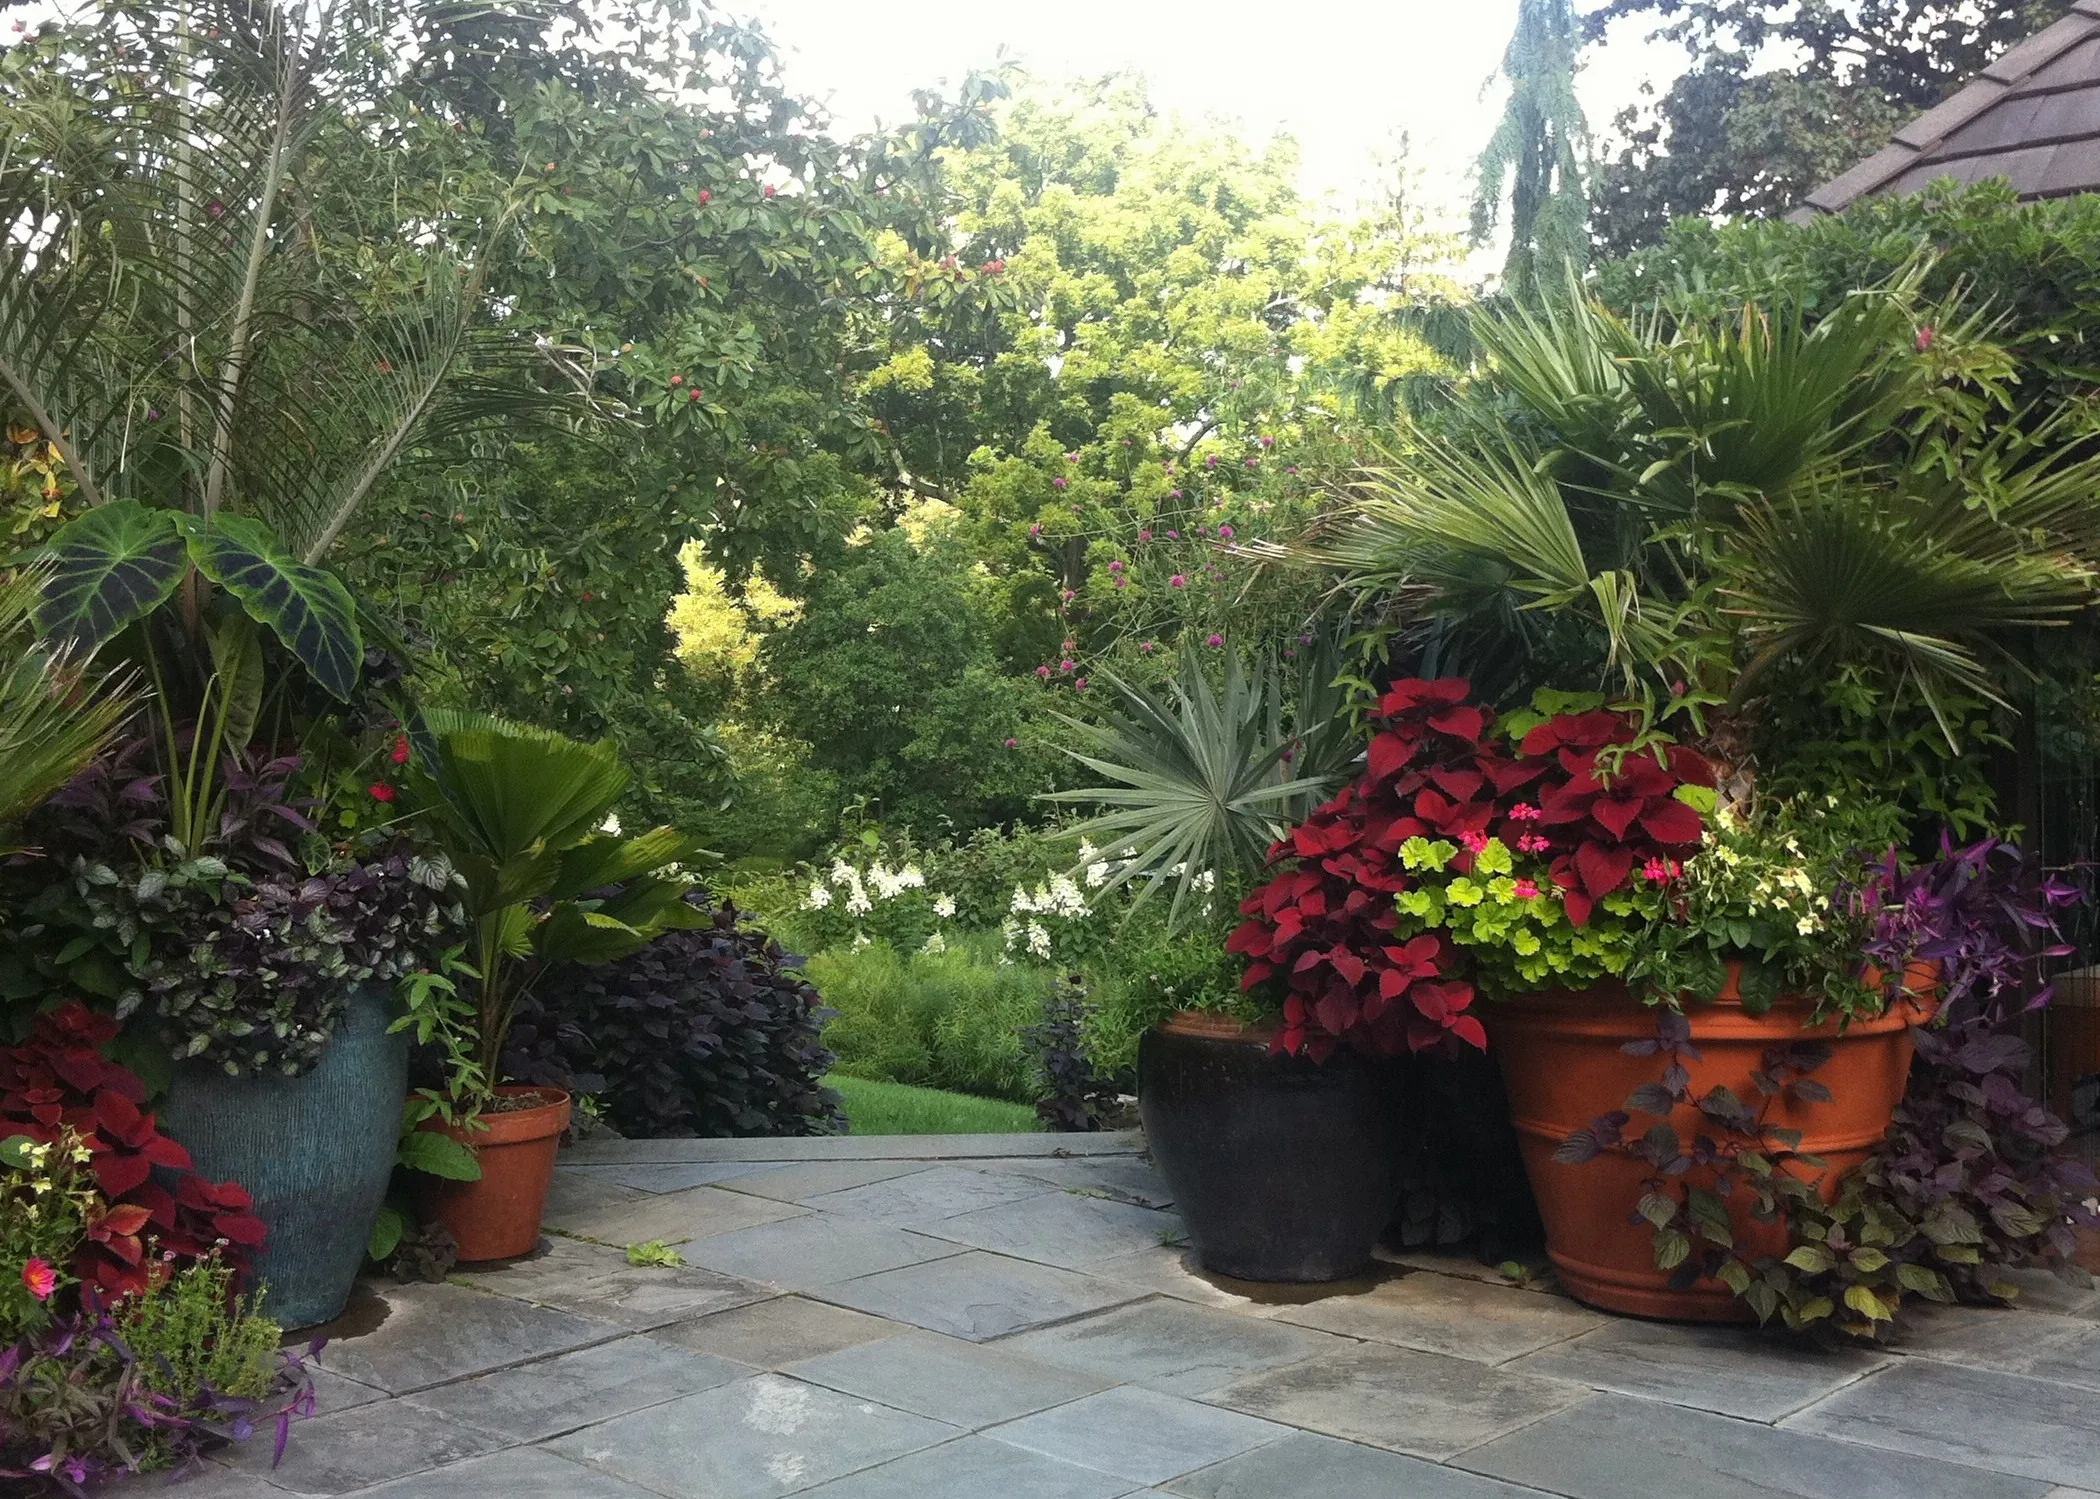
 If you want a fairy tale-like touch in your home, try creeping phlox
Understanding Creeping Phlox Basics
Before diving into container planting methods, it’s crucial to understand the basic needs of Creeping Phlox:
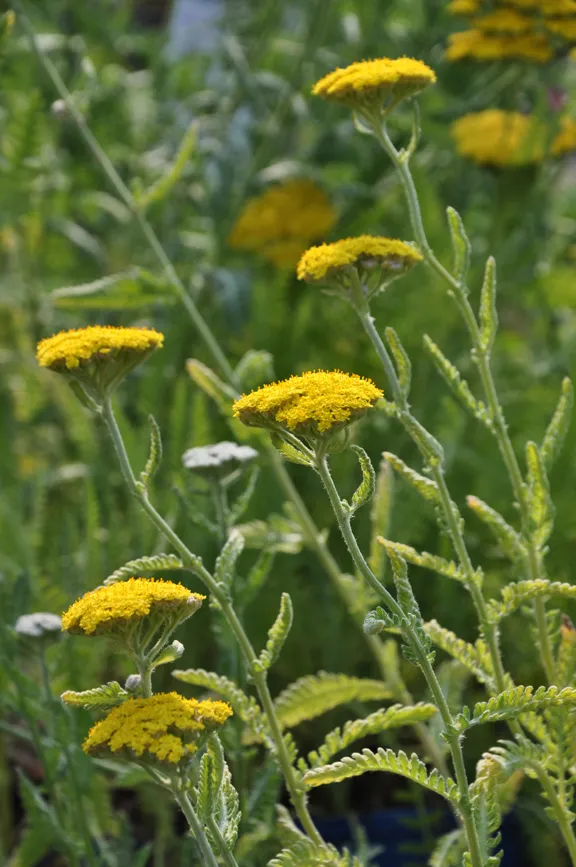
 This type of ground cover plant produces a thick layer of blossoms, and their colors are adorably charming.
- Hardiness: USDA zones 5-9
- Temperature: Prefers 68-95°F, tolerates down to 40°F
- Soil: Well-draining, rich in organic matter, pH 6.0-8.0
- Watering: Once a week, adjusting for weather conditions
- Sunlight: Full sun, at least 6 hours daily
- Fertilizer: Twice yearly with balanced 10-10-10 liquid fertilizer
With these basics in mind, let’s explore three methods to plant Creeping Phlox in containers.
Method 1: Growing Creeping Phlox from Seeds
Step 1: Start Seeds Early
Begin planting seeds about six weeks before the last frost date. Use small pots with light potting soil, water thoroughly, and enclose in plastic bags until sprouting begins.
 Creeping Phlox can thrive without much attention. You can often find them flourishing alongside woodlands and shady river banks.
Step 2: Proper Spacing
Space seedlings at least 6 inches apart to prevent overcrowding. Keep soil consistently moist but not waterlogged.
 Phlox doesn't really need watering every day. Once a week should suffice.
Step 3: Provide Sunlight
Once sprouts emerge, remove the plastic and place pots on a sunny windowsill. Ensure soil temperature remains above 65°F.
 This perennial plant loves full sun and requires at least 6 hours of exposure daily.
Step 4: Transplant to Larger Containers
After the last frost, transplant young phlox to larger containers, spacing plants 15 inches apart. Use all-purpose potting soil and water generously.
 Its hardiness zone is USDA 5 to 9.
Method 2: Propagating Creeping Phlox from Cuttings
Step 1: Select Healthy Parent Plants
Choose vigorous, disease-free plants for taking cuttings. Opt for softwood cuttings from new growth in late spring to early summer.
 Creeping Phlox thrives in temperatures ranging from 68 to 95 °F. It can tolerate cold temperatures as low as 40°F, but not below that.
Step 2: Prepare Cuttings
Using sterilized shears, cut 4-6 inch stems just below a leaf node. Remove lower leaves and dip the cut end in rooting hormone if desired.
 It requires fertilizer twice a year, ideally in early spring and before summer.
Step 3: Plant and Care for Cuttings
Insert cuttings into moist potting mix, keep in bright indirect light, and maintain humidity. Roots typically form within a few weeks.
 Feed them with water-soluble liquid fertilizer with a balanced NPK ratio (10-10-10)
Method 3: Dividing Existing Creeping Phlox
Step 1: Choose the Right Time
Divide phlox in spring or fall when the plant is not actively growing.
 Creeping Phlox prefers soil rich in organic matter with a pH level between 6.0 and 8.0.
Step 2: Divide the Plant
Carefully dig up the entire plant, shake off excess soil, and cut through the roots to create smaller sections.
Step 3: Replant Divisions
Plant divisions in containers with well-draining soil, spacing them 12-18 inches apart in larger pots or one division per smaller container.
Caring for Container-Grown Creeping Phlox
-
Watering: Keep soil consistently moist but not waterlogged. Water deeply once a week, adjusting for rainfall and temperature.
-
Fertilizing: Apply a balanced liquid fertilizer in early spring and mid-summer to promote healthy growth and abundant blooms.
-
Pruning: Trim back after flowering to maintain shape and encourage bushier growth.
-
Winter Care: In colder regions, provide extra protection by moving containers to a sheltered area or wrapping them in insulating materials.
Conclusion
Growing Creeping Phlox in containers opens up a world of possibilities for adding vibrant color and texture to any outdoor space. Whether you choose to start from seeds, cuttings, or divisions, this versatile plant adapts well to container life with proper care and attention.
Remember to provide well-draining soil, ample sunlight, and consistent moisture to enjoy a stunning display of blooms year after year. With these tips in hand, you’re well on your way to creating a beautiful container garden featuring the charming Creeping Phlox.
 Happy garden! Which Creeping Phlox variety is your favorite?
Which Creeping Phlox variety are you excited to try in your container garden? Share your experiences and questions in the comments below!