Here are the key takeaways for multiplying your bromeliad collection:
- Bromeliads are monocarpic, meaning they flower once and then decline.
- Before fading, they produce “pups” or offsets, which are baby plants.
- Separating these pups allows you to grow new, healthy bromeliads.
- Wait until pups are about one-third the size of the parent before separating.
- A clean, sharp, sterile cut is essential for successful propagation.
- Pups can be planted in pots, directly in the ground, or attached to trees.
Have you fallen under the spell of bromeliads? It’s easy to do! Their vibrant colors, unique textures, and often architectural forms bring a touch of the tropics to any space. But as much as we love their stunning blooms, there’s a bittersweet truth: most bromeliads are monocarpic. This means they flower just once in their lifetime, and afterward, the parent plant slowly begins to die back. It can feel like the end, but it’s actually the beginning of a new generation! Before the parent plant completely fades, it dedicates its last energy to producing “pups,” or baby bromeliads, that grow from its base. These pups are your ticket to ensuring your bromeliad journey continues and your collection expands. Learning how to separate bromeliad pups is a simple skill that unlocks a world of new plants.
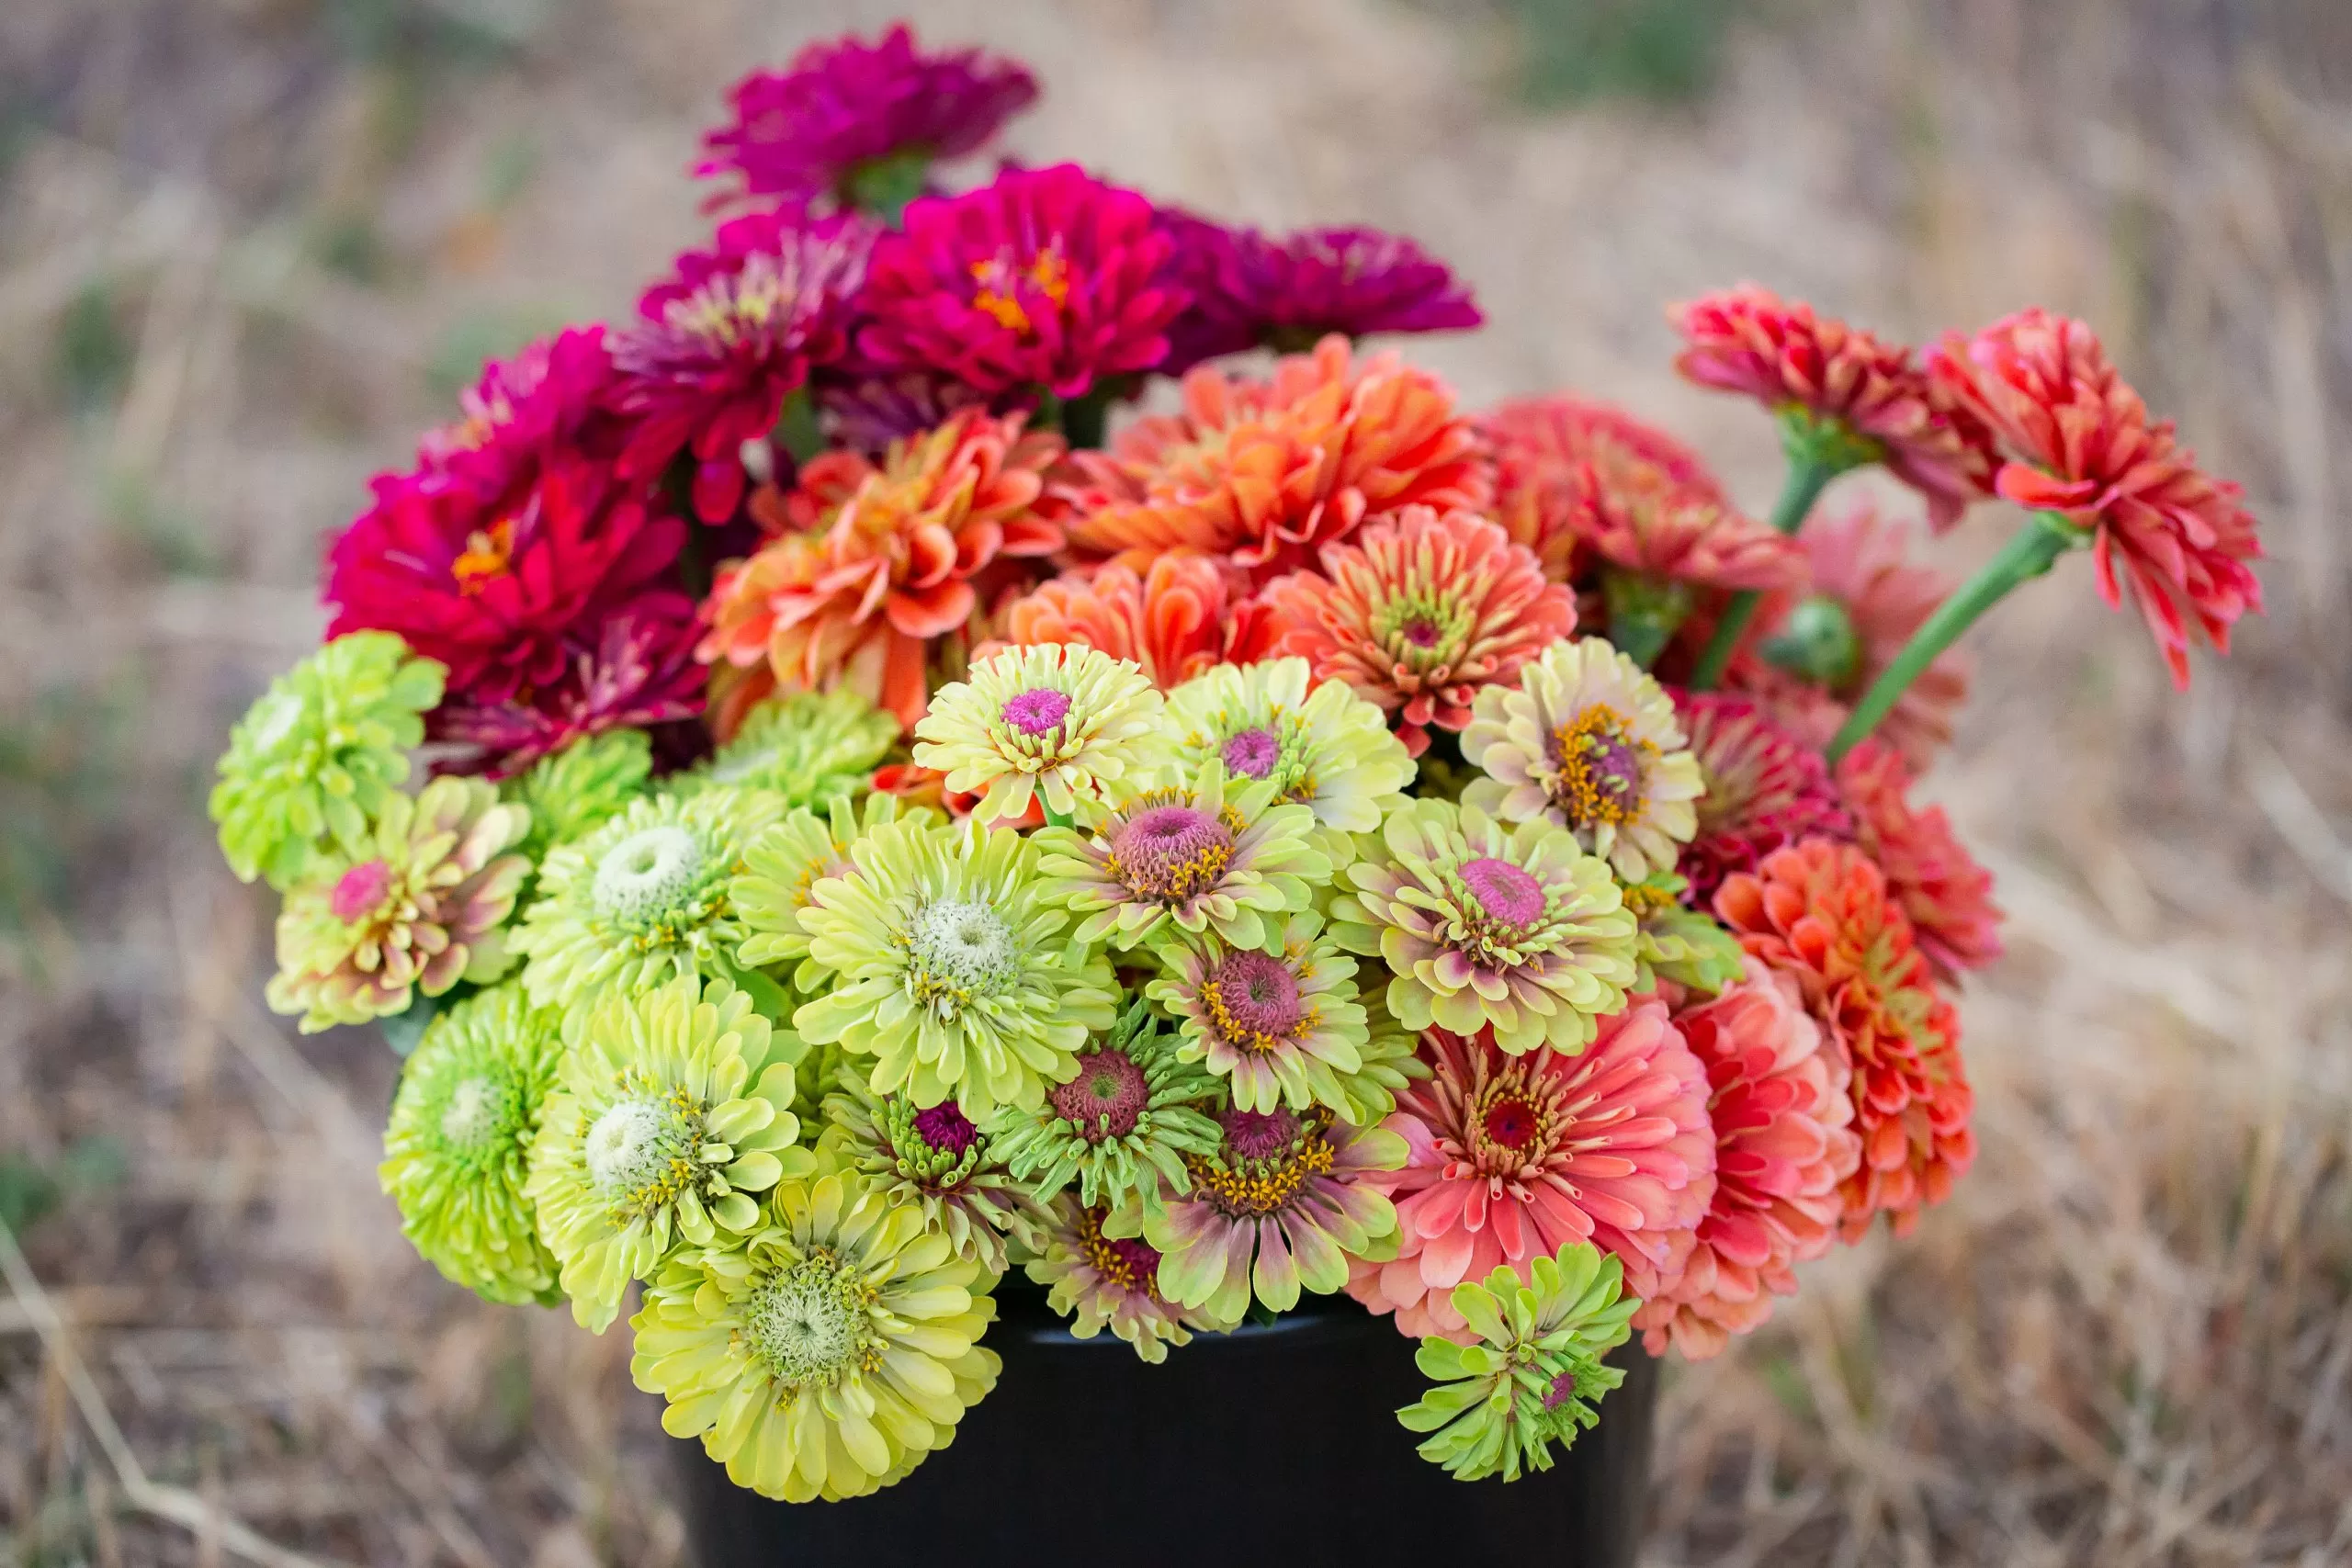
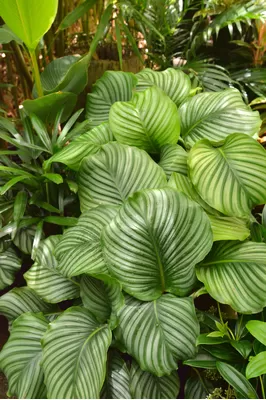
 A vibrant collection of colorful bromeliads showcasing their diverse forms.
Contents
- What Exactly Are Bromeliad Pups?
- When is a Bromeliad Pup Ready to Leave Home?
- Gather Your Supplies
- Step-by-Step Guide to Separating Bromeliad Pups
- Locate the Pup
- Make a Clean Cut
- Prepare the Pup for Planting (Callusing)
- What to Do After Separating: Planting Your New Bromeliad
- Planting in a Pot or Ground
- Attaching to a Tree or Mount
- Caring for Your Newly Planted Pup
- Watering
- Light Requirements
- General Care Tips
- Conclusion
What Exactly Are Bromeliad Pups?
Think of pups as clones of the parent plant. They emerge from the base or rhizome of the mature bromeliad after it has bloomed. Initially, they might look like small buds, but they gradually grow into miniature versions of the adult plant, developing their own leaves and eventually, their own roots. These roots aren’t always for soaking up vast amounts of nutrients from the soil; for many epiphytic (air plant) types of bromeliads, the roots primarily serve to anchor the plant securely to a surface, like tree bark or rocks. This is a fascinating adaptation that allows them to thrive in diverse environments!
When is a Bromeliad Pup Ready to Leave Home?
Patience is a virtue when it comes to separating bromeliad pups. While you’ll see tiny “embryos” forming early on, attempting to remove them too soon can result in failure. A good rule of thumb is to wait until the pup is at least one-third to one-half the size of the original parent plant. At this stage, the pup has usually developed enough size and stored energy to survive independently. You’ll also likely see the beginnings of its own root system. Waiting ensures a higher success rate and a healthier start for your new plant. The parent plant may look like it’s seen better days, perhaps faded or browning, but this is a natural part of its life cycle as it nourishes its offspring.
 Developing bromeliad pups of various sizes growing at the base of a parent plant.
Gather Your Supplies
Before you begin, make sure you have the right tools. You’ll need:
- A sharp knife or pruners.
- Ensure your tool is clean and sterilized (you can wipe it with rubbing alcohol or a bleach solution) to prevent transmitting diseases.
Step-by-Step Guide to Separating Bromeliad Pups
With your tools ready and your pup the appropriate size, it’s time for the exciting part – propagation!
Locate the Pup
Look closely at the base of the parent plant. You’ll find the pup(s) growing there. Identify where the pup is attached to the mother plant or its rhizome.
 A mature bromeliad past flowering with a large, ready-to-separate pup visible at the base.
Make a Clean Cut
Using your sterile knife or pruners, carefully make a clean cut to separate the pup from the parent plant. Try to get as close to the parent plant as possible without damaging the pup. Sometimes, it might feel easier to cut away the dying parent material from the pup rather than cutting the pup off. If you can manage to get a small piece of the parent’s rhizome or a few original roots attached to the pup, that’s a bonus, but don’t worry if you can’t. The most important thing is a clean separation.
 Using a sterile knife to carefully cut a bromeliad pup away from the dying parent plant.
 Freshly separated bromeliad pup showing the clean cut surface.
Prepare the Pup for Planting (Callusing)
After separating, it’s a good idea to allow the cut surface of the pup to “callus over.” This drying process helps prevent rot and fungal infections when you plant it. Simply leave the pup in a dry, airy spot away from direct sunlight for 1-2 days until the cut end feels dry and slightly hardened. You can gently wash off any old soil from the pup’s base before letting it callus if needed.
 A healthy bromeliad pup with a callused cut end, ready for planting or mounting.
What to Do After Separating: Planting Your New Bromeliad
Once your bromeliad pup has callused, it’s ready for its new home! You have a couple of options depending on the type of bromeliad and your preference.
Planting in a Pot or Ground
If your bromeliad is typically grown in soil, choose a pot with good drainage and use a well-draining potting mix (like an orchid mix or a blend of potting soil, perlite, and bark). Plant the pup so that the base, where the leaves meet the roots (the root crown), is just at or slightly above the soil surface. Avoid burying the pup too deeply, as this can lead to rot. The leaves should sit above the soil line.
 Planting a bromeliad pup in a pot, ensuring the root crown is near the surface.
Attaching to a Tree or Mount
Many bromeliads are epiphytes and thrive when attached to surfaces like tree branches, logs, or cork bark. Choose a spot where the pup’s roots can eventually grip the surface. You can use pieces of nylon stocking, wire, or plastic zip ties to firmly secure the pup in place initially. Make sure the pup is stable and won’t wobble, as movement can prevent roots from attaching. Avoid wrapping ties too tightly around the pup itself, focus on securing the base to the mount.
 Attaching a bromeliad pup to a tree branch using zip ties.
Caring for Your Newly Planted Pup
After planting or mounting, give your new bromeliad a good watering. If potted, water the soil thoroughly to help it settle around the roots and eliminate air pockets. For all types, make sure the central “tank” (the cup formed by the leaves) is filled with fresh water.
 A newly potted bromeliad pup after watering.
Watering
Bromeliads appreciate consistently moist conditions within their tank, but many dislike soggy soil, especially after being newly planted. Keep the central cup filled with water, flushing and refilling it every few weeks to prevent stagnation. Water the soil only sparingly, allowing it to dry out between waterings.
Light Requirements
Understanding your specific bromeliad variety is key. A simple visual cue can help:
- Soft, flexible leaves: These varieties often prefer shadier conditions or filtered light.
- Stiff, thick, waxy, or thorny leaves: These types are usually more tolerant of brighter, direct sunlight.
General Care Tips
Bromeliads are wonderfully resilient plants, quite forgiving once they are established in the right location. Provide them with appropriate light, keep their central tank filled, and avoid overwatering the potting medium, and your new pups should thrive and grow, eventually maturing to produce their own stunning blooms and, yes, more pups!
Conclusion
Separating bromeliad pups is a rewarding way to continue the life cycle of these incredible plants and effortlessly expand your own green collection. It transforms the end of one plant’s flowering journey into the beginning of several new ones. By following these simple steps, you can confidently propagate your favorite bromeliads and fill your home or garden with their unique beauty. Have you successfully separated bromeliad pups before? Share your experiences or ask your questions in the comments below! Happy propagating, and explore more gardening tips on our site!