- Discover how relaxing and fun finger knitting can be.
- Create a beautiful, unique hanging plant holder for your home.
- Add a touch of handmade charm and vibrant greenery to any space.
- Find simple, step-by-step instructions suitable for crafters of all levels.
There’s something truly special about bringing the outdoors in, isn’t there? Plants breathe life into our homes, adding color, texture, and a sense of calm. And displaying them in creative ways makes the experience even more rewarding. If you’ve been looking for a unique way to showcase your favorite houseplants or perhaps finally use that sunny window spot, crafting your own hanging plant holder is a fantastic idea. Forget complex macrame knots or expensive store-bought options – we’re going to explore the delightful world of finger knitting to create a charming, sturdy holder for your potted friends. It’s easier than you think and incredibly satisfying!
Contents
- Why a DIY Plant Holder?
- Finger Knitting: A Relaxing Craft for Your Home
- Gather Your Supplies
- Step-by-Step Guide to Your New Plant Holder
- Getting Started: Finger Knitting the Strands
- Attaching to the Ring
- Arranging the Strands
- Creating the Upper Basket Section
- Making the Crossing Knots
- Forming the Basket Base
- Adding the Finishing Touches
- Adjusting Your Hanger for a Perfect Fit
- Caring for Your Hanging Plant
- Conclusion
Why a DIY Plant Holder?
Choosing to make your own plant holder goes beyond just saving a few dollars. It’s about injecting personality into your decor, the pride of saying “I made that!”, and the simple joy of working with your hands. A handmade item carries a story, a unique energy that store-bought goods simply can’t replicate. This finger-knit version adds a cozy, tactile element that perfectly complements the natural beauty of plants.

Plus, hanging plants are incredibly versatile. They free up surface space, can add vertical interest to a room, and allow you to place plants closer to light sources like windows. A custom-sized plant holder ensures a perfect fit for your favorite pot.

Finger Knitting: A Relaxing Craft for Your Home
If the idea of knitting needles gives you pause, relax! Finger knitting requires absolutely no tools other than your own hands. It’s a rhythmic, calming activity that’s easy to pick up, even for complete beginners. This technique transforms simple yarn into thick, cord-like strands perfect for macrame-style knots. It’s so simple, even kids can join in the fun, making this DIY project a wonderful family activity. Imagine creating something beautiful together that will brighten your home!
Gather Your Supplies
Before you begin knitting, collect all the necessary materials. Having everything ready will make the process smooth and enjoyable.

- Approximately 175 yd (160m) of sportweight linen yarn (you can use other strong yarns, but linen provides nice drape and durability)
- One 2″ (5cm) unfinished wooden ring (optional, you can also create a loop from the yarn)
- Four 25mm unfinished wooden beads with a 10mm hole
- Eight 25mm unfinished wooden beads with a 4mm hole (you may want extra for decoration)
- Wire, for threading beads (optional, but helpful)
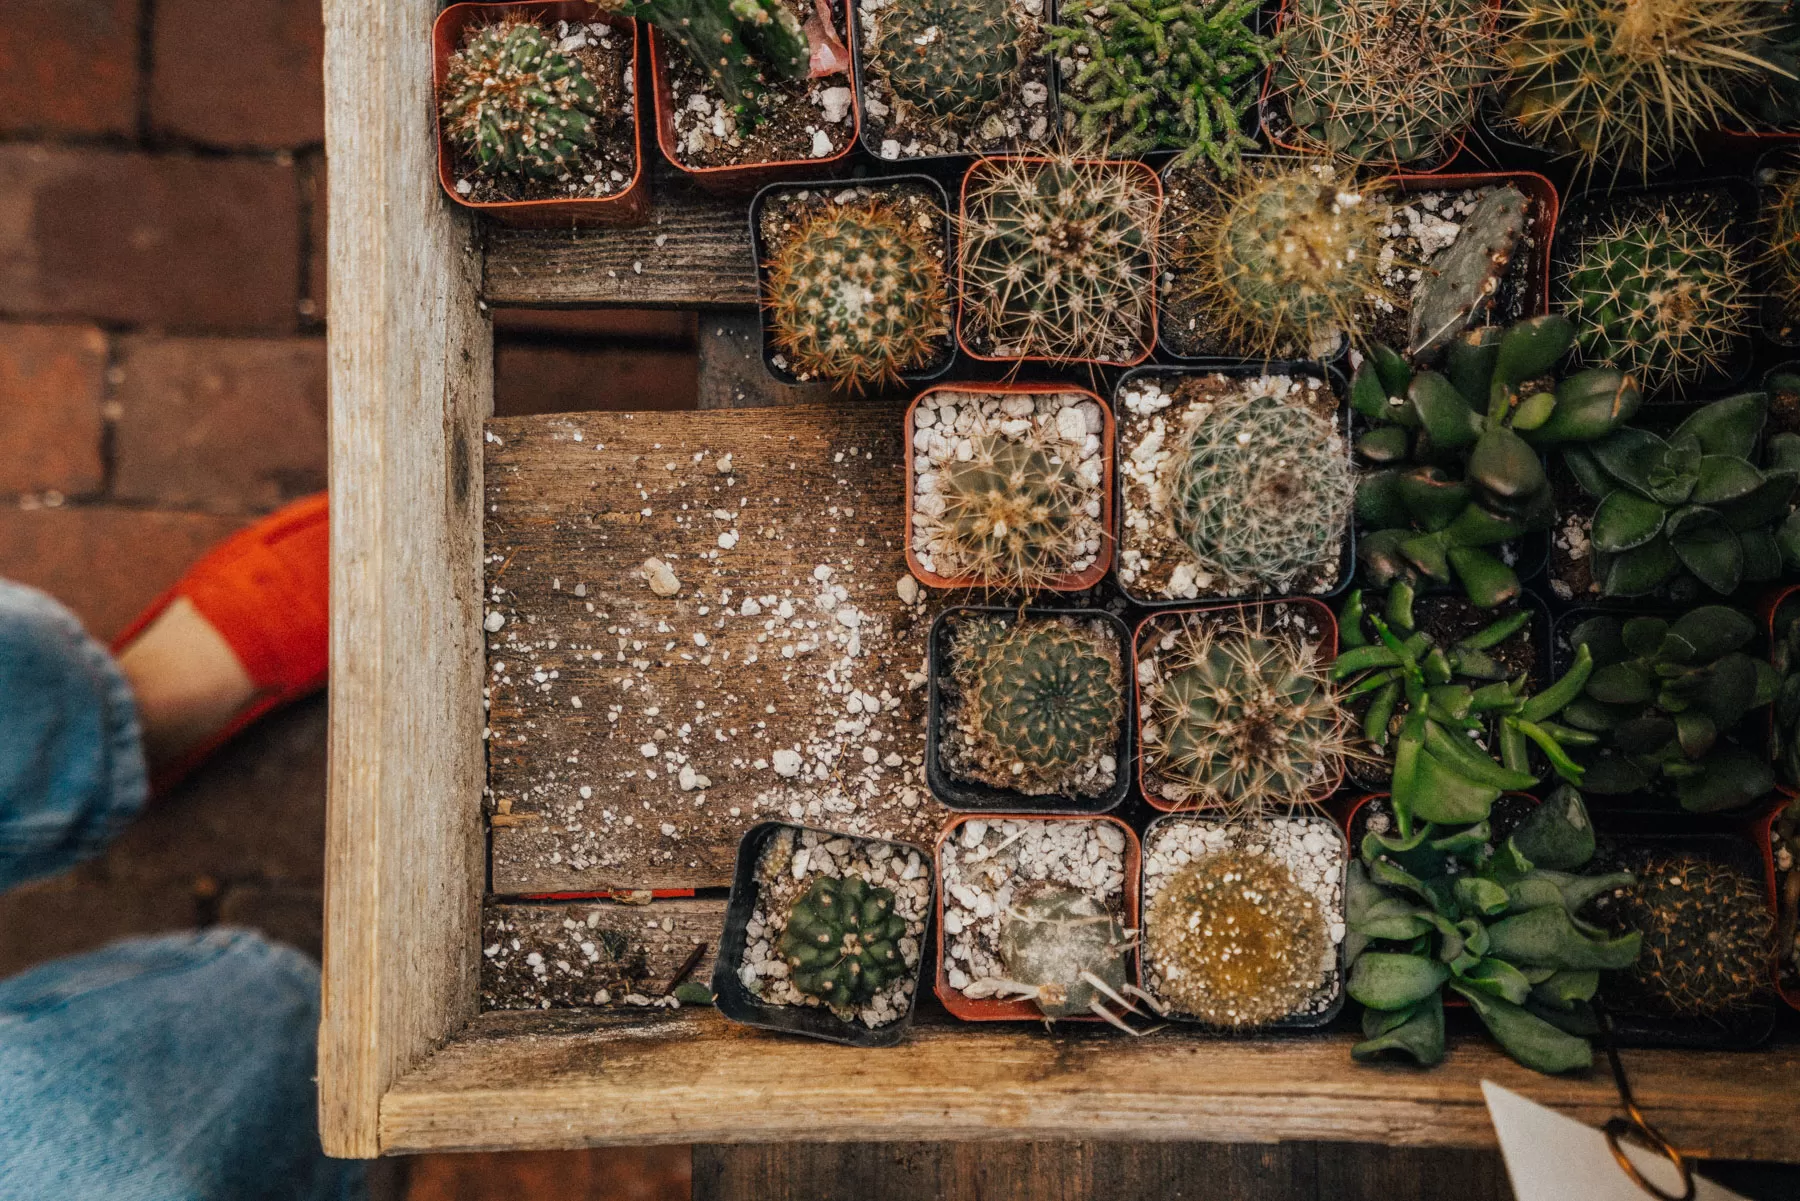
- Your chosen succulent plant and pot (this design works well for a pot approximately 8″ wide and 6″ tall)
For the yarn, the original project used Louet Euroflax in two colors (Terra Cotta and Sunrise) for a total of approximately 270 yd (246m) per color. Using contrasting or complementary colors can add visual interest to your finished plant holder.
Step-by-Step Guide to Your New Plant Holder
Creating your finger knit plant holder is a straightforward process broken down into simple steps. Take your time and enjoy the making!
Getting Started: Finger Knitting the Strands
You’ll need to create four long, thick strands using your fingers. Finger knit two four-finger strands in one color (Color A) and two strands in another color (Color B). Aim for each strand to measure about 3 1/3 yards (3.1 meters). Once you reach the desired length, bind off each strand securely.
Attaching to the Ring
Take each of your four knitted strands and fold it in half.

Thread the folded end of each strand through your wooden ring. Bring the tail ends through the loop created by the fold. This secures the strand to the ring. If you don’t have a wooden ring, simply tie a knot at the fold, leaving a 4″ (10cm) loop at the top for hanging. After this step, you should have eight individual yarn tails hanging from the loop or ring, ready to form your plant holder.

Arranging the Strands
Arrange the eight strands so they hang down from the ring without getting too twisted. Divide these strands into four groups of two. For a lovely visual effect, try to pair one strand of Color A with one strand of Color B in each group, as shown in the original project.

Creating the Upper Basket Section
Now it’s time to add the first set of decorative beads and knots that will help form the cradle for your pot. Take one of the large-holed wooden beads and string it onto each of the four sets of two strands. Next, tie a knot on each set of strands. These knots should sit 18″ to 24″ (45.5cm to 61cm) down from the wooden ring, with the bead resting just above the knot. Try to make the knots relatively consistent in height across all four sets.

Making the Crossing Knots
To create the lattice pattern that forms the basket shape of the plant holder, you’ll tie a new set of knots. Measure down about 3 1/2″ (9cm) from the previous set of knots. Now, take one strand from one two-strand set and tie it together with one strand from the adjacent two-strand set. Work your way around, making four new knots in total. This process creates four new sets of strands, where each set now consists of one strand from a different original group.

After making these crossing knots, each of your new two-strand sets should consist of strands of different colors if you followed the two-color pattern initially. Again, ensure these knots are at a similar height.

Repeat the crossing knot process once more. Measure down another 3 1/2″ (9cm) from the last set of knots. Take one strand from a current two-strand set and knot it with one strand from the adjacent set. This will bring the strands back into their original color pairings (one of each color per set) if you started that way. Keep the knot heights consistent.

Forming the Basket Base
Measure down about 3″ (7.5cm) from the last set of crossing knots. Gather all eight strands together and tie one large, secure knot. This large knot will form the base that supports the bottom of your plant pot.

It’s a good idea at this point to test the hanger with your empty pot. You can gently slide the pot into the basket and see how it sits. If the basket seems too shallow or too deep, you can slightly adjust the heights of the knots you’ve made (especially the upper knot set and the large bottom knot) to get a better fit for your specific pot size.
Adding the Finishing Touches
Once you are happy with the fit of the basket, it’s time to finish the bottom strands. Cut the eight bottom strands at varying lengths below the large gathering knot for a cascading effect. Weave in any loose ends near the large knot to keep things tidy.

Finally, thread and knot the smaller wooden beads (the ones with 4mm holes) onto the end of each individual finger-knitted strand. If you have difficulty threading the beads, a small piece of wire can be bent into a loop to help pull the yarn through. Once the beads are added, double-check your knots and the spacing, place your potted plant carefully into the hanger, and make any final small adjustments.
Adjusting Your Hanger for a Perfect Fit
This pattern is designed to accommodate a pot that is roughly 8″ (20.5cm) wide and 6″ (15cm) tall, but it’s easily adjustable. The key is the distance between the first set of knots (the ones with the large beads) and the large gathering knot at the bottom. This space should cradle the pot. Aim for this distance to be approximately 1″ to 2″ (2.5cm to 5cm) greater than the height of your pot. Don’t be afraid to loosen and retie knots slightly as you test the fit with your actual pot.
Caring for Your Hanging Plant
Once your beautiful new plant holder is complete and your plant is nestled inside, remember to consider its needs. If you’re using a succulent, as suggested in the original idea, you’re in luck! Succulents are famously low-maintenance, needing minimal water and care. This makes them ideal for hanging, as you won’t need to take the pot out very often. Always ensure you use a pot with drainage holes and water thoroughly, allowing excess water to drip away before hanging it back up. Position your hanging plant holder in a spot that receives the right amount of light for your specific plant species.
Conclusion
Creating a handmade hanging plant holder using the simple technique of finger knitting is a wonderful way to add a personal touch to your home decor and bring the refreshing beauty of plants into your living space. This project is not only easy and relaxing but also results in a unique and functional item that you’ll be proud to display. It’s a tangible reminder of the joy of crafting and the simple pleasure of nurturing greenery.
Have you tried making a plant holder before? What’s your favorite way to display your houseplants? Share your thoughts and photos in the comments below! If you enjoyed this tutorial, please share it with your fellow plant and craft lovers. And be sure to explore other articles on The Little Garden for more inspiration on bringing green joy into your life.

