- Learn how to create a beautiful and functional hanging plant holder using simple finger knitting.
- This project is relaxing, easy enough for beginners (even kids!), and uses minimal materials.
- Add a unique, handmade touch to your home decor and give your favorite plants a stylish lift.
- Discover tips for choosing the right plant and adjusting your creation for a perfect fit.
There’s something incredibly satisfying about bringing greenery into your home. Plants add life, color, and a sense of tranquility to any space. And what better way to display your botanical beauties than in a stylish, handmade plant holder? Forget plain plastic pots sitting on shelves – let’s give your plants the spotlight they deserve! Today, we’re diving into a wonderfully simple and incredibly rewarding DIY project: a finger-knit hanging plant holder. This isn’t just crafting; it’s creating a cozy, personalized home for your plants, all while enjoying a surprisingly relaxing process. Whether you’re an experienced crafter or trying DIY for the first time, this guide will walk you through creating a charming addition to your indoor garden.
Why Make Your Own Plant Holder?
Sure, you could buy a plant holder off the shelf, but where’s the fun in that? Crafting your own allows for personalization, saves money, and gives you that fantastic feeling of accomplishment. Finger knitting, in particular, is a very accessible technique. It requires no needles or hooks, just your hands and some yarn. The thick strands created through finger knitting are perfect for making sturdy, textured holders that beautifully showcase your plants. Plus, it’s a project that’s great for destressing and can even be a fun activity to do with children.
Getting Started: Materials Needed
One of the best things about this project is the minimal list of materials. You likely have some yarn lying around, and the other items are readily available at craft or hardware stores. Here’s what you’ll need to gather:
- Approx. 175 yd (160m) of sportweight yarn (Linen yarn works wonderfully for its drape and texture)
- One 2″ (5cm) unfinished wooden ring (Optional, you can tie a knot instead)
- Four 25mm unfinished wooden beads with 10mm holes
- Eight or more 25mm unfinished wooden beads with 4mm holes
- Wire, for threading beads (Optional, but helpful)
- Your chosen plant and its pot (a succulent or similar small to medium plant is ideal)
 Materials laid out for making a finger knit hanging plant holder: yarn, wooden beads, and ring
Finger Knitting Fundamentals
Before we assemble the holder, you’ll need to create the thick yarn strands. Finger knitting is incredibly simple. You wrap the yarn around your fingers in a specific way and then loop the bottom strand over the top to create stitches. You’ll essentially be making long, chunky chains. For this project, you’ll need to create four strands, each measuring about 3 1/3 yd (3.1m) long. You can use one color or mix and match, as suggested with the two colors in the original project.
Step-by-Step Guide to Crafting Your Plant Holder
Once your four finger-knit strands are ready, it’s time to transform them into a functional and beautiful hanging plant holder.
Attaching to the Ring
Take your four long finger-knit strands. Fold each strand in half. If using a wooden ring, thread the folded end through the ring and pull the tails through the loop created. This secures the strand to the ring. If skipping the ring, simply tie a knot at the fold, leaving a loop about 4″ (10cm) long for hanging. Either method will result in 8 strands hanging down from the top.
 Finger knit yarn strands folded and threaded through wooden ring for plant holder assembly
 Eight finger knit yarn strands hanging from the top ring for a DIY plant holder
Dividing and Adding Beads
Arrange the 8 hanging strands so they are not overly twisted. Divide them into 4 groups of 2 strands each. If you used two colors, aim for each group to have one strand of each color for a balanced look. Now, string one of the large-holed wooden beads onto each of these four pairs of strands. Slide the beads up towards the ring.
 Dividing finger knit yarn strands into groups and adding large holed wooden beads for plant holder
Tying the First Knots
Measure down 18″ to 24″ (45.5cm–61cm) from the wooden ring (or the top knot). Tie a knot in each individual strand at this point. The large wooden bead on each pair should sit just above this knot. Try to make these knots fall at roughly the same height across all 8 strands.
 First set of knots tied below wooden beads on finger knit plant holder strands
Creating the Crossing Pattern
Now, we’ll start forming the basket shape that will hold your pot. Measure down about 3 1/2″ (9cm) from the first set of knots you just tied. Take one strand from a pair and tie it together with one strand from the adjacent pair. Repeat this process all the way around, using a strand from one original pair and a strand from its neighbor. You will again have 4 knots at this level, creating 4 new pairs of strands. Try to keep these knots level with each other.
 Tying crossing knots with adjacent finger knit strands to form the plant holder basket structure
Pattern of crossed knots visible on the evolving finger knit plant holder structure
Repeating the Pattern
Measure down another 3 1/2″ (9cm) from the second set of knots. Repeat the crossing knot process: take one strand from a pair and tie it to one strand from the adjacent pair. This brings the strands back to forming pairs with their original partners (or strands from the same original finger-knit piece if you used multiple colors). Again, ensure the knots are level.
 Second row of crossing knots tied to complete the basket base for the finger knit plant holder
The Final Gathering Knot
Measure down about 3″ (7.5cm) from the last set of knots. Gather all 8 strands together and tie one large, secure knot. This knot will form the base of the plant holder’s basket, supporting the pot.
 Large gathering knot tied at the bottom of the finger knit plant holder to secure the pot
Finishing Touches and Adding Beads
Trim the 8 strands hanging below the large knot to varying lengths for a decorative look. Weave in any loose ends near the large knot to secure them. Now, thread the smaller-holed wooden beads onto the ends of each of the hanging strands. Tying a small knot at the very end of each strand will keep the beads in place. A piece of wire can be helpful for getting the yarn through the bead holes.
Completed finger knit hanging plant holder with pot inside, ready to display
Choosing the Right Plant
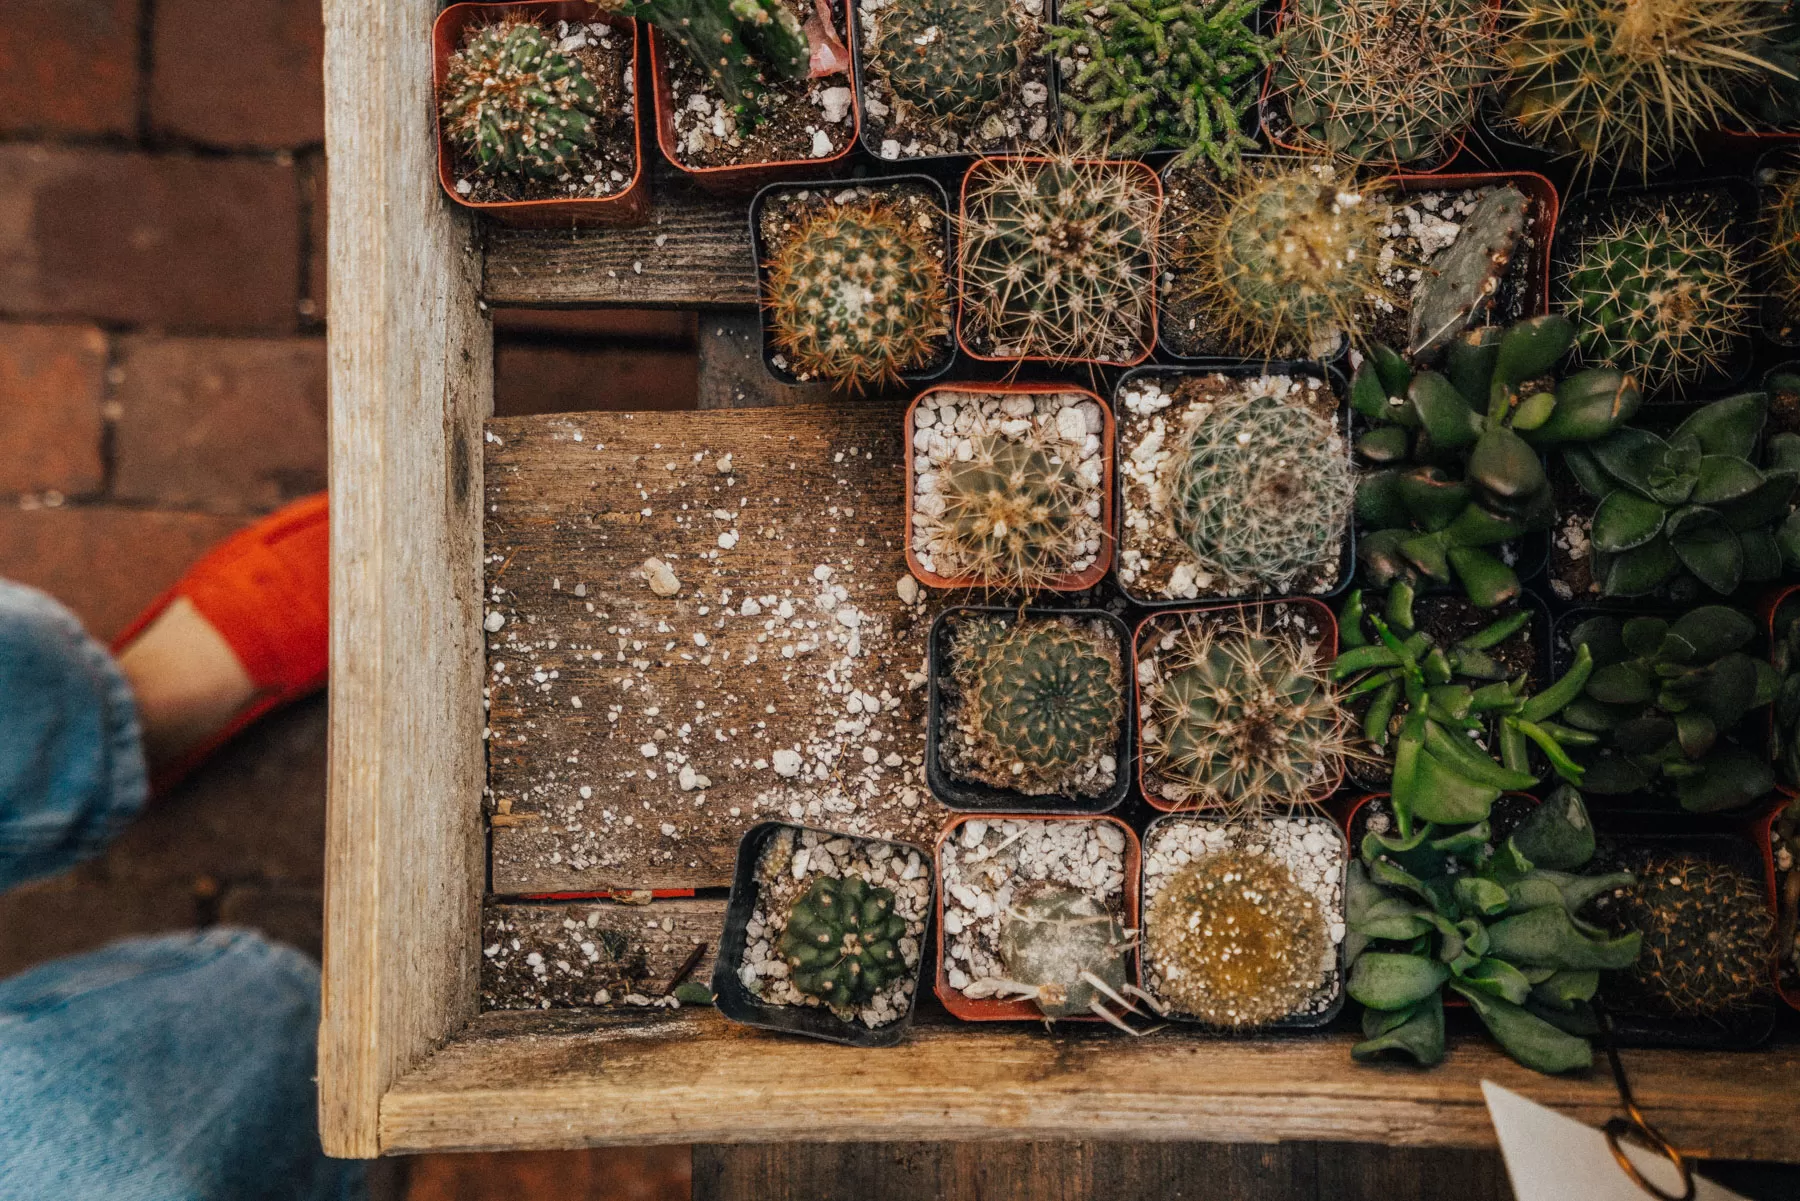
While this holder can accommodate various plants, a succulent is featured in the original project and makes an excellent choice, especially for beginners. Succulents are relatively low-maintenance and look beautiful with the texture of the finger knitting and wooden beads.
- Succulent Plant (General)
- Scientific Name: Varies (e.g., Echeveria, Sedum, Haworthia represent common types)
- Common Name: Succulents
- Zone: Varies greatly by species (many are hardy outdoors in zones 8-11, but widely grown indoors)
- Light: Bright indirect to direct sunlight (depends on species)
- Humidity: Low
- Water: Allow soil to dry out completely between waterings; prone to root rot if overwatered.
Consider other trailing or compact plants that fit well in an 8″ wide by 6″ tall pot, such as Pothos, Spider Plants, or Boston Ferns, keeping in mind their light and water needs.
Tips for Success
- Pot Fit: The design is intended for a pot around 8″ (20.5cm) wide and 6″ (15cm) tall. The first set of knots should sit near the top of the pot, and the large lower knot at the bottom.
- Adjusting Knots: Test the hanger with your empty pot before tying the final gathering knot firmly. You can slide the knots up or down slightly to get the basket shape just right for your specific pot. Aim for the distance between the first set of knots and the large lower knot to be about 1″-2″ (2.5cm-5cm) greater than your pot’s height.
- Yarn Choice: While linen is recommended for its strength and texture, you can experiment with other sturdy yarns like cotton or even t-shirt yarn for different looks and feels. Ensure it’s not too stretchy.
 Handmade finger knit hanging plant holder with terracotta succulent pot in sunny window
Hang and Enjoy!
Your beautiful, handmade finger-knit hanging plant holder is complete! Find the perfect sunny spot in your home, add your plant, and admire your handiwork. This charming piece adds a touch of cozy texture and personality to your space, showcasing your plant in style.
Making your own plant holder is a rewarding way to connect with your home and your plants. It’s a simple craft that yields impressive results, proving that anyone can be a DIY creator.
Ready to add more handmade charm to your garden and home? Explore other projects on Thelittle.garden and share your finished plant holder creation in the comments below!