- Turn kitchen scraps and yard waste into a powerful liquid fertilizer.
- Boost soil health and plant vitality naturally.
- Understand why aeration is key to creating beneficial compost tea.
- Learn the essential supplies and simple steps to brew your own AACT.
- Discover effective aerated compost tea methods for application.
Imagine a secret potion that could transform your garden, making plants thrive with incredible vigor, boosting their immunity, and enriching your soil for years to come. Good news: this magic isn’t a fantasy! It’s called compost tea, and when brewed correctly using aerated compost tea methods, it’s a powerhouse of beneficial microbes and nutrients. As your guide from The Little Garden, I’m thrilled to share how this simple, natural technique can elevate your gardening game, yielding healthier, more abundant plants without relying on synthetic fertilizers.
What Exactly is Compost Tea (and Why Aeration Matters)?
At its heart, compost tea is a liquid extract created by steeping compost in water. Think of it like brewing a giant cup of nutrient-rich goodness for your plants. The goal is to transfer soluble nutrients and, more importantly, a diverse community of beneficial microorganisms from the solid compost into the water.
Historically, gardeners made ‘non-aerated compost tea’ (NCT) by simply soaking a bag of compost in a bucket of water for days or even weeks. While this extracts some nutrients, the prolonged lack of oxygen can lead to anaerobic conditions, potentially fostering detrimental microbes and producing foul odors.
The Magic of the Soil Food Web
Why are microbes so important? Because they are the foundation of the “soil food web.” This is the complex ecosystem living in healthy soil, where bacteria, fungi, protozoa, nematodes, and microarthropods work together. They break down organic matter, cycle nutrients, improve soil structure, and even protect plants from diseases. Compost tea is a fantastic way to introduce and boost these beneficial organisms in your garden beds.
AACT vs. NCT: Brewing for Beneficials
This is where aerated compost tea methods come in. By actively pumping air into the brewing mixture, we create an aerobic environment. This encourages the explosive growth of beneficial aerobic microbes (bacteria, fungi, etc.) and suppresses the growth of potentially harmful anaerobic organisms. The result is a biologically active, nutrient-dense tea brewed much faster and safer than its non-aerated counterpart. This actively aerated compost tea, often called AACT, is the gold standard for boosting the soil food web.
 A diagram by Heidelberg Farms showing what the Soil Food Web looks like below ground. There are tree roots with compost and micro arthropods on the soil surface, with bacteria and fungi, mycorrhizae, and nematodes and protozoa below the soil surface, in and around the tree roots.
Why Your Garden Will Thank You: Benefits of Aerated Compost Tea
Using AACT isn’t just a trend; it’s a practice rooted in supporting the natural processes that make plants thrive. Here’s what you can expect when you incorporate this powerful brew into your gardening routine:
- Enhanced Nutrient Availability: The beneficial microbes in AACT help break down organic matter and release nutrients tied up in the soil, making them readily available for plants to absorb.
- Improved Soil Structure & Moisture Retention: Microbes, particularly fungi, help create better soil structure by binding soil particles together. This improves drainage while also increasing the soil’s ability to hold onto precious moisture.
- Increased Plant Immunity and Disease Resistance: A diverse microbial community on plant surfaces and in the soil can help plants naturally fend off pathogens and diseases. It’s like giving your plants an immune booster!
- Buffering Against Stress: Plants treated with AACT are often more resilient, better able to tolerate environmental stresses like drought, pests, or even pollution.
- Reduced Need for Synthetic Fertilizers: By improving nutrient cycling and availability, AACT helps create a self-sustaining system where plants get what they need from the soil, lessening your reliance on manufactured inputs.
 Two hands cup rich fluffy worm castings compost. In the background are raised garden beds and chickens roaming.
Gather Your Gear: Essential Supplies for Brewing AACT
Making aerated compost tea is surprisingly simple and doesn’t require a lot of fancy equipment. Here’s a breakdown of what you’ll need to get started with your brewing journey:
The Heart of the Brew: Quality Compost (Especially Worm Castings!)
The quality of your finished tea starts with the quality of your compost. High-quality, well-aged compost is teeming with the diverse microbial life you want to multiply.
- Vermicompost (Worm Castings): Often considered the gold standard for compost tea, worm castings are incredibly rich in beneficial microbes and available nutrients. If you have a worm bin, you have a fantastic, free source! You can also purchase high-quality worm castings from garden centers or online suppliers.
- Hot Compost: Well-finished compost from a traditional hot pile can also be used. Ensure it’s fully decomposed and doesn’t smell unpleasant.
Avoid using fresh manure or compost that smells foul or anaerobic, as this can introduce unwanted organisms into your tea.
 A small plastic tote of freshly harvested worm castings sit on a table next to mesh paint strainer bags, and an air pump – some of the supplies used in brewing compost tea.
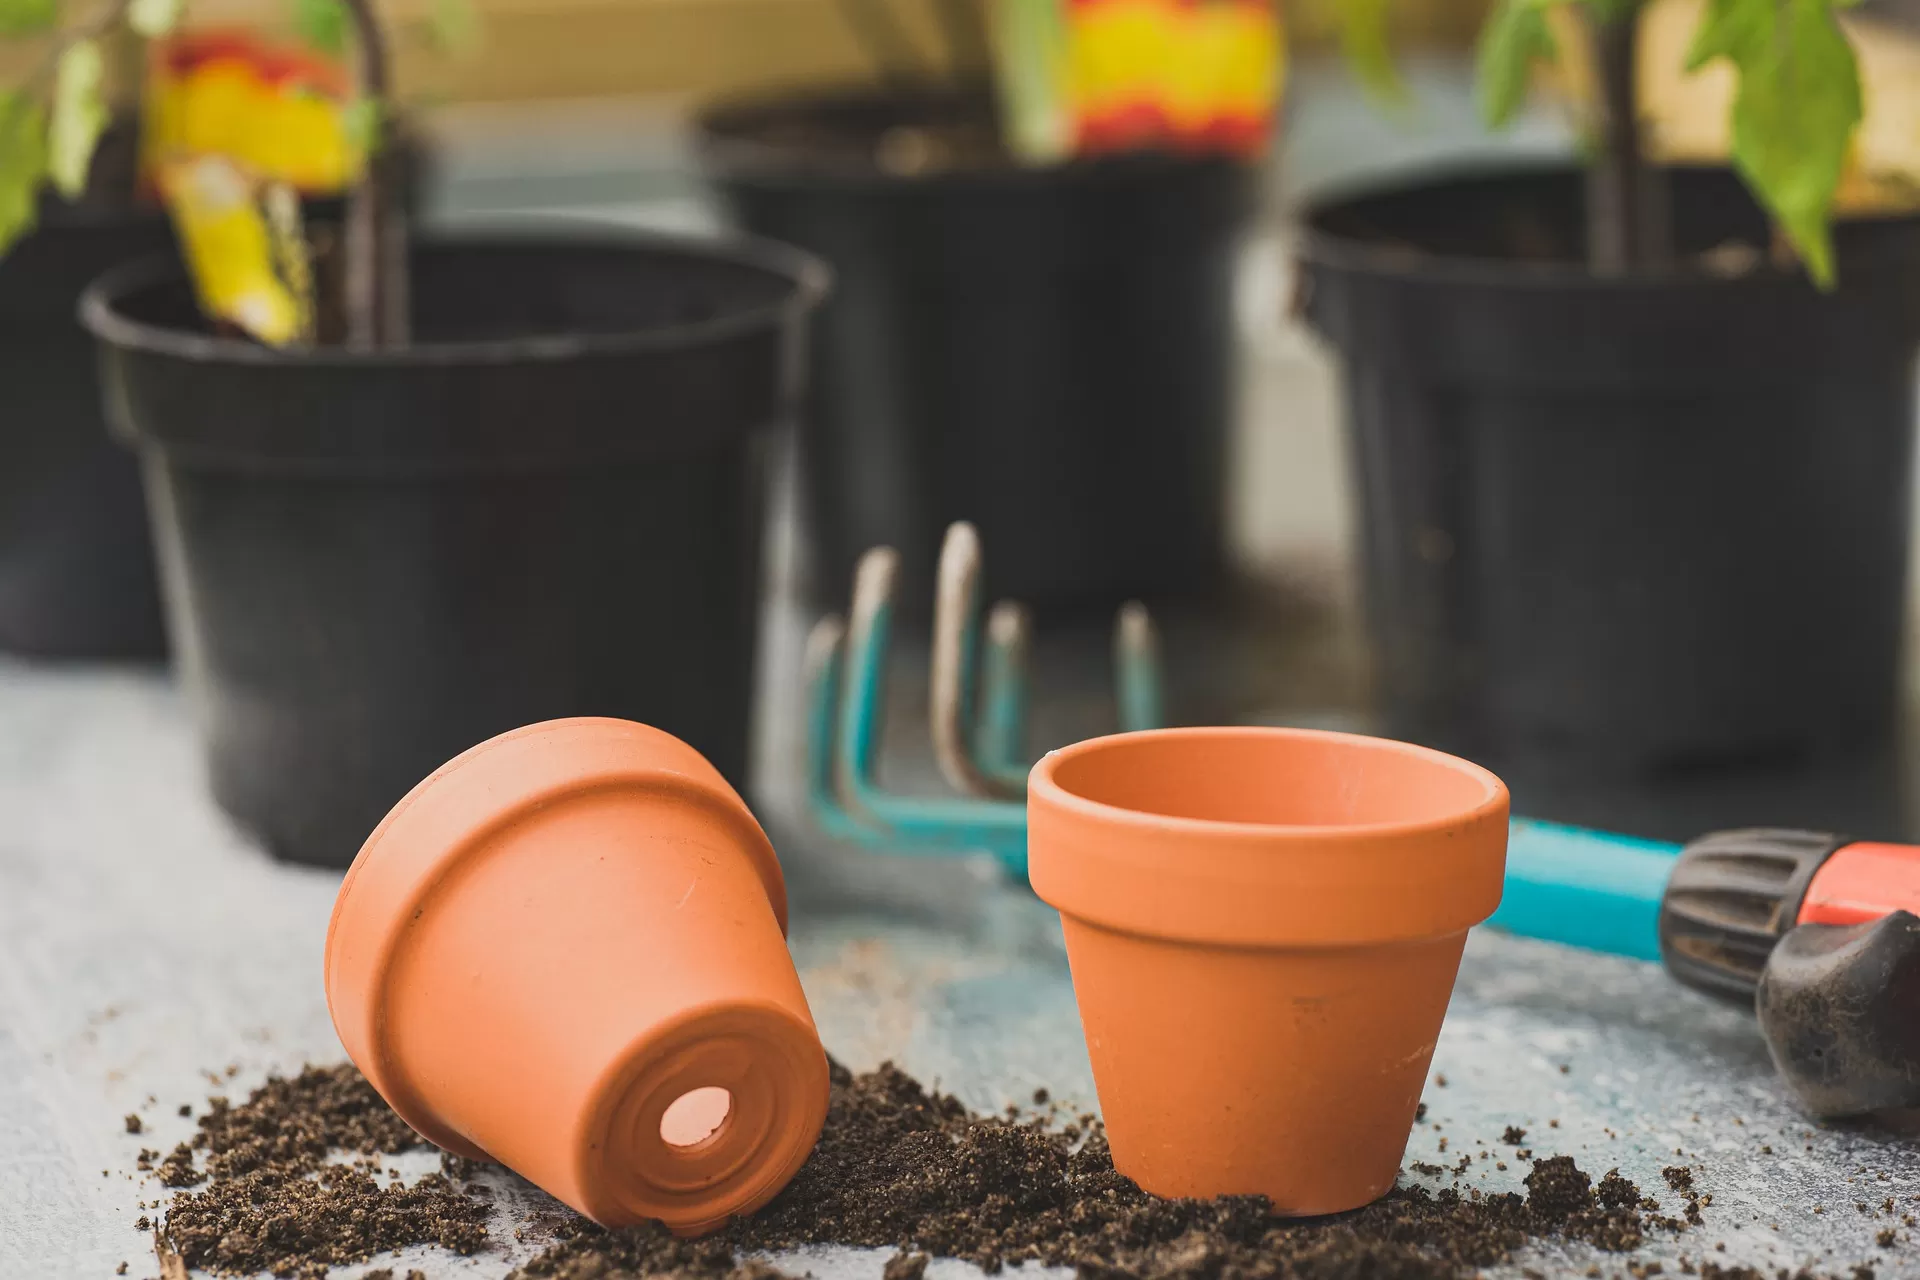
Your Brewing Vessel
For home gardeners, a standard 5-gallon bucket is ideal. It’s a manageable size for making batches and easy to clean. You can use food-grade buckets if that’s a priority for you. Larger gardens might opt for bigger containers or multiple buckets.
The “Tea Bag”
Just like brewing regular tea, you need a way to contain your compost while allowing the good stuff to infuse into the water.
- Mesh Paint Strainer Bags: These are affordable, readily available at hardware stores, and work perfectly. Their fine mesh holds the compost while letting microbes and nutrients pass through.
- Burlap or Cheesecloth: Can work in a pinch, but might be less durable or allow more particles through.
- Dedicated Compost Tea Bags: Some garden supply companies sell reusable, durable bags specifically designed for brewing.
The key is a material that’s permeable enough for infusion but tight enough to keep larger particles out, especially if you plan on using a sprayer.
 An image of two hands holding up two mesh one-gallon paint strainer bags full of brown compost. In the background are raised garden beds and an archway full of lush plants.
Powering the Bubbles: The Air Pump
To achieve aerated compost tea methods, you need a continuous supply of air.
- Aquarium Pump: A basic, inexpensive aquarium air pump can work for a single small batch.
- Commercial Air Pump: For larger batches or multiple buckets, a more powerful air pump with multiple ports designed for hydroponics or brewing is more efficient. Look for one that creates significant bubble action.
The pump is the engine driving the aeration necessary for multiplying beneficial aerobic microbes.
 On the top and left: Our current 6-port EcoPlus air pump that is larger and metallic. The bottom right shows our old compost tea set-up, using a small aquarium pump and cylinder air stone.
Getting Air to the Bottom: Bubblers & Tubing
You need a way to deliver the air from the pump deep into the brewing vessel and distribute it effectively.
- Air Stones: Simple porous stones connected to airline tubing that create small bubbles. They can work but might clog over time.
- Bubble Snakes/Diffusers: Designed specifically for brewing, these tubes or rings have multiple perforations to create vigorous bubbling throughout the bucket. They often sit on the bottom and provide excellent aeration.
- Airline Tubing: Flexible silicone or plastic tubing connects the air pump to your chosen bubbler or air stone.
The goal is to create a churning, bubbling environment that ensures the entire liquid volume remains oxygenated.
 A bubble snake sits at the bottom of a bucket, attached to airline tubing, ready to provide vigorous aeration for brewing compost tea.
Fueling the Microbes: Food Sources
While the compost provides initial food, adding specific ingredients can help boost microbial populations during the brewing process.
- Molasses (Unsulphured): A simple sugar source that provides energy for bacterial growth. Use unsulphured blackstrap molasses.
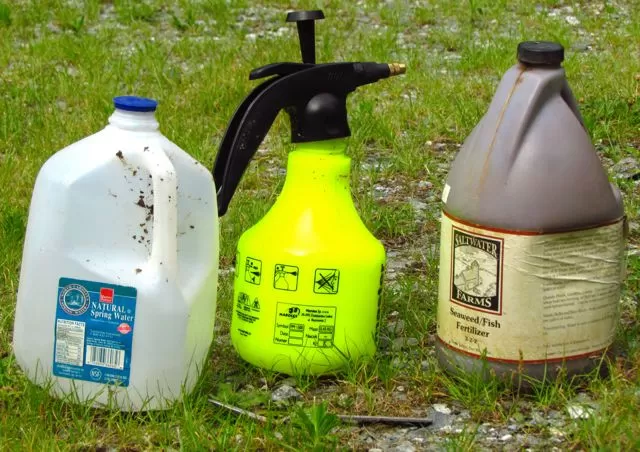
- Liquid Kelp or Seaweed Extract: Provides trace minerals and growth hormones that benefit both microbes and plants.
- Fish Hydrolysate: Another source of nutrients and food for microbes, particularly beneficial for fungal growth.
- Humic Acid: Supports overall microbial activity and nutrient chelation.
A small amount of one or a combination of these can significantly enhance the microbial activity in your brew.
The Right Water: Dechlorinated is Key
The water you use matters! Chlorine and chloramines are added to municipal water to kill microorganisms, which is exactly what we don’t want when brewing a microbe-rich tea.
- Rainwater: Ideal, as it’s naturally free of chlorine and chloramines.
- Filtered Water: Carbon filters can remove chlorine and often chloramines from tap water.
- Dechlorinated Tap Water: For chlorine (not chloramines), simply fill your buckets and let the water sit out for 24-48 hours. The chlorine will dissipate into the air. Chloramines are more stable and won’t evaporate, requiring filtration.
Using the right water ensures you’re cultivating life, not inhibiting it.
Step-by-Step Guide: Brewing Your Own Aerated Compost Tea (AACT)
Ready to brew? Follow these simple steps to create your own batch of gardening gold using effective aerated compost tea methods:
Step 1: Prep Your Water
Fill your brewing vessel(s) with dechlorinated water. If using tap water that relies on chlorine (not chloramines), let it sit out in the sun for a day or two. Leave a few inches of space at the top of the bucket to allow for bubbling and potential foaming.
Step 2: Fill Your Tea Bags
Measure your compost (or worm castings) and place it into your mesh tea bags. A good starting point is about 2-5 cups of compost per 5-gallon bucket, but you can adjust based on the richness of your compost and desired tea strength. Tie the top securely with a string or tie, leaving enough length to suspend the bag. If using kelp meal as a microbe food, add about a quarter cup to the tea bag now.
 Two images of filling a tea bag (one gallon mesh paint strainer sack) with finished worm castings, then being tied closed. Shown from above.
Step 3: Steep & Feed
Dunk your filled tea bag into the water in your brewing vessel. Lift and lower it several times to thoroughly wet the compost and help start the infusion process. Suspend the bag so it hangs in the water but isn’t resting directly on the bottom (especially if you’ll be using a bubbler there). Now is the time to add any additional liquid microbe food sources like molasses or liquid seaweed extract to the water in the bucket.
 Three images in one. They are all of a hand poised in front of the same white 5-gallon bucket full of liquid, in the setting of a patio garden area. The first shows a paint strainer mesh sack full of several cups of compost, about to be steeped in the bucket of water. The next shows the liquid all brown, as the tea bad is being steeped. The final image shows a bottle of organic molasses, and 1/3 measuring cup pouring some in to the bucket.
Step 4: Get Bubbling! (Aeration is Key!)
Insert your air stone, bubble snake, or diffuser into the bucket, making sure it sits near the bottom. Connect it to your air pump using airline tubing. Turn on the pump and ensure you have vigorous bubbling action. Let the tea brew for 12-48 hours. The ideal brewing time can vary depending on temperature and pump strength, but this window is generally optimal for growing beneficial microbial populations. Avoid extreme temperatures during brewing; keep your buckets out of direct hot sun and protect them from freezing.
 An image looking down over three 5-gallon buckets of brown liquid. It is compost tea. Air lines are running into the buckets from a nearby air pump. Two are more bubbly on top. They have the larger bubbler snakes. The other bucket look barely bubbly at all. It is the one using a smaller air stone.
Step 5: Use It Fresh!
The beneficial aerobic microbes in AACT are most active and beneficial when used shortly after brewing finishes. Once you turn off the air pump, the tea rapidly begins to lose oxygen and can go anaerobic. Plan to use your fresh AACT within an hour or two for maximum benefit.
What to Do with the Spent Compost?
Don’t toss that compost in the tea bag! It’s still valuable organic matter.
- For Soil Drench: If you’re applying the tea directly to the soil from the bucket, you can often untie the bag and empty the spent compost back into the tea. Stir frequently as you apply to distribute the solids.
- For Sprayers: If you plan to use a watering can or sprayer, keep the spent compost separate to avoid clogs. Simply add the strained tea to your applicator. You can then spread the spent compost directly onto garden beds, around trees, or add it back to your compost pile or worm bin.
 Two images of Deanna and Aaron on the back patio garden area. They
Putting Your AACT to Work: Aerated Compost Tea Methods of Application
Once your AACT is brewed, it’s time to apply it to your plants! There are a couple of primary methods, each with its benefits. Understanding these aerated compost tea methods will help you get the most out of your brew.
Method 1: The Soil Drench (Our Favorite!)
Applying AACT directly to the soil around the base of plants is arguably the most common and often most effective method for enhancing the soil food web.
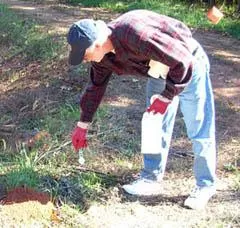
- How to Apply: Simply pour or scoop the tea directly onto the soil around the plant’s root zone. You can use a measuring cup, a watering can (if the tea isn’t too thick), or just pour carefully from the bucket.
- How Much to Use: The goal is to saturate the root zone. For seedlings, a half cup might be sufficient. Larger plants or trees could benefit from several cups. AACT is mild and won’t burn roots, so don’t worry about overdoing it in terms of concentration, but apply enough volume to reach the roots.
- When to Apply: It’s best to apply AACT when the soil is already damp, such as after a rain or watering. Damp soil absorbs liquid more readily than dry soil. Avoid applying right before heavy rain that might wash the tea away.
- Benefits: Delivers microbes and nutrients directly to the soil food web where they can establish and work their magic. Less risk of pathogens compared to foliar spray. Simple and doesn’t require filtering (unless you keep the spent compost separate).
 Three images in one. Two show a kitchen glass measuring up full of rich brown liquid, being poured onto the soil around the base of growing plants. One shows DeannaCat standing over raised garden bed, watering the bed with a standard watering can. The liquid coming out of the watering can is tinted brown.
Method 2: The Foliar Spray
Applying AACT directly to plant leaves as a spray allows plants to absorb nutrients and beneficial microbes through their foliage.
- How to Apply: Filter the brewed AACT to remove any particles that might clog your sprayer. Add the filtered tea to a pump sprayer and spray plant leaves thoroughly until they are dripping (runoff).
- When to Apply: Always apply foliar sprays in the early morning or late evening hours. Applying in direct sunlight can scorch leaves and kill the beneficial microbes on the leaf surface.
- Benefits: Provides a quick nutrient boost directly to the plant’s vascular system. Can help establish beneficial microbes on the leaf surface, which can deter some foliar pathogens.
- Considerations: Requires filtering, which removes some beneficial solids. There is a slightly higher theoretical risk of applying pathogens directly to edible plant surfaces if the tea wasn’t brewed perfectly. We tend to use this method more for non-edible plants or the foliage of fruiting plants where we aren’t consuming the leaves raw.
 Applying a spray to plant foliage, demonstrating a method similar to using aerated compost tea as a foliar spray.
When and How Often?
For most home gardens, applying AACT as a soil drench once every 2-4 weeks during the active growing season is sufficient. It’s particularly beneficial for newly transplanted seedlings to help them establish a strong start. Pay attention to your plants; healthy soil and a thriving soil food web will show in their vigorous growth and resilience.
Ready to Get Brewing?
Embracing aerated compost tea methods is one of the most rewarding steps you can take to cultivate a vibrant, resilient garden. It’s a natural, sustainable way to feed your soil and your plants, fostering a healthy ecosystem from the ground up. While there are initial supplies to gather, the ongoing cost is minimal, especially if you’re using your own homemade compost or worm castings. The payoff in terms of plant health and garden productivity is immense!
We hope this guide inspires you to try brewing your own AACT. Your plants, and the little garden ecosystem you’re nurturing, will certainly thank you.
Have you tried making compost tea? What are your favorite aerated compost tea methods for your garden? Share your experiences and questions in the comments below! And if you found this helpful, please share it with fellow garden enthusiasts!