- Say goodbye to daily hand watering and hello to healthy, thriving plants.
- Save water and time with a precisely targeted drip system.
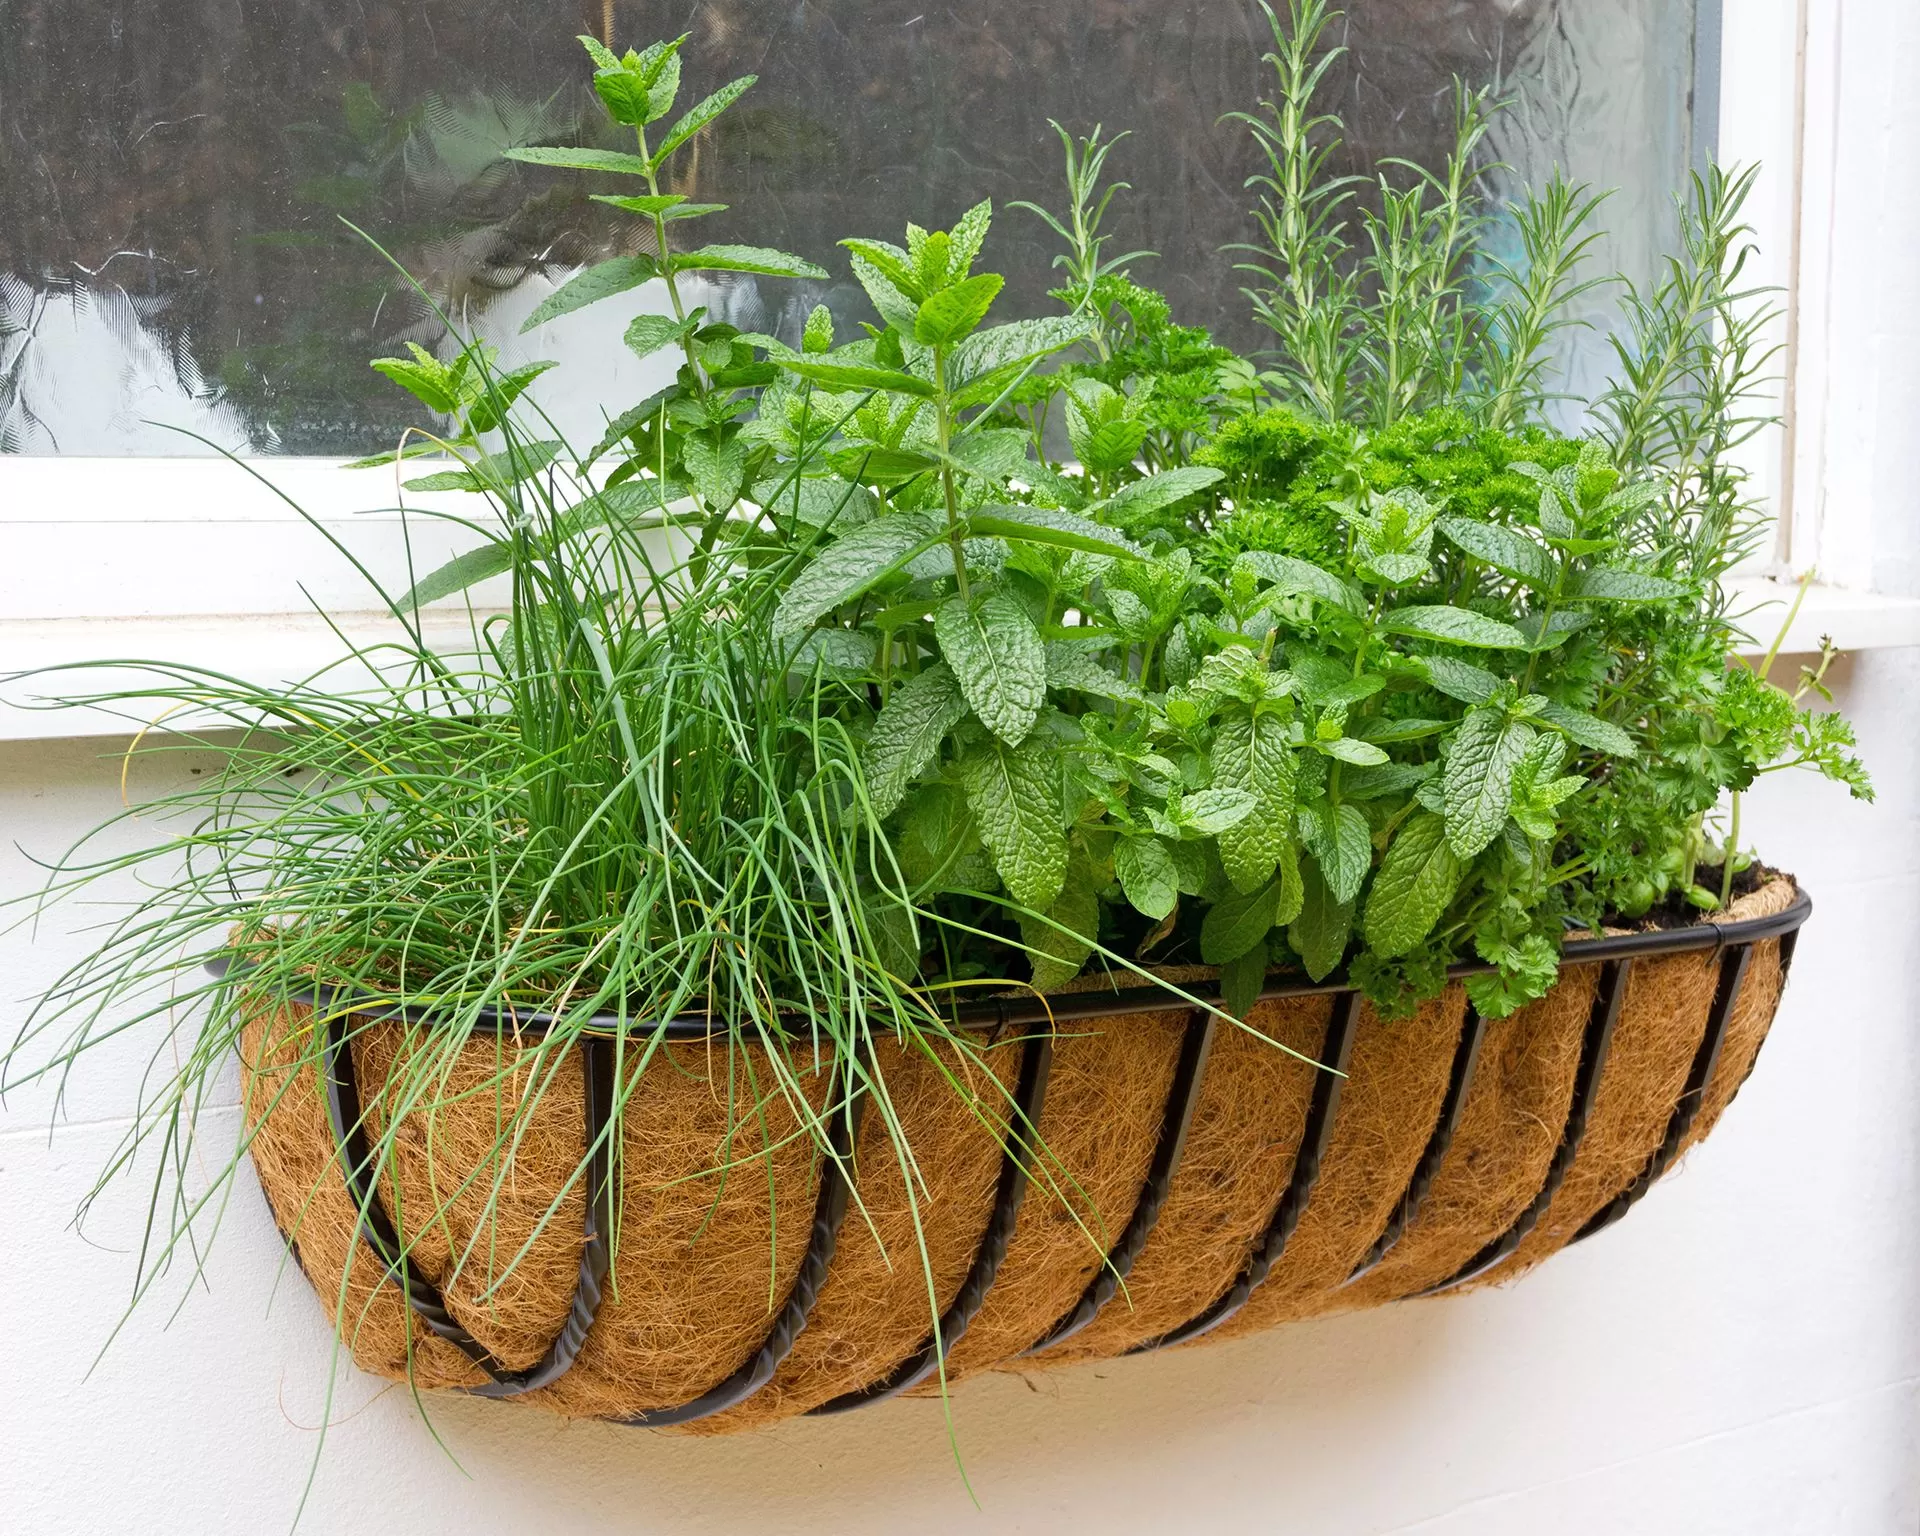
- Customize a solution that perfectly fits your collection of pots, planters, and hanging baskets.
- Gain confidence in keeping all your container plants consistently watered, even when you’re away.
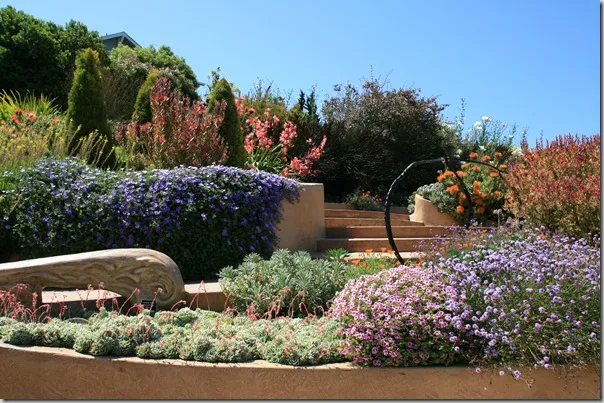
Imagine a garden where every single pot, from the smallest herb on the patio to the largest tomato plant on the deck, receives the perfect amount of water, precisely when it needs it. No more guessing, no more hoses, no more wilted leaves on a hot afternoon. This dream is easily achievable with a combined drip irrigation system specifically designed for containers. Whether you have a few cherished pots or a sprawling collection, setting up a drip system is a game-changer for convenience, plant health, and water conservation. It might sound technical, but planning is simpler than you think, opening up a world of lush, effortless container gardening.
Contents
- Why Drip Irrigation is Ideal for Your Containers
- Getting Started: Planning Your Combined Container System
- Count Your Pots and Measure the Distance
- Matching Waterers to Your Container Sizes
- Selecting the Right Drippers and Bubblers
- Understanding System Limits and Essential Fittings
- Don’t Overload Your System
- Essential Connectors and Accessories
- Conclusion
Why Drip Irrigation is Ideal for Your Containers
Container plants dry out faster than those in the ground, requiring frequent and consistent watering. Hand watering can be time-consuming and often inconsistent, leading to stressed plants. Drip irrigation delivers water slowly and directly to the root zone, minimizing evaporation and runoff, which are common problems with sprinklers or hand watering. This targeted approach ensures your plants get the moisture they need where they need it most, promoting stronger roots and healthier growth. It’s also incredibly water-efficient, saving you money and being better for the environment. Plus, once set up, your plants are watered automatically, giving you freedom from the daily chore.
Getting Started: Planning Your Combined Container System
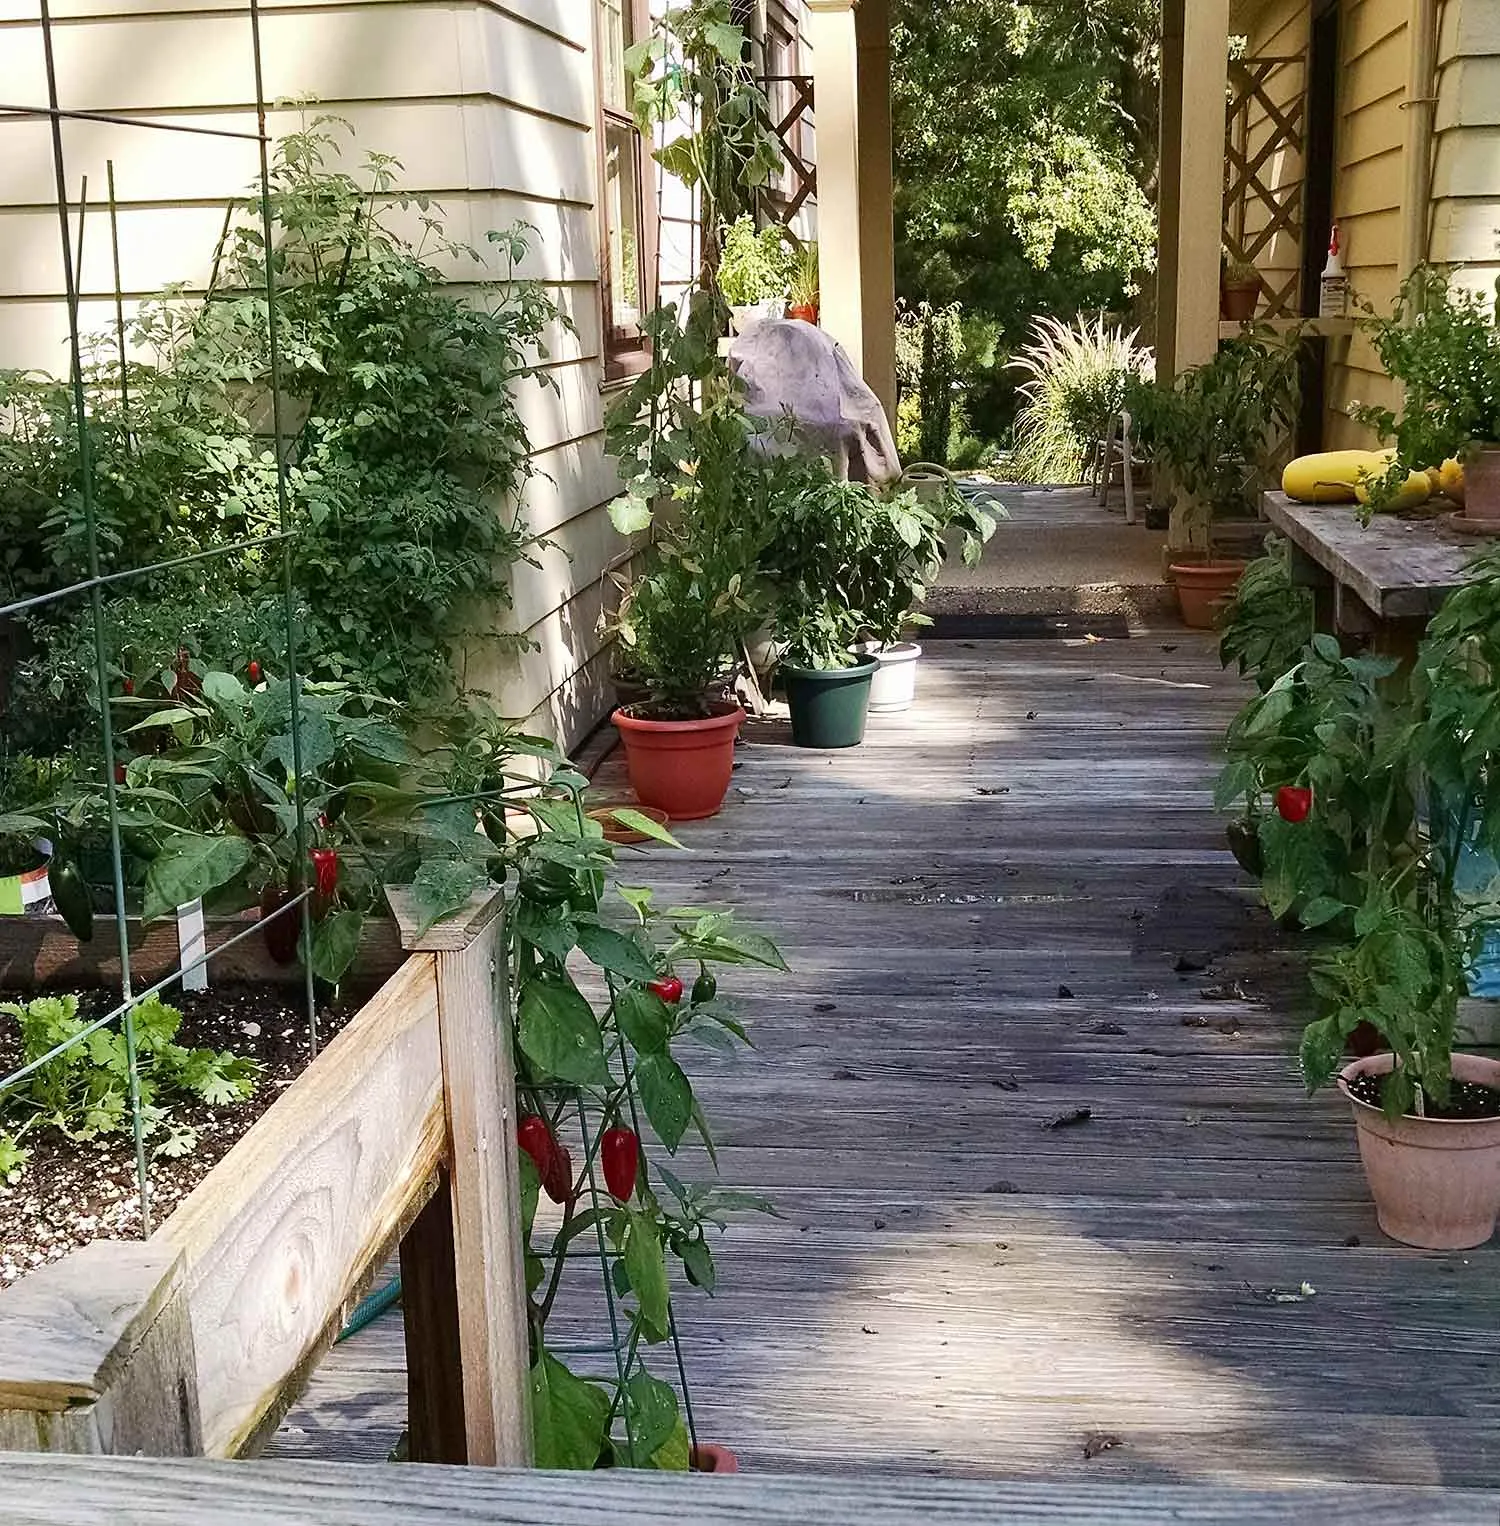
The first step in creating your perfect watering setup for combined drip irrigation containers is to understand the scope of your project. Look at all the places you have containers – on the patio, along walkways, hanging from hooks, or lining window sills.
Count Your Pots and Measure the Distance
Walk around your garden and count every container you want to include in the system. Don’t forget hanging baskets and window boxes! While you’re doing this, think about the path the main water line will take from your water source (like a faucet) to reach the first container and then travel along to the rest. Measure the total length of this path. This helps you estimate how much tubing you’ll need.
For smaller setups, say fewer than 10 containers spread over less than 30 feet, you might be able to use just 1/4 inch tubing. However, for larger collections – perhaps up to 20 containers stretching further – you’ll get much better results using 1/2 inch tubing as the main supply line and then branching off with 1/4 inch tubing to reach individual pots. Understanding this basic layout difference is key to system performance.
 Roll of black half inch distribution tubing for a large combined drip irrigation container system
Once you’ve measured, you’ll start to get a feel for the scale and the basic components required, like different sizes of tubing and the fittings needed to connect everything.
Matching Waterers to Your Container Sizes
Not all containers are created equal, and neither are their watering needs. A tiny pot for succulents needs far less water than a large planter overflowing with petunias or a hungry tomato plant. Choosing the right watering device for each container is crucial for success.
Selecting the Right Drippers and Bubblers
For smaller pots, generally those less than 10 inches in diameter, a single low-flow dripper (like 0.5 or 1 gallon per hour – GPH) is usually sufficient. These precisely deliver a small amount of water over time.
For larger containers, one dripper might not be enough to wet the entire root ball evenly. You have a couple of great options here:
- Use multiple drippers within the same large pot, branching off the 1/4 inch tubing to position them in different spots around the plant.
- Opt for a staked bubbler. These devices can deliver a higher flow rate and often allow you to adjust the watering pattern (like a small circle or wider spray), making them very versatile for thirsty plants in big pots.
 Assortment of spot watering drippers with different flow rates for various size containers
For long containers like window boxes, particularly those with multiple plants, 1/4 inch emitter tubing is a fantastic solution. This tubing has drippers pre-inserted at regular intervals (like every 6 inches), providing uniform watering along the entire length of the box.
Understanding System Limits and Essential Fittings
A common pitfall when setting up a drip system for many containers is overloading the line. Drip systems operate at lower pressure than standard hoses, and the tubing has a limited capacity for water flow.
Don’t Overload Your System
When using primarily 1/4 inch tubing, it’s important to keep the total flow rate of all the drippers and bubblers combined below a certain limit, typically around 30 GPH. If you exceed this, the devices furthest from the water source won’t get enough pressure, and some containers will end up underwatered, despite your best efforts.
If your calculations show you’ll need more than 30 GPH to water all your containers adequately, it’s a strong indicator that you should use 1/2 inch tubing as the main supply line for at least part of your system. The 1/2 inch tubing can handle a much higher flow rate, ensuring that even distant drippers receive enough water. Another option is to split your system into two zones, each connected to a separate faucet or a timer with multiple outlets.
Essential Connectors and Accessories
Beyond the tubing and watering devices, you’ll need various fittings to assemble your system. These include:
- Couplings: To connect lengths of tubing.
- Tees: To split the tubing in two directions (essential for branching off the main line or watering multiple drippers in a large pot).
- End Plugs/Closures: To cap off the end of tubing runs.
- Stakes: To hold drippers or tubing in place near the plants.
 Close up of a small barbed coupling fitting for quarter inch drip irrigation tubing connecting containers
You might also find accessories like tubing hold-down stakes useful for securing the main line or clips for attaching tubing neatly to decks or walls.
 Plastic end closure fitting for terminating a half inch drip irrigation main line
 Small mounting clips for securing drip irrigation tubing to surfaces near containers
Planning your combined drip irrigation containers system might seem like a bit of work upfront, but the payoff in terms of saved time, conserved water, and healthier, more vibrant container plants is immense. It transforms the daily chore of watering into an automated, efficient process, allowing you to simply enjoy your beautiful garden space.
Conclusion
Setting up a drip irrigation system for your collection of pots, planters, and hanging baskets is one of the most rewarding gardening projects you can undertake. By taking a little time to count your containers, measure your space, and choose the right components, you can create a customized system that meets the specific needs of your plants and your lifestyle. Enjoy the peace of mind knowing your combined drip irrigation containers are perfectly cared for, flourishing throughout the season with minimal effort from you.
Ready to start planning your effortless container garden? Share your biggest watering challenge in the comments below! Have you used drip irrigation before? We’d love to hear about your experience. Explore more articles on Thelittle.garden for tips and inspiration to make your garden thrive.