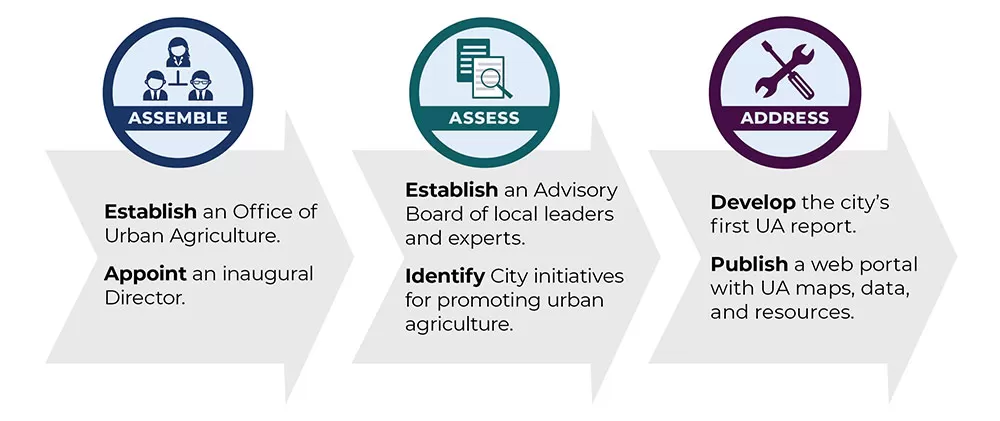
- Cutting back Black Eyed Susans can be done in both winter and flowering seasons for different purposes
- Fall pruning helps control pests, diseases, and plant growth
- Leaving some stems can provide food for birds and encourage natural reseeding
- Dividing and transplanting every 3-5 years maintains plant health and vigor
- Proper mulching and overwintering care ensures robust growth in spring
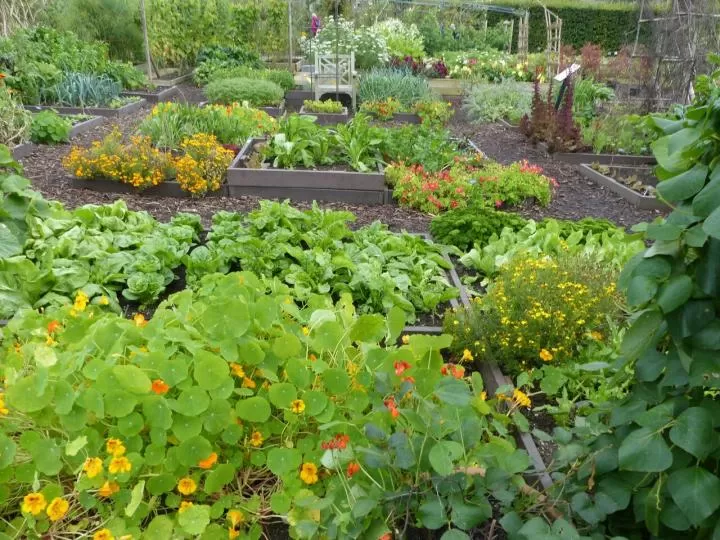
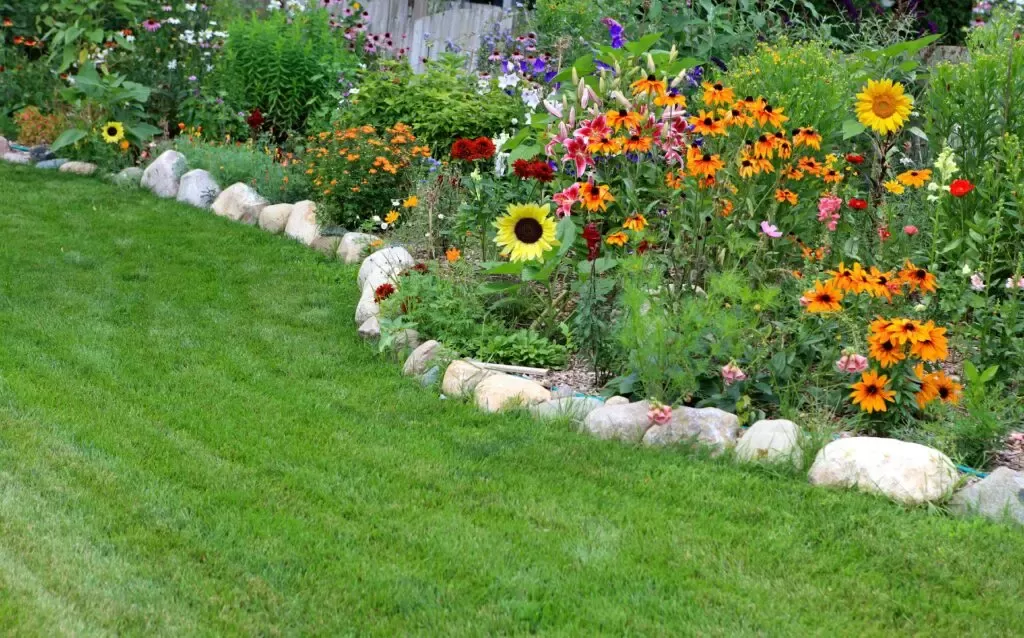
Black Eyed Susans are beloved for their cheerful, daisy-like flowers that brighten up gardens from summer through fall. As a gardener, you might wonder about the best practices for cutting back these vibrant perennials. Let’s dive into the world of Black Eyed Susan care and discover how to keep these golden beauties thriving year after year.
The Art of Cutting Back Black Eyed Susans
When it comes to pruning Black Eyed Susans, timing is everything. Unlike many perennials that require deadheading to promote continuous blooming, these resilient flowers have their own unique needs.
Fall Pruning: A Clean Slate for Spring
 cutting back black eyed susans
As autumn approaches and your Black Eyed Susans begin to fade, you might be tempted to reach for the pruning shears. Here’s why fall pruning can be beneficial:
-
Pest Control: Removing spent foliage eliminates potential hiding spots for pests and reduces the risk of overwintering insects.
-
Disease Prevention: Cutting back helps prevent the spread of fungal diseases like powdery mildew, which can thrive in decaying plant material.
-
Growth Management: Black Eyed Susans are enthusiastic self-seeders. Pruning can help control their spread and prevent them from overtaking your garden.
The Case for Leaving Some Stems Standing
While tidying up your garden in fall has its merits, there’s also a compelling argument for leaving some Black Eyed Susan stems intact:
-
Wildlife Support: The seed heads provide a valuable food source for birds during the lean winter months.
-
Natural Reseeding: Allowing some plants to go to seed can lead to charming, naturalized patches in your garden.
-
Winter Interest: The dark seed heads against winter snow can add visual interest to an otherwise barren landscape.
Dividing and Transplanting: Rejuvenating Your Black Eyed Susans
To keep your Black Eyed Susans vigorous and blooming profusely, consider dividing them every 3-5 years. Here’s how to go about it:
-
Timing: Early fall is ideal, giving new divisions time to establish before winter.
-
Preparation: Cut back foliage to about 6 inches above ground level.
-
Digging: Use a sharp spade to lift the entire plant, including the root ball.
-
Dividing: Separate the plant into smaller sections, ensuring each has healthy roots and foliage.
-
Replanting: Choose sunny locations with well-draining soil for your new divisions.
-
Care: Water regularly and mulch to help the new plants establish.
Overwintering Care for Healthy Spring Growth
To ensure your Black Eyed Susans bounce back vigorously in spring, follow these overwintering tips:
-
Mulching: Apply a 2-3 inch layer of organic mulch around plants to protect roots from freezing temperatures.
-
Watering: Continue watering until the ground freezes, especially for newly planted or divided specimens.
-
Monitoring: Check for signs of disease or pest damage throughout winter and address issues promptly.
-
Spring Cleanup: Remove any remaining dead foliage as new growth emerges in spring.
Conclusion: Nurturing Nature’s Golden Smiles
Caring for Black Eyed Susans is a rewarding experience that brings bursts of sunshine to your garden. By mastering the art of cutting back, dividing, and overwintering these resilient perennials, you’ll ensure years of vibrant blooms and cheerful garden displays.
Remember, gardening is as much about personal preference as it is about plant care. Whether you choose to cut back your Black Eyed Susans in fall or leave them for winter interest, the key is to observe your plants and respond to their needs.
We’d love to hear about your experiences with Black Eyed Susans! Share your tips, triumphs, or questions in the comments below. And don’t forget to explore more of our gardening guides for more inspiration and advice on creating your perfect outdoor oasis.