- Create vital stepping stones for pollinators in any space.
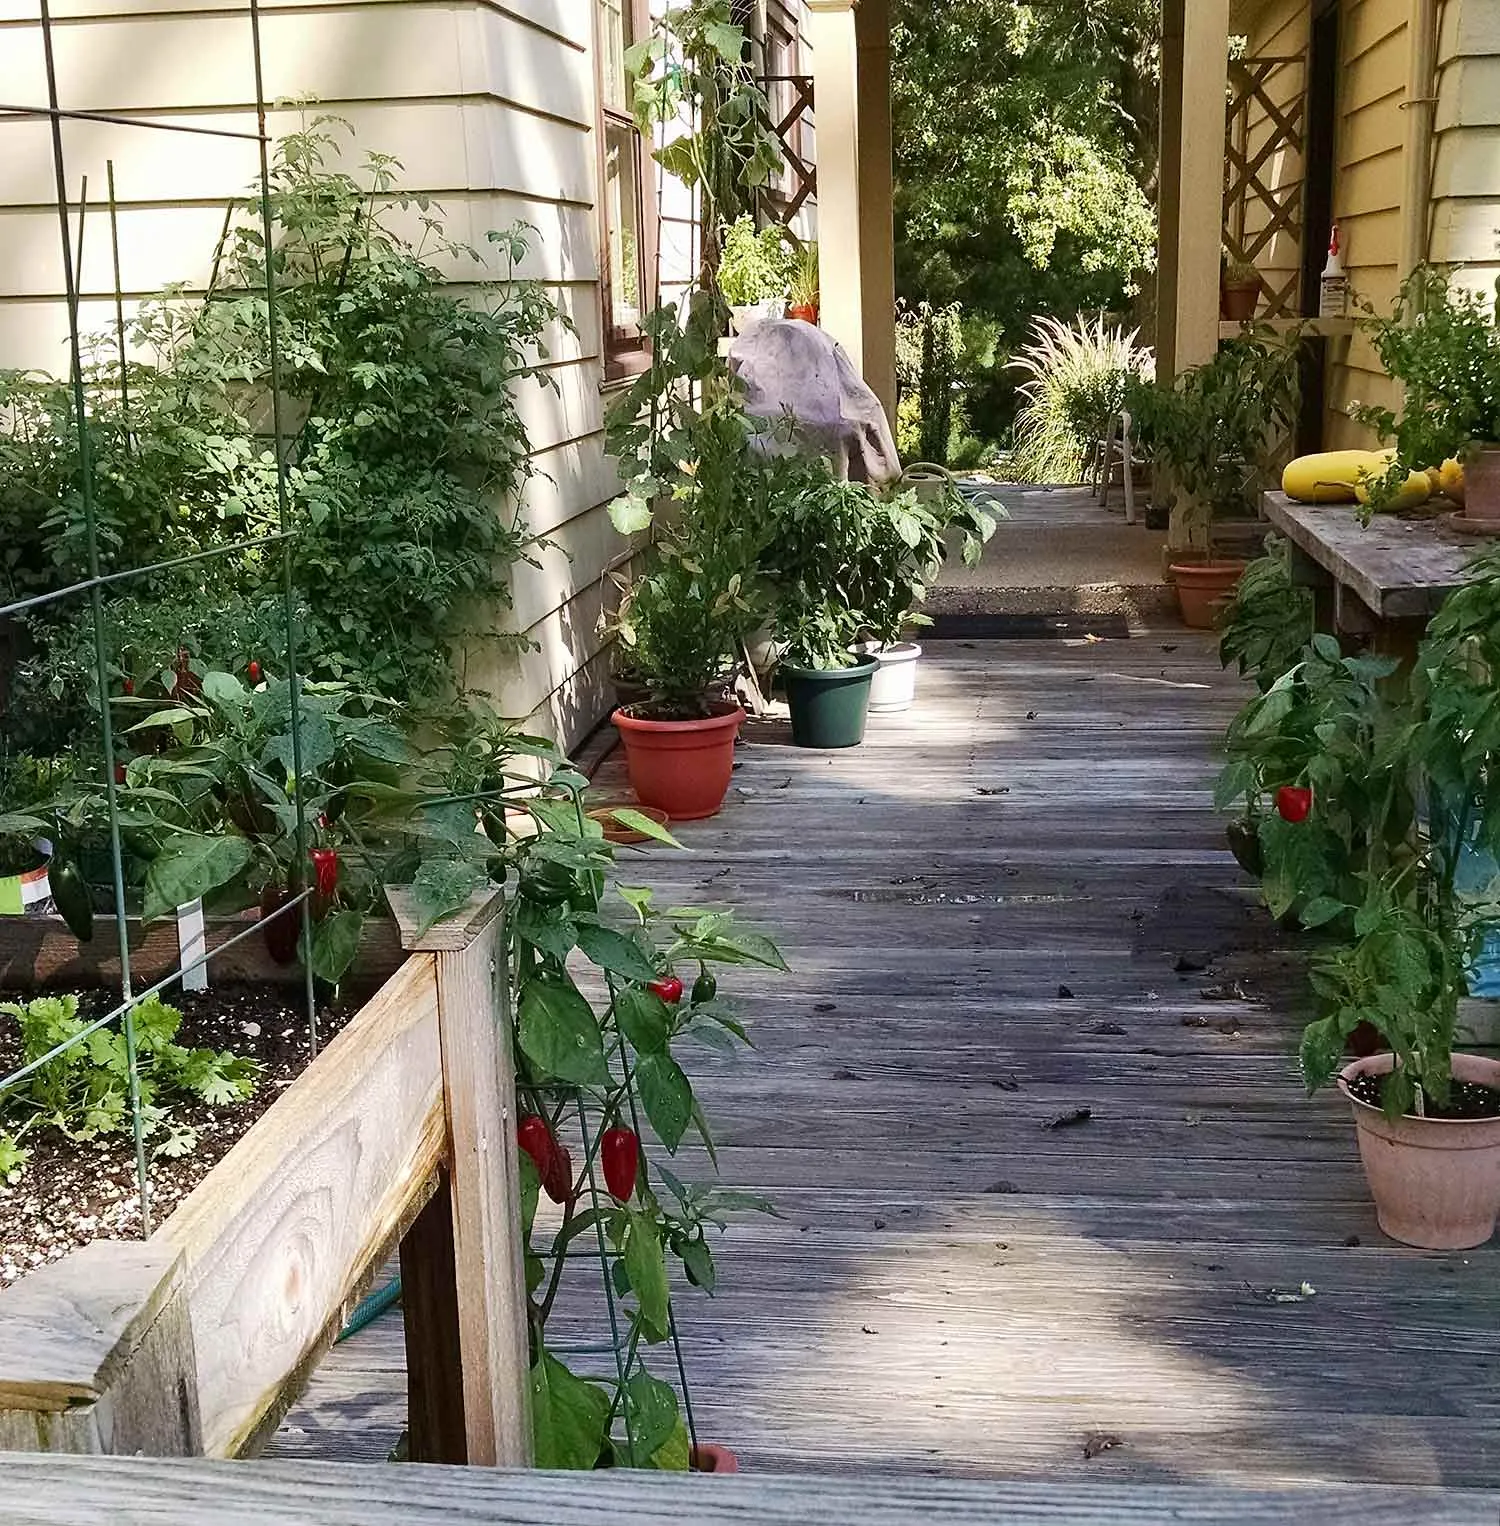
- Transform balconies, patios, and small yards into vibrant havens.
- Simple steps make supporting bees and butterflies accessible to everyone.
- Witness the magic of nature up close with easy-to-care-for container gardens.
Imagine stepping onto your balcony or patio and being greeted by the gentle buzz of bees and the flutter of butterfly wings. This isn’t just a beautiful sight; it’s a sign of a thriving ecosystem, even in urban or small-space settings. Our pollinators, like bees and butterflies, are essential engines for healthy habitats, but they’re facing challenges. The good news? You have the power to help, no matter how small your space. This summer, discover how easy and rewarding it is to create DIY pollinator pots: support bees and butterflies this summer right at home. Let’s transform those unused corners into buzzing, colorful havens!
Contents
- Planning Your Perfect Pollinator Pot
- Choosing the Right Spot and Pot
- Selecting Plants That Bloom
- Seeds vs. Plants: What’s Best for Pots?
- Planting Your Pollinator Pots
- Getting Your Containers Ready
- Planting Power: Seeds vs. Plants in Pots
- Care and Keeping: Watch, Water, and Wait
- Suitable Plants for Pollinator Pots
- Purple Coneflower
- Wild Bergamot
- Milkweed (for Monarchs!)
- Wrapping Up Your Pollinator Pot Project
Planning Your Perfect Pollinator Pot
Creating a successful pollinator pot begins with a little thought and planning. Don’t worry, it’s much simpler than planning a whole garden! Here’s what you need to consider before you get your hands dirty.
Choosing the Right Spot and Pot
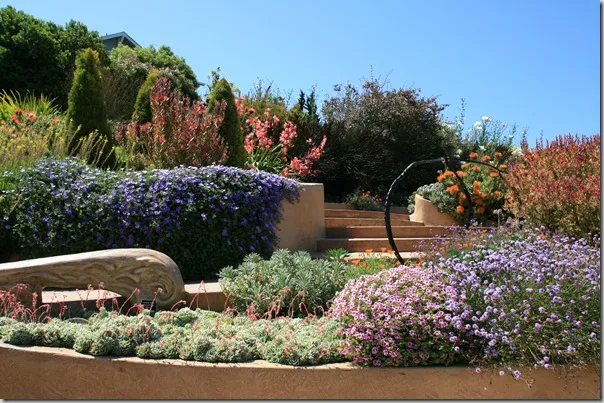
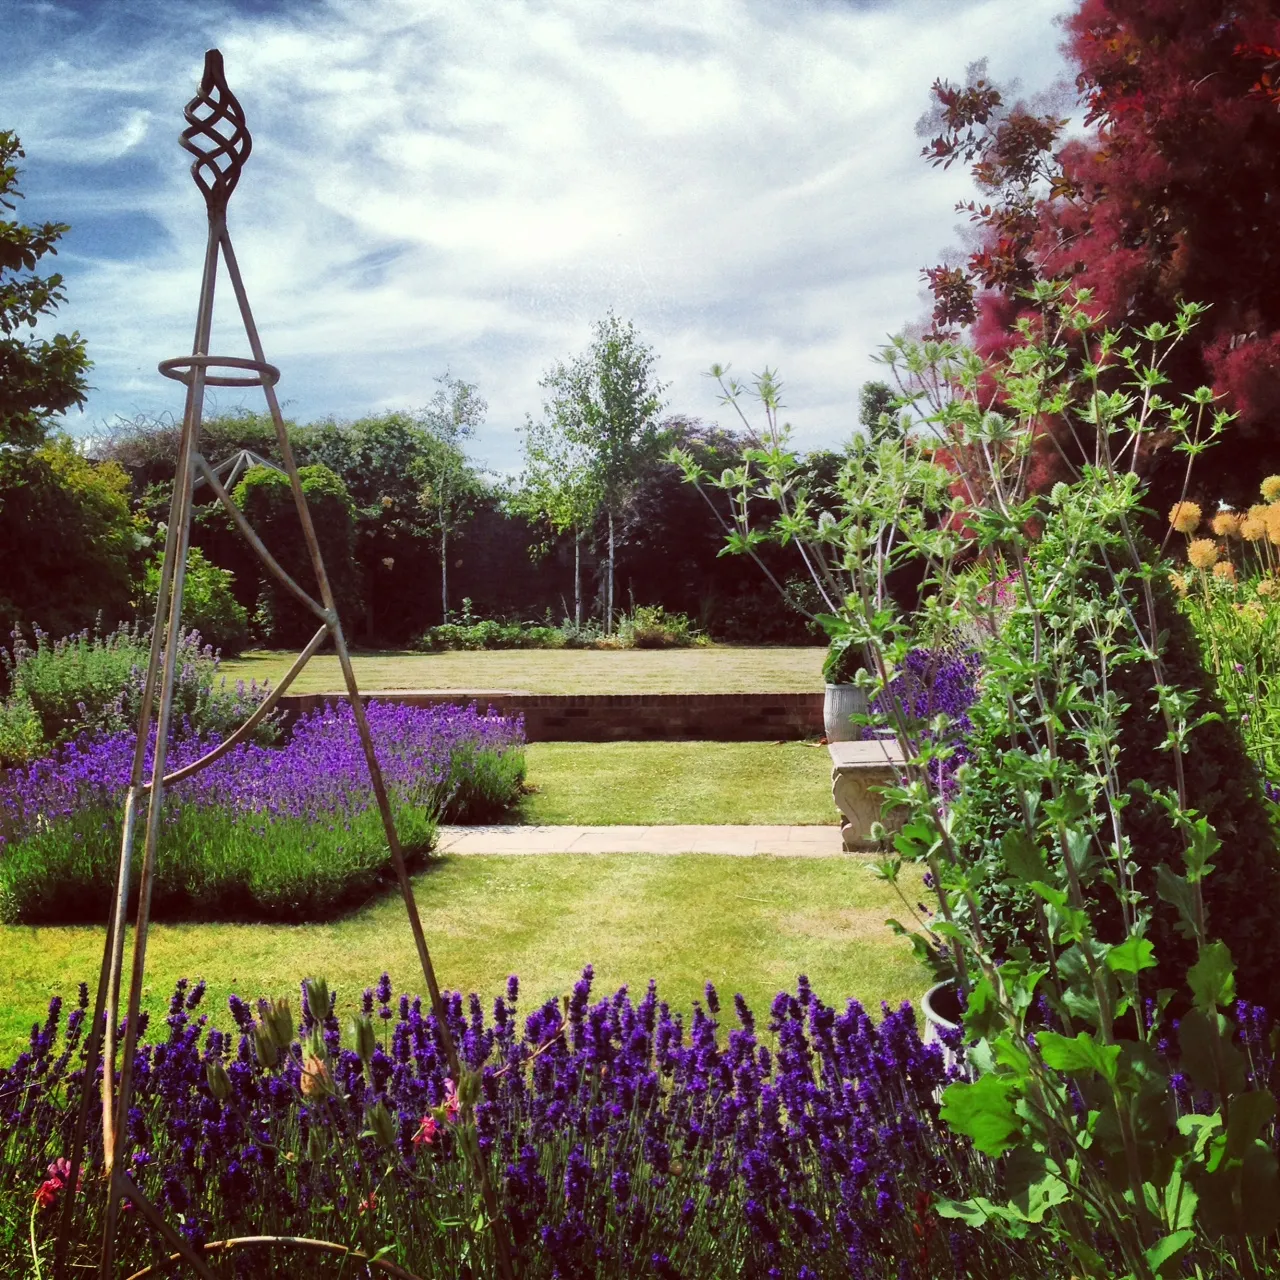
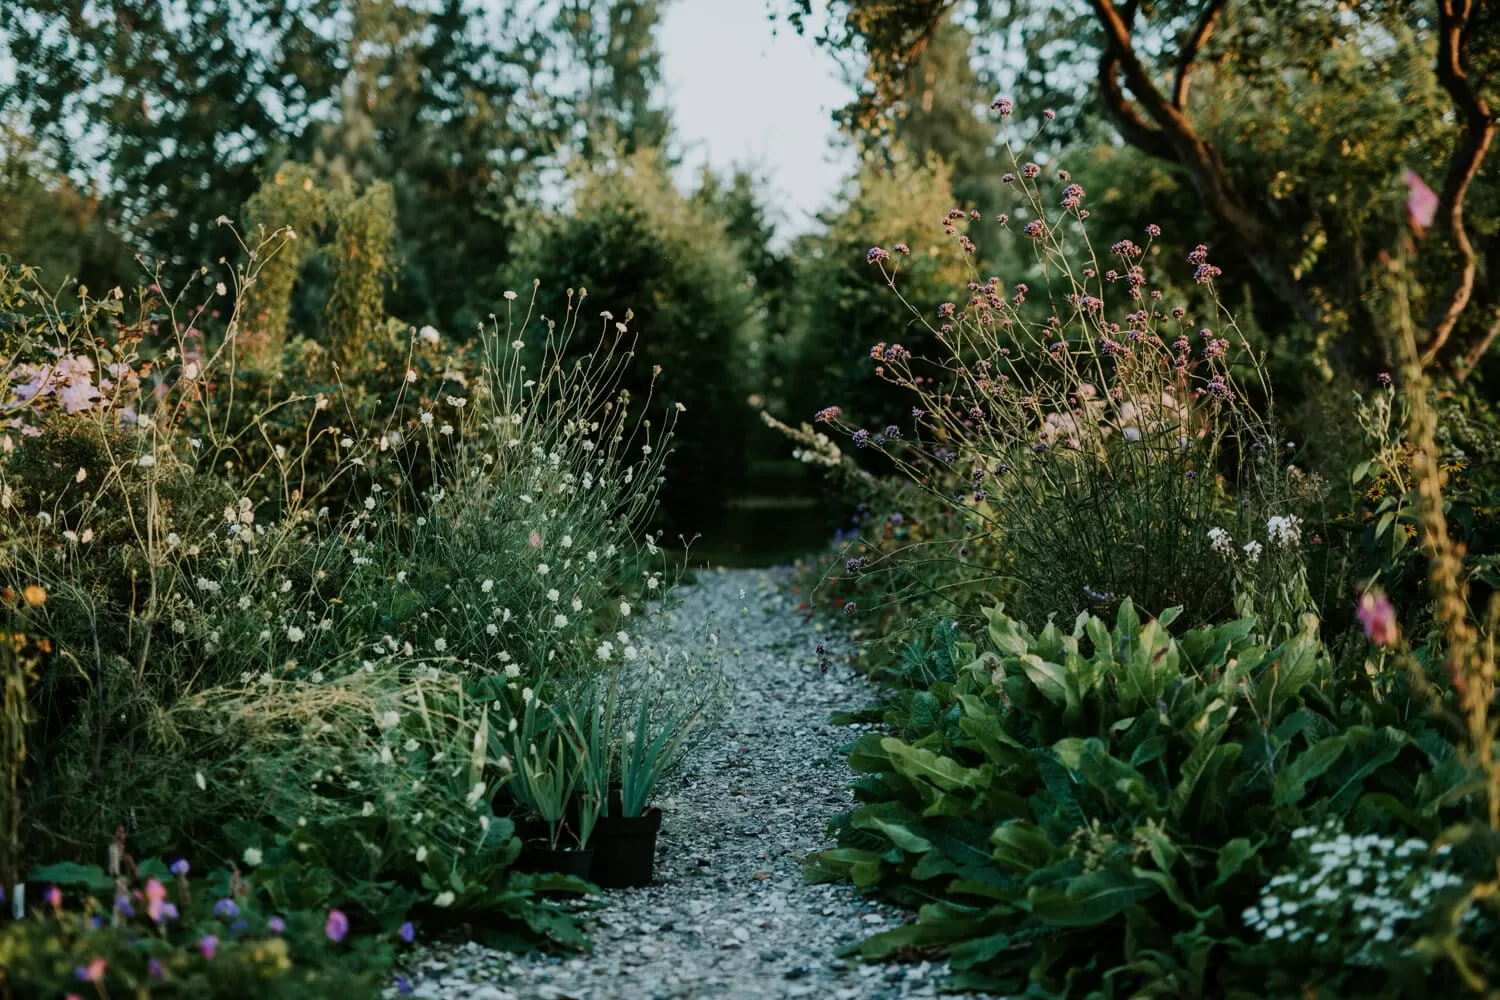
Pollinators, especially butterflies, love basking in the sun. Most of their favorite flowering plants also thrive in sunny conditions. Choose a location for your pots that receives at least 6-8 hours of sunlight per day. Also, consider protection from strong winds, which can damage delicate plants and make it difficult for insects to land.
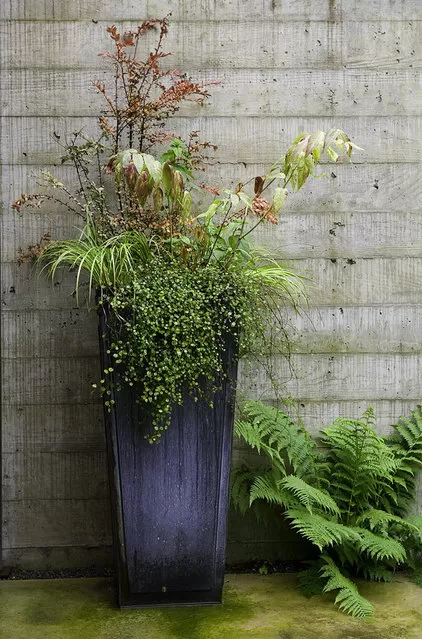
The type and size of your container matter. Ensure any pot you choose has drainage holes! This is crucial for preventing waterlogged roots. Larger pots hold moisture better and offer more space for roots, which can be beneficial for larger plants or creating multi-plant arrangements. Terracotta pots dry out faster but allow roots to breathe; plastic or glazed pots retain moisture longer.
Selecting Plants That Bloom
This is the fun part! You want to choose plants that will attract and nourish pollinators. The best approach is often selecting native plants that are suitable for container life, as they are naturally adapted to your local climate and soils (or potting mix, in this case) and are what local pollinators recognize as food.
It’s essential to choose plants that have not been treated with systemic pesticides like neonicotinoids, as these are harmful to pollinators. Look for plants labeled “pollinator-friendly” or specifically grown without these chemicals.
Think about variety! Pollinators need food sources throughout the season. Select plants that bloom at different times – early summer, mid-summer, and late summer/early fall – to provide a continuous buffet. Mixing different flower shapes and colors will also attract a wider variety of visitors.
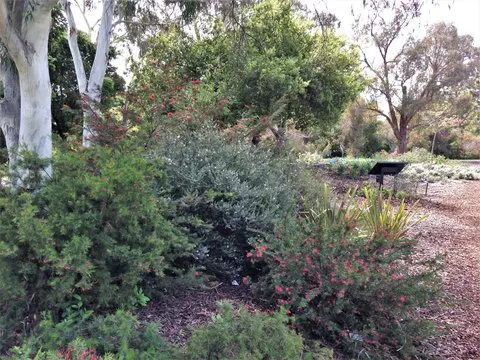
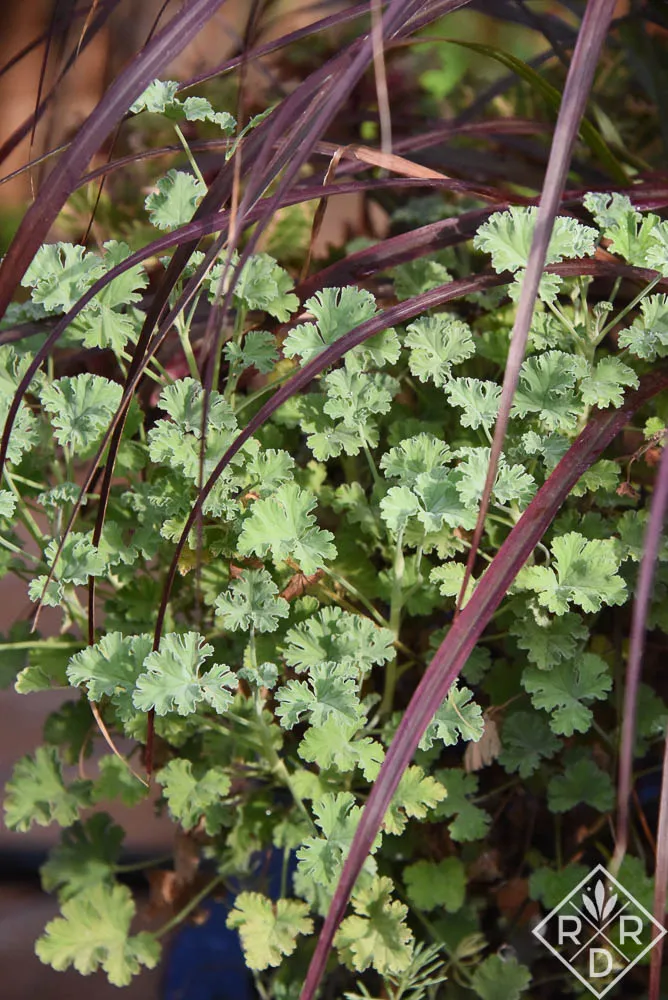
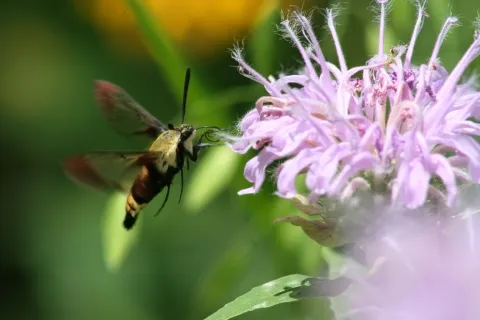 Hummingbird clearwing moth feeding on vibrant wild bergamot in a pollinator-friendly container
Seeds vs. Plants: What’s Best for Pots?
You can start your pollinator pots from seeds or small nursery plants. Both have advantages for container gardening:
- Seeds: More economical, especially if you want to grow many pots or certain specific varieties. They require patience, as germination and growth take time. Starting seeds indoors in late winter or early spring and then transplanting them into pots is a common technique for container gardeners looking for earlier blooms.
- Plants: Offer instant gratification and quicker access for pollinators. They are more expensive per plant but guarantee you have a viable specimen to start with. Choose healthy, compact plants from a reputable nursery.
Planting Your Pollinator Pots
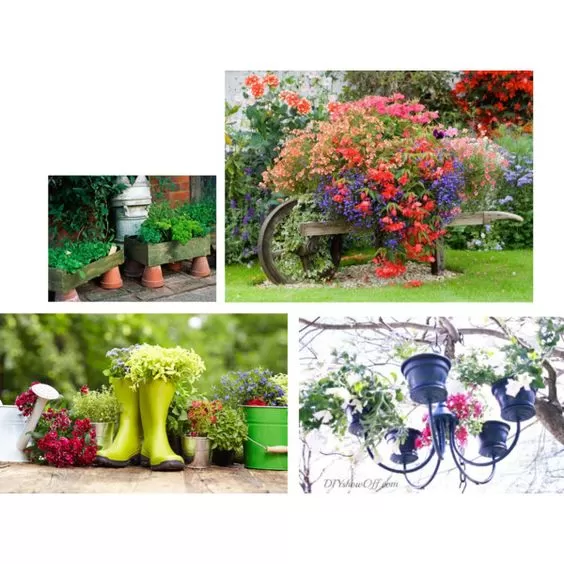
Ready to get your hands dirty? Gathering your materials and getting your containers ready is the next step towards your vibrant pollinator haven.
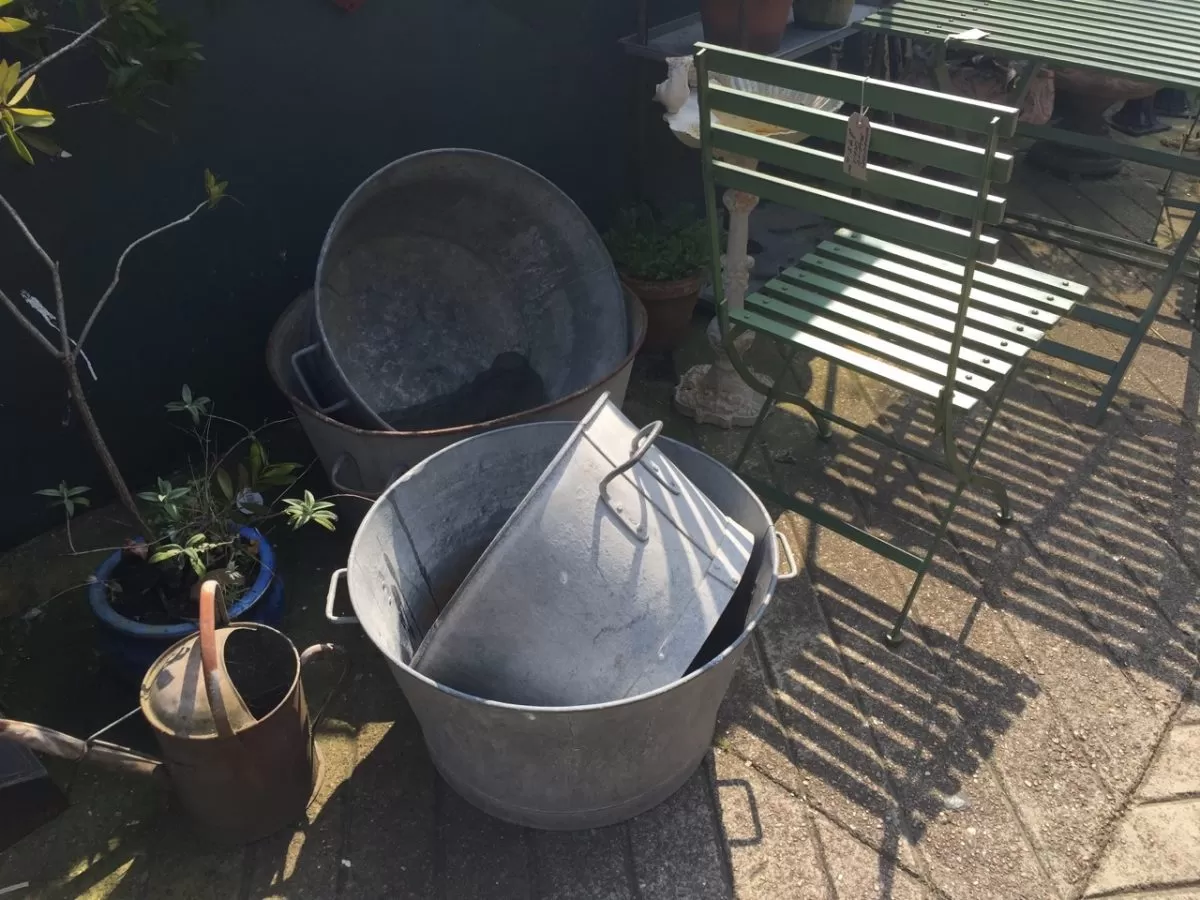
Getting Your Containers Ready
First, ensure your chosen containers are clean. If reusing old pots, give them a scrub. Make sure drainage holes are clear. For container gardening, using a high-quality potting mix is crucial. Unlike garden soil, potting mix is formulated for pots – it’s lighter, drains well, and provides aeration for roots. Avoid using heavy garden soil in containers. You can mix in some compost for extra nutrients, but a good potting mix is the foundation.
Planting Power: Seeds vs. Plants in Pots
- Planting Seeds: If you’re direct sowing seeds into pots, follow the seed packet instructions for planting depth and spacing. Remember that moisture is key for germination, so keep the soil consistently damp (but not waterlogged). Some perennial seeds benefit from cold stratification (a period of cold exposure), which might happen naturally if you sow them outdoors in pots in late fall or winter, but check specific plant needs.
- Planting Small Plants: Dig a hole in the potting mix that is about the same size as the plant’s root ball. Gently remove the plant from its nursery container, loosening any circling roots if necessary. Place the plant in the hole, ensuring the top of the root ball is level with the soil surface in the pot. Fill in around the roots with potting mix and gently firm it down. Water thoroughly after planting. Adding a layer of mulch (like shredded bark or pea gravel) on top of the soil can help retain moisture and suppress weeds in your pot.
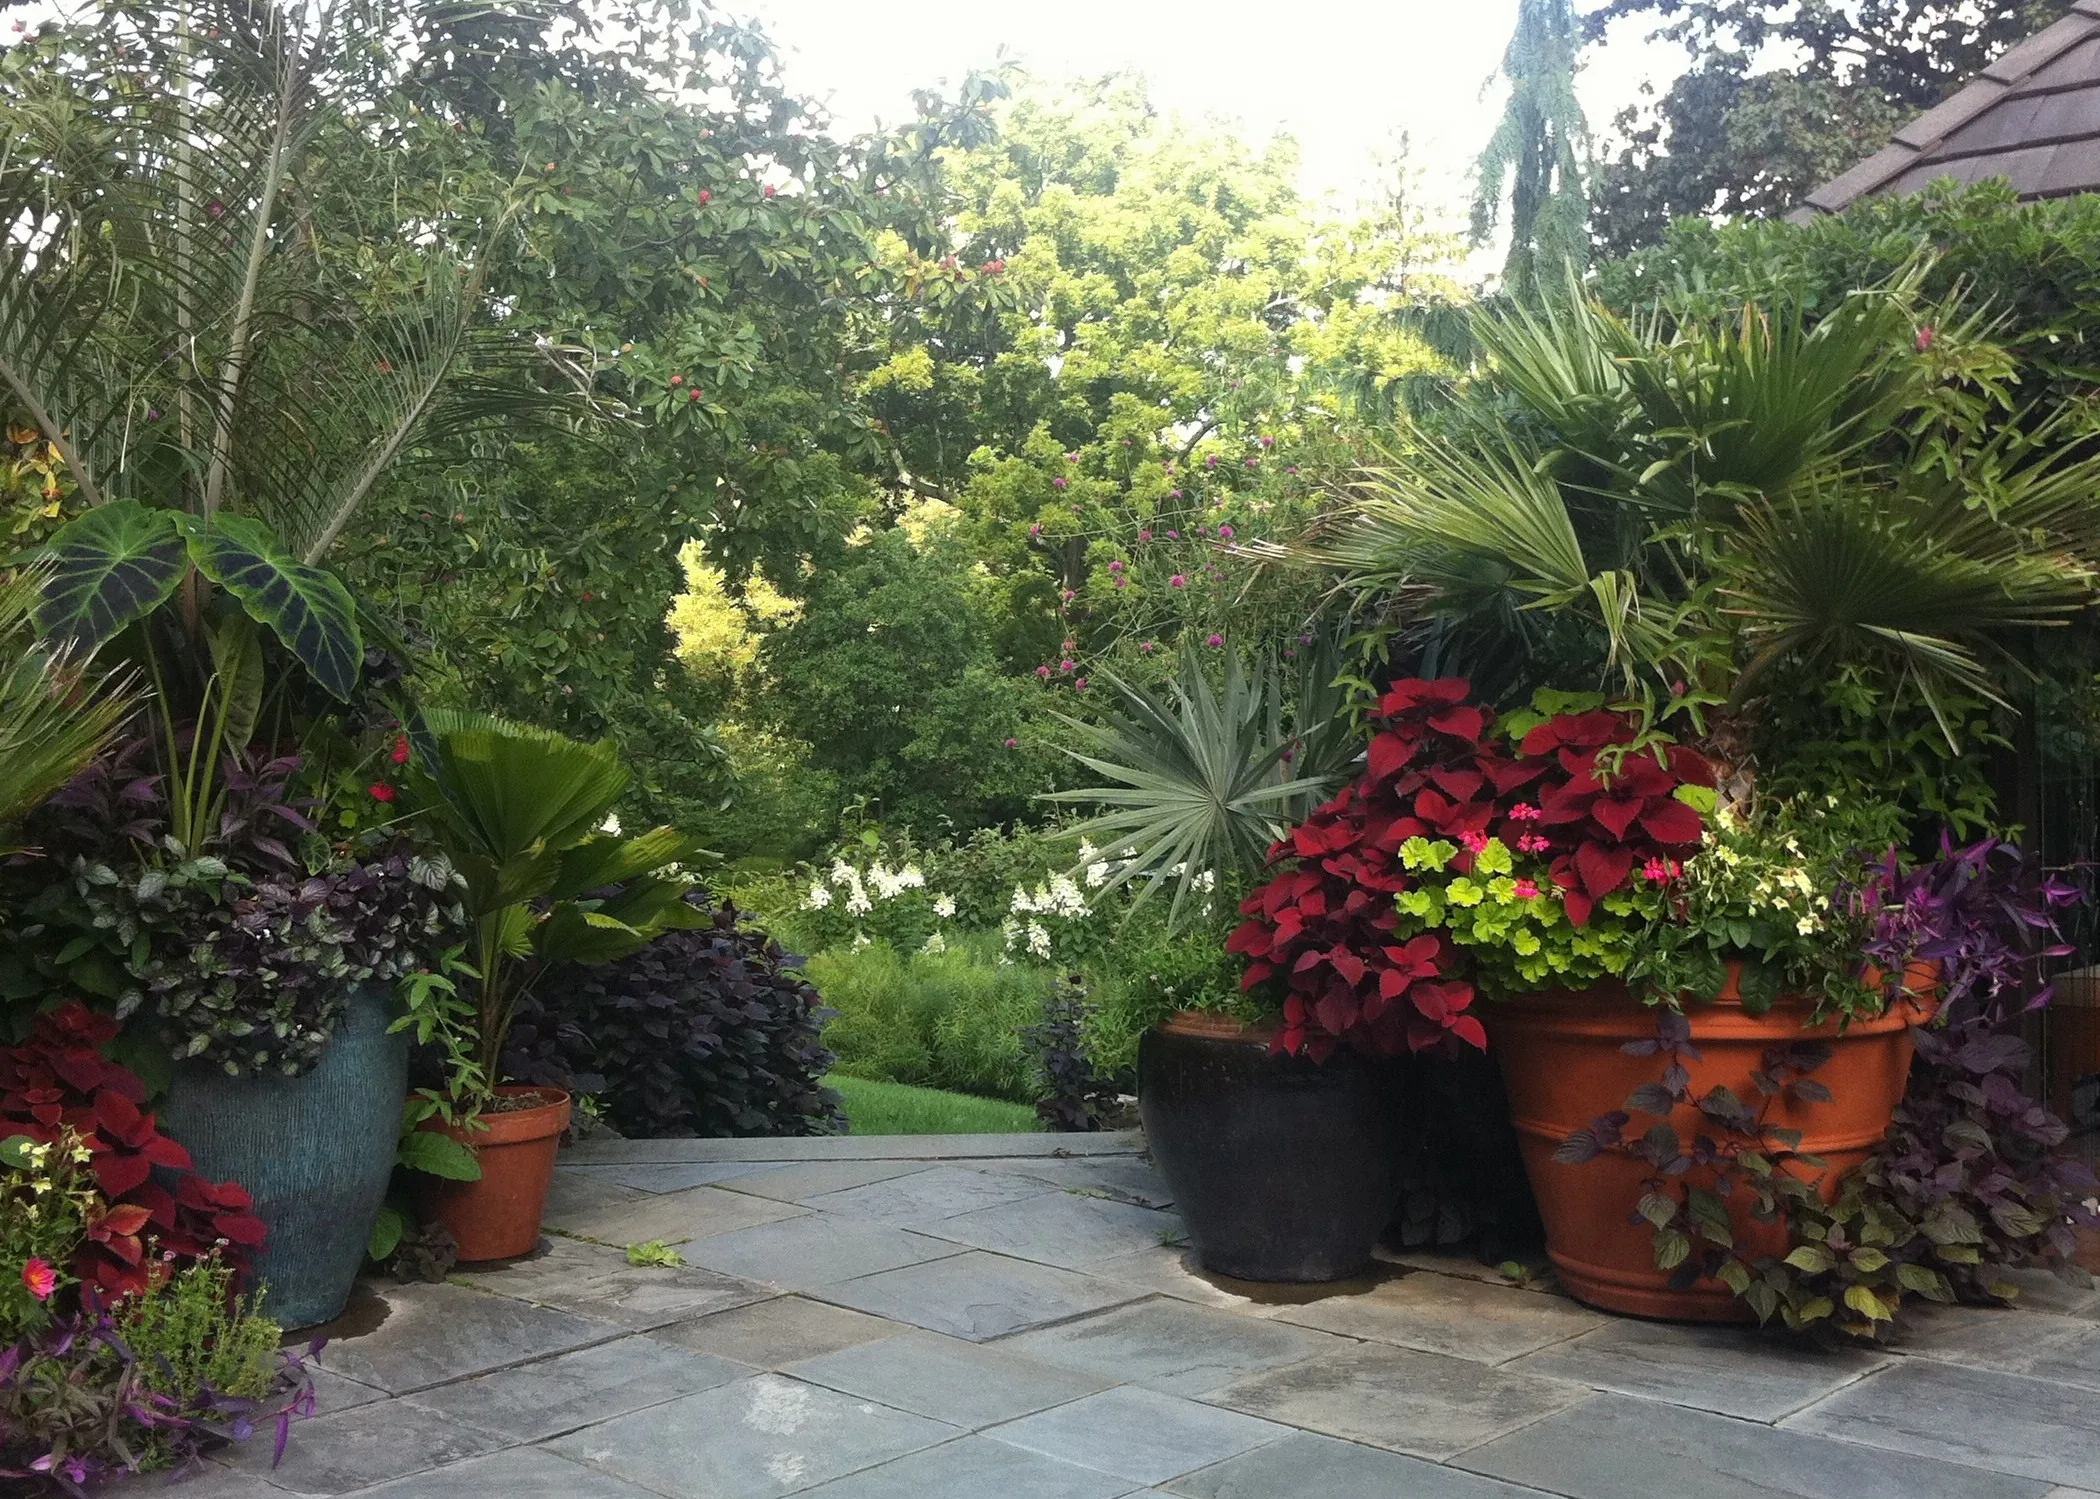
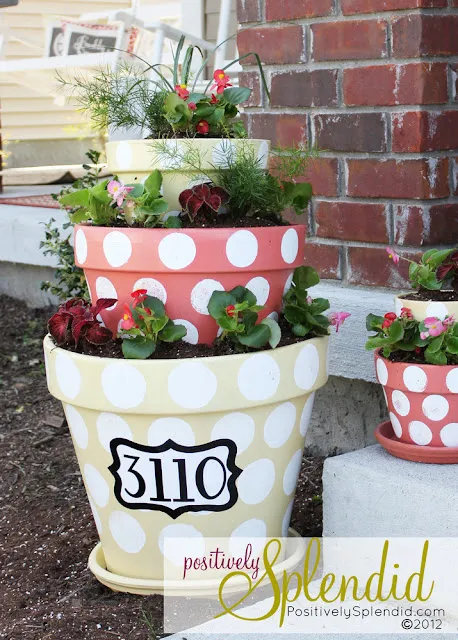
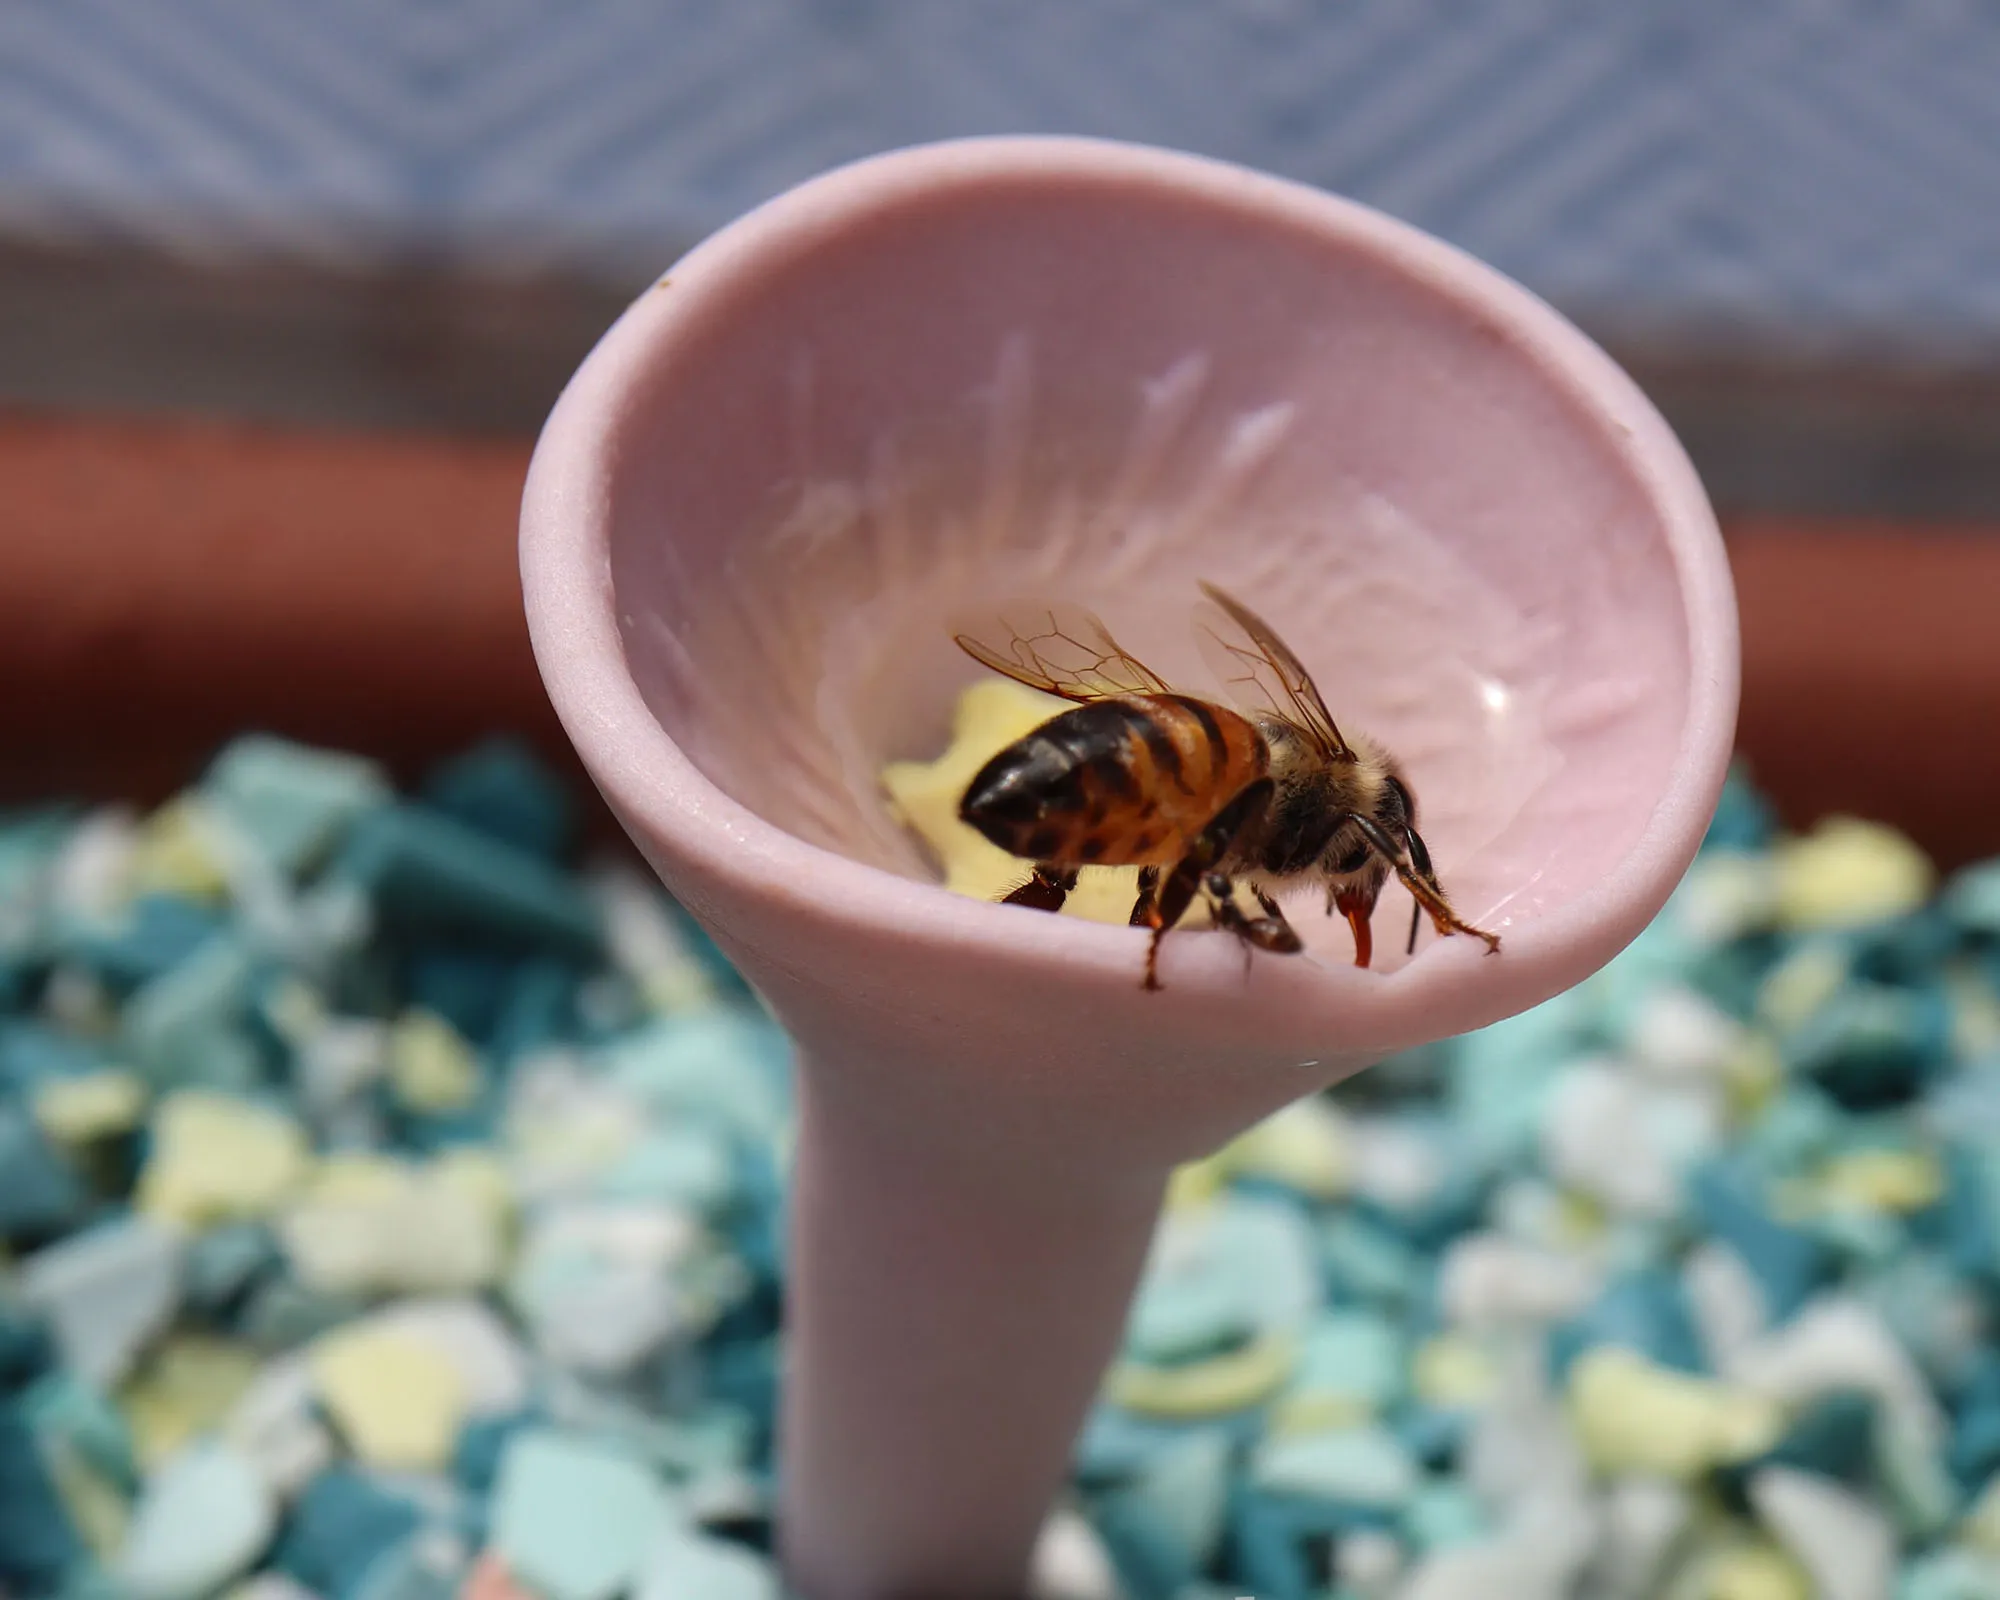
 Colorful purple coneflowers and clover attracting bees in a DIY pollinator pot arrangement
Care and Keeping: Watch, Water, and Wait
Once your pots are planted, the main tasks are watering, occasional weeding, and simply watching the magic happen!
- Watering: Container plants dry out much faster than plants in the ground, especially in hot, sunny weather. Check the soil moisture regularly by sticking your finger about an inch deep. If it feels dry, it’s time to water. Water deeply until water drains from the bottom holes. Avoid overhead watering if possible to prevent leaf diseases.
- Weeding: Weeds compete for water and nutrients. In pots, they are usually easy to spot and pull. Keep your containers weed-free.
- Waiting: Patience is a virtue, especially when gardening. Some plants, particularly perennials grown from seed, might take a season or two to become fully established and flower profusely. But you’ll likely see signs of pollinator visitors much sooner!
Suitable Plants for Pollinator Pots
Many excellent pollinator-attracting plants thrive in containers. Here are a few popular choices that are often suitable for pots (always check specific varieties and their mature size):
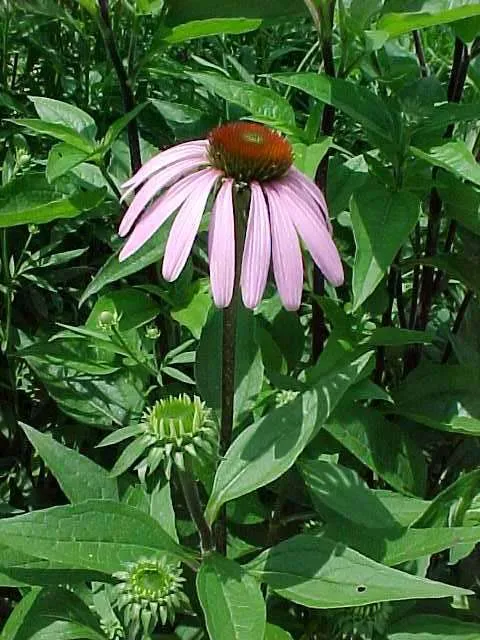
Purple Coneflower
- Scientific Name: Echinacea purpurea
- Common Name: Purple Coneflower
- Zone: 3-8
- Light: Full sun to partial shade
- Humidity: Tolerant
- Water: Moderate; drought tolerant once established but appreciates consistent moisture in containers.
Wild Bergamot
- Scientific Name: Monarda fistulosa
- Common Name: Wild Bergamot, Bee Balm
- Zone: 3-9
- Light: Full sun to partial shade
- Humidity: Tolerant
- Water: Moderate; prefers moist, well-drained soil. Needs more frequent watering in containers.
Milkweed (for Monarchs!)
- Scientific Name: Asclepias spp. (choose native species like A. tuberosa – Butterfly Milkweed, which is more compact)
- Common Name: Milkweed
- Zone: Varies by species, typically 3-9
- Light: Full sun
- Humidity: Tolerant
- Water: Varies by species; many prefer well-drained soil and are drought tolerant once established, but containers dry quickly.
Note: Milkweed is crucial for Monarch butterflies as it’s their only host plant. Be sure to plant native species suitable for your area.
Wrapping Up Your Pollinator Pot Project
Creating DIY pollinator pots is a simple yet incredibly impactful way to support bees, butterflies, and other beneficial insects. You don’t need a vast garden – a few pots on a sunny windowsill, a balcony, or a patio can make a world of difference. By providing food and habitat, you’re helping these vital creatures and bringing beautiful, dynamic nature right to your doorstep.
We wish you the best of luck with your DIY pollinator pots this summer! Get planting, watch the visitors arrive, and enjoy the beauty you’ve created.
What plants are you excited to try in your pollinator pots? Share your ideas in the comments below! And if you found this guide helpful, please share it with fellow garden enthusiasts. Explore Thelittle.garden for more tips on bringing nature into your home and garden!