Are you dreaming of a garden bursting with color and life earlier than ever next season? Want robust, resilient plants that laugh in the face of fickle spring weather? The secret lies in getting a head start by sowing hardy late-summer bloomers – or rather, the seeds that will become them – right now!
Key Takeaways:
- Sowing hardy annual seeds in late summer or early autumn yields stronger, earlier blooms next year compared to spring sowing.
- You can choose between direct sowing into prepared beds or sowing into pots for overwintering.
- Proper soil preparation, careful sowing technique, and mindful watering are crucial for success.
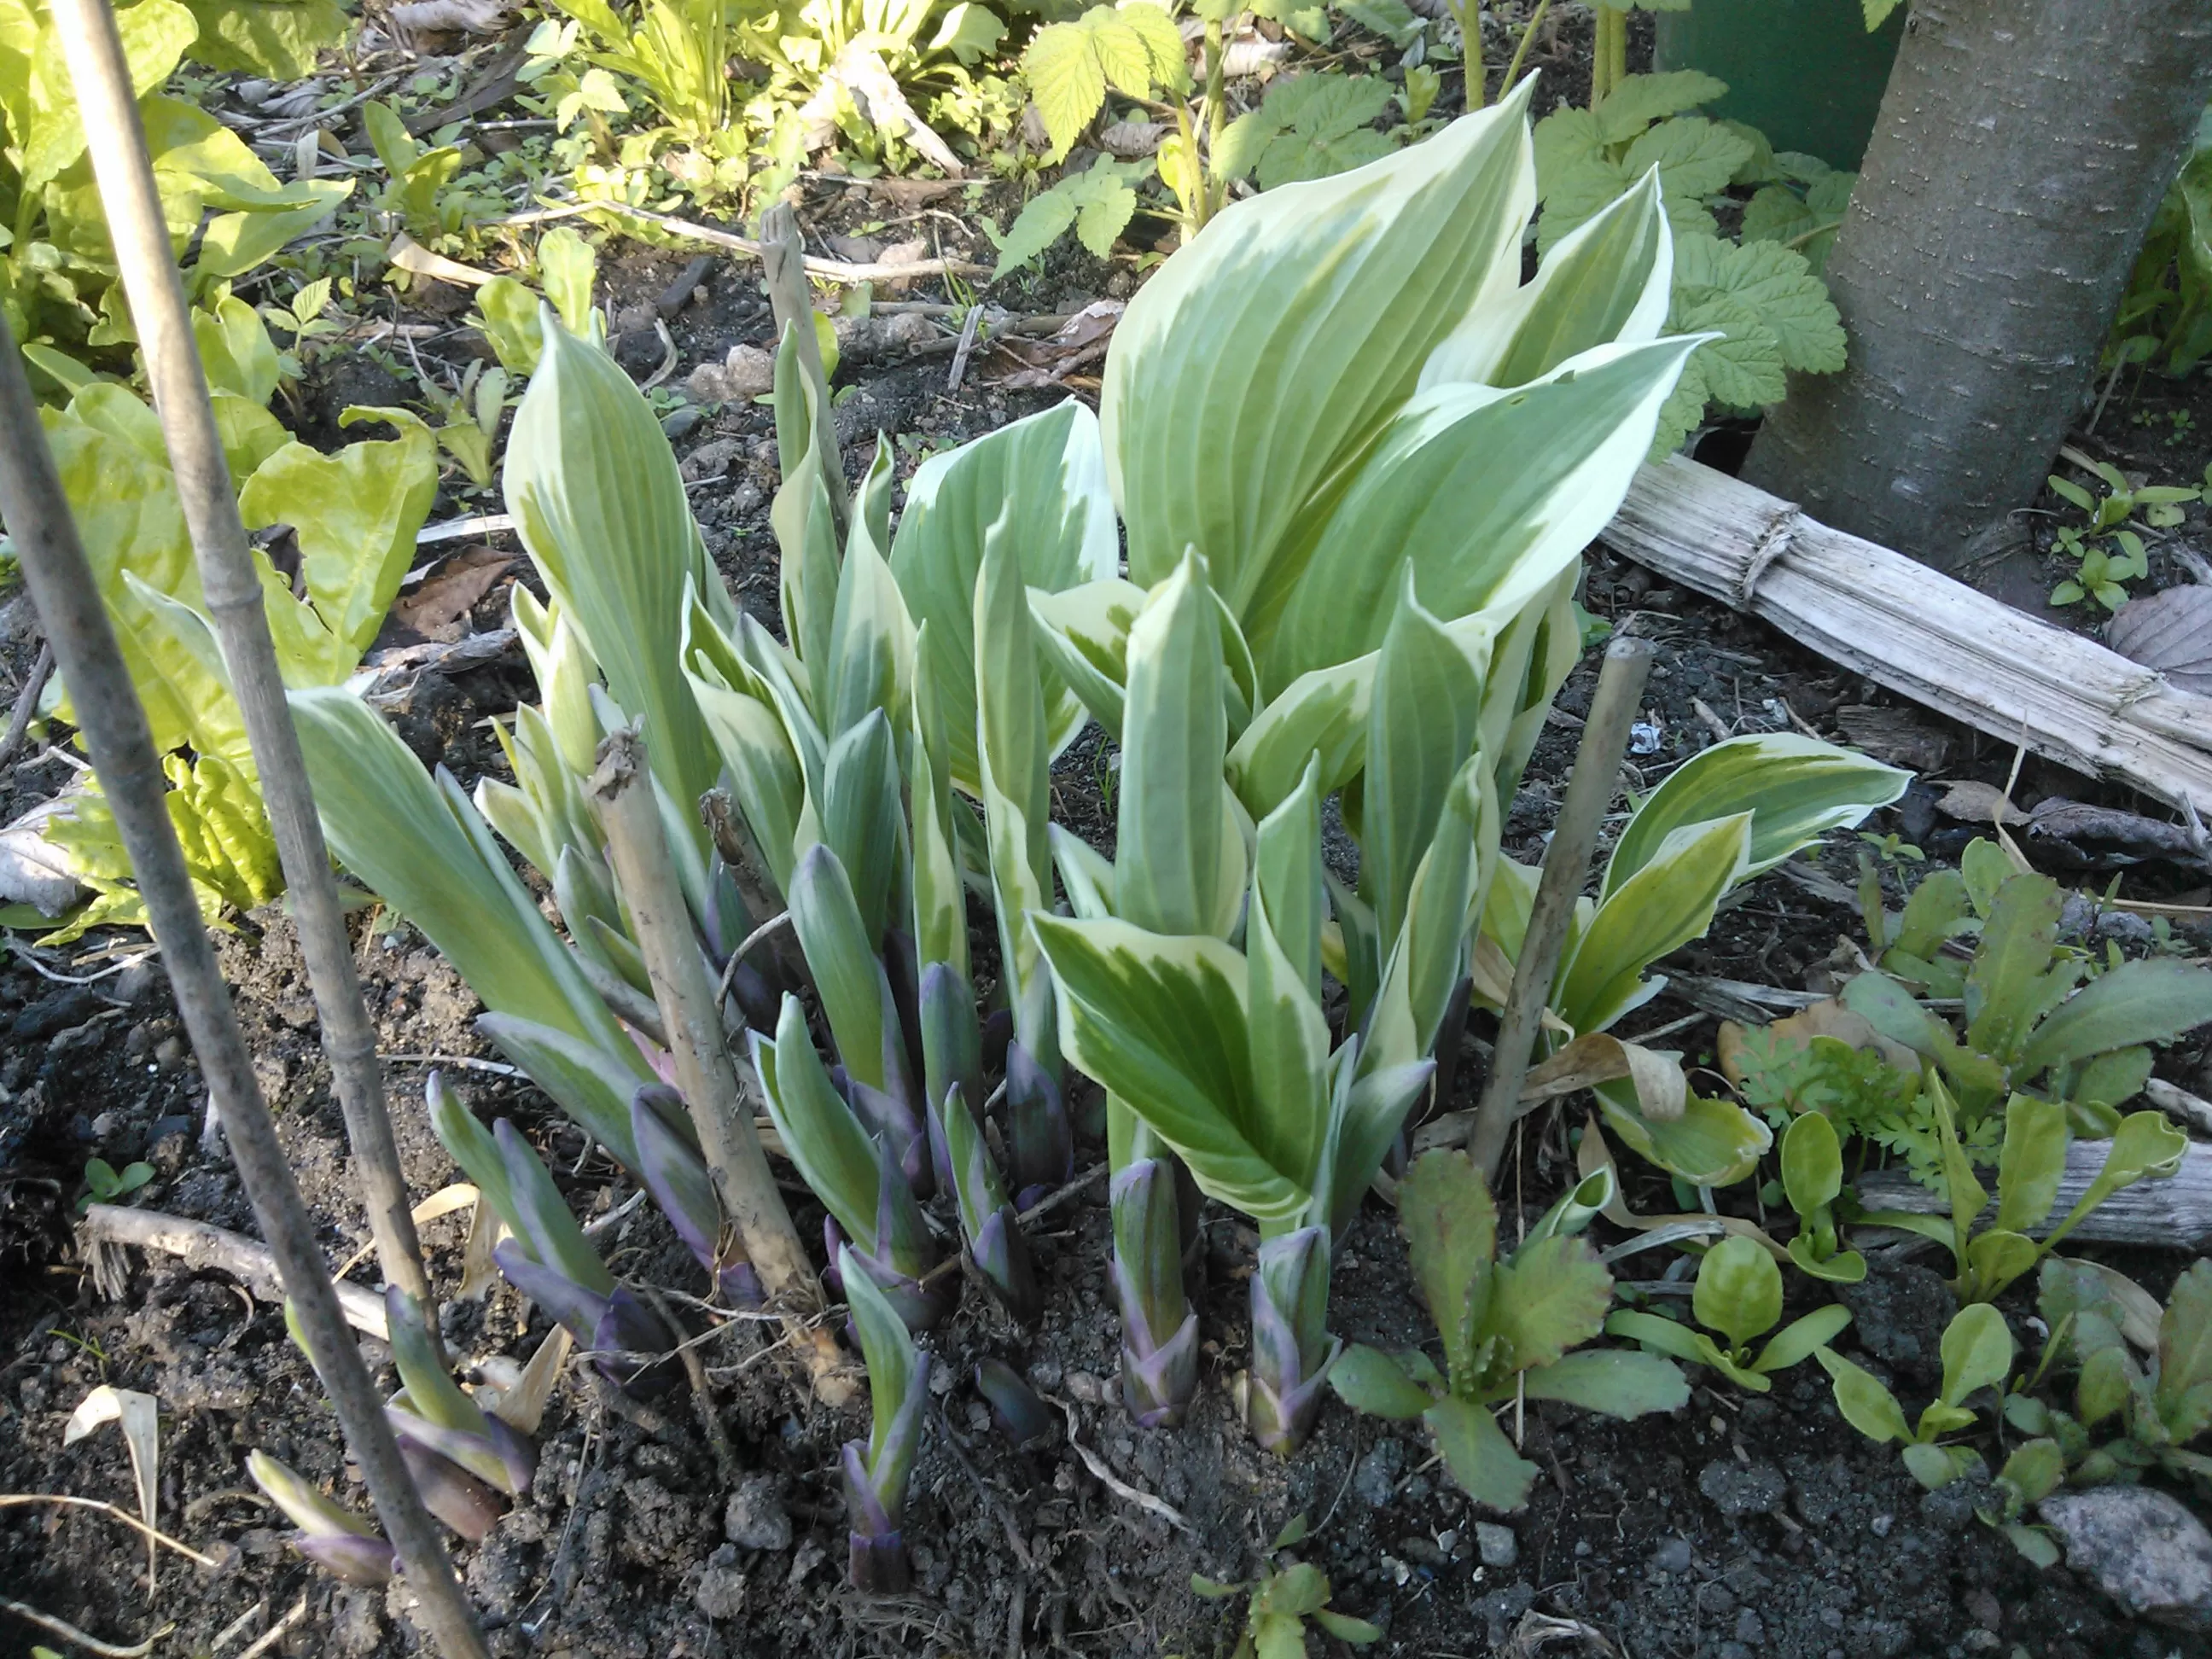
- Overwintered seedlings need thinning and protection, but reward you with vigorous growth come spring.
- This method is ideal for extending your garden’s bloom season and ensuring a steady supply of flowers.
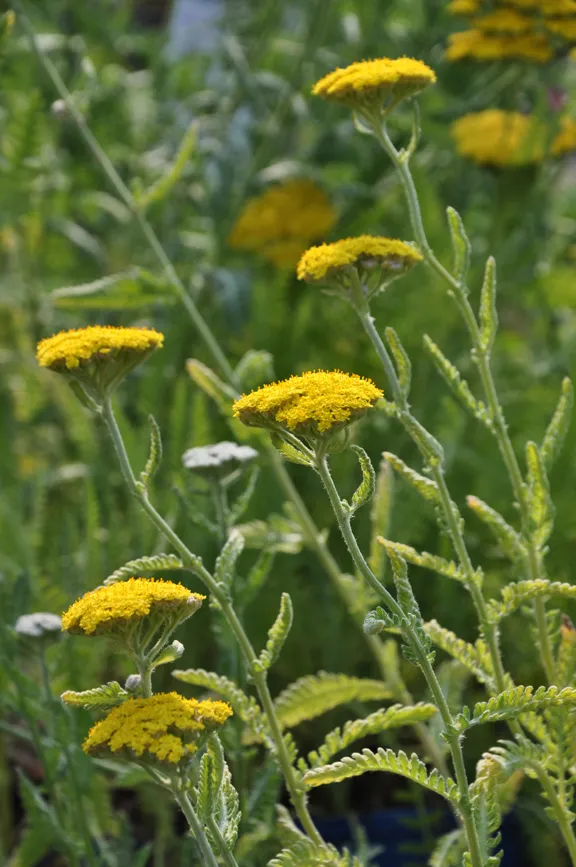
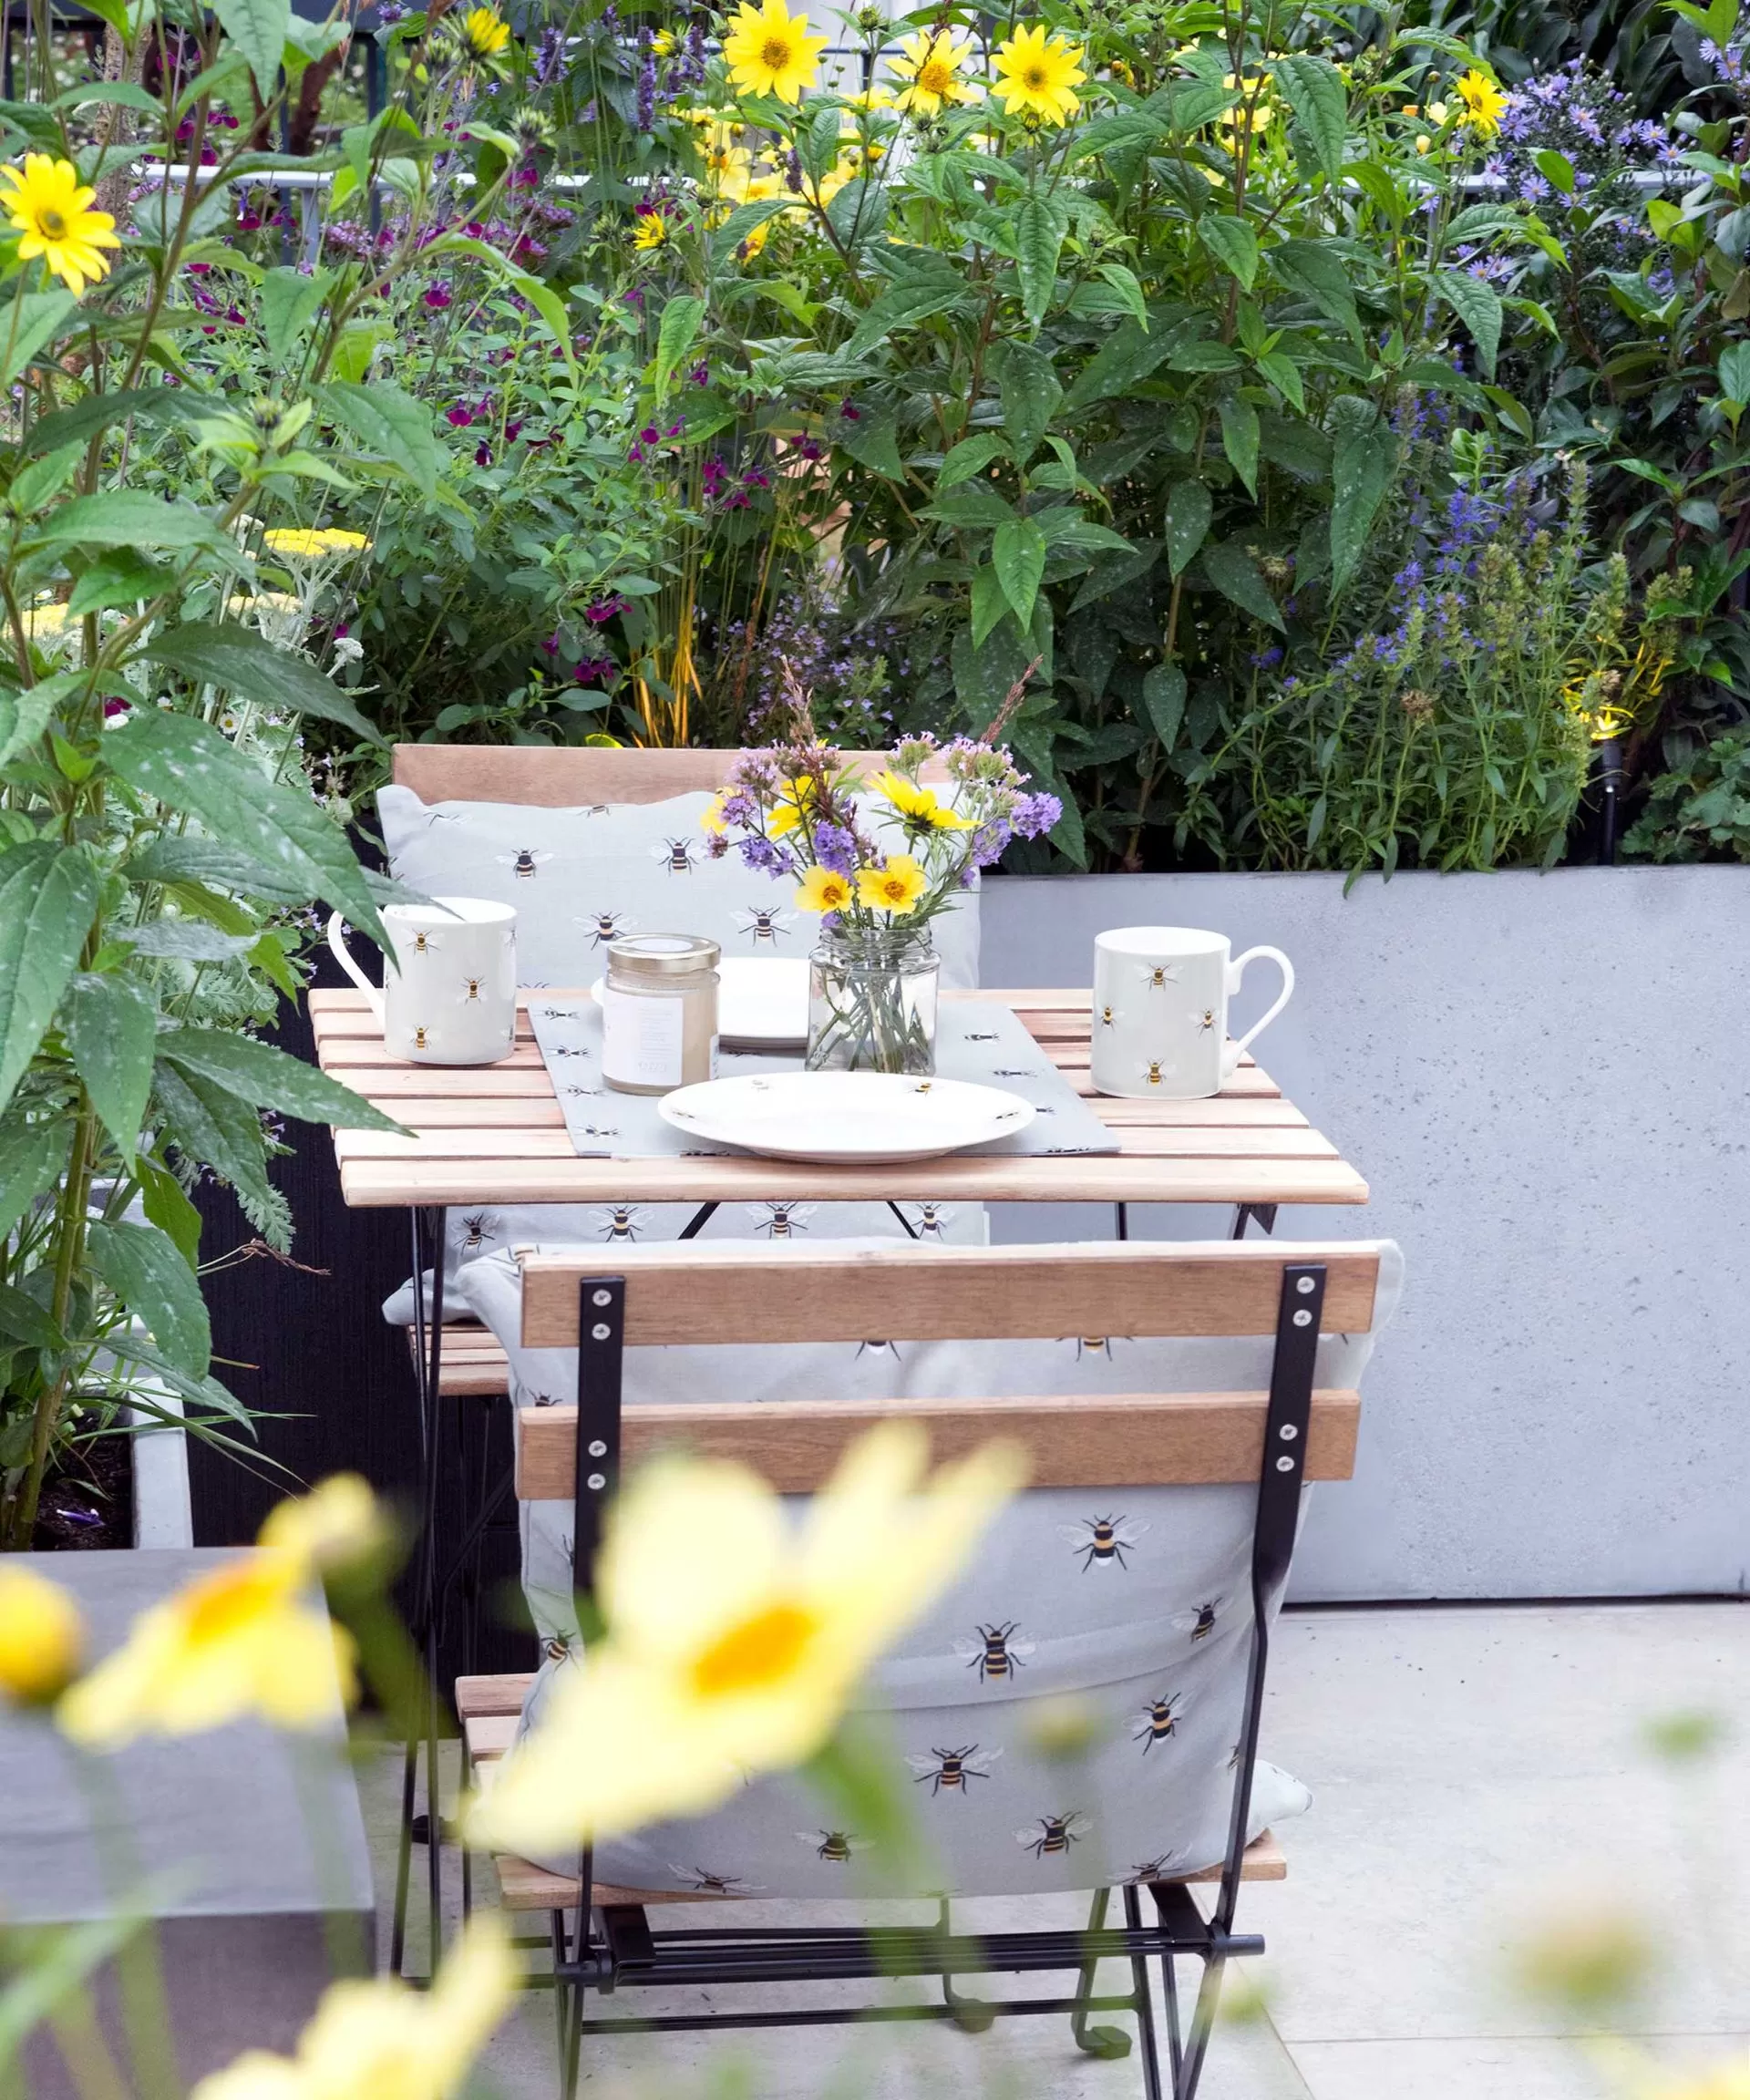
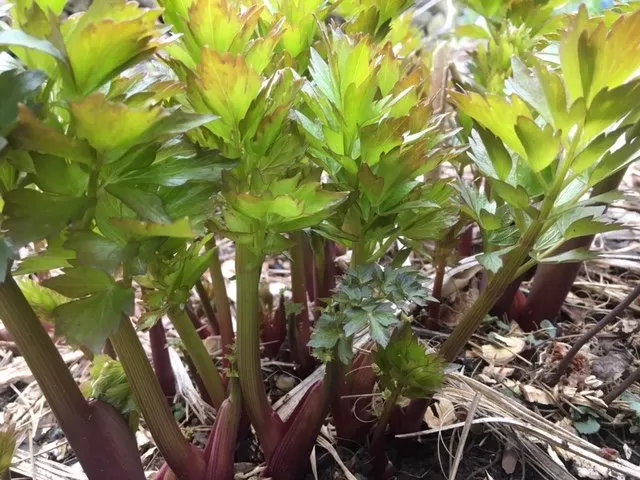
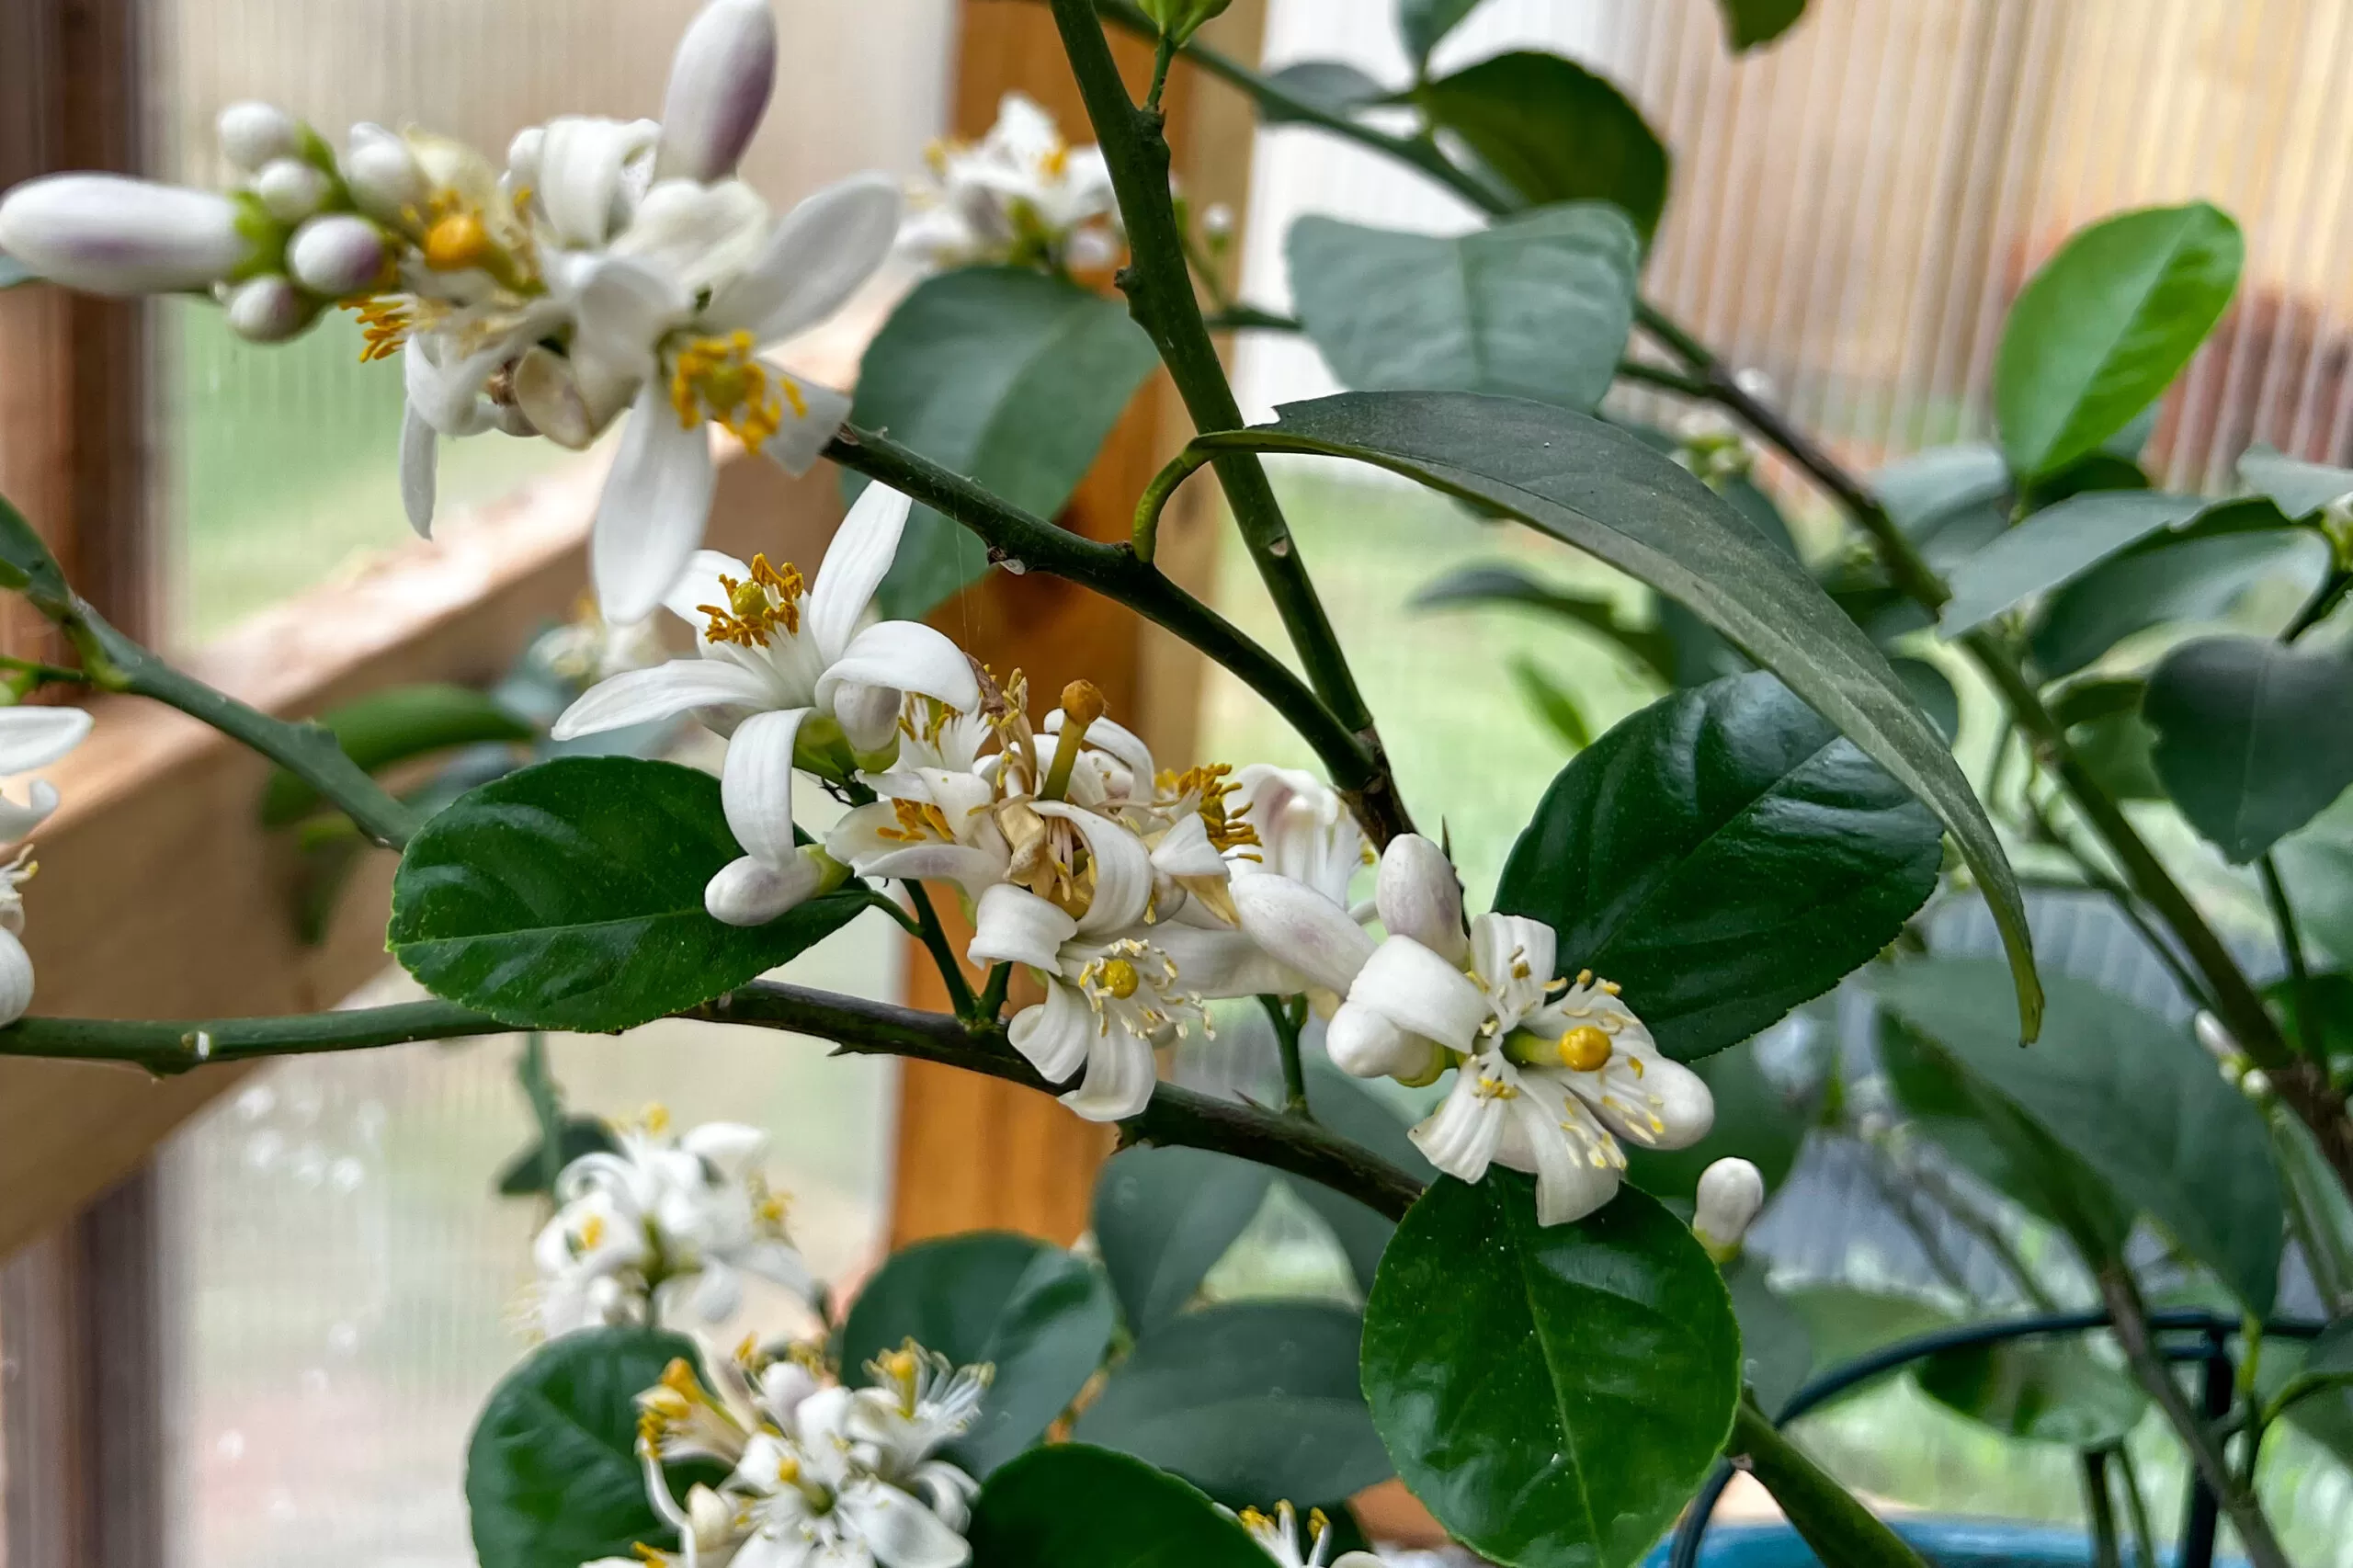
There’s a quiet magic in the garden as summer begins to wane. The frantic growth slows, but the potential for next year is already taking shape. For those of us who adore a garden brimming with flowers from the first hint of warmth, late summer is prime time to think about sowing. Specifically, it’s the perfect moment to get those hardy annual seeds into the ground or into pots. These tough little plants, sown now, will spend the autumn establishing a strong root system, lie dormant or grow slowly through winter, and then explode with vitality and blooms come late spring and early summer, well before their spring-sown counterparts even get going. This gives you a longer, more abundant flowering season, often featuring some of the most gorgeous varieties perfect for cutting and enjoying indoors. Let’s dive into how you can give your garden this incredible advantage.
Why Sow Hardy Annuals in Late Summer?
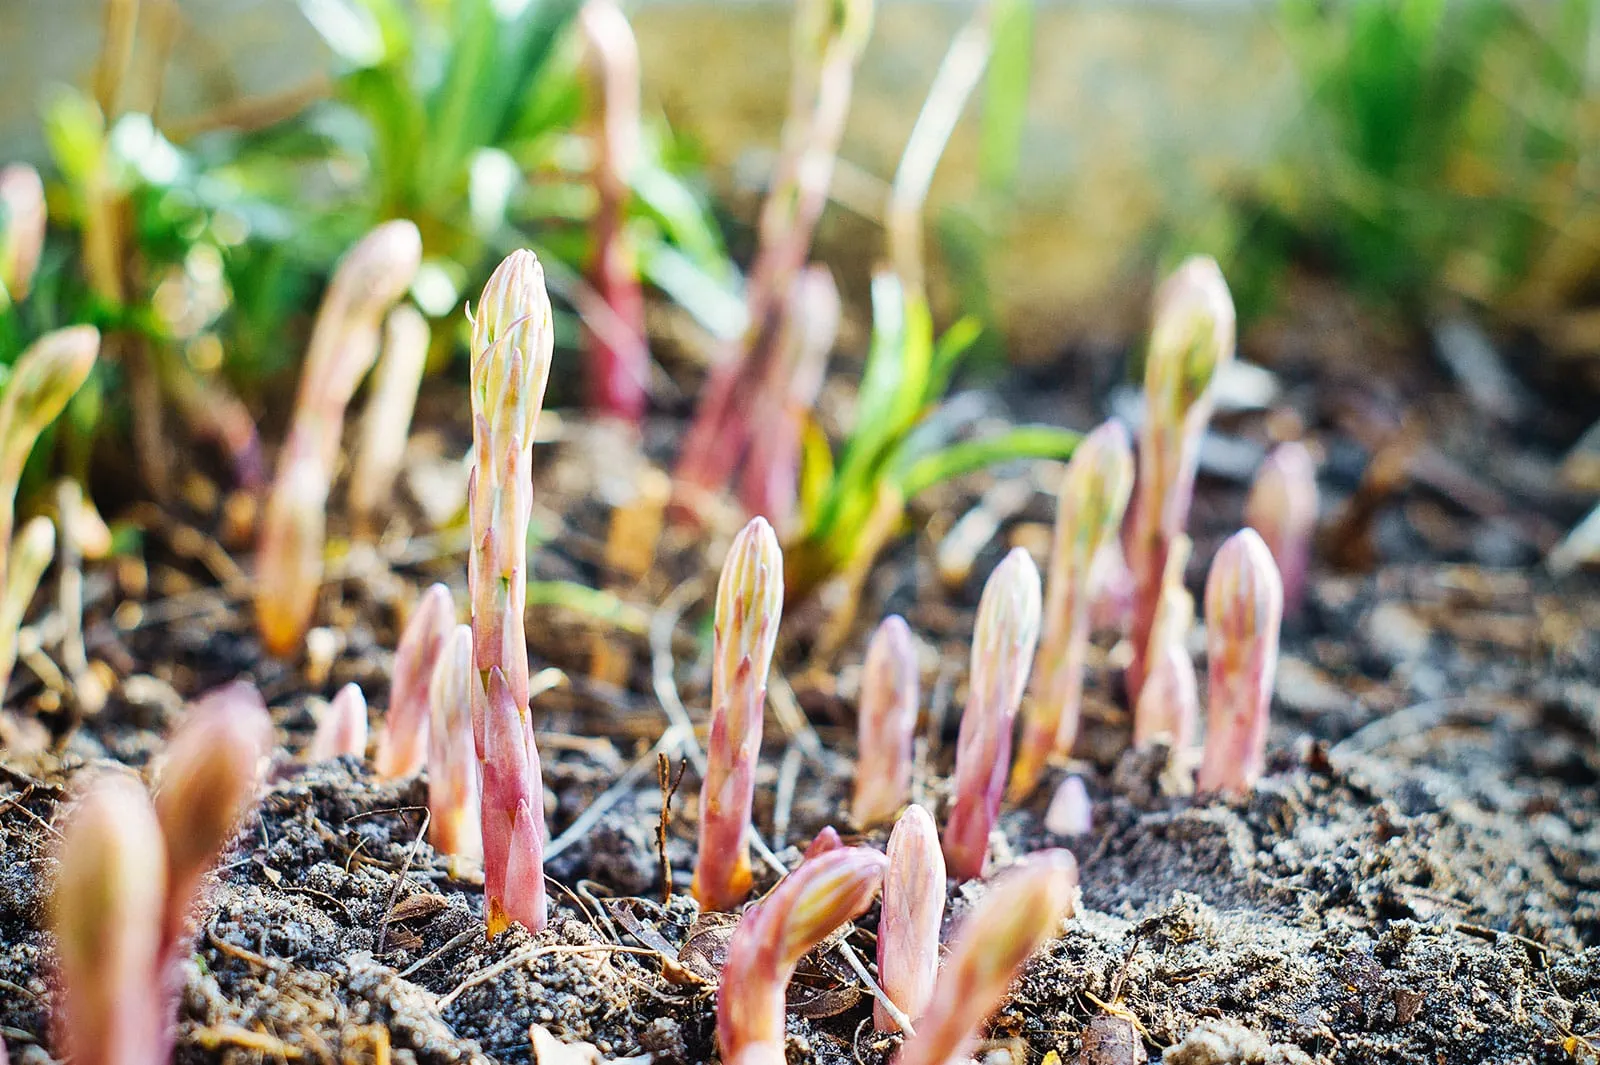
It might seem counterintuitive to sow seeds as the days shorten, but for hardy annuals, it’s a game-changer. Plants started now develop robust root systems over autumn and winter. This foundation allows them to grow bigger, stronger, and bloom weeks, sometimes months, earlier than if you waited until spring. Imagine having armloads of flowers ready when your neighbors’ gardens are just waking up! It’s about harnessing the natural cycle – giving these resilient plants the cool, moist conditions they thrive in for germination and early growth before the main sprint of spring.
Direct Sowing into Garden Beds
One classic method is sowing seeds directly into your prepared garden beds. This works well for many hardy annuals that prefer not to have their roots disturbed.
Timing is Everything
Getting the timing right is crucial. Sow too early, and warm spells could trick seedlings into flowering before winter, leaving them vulnerable. Sow too late, and the soil might be too cold for germination. The sweet spot is typically late summer to early autumn, often around September in cooler climates. If you’re further north, you might aim for a slightly earlier window. Pay attention to your local weather patterns – a gentle cooling down is the signal.
Prepare Your Soil
Weeds are the enemy of tiny seedlings. Ensure your chosen bed is completely free of weeds. Good soil preparation is key. Work in some compost to improve drainage and fertility. Aim for a fine tilth – soil that’s crumbly and easy for tiny roots to penetrate. If you have enough compost, a lovely top layer of an inch or two can give seedlings a perfect start.
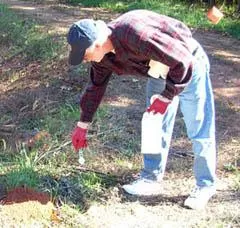
Creating Seed Drills
Use a taught string line to mark out straight rows. This helps you identify seedlings from weeds later on. Along this line, make a very shallow drill. We’re talking just a few millimeters deep – more like a scratch on the surface than a trench.
 Using a string line to create a shallow seed drill in the soil for sowing hardy annuals in late summer.
Water Before Sowing
A simple but effective tip: water the drill before you sow the seeds. This pre-moistens the soil without risking washing away your precious seeds after they’ve been placed.
Sow Seeds Thinly
The goal is to avoid overcrowding. Aim to sow seeds thinly in the drill – ideally about one seed every three to four inches. This gives each seedling space to grow without competing intensely from the start. It’s easier said than done, especially with tiny seeds, but do your best!
Lightly Cover Seeds
Gently cover the seeds with a light dusting of compost or fine soil. Just enough to bury them to the correct depth as recommended on the seed packet, or slightly more than their own thickness.
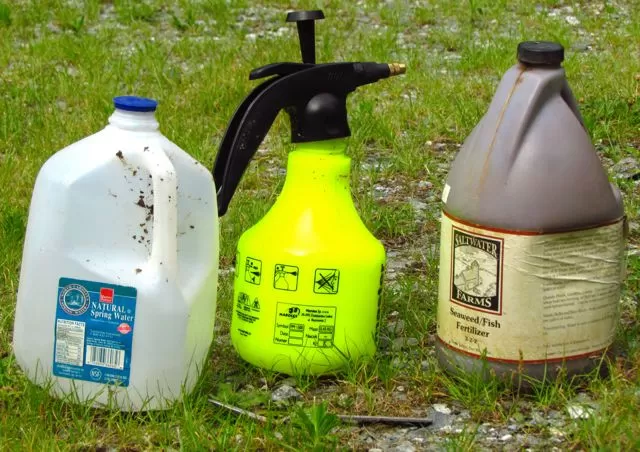
Water Wisely
After covering, avoid heavy watering that can dislodge seeds. If the soil feels dry, water lightly. Overly wet soil can cause seeds to rot or seedlings to damp off. Keep the seedbed consistently moist but not waterlogged.
Spacing Your Rows
Allow adequate space between rows, generally about a foot apart. This provides room for plants to mature and makes weeding easier. Consider leaving paths every few rows for easier access, or if space is tight, plan to tread carefully between rows when maintaining.
Weeding and Maintenance
Keeping the beds weed-free is vital, especially when seedlings are small. A long-handled hoe can be used between rows once seedlings are large enough to be clearly visible. A three-pronged cultivator is also excellent for disturbing shallow weeds and preventing soil compaction between plants.
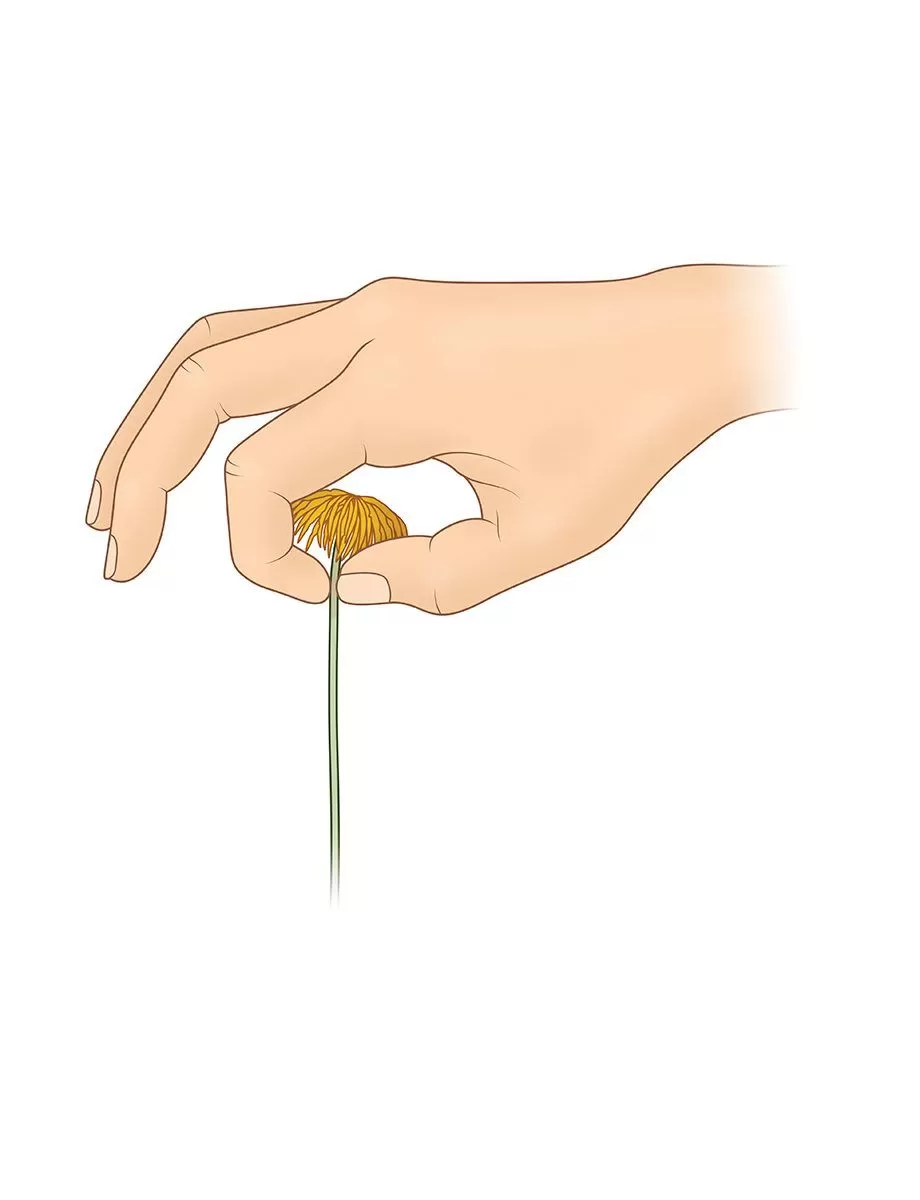
Thinning in Spring
Once spring arrives and seedlings begin their active growth phase, you’ll need to thin them out to their final spacing, often about a foot apart. This gives the remaining plants room to develop into strong, bushy specimens. Don’t discard the thinnings! Many hardy annual seedlings transplant happily and can be used to fill gaps or start new patches elsewhere.
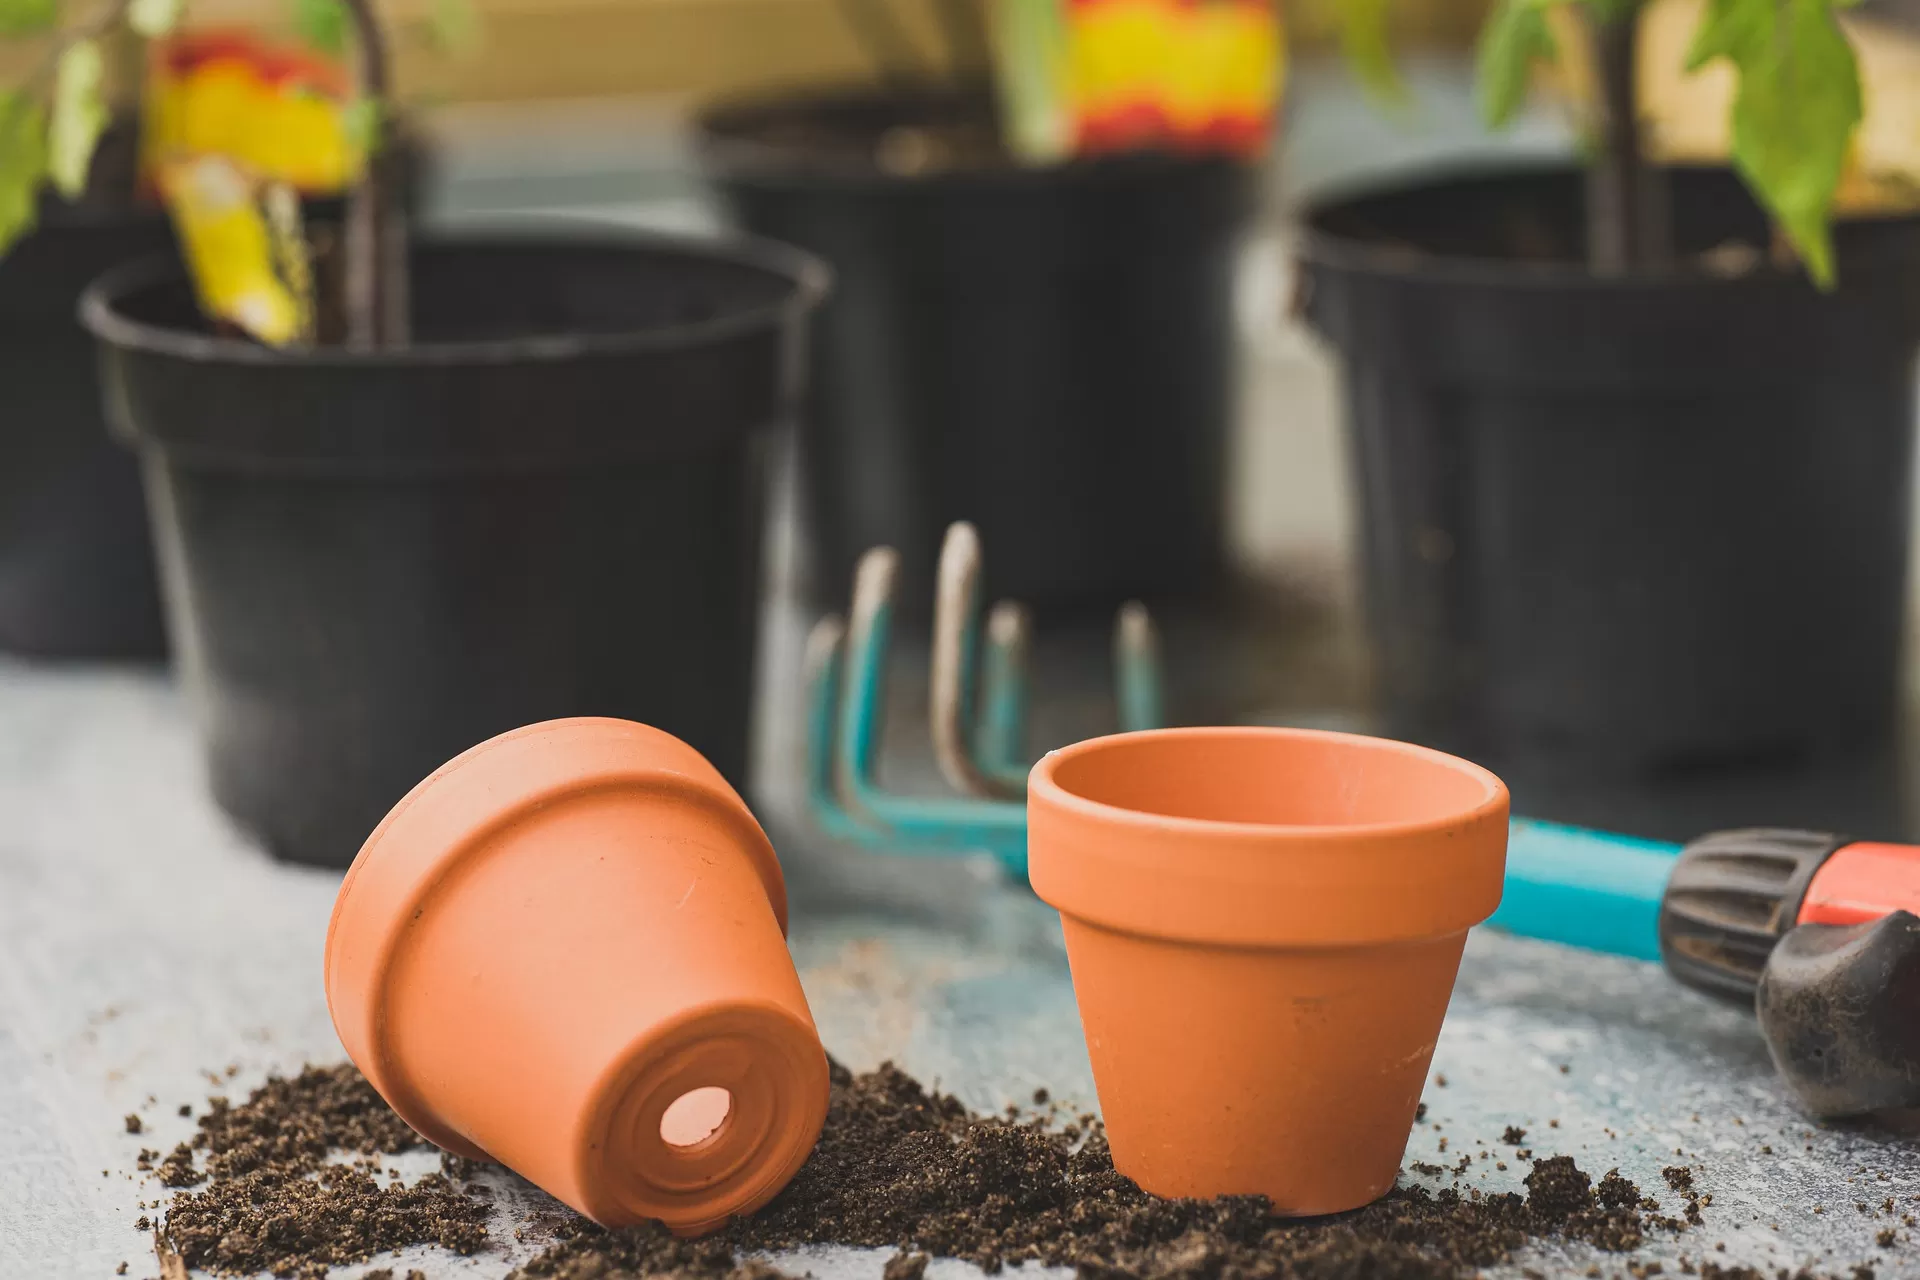
Sowing into Pots for Overwintering
Sowing into pots offers flexibility and protection, especially if your garden beds aren’t ready or you face challenging winter weather.
Advantages of Pots
One major benefit of pot sowing is avoiding the constant battle against weeds around tiny, vulnerable seedlings in the open ground. Pots can also be moved to more sheltered locations if needed.
Choosing Your Pots
Three-inch square pots are a popular choice, as their shape maximizes space and offers fewer hiding spots for slugs and snails compared to round pots. Slightly larger pots also work well, giving roots more room to develop over winter. Remember, the focus at this stage is root growth, not top growth. Don’t be discouraged if the top growth looks a bit scraggly during winter – they’ll bush out beautifully in spring.
Thin to One Seedling Per Pot
This is critical for developing strong individual plants. As soon as seedlings are large enough to handle, thin them to just one healthy seedling per pot. Overcrowding in pots leads to weak, leggy plants that struggle when planted out.
Manage Your Quantity
Be realistic about how many plants you can accommodate in your garden. Nine pots, each with one seedling, will typically fill about one square meter of ground. Calculate how much space you have available next spring and only sow enough seeds to fill that area. Resist the urge to sow every seed into every pot you can find – it creates an overwhelming number of seedlings you won’t be able to plant out successfully.
Planting Out in Spring
Once the danger of hard frosts has passed and the soil is workable, typically in March or April depending on your climate, plant your pot-grown seedlings into their final positions in the garden. Space them appropriately, often around a foot apart, just like direct-sown plants. Choose a mild week for transplanting to give them the best chance to settle in.
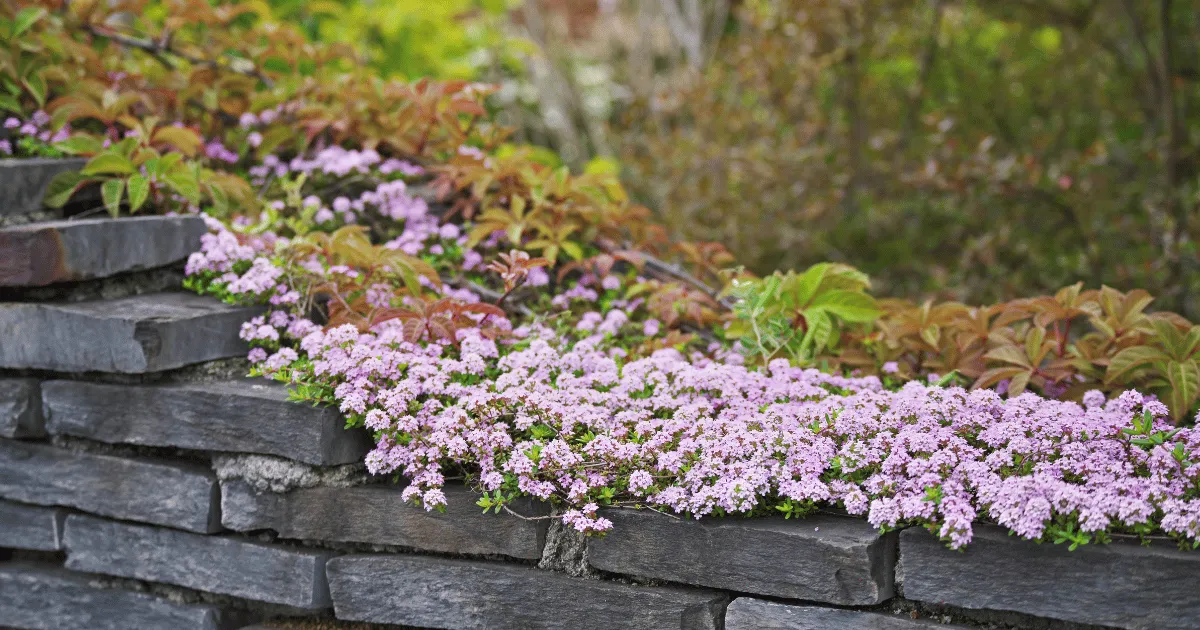
This method of sowing hardy annuals in late summer lays the groundwork for a magnificent display next year. By choosing hardy varieties suited to your zone, you’ll be rewarded with robust plants and an abundance of blooms that truly are hardy late-summer bloomers, providing lasting beauty and fragrance in your garden and home.
Conclusion
Taking the time to sow hardy annual seeds in late summer is an investment in your garden’s future. Whether you choose direct sowing for simplicity or pots for flexibility, you’re setting the stage for earlier, stronger, and more prolific blooms next season. These techniques empower you to extend your flowering season and enjoy the bounty of your garden for longer. Give it a try this year and experience the rewarding magic of getting ahead!
What hardy annuals are you planning to sow this late summer? Share your favorites and your tips in the comments below! If you found this guide helpful, please share it with your gardening friends. And be sure to explore more tips and inspiration on Thelittle.garden!