- Hydrangeas thrive in well-draining soil with morning sun and afternoon shade
- Plant in fall or spring, in a hole wider than the pot and at the same soil level
- Water deeply 3 times per week, about 1 inch total
- Prune according to variety (old wood vs new wood) to encourage blooming
- Adjust soil pH to change flower color (acidic for blue, alkaline for pink)
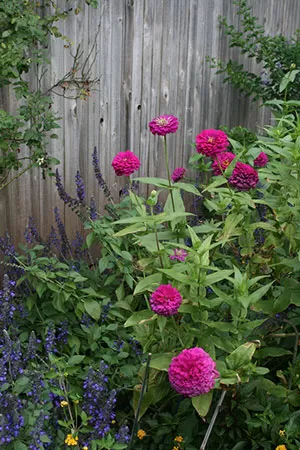
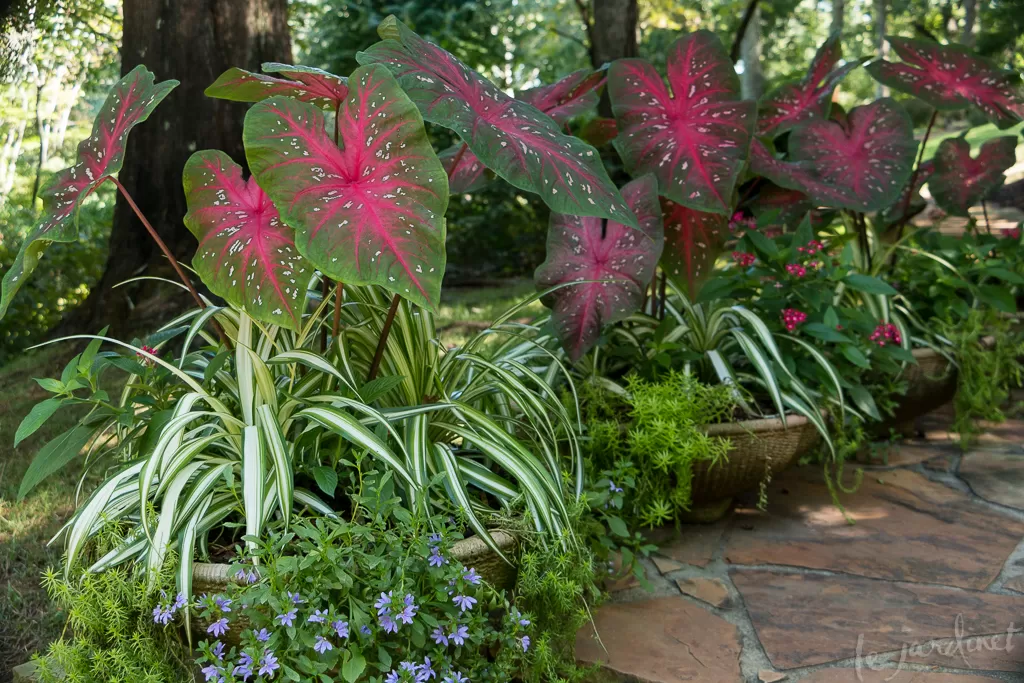
 Vibrant hydrangea blooms in a garden
Hydrangeas are a stunning addition to any garden, offering lush foliage and abundant blooms that can transform your outdoor space. As an avid gardener, I’ve found that caring for these beauties is both rewarding and easier than you might think. Let me share my experiences and tips for helping your hydrangeas thrive outdoors.
Choosing the Perfect Spot for Your Hydrangeas
When I first started growing hydrangeas, I learned quickly that location is key. These shrubs have specific preferences that, when met, result in healthier plants and more abundant blooms.
Sunlight Requirements
Most hydrangeas prefer:
- Morning sun
- Afternoon shade
This balance protects the plant from scorching while providing enough light for robust growth and flowering. I’ve found that placing hydrangeas on the east side of my house works wonderfully, as they receive gentle morning light and are shielded from harsh afternoon rays.
 Hydrangeas thriving in partial shade
Soil Conditions
For optimal growth, hydrangeas need:
- Well-draining soil
- Rich in organic matter
- pH between 5.5 and 7.0
I always amend my soil with compost before planting to ensure good drainage and nutrient availability. The pH level is crucial not just for plant health, but also for flower color in some varieties – more on that later!
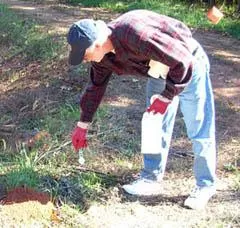
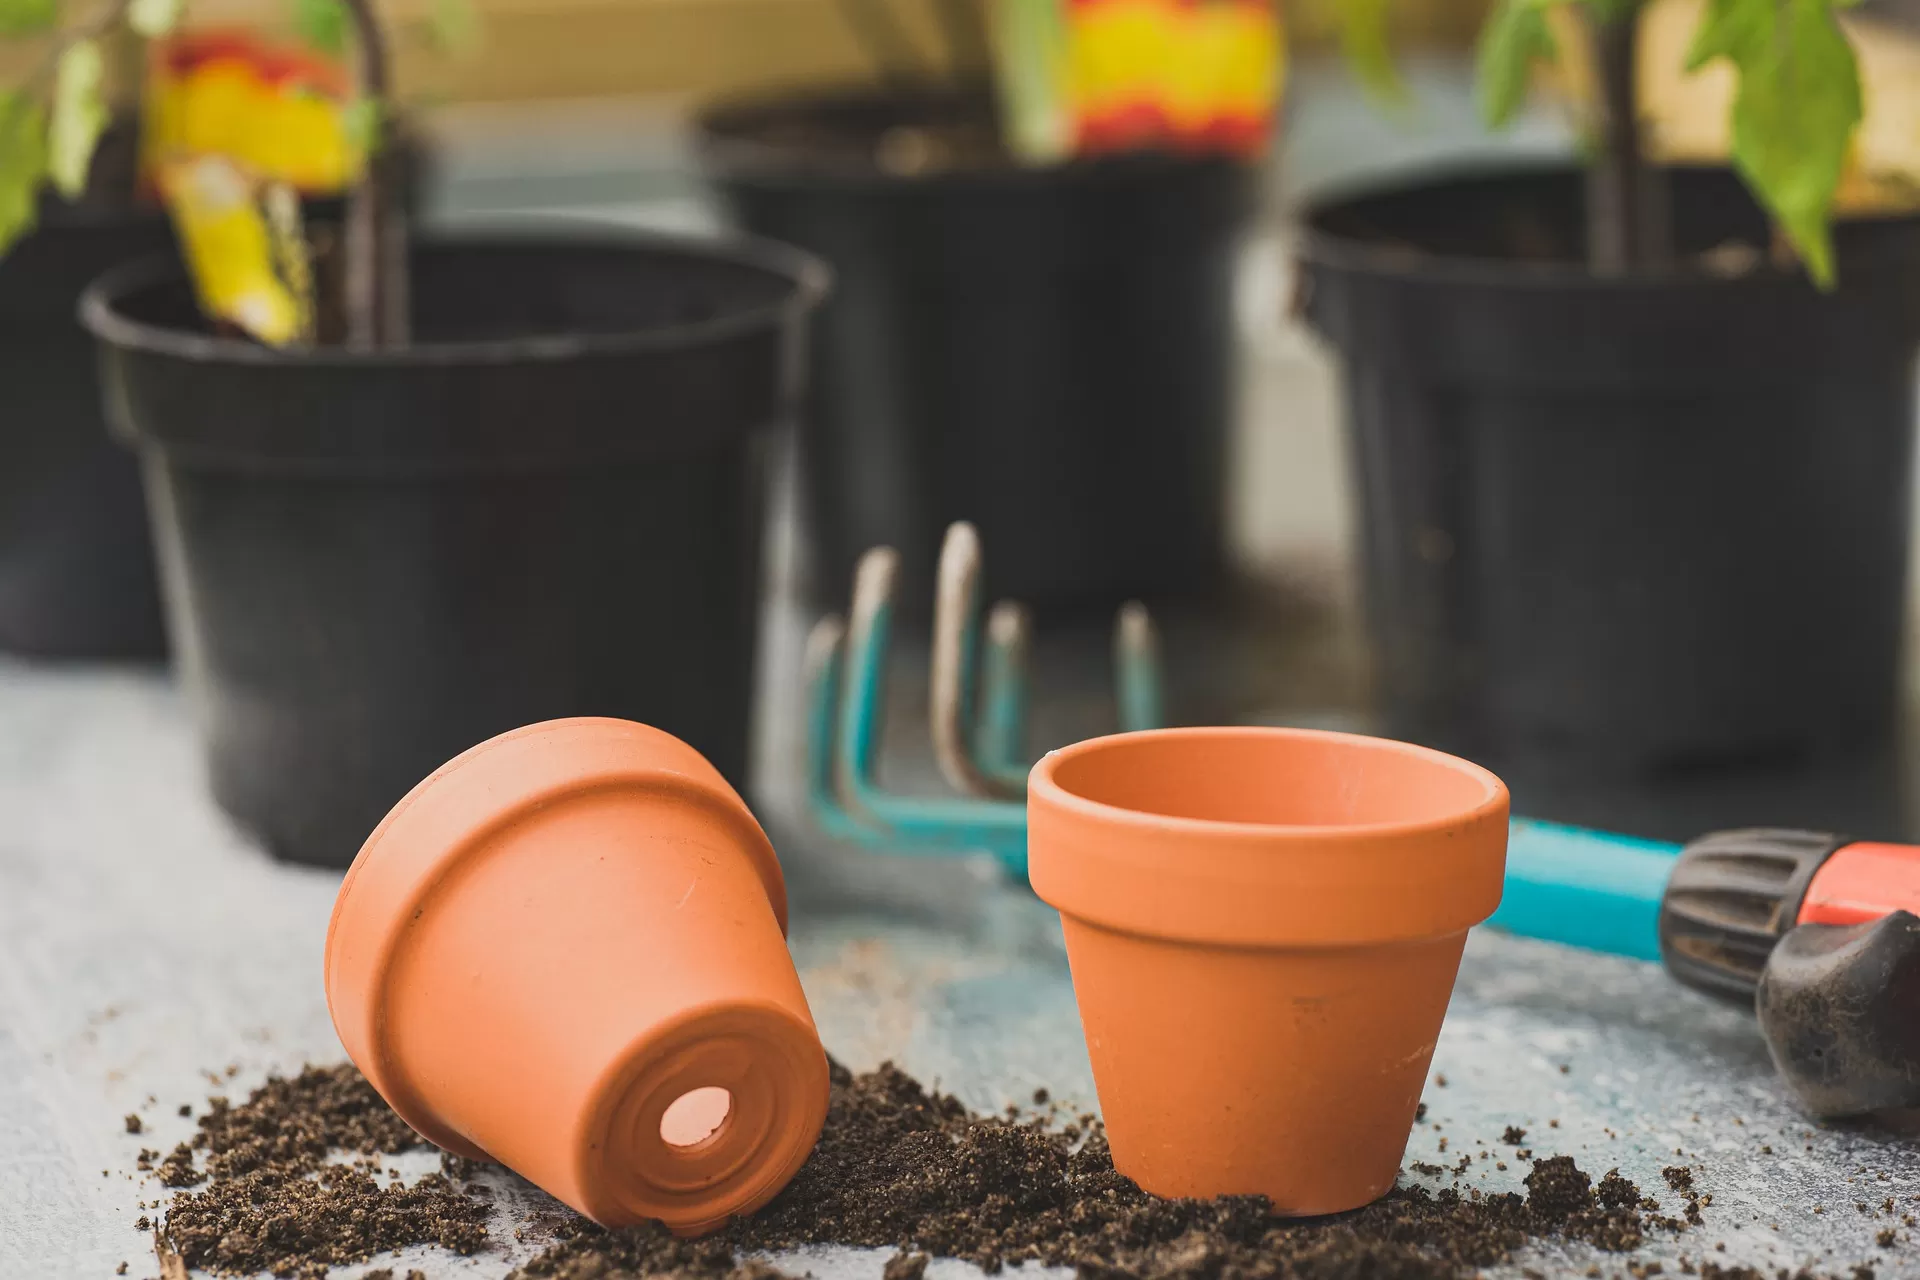
Planting Your Hydrangeas
Proper planting sets the stage for years of beautiful blooms. Here’s my step-by-step guide:
- Dig a hole twice as wide as the root ball and just as deep.
- Gently remove the plant from its container and loosen the roots.
- Place the plant in the hole, ensuring it’s at the same level as it was in the pot.
- Backfill with soil, firming gently to remove air pockets.
- Water thoroughly to help the roots establish.
 Newly planted hydrangea in garden
Watering Your Hydrangeas
Proper watering is crucial for hydrangeas. I’ve found that deep, infrequent watering encourages strong root growth. Aim for:
- 1 inch of water per week
- Water deeply 3 times a week rather than daily light watering
During hot spells, I keep a close eye on my hydrangeas and water more frequently if I notice wilting leaves.
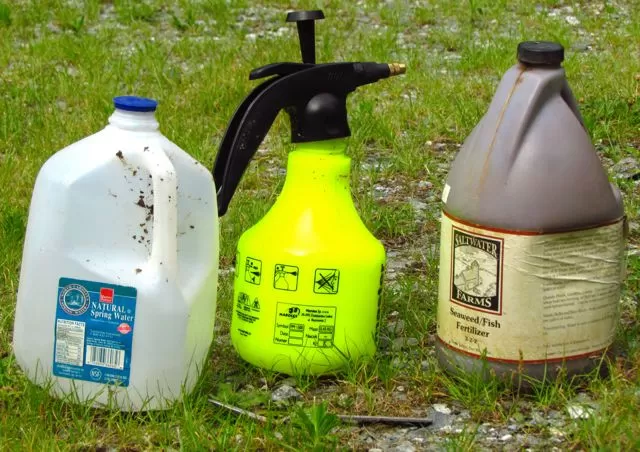
Fertilizing for Fabulous Blooms
Hydrangeas are heavy feeders, but it’s easy to overdo it. I use a balanced, slow-release fertilizer in early spring. If your soil is already rich, you may not need additional fertilizer. Always follow package instructions to avoid over-fertilizing, which can lead to lush foliage but fewer blooms.
 Healthy hydrangea with abundant blooms
Pruning: The Key to Healthy Hydrangeas
Pruning can be intimidating, but it’s essential for maintaining shape and encouraging blooms. The trick is knowing whether your hydrangea blooms on old or new wood:
- Old wood bloomers (like Bigleaf hydrangeas): Prune immediately after flowering
- New wood bloomers (like Panicle hydrangeas): Prune in late winter or early spring
I always use clean, sharp pruning shears and remove any dead, damaged, or crossing branches first.
Changing Hydrangea Color: A Fun Experiment
One of the most exciting aspects of growing hydrangeas is the ability to change their color. This works for certain varieties, particularly Bigleaf hydrangeas. Here’s how I’ve successfully altered my hydrangea colors:
- For blue flowers: Add aluminum sulfate to lower soil pH
- For pink flowers: Add lime to raise soil pH
It’s a gradual process, so be patient and enjoy the transformation!
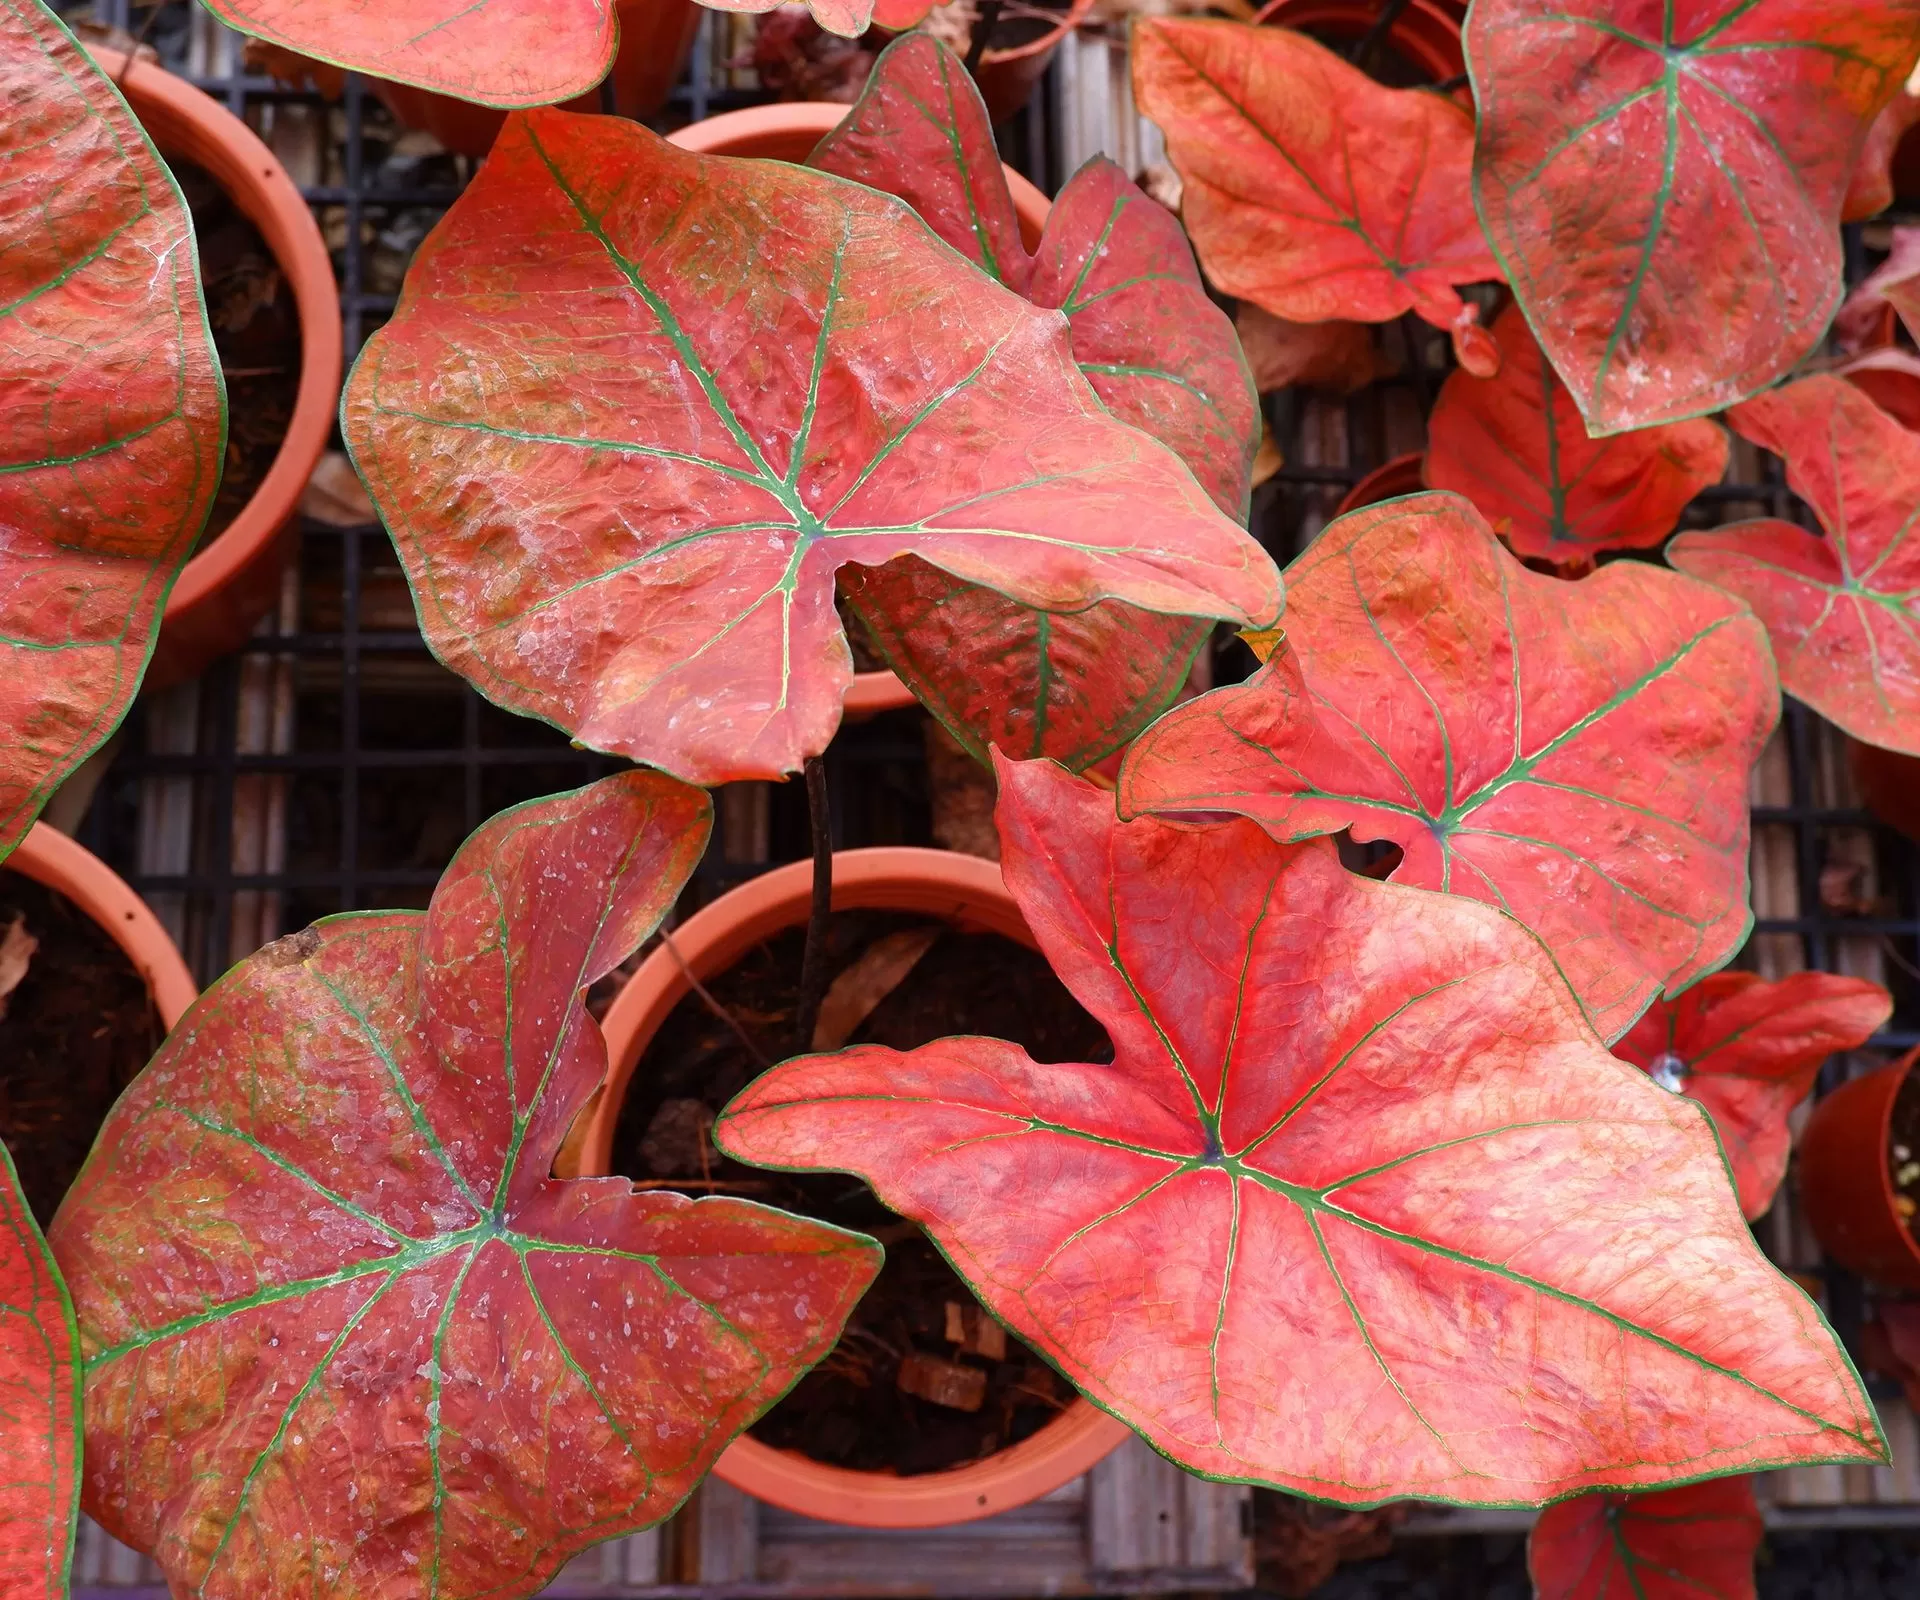
 Multicolored hydrangea blooms
Protecting Hydrangeas Through the Seasons
Spring Care
- Apply a layer of mulch to retain moisture and suppress weeds
- Begin fertilizing if needed
- Start adjusting soil pH if desired
Summer Care
- Increase watering during hot spells
- Deadhead spent blooms to encourage more flowering
Fall Care
- Reduce watering as temperatures cool
- Add a layer of compost around the base of the plant
Winter Protection
In colder regions, I protect my hydrangeas by:
- Building a wire cage around the plant and filling it with leaves
- Wrapping burlap around the plant to shield it from harsh winds
 Hydrangea protected for winter
Troubleshooting Common Hydrangea Problems
Even with the best care, issues can arise. Here are some I’ve encountered and how to address them:
- Wilting leaves: Usually indicates underwatering. Increase frequency of deep watering.
- Yellowing leaves: Could be overwatering or nutrient deficiency. Check soil moisture and consider a soil test.
- Few or no blooms: Might be due to improper pruning or too much nitrogen. Ensure you’re pruning at the right time and using a balanced fertilizer.
Conclusion
Caring for hydrangeas outdoors can be a delightful and rewarding experience. With the right location, proper care, and a bit of patience, you’ll be rewarded with stunning blooms that transform your garden. Remember, every plant is unique, so don’t be afraid to experiment and learn from your hydrangeas. They’re more resilient than you might think!
I hope these tips help you grow magnificent hydrangeas in your own garden. Do you have any hydrangea growing experiences or tips to share? I’d love to hear about them in the comments below. Happy gardening!