- Transplant young maple trees (3 years old or less) for best results
- Perform transplanting during late winter or fall when the tree is dormant
- Root prune several months before transplanting to encourage feeder root growth
- Provide ample water and avoid fertilizing immediately after transplanting
- Mulch around the tree to retain moisture and suppress weeds
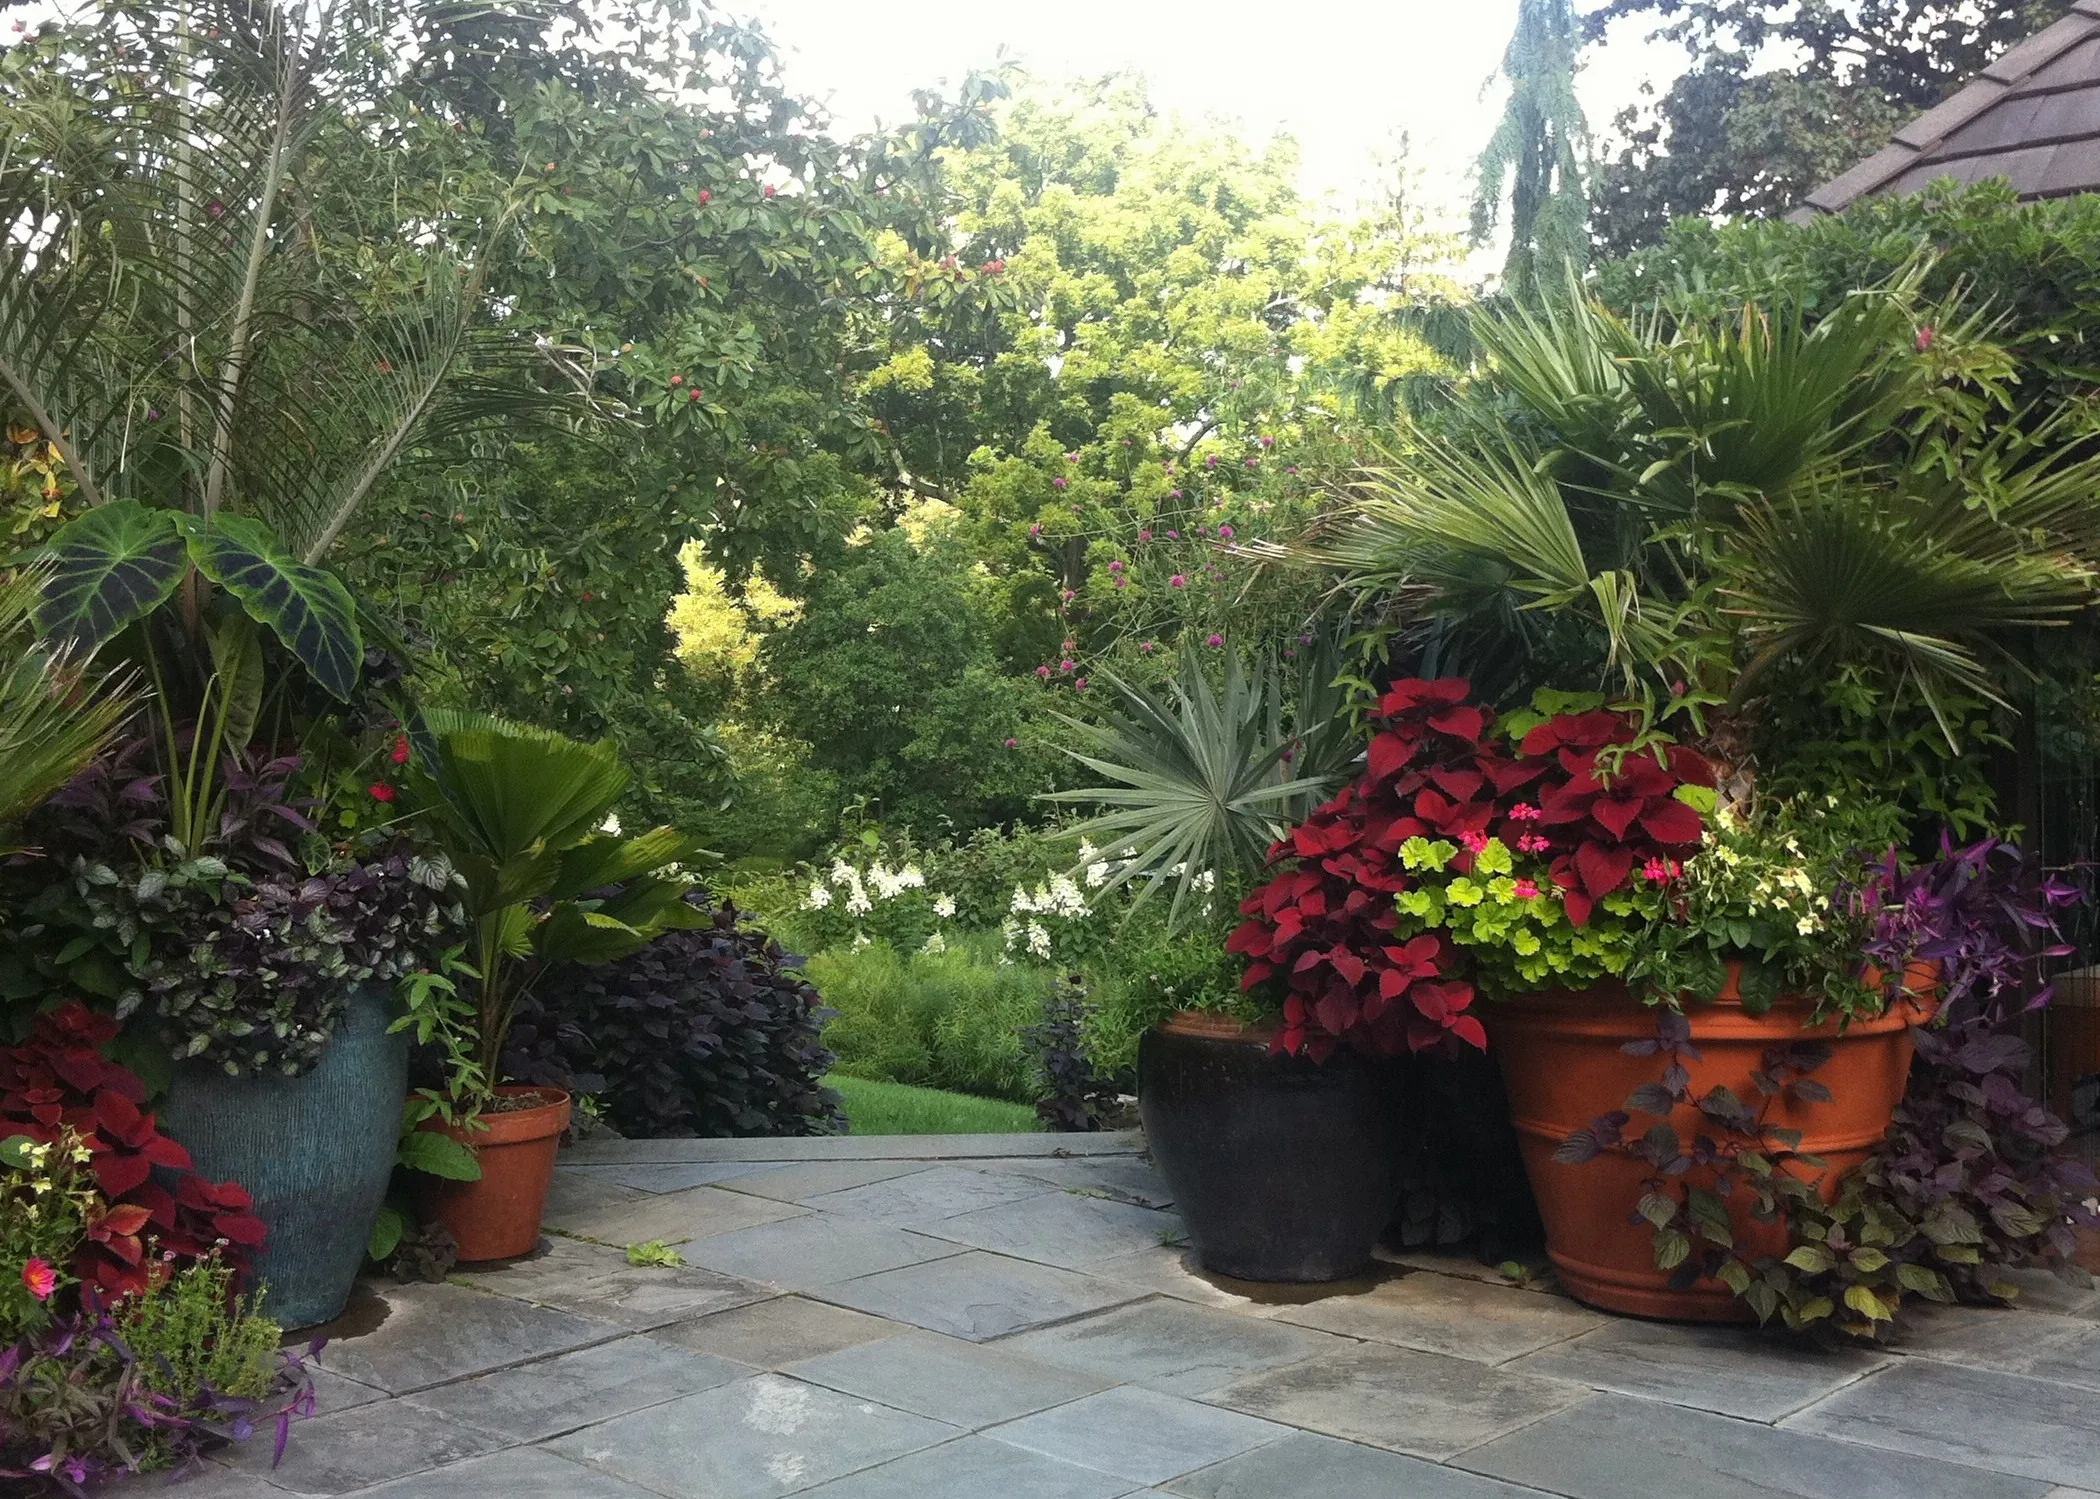
Maple trees, with their iconic “helicopter” seeds and stunning fall foliage, are beloved additions to any landscape. The red maple, in particular, stands out as a favorite among gardeners. If you’re considering relocating a red maple tree, it’s crucial to understand the process to ensure its survival and continued growth. This guide will walk you through the art of transplanting a red maple tree and provide expert tips for post-transplant care.
 No more procrastination, it is time to replant your maple tree to a better place now. But how?
The Importance of Tree Age in Transplanting
When it comes to transplanting maple trees, age matters significantly.
 If the tree is still young (3 years old), you can do the task yourself. If not, better dial a professional
For the best chances of success, it’s advisable to transplant younger trees, ideally around 3 years old or less. At this age, the root system is less established, making the transplanting process easier and less stressful for the tree.
If your maple tree is older or larger (6 to 10 feet tall), the transplanting process becomes more challenging and risky. In such cases, it’s often better to seek professional help. As Sarah Johnson, a certified arborist, explains, “Larger trees have extensive root systems that are difficult to move without causing significant stress. Professional transplanting services have the equipment and expertise to handle these more complex situations.”
Timing Your Maple Tree Transplant
 Opt to transplant the tree in late winter or fall – it's dormant period
The timing of your transplant is crucial for the tree’s survival. The best time to transplant a red maple tree is during its dormant period, which typically occurs in late winter or fall. During this time, the tree’s energy requirements are lower, and it’s not actively producing or nurturing leaves.
Dr. Michael Green, a horticulturist at the University of Vermont, advises, “Transplanting during dormancy gives the tree time to establish new roots before the demands of spring growth begin. This timing significantly increases the chances of a successful transplant.”
Step-by-Step Guide to Transplanting a Maple Tree
1. Root Pruning (Several Months Before Transplant)
Start the process by root pruning several months before the actual transplant:
- Draw a circle around the tree with a radius of about two feet (60 cm).
- Use a sharp spade to make deep cuts along this circle, severing long roots.
- This encourages the growth of shorter, feeder roots that will help the tree during transplant.
2. Prepare the New Planting Hole
- Choose a suitable location for the tree.
- Clear the area of weeds and vegetation.
- Dig a hole that matches the depth of the root ball and is three times wider.
3. Dig the Root Ball
- Expand your initial cut into a trench surrounding the root ball.
- Dig under the root ball, aiming for a depth equal to the tree’s height.
4. Lift and Transport the Tree
- Carefully lift the root ball onto a sturdy tarp.
- Transport the tree to its new location.
5. Plant and Fill
- Place the tree in the prepared hole.
- Fill in soil around the root ball, gently pressing it down.
- Water thoroughly.
Post-Transplant Care for Your Red Maple
 After transplantation: regular water and no fertilizer for the first month
Proper care after transplanting is crucial for your maple tree’s recovery:
Watering
- Provide deep watering twice a month, especially if there’s no rainfall.
- Keep the soil around the root zone consistently moist.
Fertilization
- Avoid fertilizing for the first month after transplanting.
- Allow the tree to focus on rebuilding its root system rather than foliage growth.
Weed Control
- Keep the area around the tree free from weeds to reduce competition for nutrients and water.
Mulching
 Munch with pine bark or wood chips 2 to 3-inch thick, 2 ft away from the trunk to assist with moist
- Apply a 2 to 3-inch layer of shredded pine bark or wood chips around the tree’s base.
- Extend the mulch at least 2 feet from the trunk, leaving space around the trunk itself.
Common Questions About Transplanting Maple Trees
-
What makes red maple trees unique?
Red maples are known for their vibrant red flowers, stems, and fall foliage, as well as their distinctive “helicopter” seeds. -
How long does it take for a transplanted red maple to establish itself?
It typically takes a few years for a transplanted tree to fully establish. Proper care during this period is crucial. -
Can I plant other vegetation near a red maple tree?
Yes, but ensure the area immediately around the tree remains weed-free and avoid planting too close to the trunk.
 Again, refrain your DIY urge if the tree is eight feet tall (if you want it to survive!)
Final Thoughts
Transplanting a red maple tree can be a rewarding experience when done correctly. By following these expert tips and providing proper care, you can successfully relocate your maple tree and enjoy its beauty in its new location for years to come. Remember, patience is key – it may take some time for your transplanted maple to adjust, but with the right care, it will thrive and become a stunning focal point in your landscape.
Have you successfully transplanted a maple tree? Share your experiences and tips in the comments below! And if you found this guide helpful, don’t forget to share it with fellow gardening enthusiasts.