- Transforming a challenging lawn into a thriving moss garden can be a rewarding, low-maintenance alternative.
- Moss thrives where grass struggles: in shady, acidic, and moist conditions with compacted soil.
- Creating a moss garden involves preparing the area by removing competing plants and sometimes transplanting moss.
- Moss is resilient and beautiful, offering a unique texture and color to the landscape.
- Maintenance primarily involves keeping the area free of debris and occasional weeding.
Have you ever looked at a shady, damp corner of your garden where grass just refuses to grow and felt a pang of frustration? We certainly have! For years, we wrestled with a patch of lawn struggling under the shade of mature fir trees. Despite our best efforts, what was once a lush green carpet became a patchy, balding expanse of weeds and weak turf. Sound familiar? Instead of fighting nature, we discovered a beautiful, low-maintenance solution that has transformed that challenging spot into one of our favorite garden features: a thriving moss garden. Learning how to use moss in landscaping can unlock a hidden potential in your own yard, turning problem areas into peaceful, vibrant havens.
Embracing Moss: The Low-Maintenance Dream
Our journey to a moss garden wasn’t planned; it was a happy accident born out of necessity and observation. The conditions in our western Catskills yard – naturally acidic soil, lots of shade from the firs, and ample moisture – were proving difficult for traditional Kentucky bluegrass. Maintaining a perfect lawn would have required constant effort: liming, fertilizing, weeding, and frequent mowing, demanding hours we simply didn’t have with our other gardening commitments. Moreover, adding lime to please the grass would upset the beloved acid-loving native plants thriving nearby, like rhododendrons and trilliums.
We realized that instead of trying to force a plant that wasn’t happy, we should nurture what was already there and flourishing. A closer look revealed that the greenest patches weren’t grass at all, but beautiful, diverse mosses. This was our “aha!” moment. Mosses naturally appear where conditions are less favorable for grass – too much shade or water, low pH (acidic soil), or compacted soil. These were exactly the conditions we had! Instead of seeing moss as a problem, we started seeing it as the perfect solution for a low-maintenance, naturally adapted ground cover.
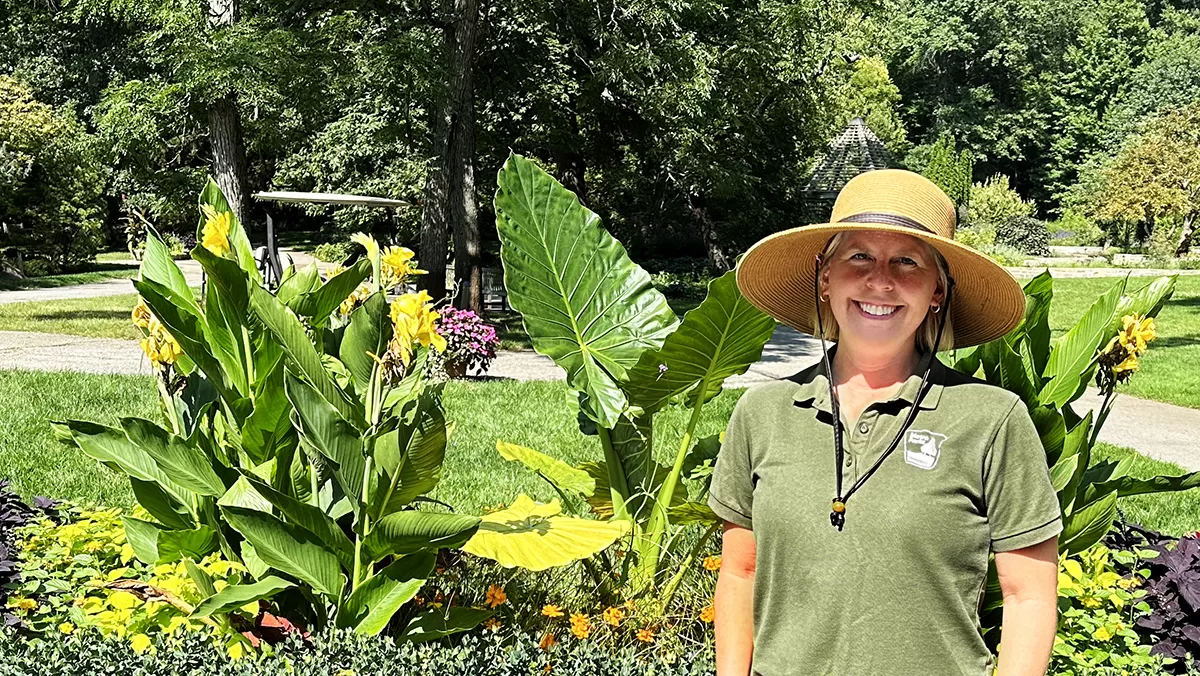
 woman sweeping leaves
Creating Your Moss Carpet: Preparation is Key
Once we decided to embrace the moss, the next step was helping it take over. The strategy? Remove the competition. This meant patiently hand-pulling every blade of grass, wild strawberry, and weed that dared to sprout among the moss. It sounds like tedious work, and it can be, but there’s also a meditative quality to it. Getting close to the earth, focusing on the task, and seeing the beautiful moss emerge from beneath the weeds felt incredibly rewarding. We aimed to clear about 50 square feet, and as we worked, we were delighted to see how much moss was already there, just waiting for its chance to shine.
Soil preparation for moss is often minimal, especially if moss is already growing naturally. Unlike grass, mosses don’t have true roots; they have rhizoids that act as anchors. They absorb water and nutrients directly from the air and rainfall. If your soil is already acidic and shaded, you might not need to do much. If you’re starting from scratch or trying to encourage moss in a less acidic area, you could amend the soil slightly with an acidifier like powdered sulfur to reach an optimal pH of around 5.5. The key is creating the right environment for the moss to thrive and outcompete weeds and grass.
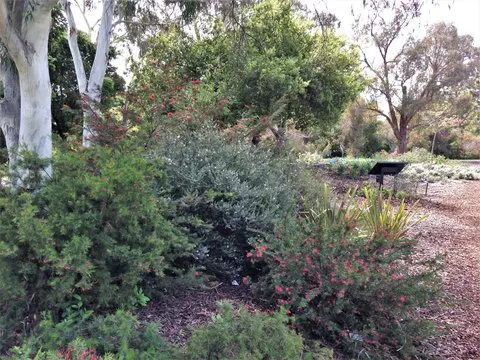
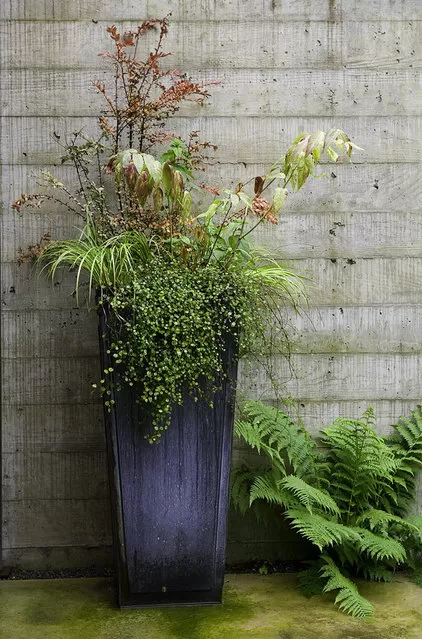
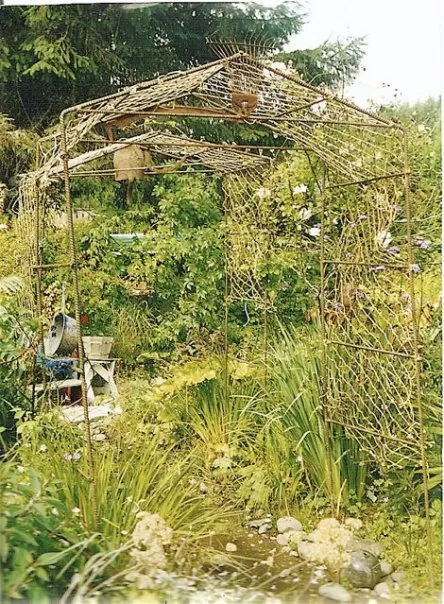
A close-up view of a rich, green moss carpet, showcasing the dense, velvety texture possible in a thriving moss garden.
Discovering the Diversity of Moss
As we worked on our hands and knees, clearing the area, we discovered that our “moss” was not just one type, but a fascinating collection of species, each with its own texture and form. While identifying every single species can be tricky (even for experts!), we could see distinct differences.
- Sphagnum Moss: Often found in lower, wetter spots, sometimes near drainage areas. Known for its ability to hold large amounts of water.
- Haircap Moss (Atrichum): Several species were abundant, often recognized by their upright stems and toothed leaves.
- Ferny Moss (Thuidium): Covered a slightly higher knoll, living up to its name with a delicate, fern-like appearance.
- Dicranum: Found growing in larger, cushion-like patches, often described as “velvety.”
- Leucobryum (Cushion Moss): Added soft, rounded hummocks to the landscape.
This diversity creates a rich tapestry, a living carpet of varying shades of green and fascinating textures that change with the light and moisture levels.
Transplanting and Nurturing Your Moss
While much of our moss garden came from nurturing existing growth, we also experimented with transplanting. Mosses can be moved relatively easily because they lack deep roots. You can collect sheets or clumps gently by hand or with a flat tool, ensuring you take enough to help them establish.
We covered some bare, compacted spots with platter-sized sheets of Dicranum collected from another suitable area nearby. We also added some cushion moss (Leucobryum) and a brushy clump of an unidentified variety. To transplant, prepare the area by lightly raking the soil surface to give the rhizoids something to anchor onto. Place the moss piece down and press it gently but firmly onto the soil.
Some popular methods involve blending moss with buttermilk or yogurt to create a slurry that can be painted onto surfaces, but we opted against sacrificing our blender! For ground cover, traditional transplanting works well, especially when starting with larger pieces. New transplants will need regular watering or misting until they are established, which can take several weeks.
Caring for Your Velvet Landscape
One of the greatest benefits of a moss garden is its low maintenance. Unlike a lawn requiring weekly mowing, feeding, and weeding, a moss carpet needs surprisingly little attention once established.
- Watering: Naturally growing mosses in appropriate conditions (shade, moisture) usually don’t need supplemental watering once established. They might look a bit dry or yellow during hot, dry spells, but they typically recover quickly when moisture returns. Transplanted moss needs regular misting until it firmly attaches.
- Debris: The most frequent task is keeping the moss free from fallen leaves, twigs, and pine needles. A thick layer of debris can smother moss, preventing it from absorbing moisture and light. We spend a few minutes each week gently sweeping or raking (with a soft rake or whisk broom) to keep the surface clear. In the fall, after leaves drop, a more thorough gentle raking might be needed.
- Weeding: Occasional weeds will still sprout. Catch them early and carefully hand-pull them, being mindful not to disturb the surrounding moss.
- Foot Traffic: Most ground-growing mosses are surprisingly resilient and can tolerate occasional light foot traffic once established. However, it’s best to avoid heavy treading, especially on new transplants.
Our moss garden has flourished, creating a soft, vibrant, and ever-changing green carpet. It requires far less work than the lawn it replaced and provides a unique, peaceful atmosphere to our shaded yard. Embracing moss wasn’t just a practical gardening choice; it was about working with nature and appreciating the simple, often overlooked beauty right at our feet.
Transforming a challenging lawn into a moss garden can be a truly rewarding project. It offers a sustainable, low-maintenance, and beautiful alternative that thrives in conditions where other plants struggle. Have you considered using moss in your landscape? Do you have a shady spot that could benefit from a mossy transformation? Share your thoughts and experiences in the comments below! And if you’re looking for more ways to work with your garden’s natural conditions, explore other articles on Thelittle.garden for inspiration.