- Transform your garden paths with the beauty and scent of lavender grown in pots.
- Discover the “secret” hard pruning method that keeps potted lavender looking its best for years, preventing legginess and promoting abundant blooms.
- Learn how to choose the right lavender varieties and pots, and get essential care tips for thriving container plants.
- Unlock the confidence to prune your lavender hard after flowering for stunning results and winter structure.
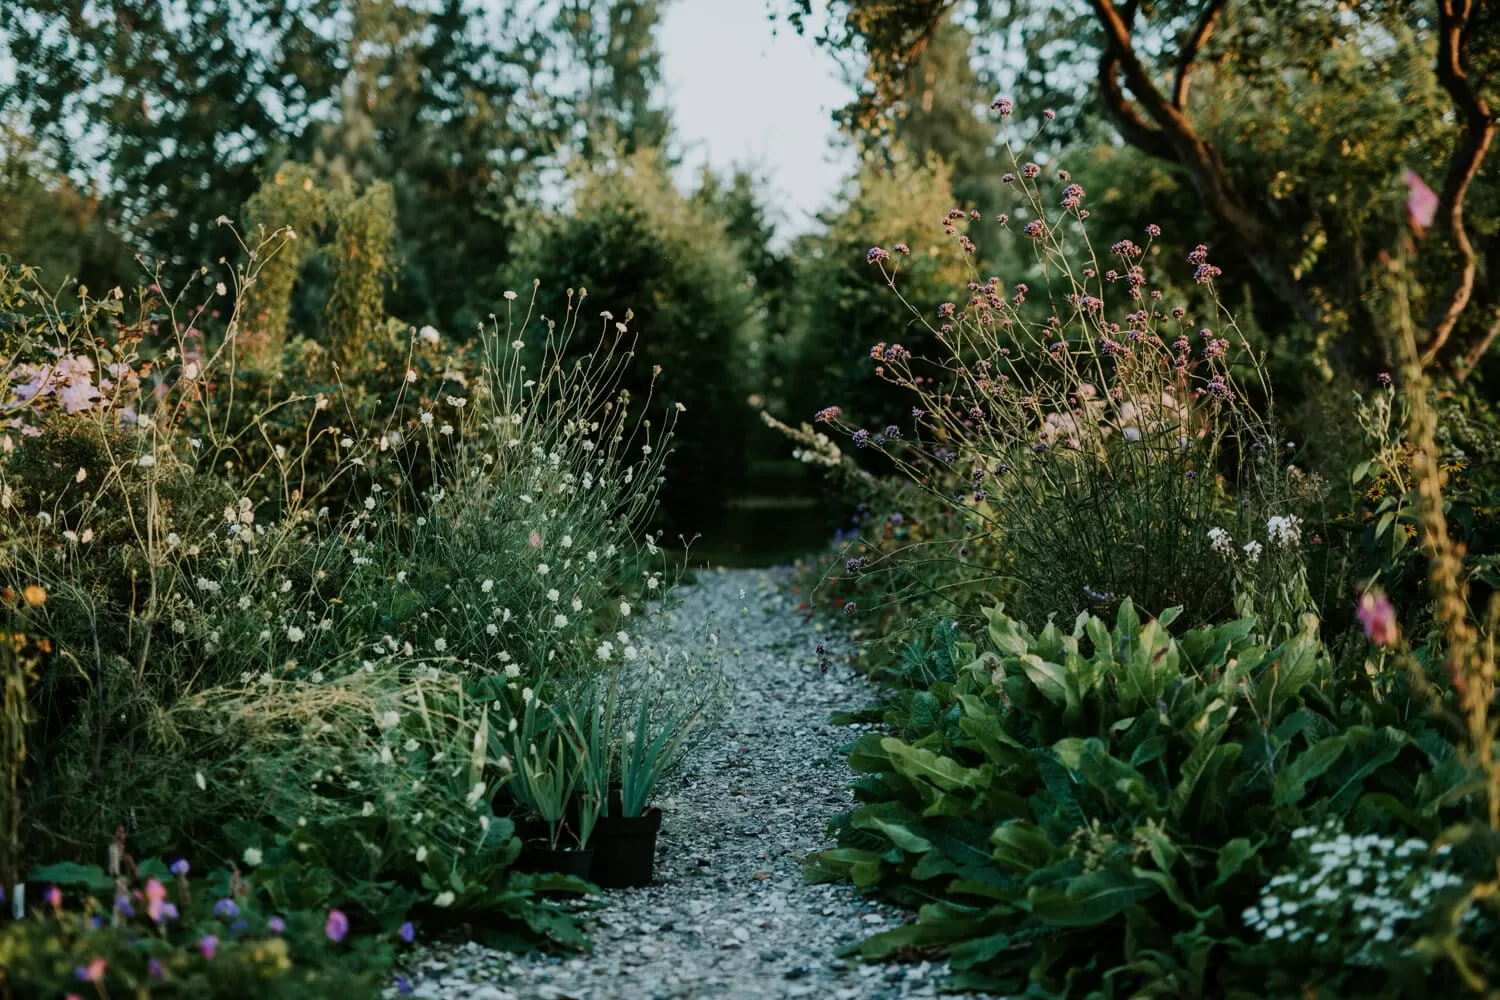
Imagine strolling down your garden path, brushing lightly against pots overflowing with fragrant lavender. The scent is intoxicating, the buzzing of bees a gentle soundtrack, and the sight of the purple spikes a feast for the eyes. Achieving this picturesque scene with lavender path pots is entirely possible, and while growing lavender in containers has its own nuances, the real secret to keeping them looking spectacular year after year lies in one often-feared technique: confident, hard pruning. Forget the timid snips you might have heard about; the method favored by experts and experienced gardeners is bolder, and it works wonders, especially for lavender destined for decorative pots along a path.
Contents
- Why Choose Lavender for Your Path Pots?
- Beauty, Fragrance, and Sensory Appeal
- Attracting Pollinators
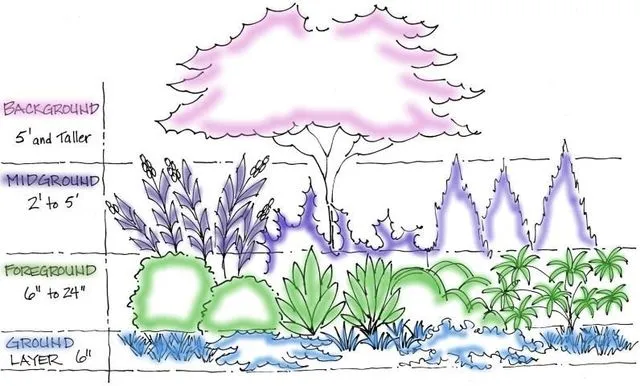
- Architectural Structure
- Selecting the Right Lavender & Pots
- Best Lavender Varieties for Containers
- Choosing the Perfect Pot
- Planting & Initial Care for Lavender Path Pots
- Soil Requirements
- Planting Steps
- Watering Your Potted Lavender
- Feeding
- The Secret to Long-Lasting Lavender Path Pots: Pruning
- When to Prune
- How to Prune: Hard Pruning Explained
- Tools for the Job
- Spring Touch-Ups
- Overwintering Your Lavender Path Pots
- Troubleshooting Common Issues
- Leggy or Woody Plants
- Root Rot
- Lack of Flowers
- Conclusion
Why Choose Lavender for Your Path Pots?
Lavender (Lavandula angustifolia), particularly the English varieties, is a classic choice for garden edges and paths for many excellent reasons. Bringing it into pots allows you to place that charm exactly where you want it, even on patios, decks, or narrow walkways where in-ground planting isn’t feasible.
Beauty, Fragrance, and Sensory Appeal
The silvery-green foliage and vibrant purple (or sometimes pink/white) flower spikes offer undeniable visual appeal. But it’s the powerful, soothing fragrance, released as you walk by, that truly sets lavender apart. Planting it in pots along a path maximizes this sensory experience.
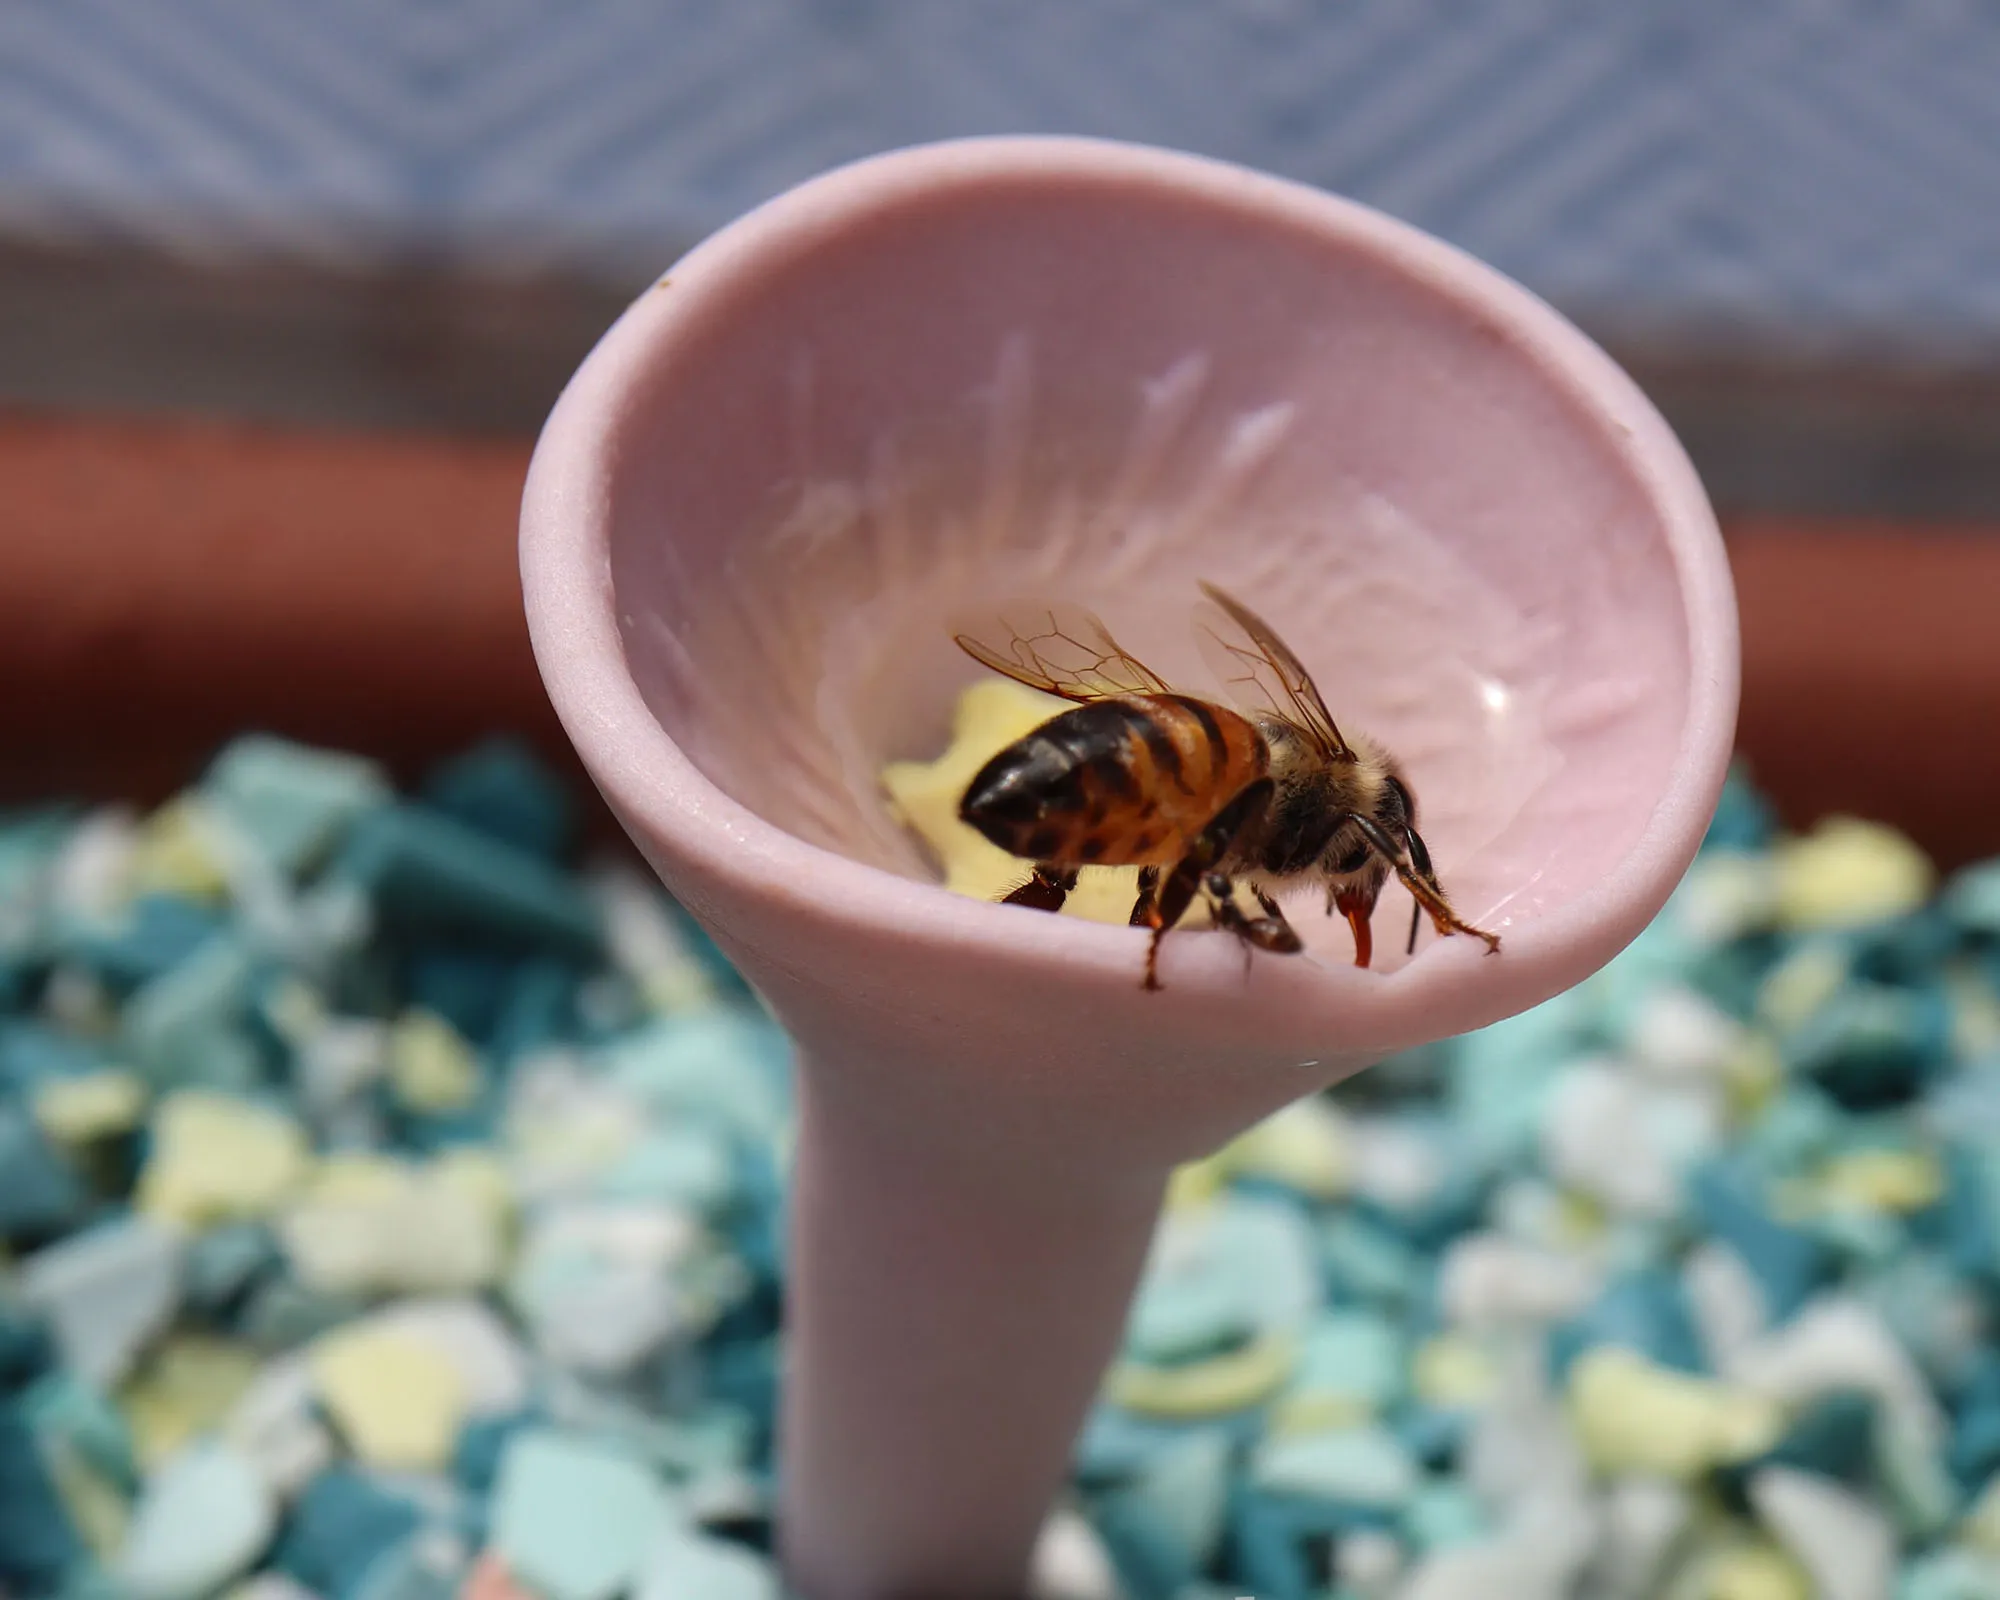
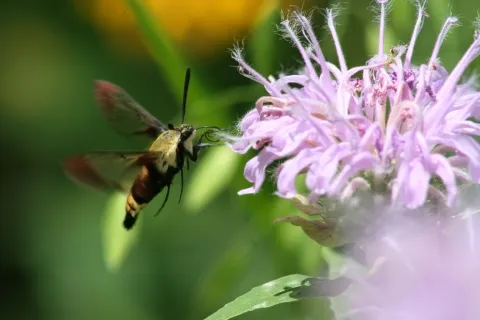
Attracting Pollinators
Lavender is a magnet for bees and other beneficial insects. Placing pots along your path means you’ll get front-row seats to this vital garden activity, adding life and movement to your space. You’ll notice when the flowering season is over as the buzzing fades and the blooms turn grey.
Architectural Structure
Well-maintained lavender plants form neat, mounding shapes. In pots, these mounds can provide lovely structure along a path, offering definition and form, especially appealing in the winter garden when many other plants have faded. A properly pruned lavender plant becomes a beautiful, sculptural element.
Selecting the Right Lavender & Pots
Not all lavenders are created equal for container life, and the pot itself plays a vital role in success.
Best Lavender Varieties for Containers
English lavenders (Lavandula angustifolia) are generally the best choice for pots, especially in cooler climates (Zones 5-9), due to their hardiness and compact growth habit.
- English Lavender
- Scientific Name: Lavandula angustifolia
- Common Name: English Lavender, True Lavender
- Zone: 5-9 (varies by cultivar)
- Light: Full Sun (minimum 6-8 hours daily)
- Humidity: Prefers low to moderate; good air circulation is essential.
- Water: Drought tolerant once established. Needs excellent drainage in pots; allow soil to dry completely between waterings.
Cultivars like ‘Hidcote’ (known for deep purple flowers and compact size, mentioned in the original source as the author’s variety) and ‘Munstead’ (slightly lighter purple, very hardy) are excellent, reliable choices for pots. They maintain a manageable size and respond well to pruning.
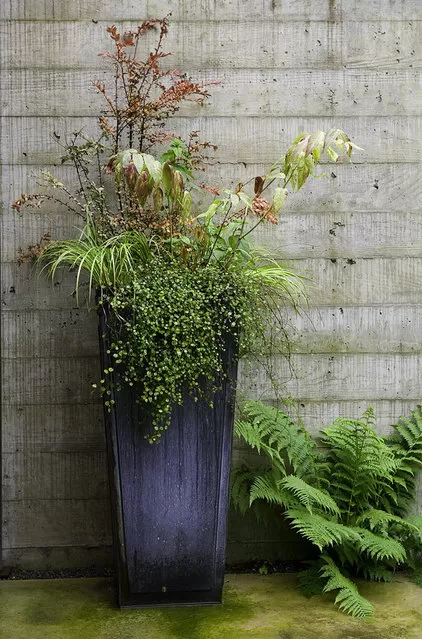
Choosing the Perfect Pot
Drainage is paramount. Lavender hates wet feet.
- Material: Terracotta pots are often recommended as they are porous and help the soil dry out faster, but any pot with ample drainage holes at the bottom will work.
- Size: Choose a pot that is at least 12 inches in diameter for a single plant. Lavender doesn’t mind being slightly root-bound, but needs enough space to develop a healthy root system.
- Drainage: Ensure the pot has multiple drainage holes. You can add a layer of gravel or broken pot pieces at the bottom before adding soil, but the most important factor is the drainage holes themselves and the potting mix.
Planting & Initial Care for Lavender Path Pots
Getting your lavender off to a good start in its container is key to its long-term health and performance.
Soil Requirements
Use a free-draining potting mix. Standard potting soil often retains too much moisture for lavender. Mix in coarse sand, grit, or perlite to improve drainage. A mix specifically formulated for cacti or succulents can also work well, or create your own by combining potting soil with about one-third horticultural grit.
Planting Steps
- Fill the bottom of the pot with your well-draining mix.
- Carefully remove the lavender from its nursery pot. If the roots are tightly circled, gently loosen the bottom ones.
- Place the plant in the pot so the top of the root ball is about an inch below the rim. This leaves space for watering.
- Fill around the root ball with more potting mix, tamping gently to remove air pockets.
- Water thoroughly until water drains freely from the bottom.
Watering Your Potted Lavender
This is where growing in pots differs significantly from in-ground. Potted plants dry out faster but are also more susceptible to root rot if overwatered.
- Allow the soil to dry out completely between waterings.
- Stick your finger about two inches into the soil to check moisture levels. If it feels dry, it’s time to water.
- Water deeply until it runs out the drainage holes.
- Reduce watering significantly in autumn and winter.
Feeding
Lavender prefers lean soil. Over-fertilizing can lead to lush foliage but fewer flowers and weaker plants. A light feeding with a balanced, slow-release fertilizer in spring is usually sufficient. Avoid high-nitrogen fertilizers.
The Secret to Long-Lasting Lavender Path Pots: Pruning
Here is where we unveil the method that transforms leggy, woody plants into dense, floriferous mounds for your pathway. The traditional advice “never cut back to the wood” is widely questioned by experts and experienced growers for English lavender.
When to Prune
The absolute best time to prune English lavender is immediately after it finishes flowering in late summer, typically around August. You’ll know it’s ready when the intense color fades, the flowers turn greyish, and the busy hum of bees around the plant significantly decreases or stops. If you miss this window, you can do a very light tidying trim in mid to late spring, but the hard pruning should ideally happen in late summer/early autumn.
How to Prune: Hard Pruning Explained
Instead of a light trim, you’re going to be brave. The goal is to cut back significantly to just above the lowest set of leaves or tiny buds on the stems. This encourages new growth from lower down, preventing the plant from becoming woody and hollow in the center.
- The “Rule” Revisited: While you shouldn’t cut into completely bare, old wood with no visible buds, look closely at the lower parts of the stems. You will likely see very small, grey-green shoots or bumps even on the brown, woody sections. The key is to cut just above these tiny signs of life. Cutting below them means that stem won’t regenerate.
- How Much to Cut: Experts like those at the former Downderry Lavender nursery recommended cutting back hard, even down to 9 inches high. This might look drastic – like you’re leaving mostly brown stems with just a frosting of green at the tips – but it is precisely this action that rejuvenates the plant.
- The Benefits: This hard cut removes the spent flower stalks and a significant portion of the current year’s growth. It channels the plant’s energy into developing a strong, bushy base. This prevents the dreaded legginess and ensures a dense, rounded shape that provides excellent winter structure and blooms profusely the following year. My own experience, mirroring the author’s journey from timid trimming to confident hard pruning, has shown dramatically better results – healthier, denser plants that last for many years.
 Sprawling English lavender before hard pruning, looking leggy in 2013.
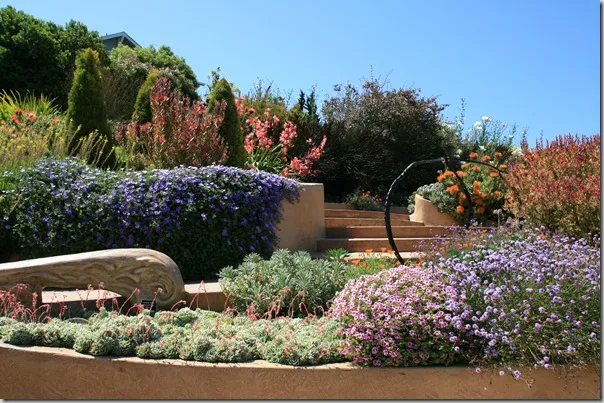
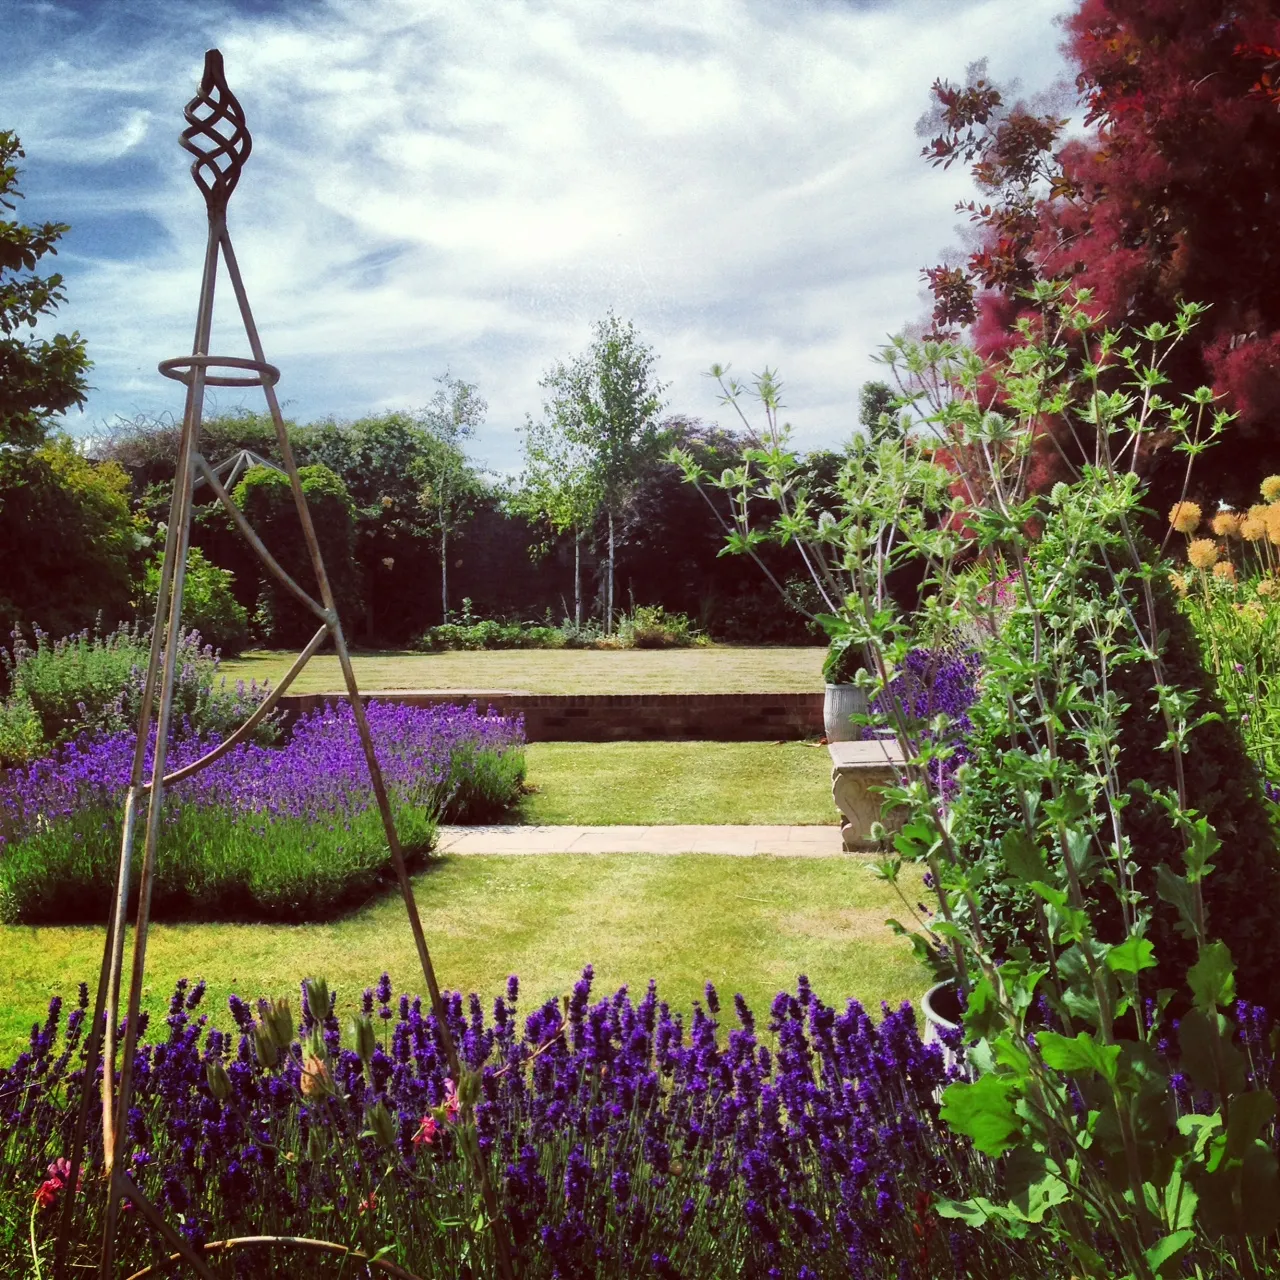
 Mature, neatly pruned English lavender plants lining a garden path.
A visual example of English lavender after being pruned back significantly in late summer.
 Close-up view of hard-pruned lavender showing tiny new shoots emerging from older wood.
 Comparison showing English lavender before (top) and immediately after (bottom) a hard pruning session.
Tools for the Job
For precise cuts, especially when aiming just above tiny buds, a good pair of sharp bypass secateurs is essential. This allows you to make clean cuts that heal quickly. For larger installations of lavender path pots, you can also use shears or even a strimmer (as explored in the source article for hedges), but you’ll likely need to follow up with secateurs to tidy and shape each plant individually.
Spring Touch-Ups
If you didn’t prune in late summer, you can perform a very light trim in spring to remove spent flower heads and neaten the shape. However, avoid hard pruning at this time, as it can remove the new growth that will produce flowers. Plan to do your main, hard prune the following August.
 Healthy and abundant English lavender in July 2019 after years of hard pruning.
 Eleven-year-old English lavender thriving due to consistent hard pruning in July 2021.
 Eleven-year-old English lavender showing signs of age and gappiness despite proper pruning in July 2023.
Overwintering Your Lavender Path Pots
Lavender in pots is less cold-hardy than lavender planted in the ground. In colder climates (Zones 5-6), consider moving your pots to a sheltered location for the winter, such as against a warm wall, in an unheated garage, or a cold frame. Ensure they still get some airflow. Reduce watering drastically; the main risk in winter is root rot from wet soil.
 Neatly pruned lavender mounds providing sculptural interest in a frosty winter garden.
Troubleshooting Common Issues
Leggy or Woody Plants
This is almost always a sign of insufficient or incorrect pruning in previous years. If your plant is still relatively young, a hard prune in late summer following the method described can often revitalize it. For very old, severely woody plants, replacement might eventually be necessary, as lavender has a finite lifespan (often around 10-12 years, even with perfect care, as noted in the source’s later updates).
Root Rot
The most common killer of potted lavender. This results from overwatering or poor drainage. Ensure your pot has drainage holes and you’re allowing the soil to dry out completely between waterings.
Lack of Flowers
This can be due to several factors: not enough sun (lavender needs full sun), over-fertilizing (too much nitrogen encourages leaves, not flowers), or pruning at the wrong time (cutting off spring growth can remove flower buds). Ensure your plants get ample sun and follow the late-summer pruning schedule.
Conclusion
Creating a fragrant and beautiful pathway using lavender path pots is a rewarding garden project. While providing the right pot, soil, and sun is essential, the key differentiator for long-term success and stunning displays is adopting a confident, hard pruning approach immediately after flowering in late summer. Don’t be afraid to cut back significantly, working just above the tiny buds on the lower stems. This technique, proven by experts and years of experience, will keep your English lavender plants dense, productive, and beautifully shaped, gracing your paths with color and fragrance for years to come.
 Beautifully shaped and dense English lavender plants demonstrating the results of effective pruning.
Now that you know the secret, why not start planning your own fragrant pathway? Share your lavender potting and pruning experiences in the comments below! Find more tips for container gardening and plant care right here on Thelittle.garden.