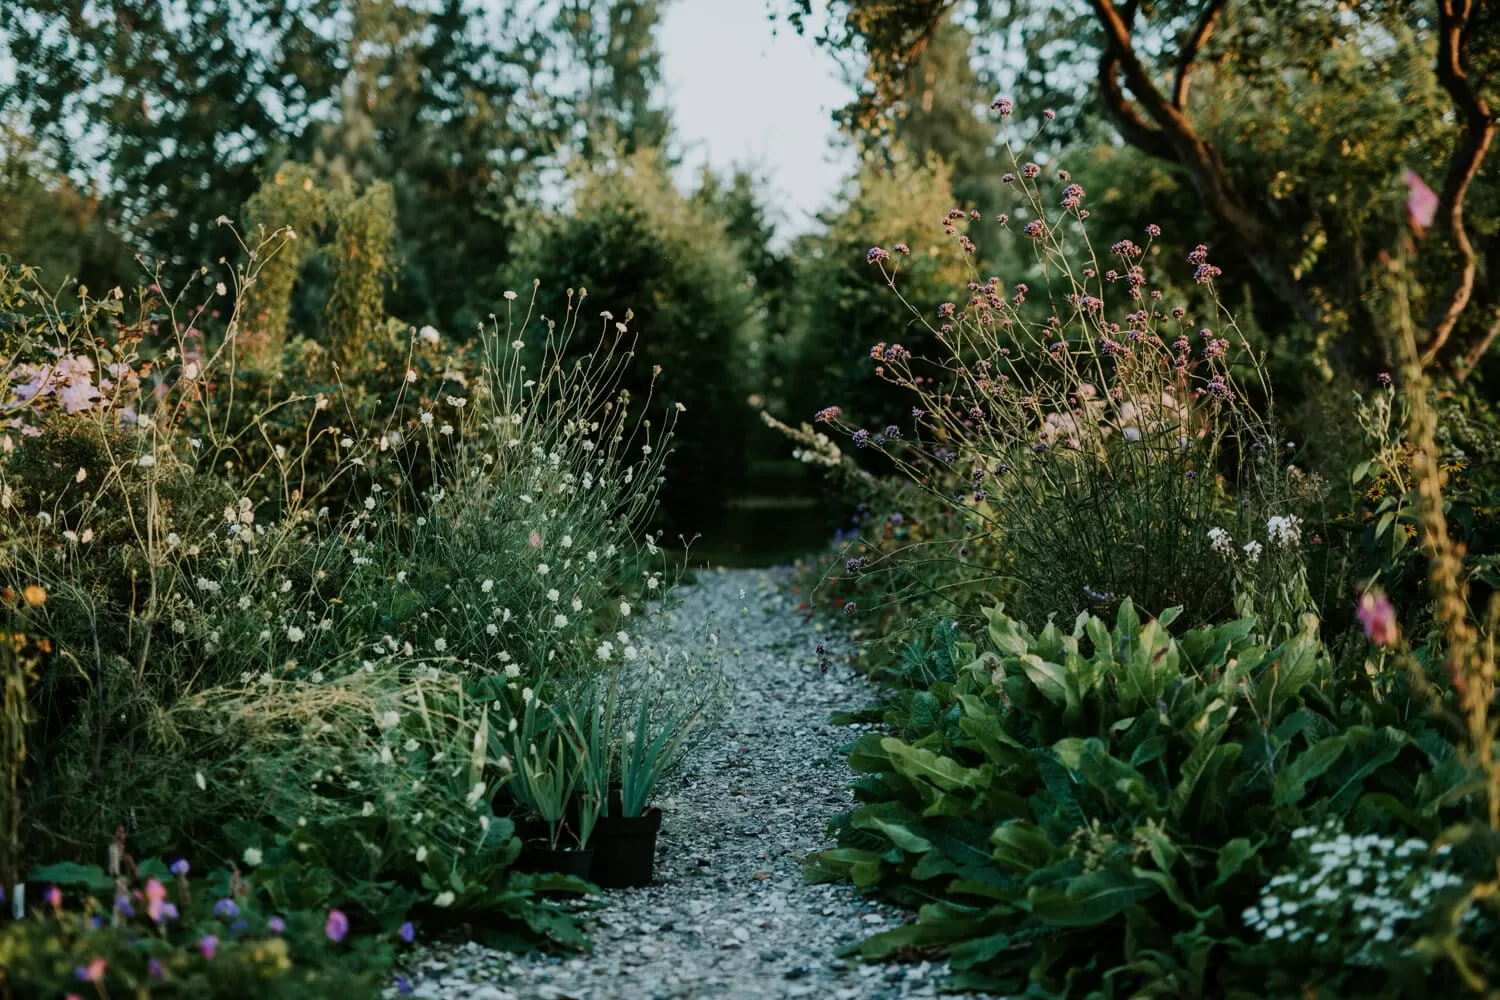
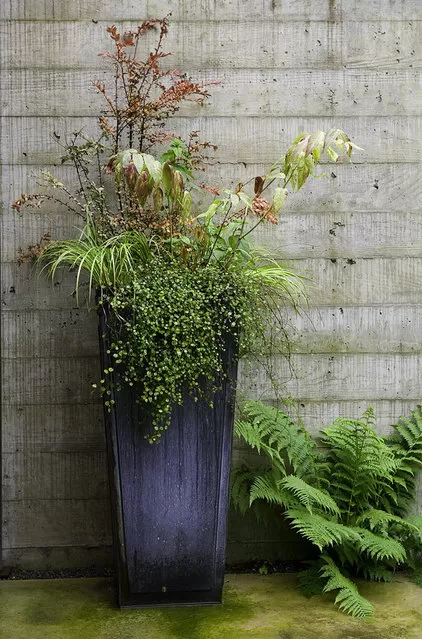
Gardens in nature rarely look flat or predictable. Instead, they flow and intermingle, creating dynamic scenes with plants at different heights and spreading out in organic drifts. Mimicking this natural beauty in your own yard is the key to a truly captivating landscape. This is where the art of layered greenery groupings comes into play, transforming simple plant beds into vibrant, cohesive tapestries. It’s about creating depth, visual interest, and a sense of effortless abundance that draws the eye and soothes the soul.
Think of your garden bed like a stage. Each plant grouping has a role to play, contributing to the overall scene. When you intentionally arrange plants in layers, both vertically and horizontally, and repeat key elements, you create a garden that feels lush, inviting, and harmonious. Ready to elevate your garden design? Let’s explore how to master layered greenery groupings for a breathtaking outdoor space.
- Layering plants creates depth and visual interest, mimicking natural landscapes.
- Vertical layers build height variety from front to back and side to side.
- Horizontal layers involve overlapping plant masses for flow and coverage.
- Grouping plants within layers ensures impact and avoids a scattered look.
- Repeating forms, textures, and colors links garden areas and adds rhythm.
Contents
Building Depth with Vertical Plant Layers
The first dimension in creating stunning layered greenery groupings is height. Just as a forest floor differs from the canopy, your garden beds benefit from varying levels of plant life. We can think of these vertical layers in four main categories:
- The Ground Layer: These are your lowest plants, often under 6 inches tall, like creeping groundcovers, turf, or low-growing perennials. They act as the base, covering bare soil and providing a visual anchor for the composition.
- The Foreground Layer: Standing between roughly 6 inches and 2 feet, these plants bridge the gap between the ground layer and what’s behind them. Small clusters of foreground plants often form the edge of your beds, providing a soft transition and inviting the eye into the garden.
- The Midground Layer: Typically ranging from 2 to 5 feet in height, this is where much of the visual weight of your planting often resides. Midground plants define spaces, link lower layers to taller structures or plants, and are fantastic for introducing bursts of color and texture throughout the bed.
- The Background Layer: The tallest elements in your design – think trees and large shrubs. These giants often sit at the back of the bed, providing height, screening unwanted views, or casting welcome shade.
While you arrange these layers from front (low) to back (tall), remember to also vary the height along the top of your planting. Allow the heights to gently rise and fall, creating an undulating horizon line rather than a flat wall of green. Avoid abrupt jumps in height unless you’re aiming for a dramatic, contemporary look.
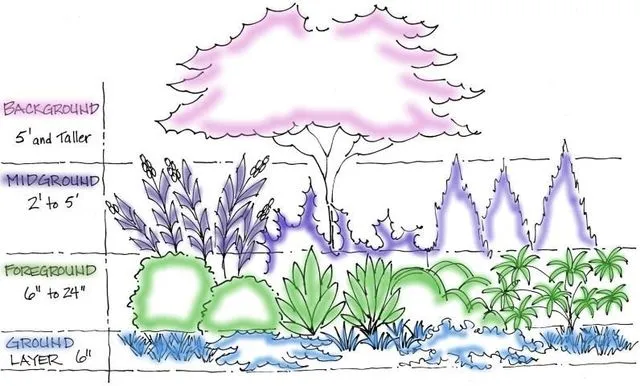 Diagram showing effective vertical layered greenery groupings in a garden bed, with low plants at the front and progressively taller shrubs and trees towards the back
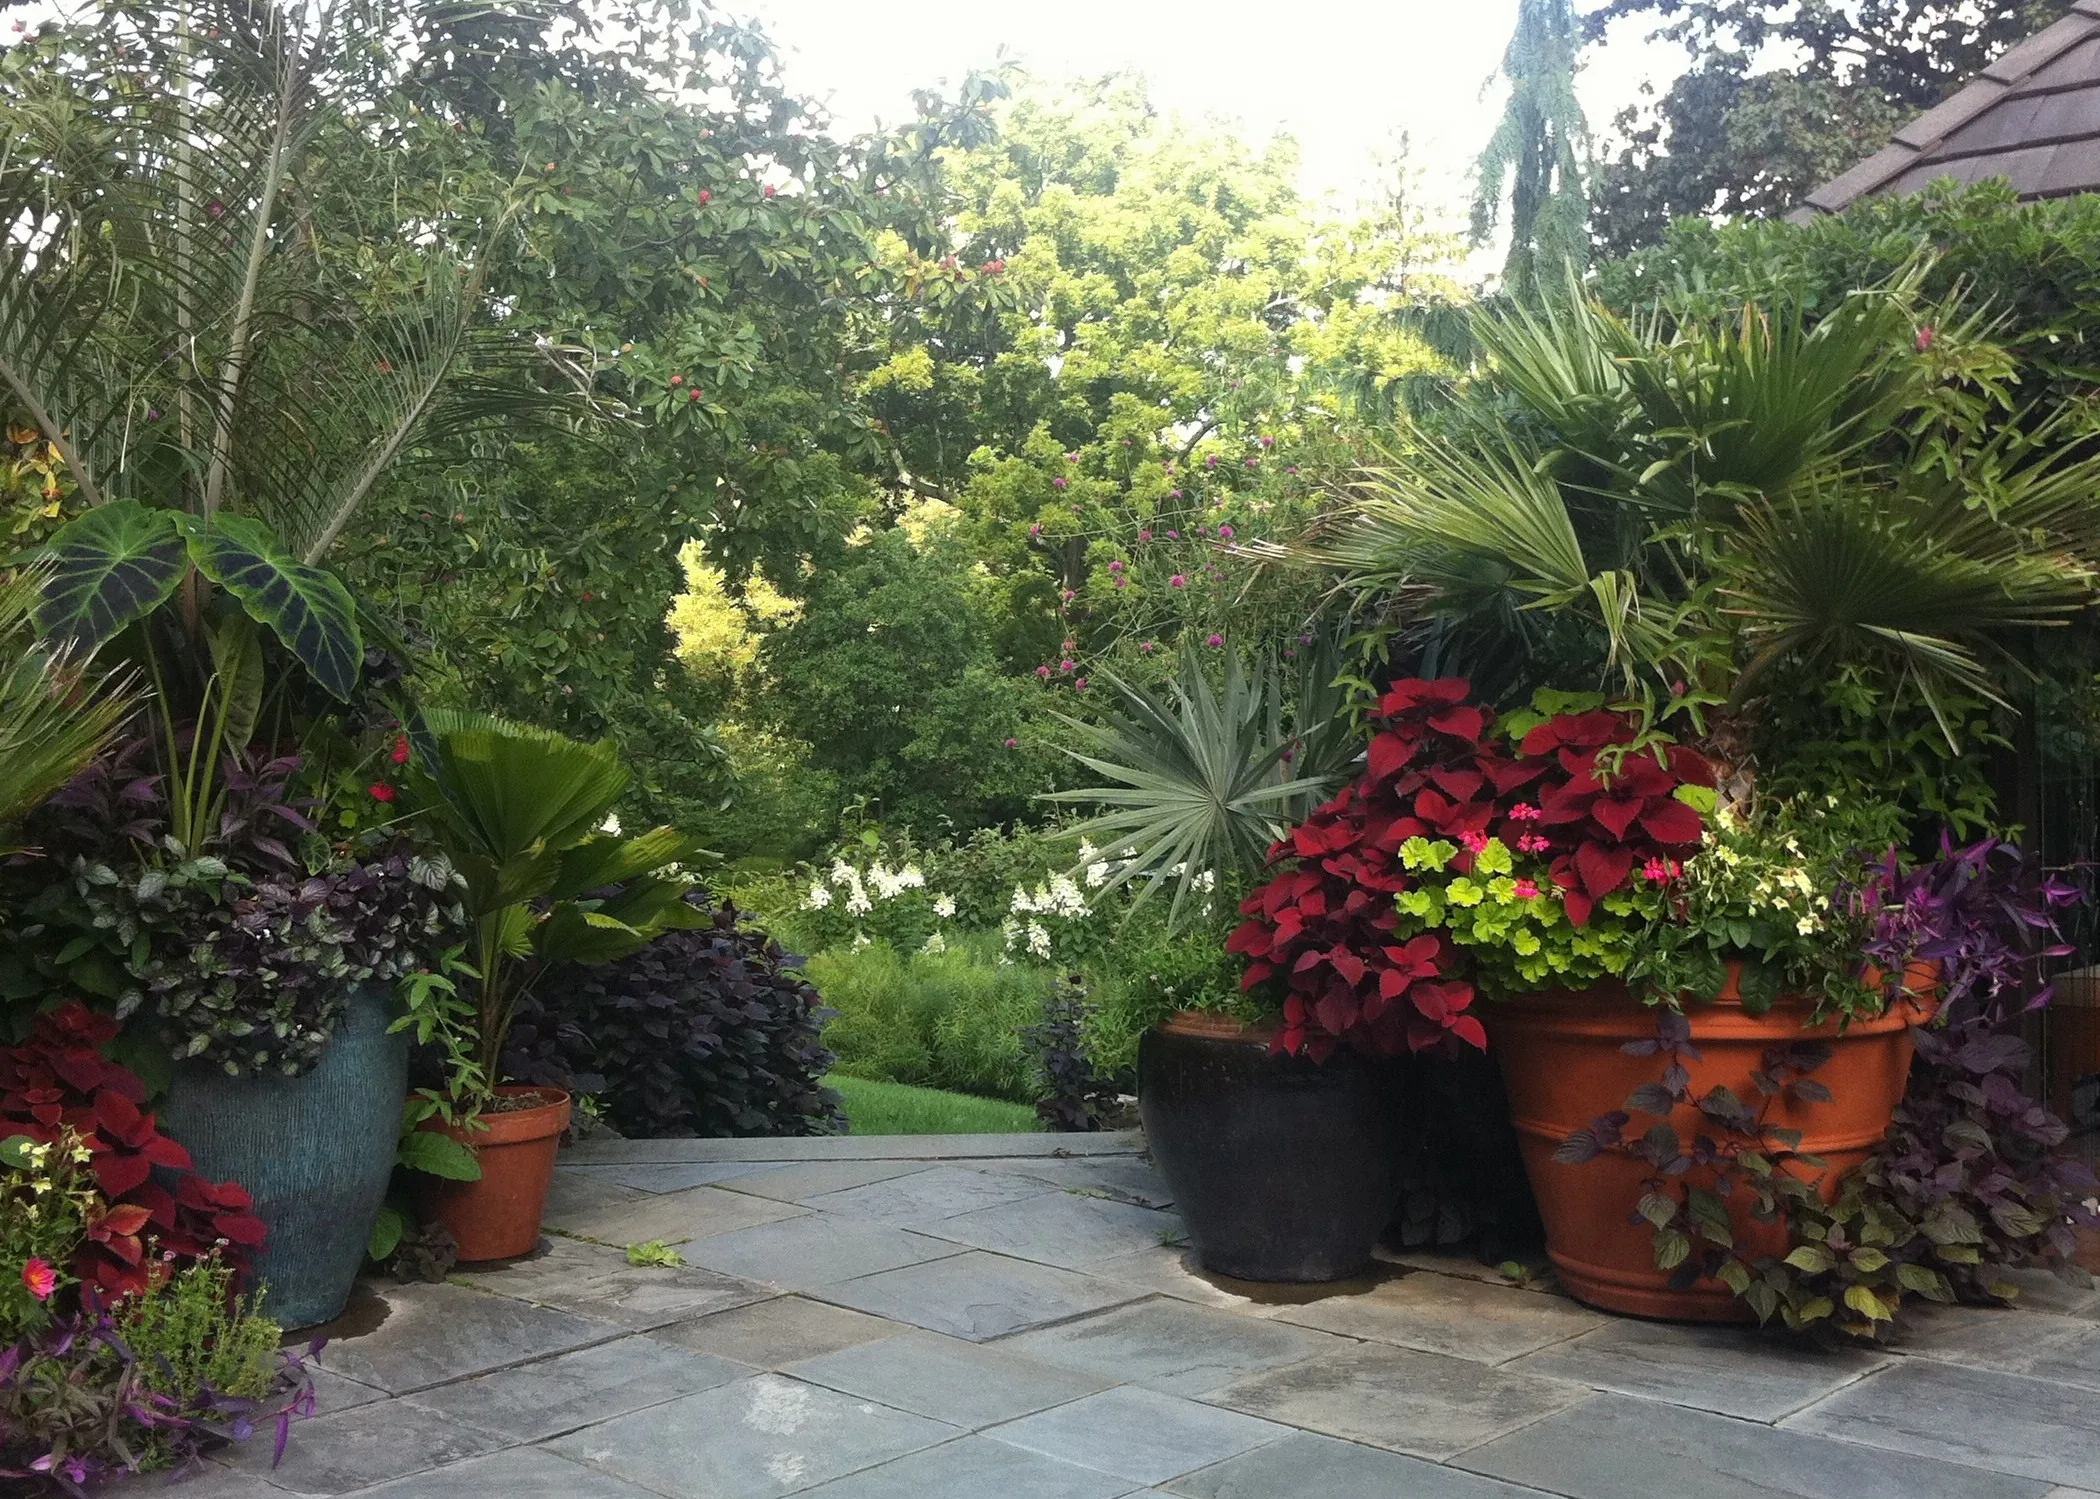
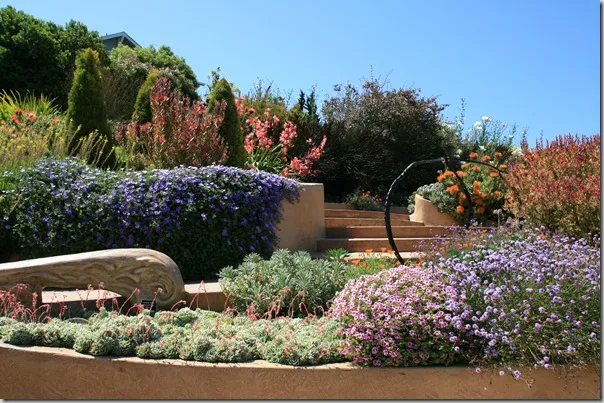
Designing Flow with Horizontal Plant Groupings
Beyond height, layered greenery groupings also involve arranging plant masses horizontally across the garden bed. Imagine looking down from above (a “bird’s-eye view”). You want to see masses of plants overlapping and interlocking, flowing seamlessly from the front edge to the back.
The key principles for creating these horizontal layers or masses are simple yet crucial:
- Space Plants for Maturity: When planting, envision each plant at its full, mature size. Place them close enough so that when they grow, their leaves and branches will just touch, forming a cohesive block of color or texture rather than individual scattered dots.
- Overlap and Connect Masses: The groupings of different plant species should weave into each other like pieces of a puzzle. Allow masses to overlap at their edges. This connection is vital for creating a natural flow and preventing awkward gaps. Voids grab attention in the wrong way and disrupt the harmony of your layered greenery groupings.
It’s often easiest to start by placing your background (tallest) layer along fences, walls, or property lines and then work forward, placing the midground, foreground, and groundcover layers. While typically the tallest plants are furthest back, don’t be afraid to strategically place a few taller elements forward in the midground or even foreground to add surprise and visual depth. Staging your plants in their pots before you dig can be a game-changer, allowing you to adjust and visualize your layered greenery groupings before committing them to the soil.
 Plan view illustrating interconnected horizontal plant layers or layered greenery groupings, showing how overlapping plant masses create flow from front to back in a garden bed
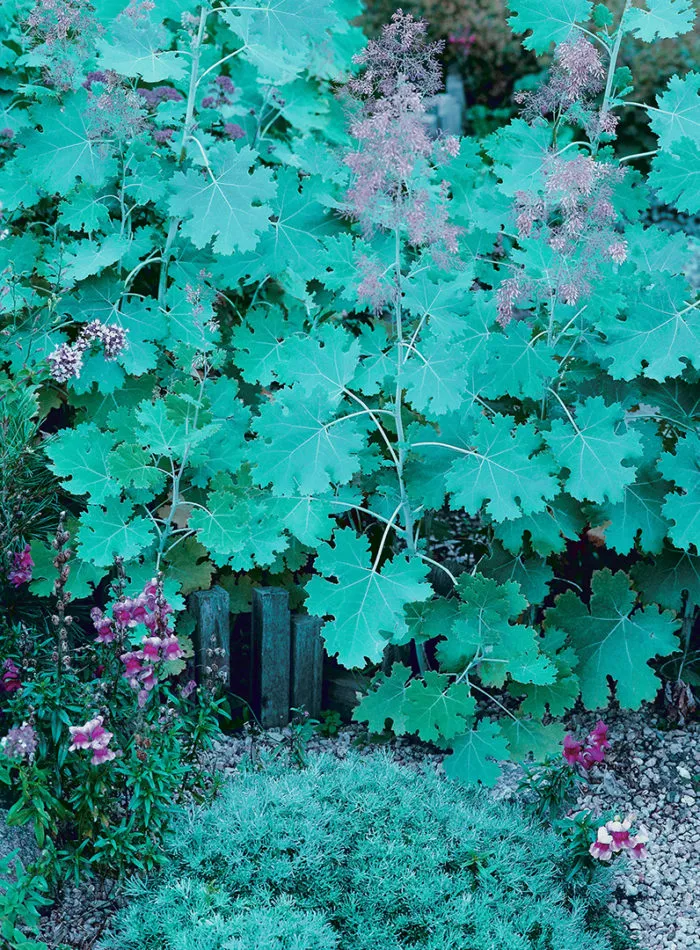
The Art of Massing: Creating Impactful Groupings
Within your vertical and horizontal layers, the individual plants aren’t usually scattered randomly. They are grouped together in smaller clusters or masses. This “massing” is fundamental to successful layered greenery groupings. It’s like turning a collection of individual brushstrokes into a painting – the groupings create the forms and textures that define the picture.
Here are some guidelines for creating cohesive and impactful plant masses:
 Diagram demonstrating how to cluster individual plants to form masses, filling garden beds with cohesive layered greenery groupings
- Cluster Similar Plants: Plant multiples of the same species or variety close enough that they will touch and blend into a single mass at maturity.
- Maximize Overlap: Where different plant masses meet, ensure they overlap significantly. This creates a soft, blended transition between groupings rather than a harsh line.
- Vary Mass Shapes: Avoid straight lines or perfect circles unless you’re going for a very formal look. Design masses with organic, flowing shapes – long and narrow, short and wide, curved kidney shapes.
- Size Masses Appropriately: If you’re using fewer different types of plants, create larger masses of each kind for impact. With a greater variety of plants, smaller, distinct masses can work, but ensure they still connect.
- Introduce Size Contrast: Not all masses should be the same size. Pair a larger mass with one or two smaller masses next to it for visual interest and balance.
- Plant Size vs. Mass Size: A few large shrubs can form a small, impactful mass, while many smaller clumping perennials might create a very large mass. The mature size of the individual plant doesn’t strictly dictate the size of the grouping. Consider how the mass will look as a whole.
- Symmetry is for Formal Design: Only use masses of identical size and shape when you need perfect symmetry, like flanking an entrance or feature in a formal garden.
- Consider Site Scale: The size of your layered greenery groupings should relate to the size of your garden. A small courtyard needs proportionally smaller masses or fewer large plants. A large yard benefits from larger masses to avoid a busy, “spotty” appearance.
Weaving Rhythm Through Repetition
Once you’ve established your vertical and horizontal layered greenery groupings and masses, repetition adds a crucial element: rhythm. Repeating specific plant forms, textures, or colors throughout different beds or areas of the garden links them together visually, creating a sense of unity and flow.
This repetition helps the eye move through the landscape and ties the whole design together. Here’s how you can use repetition effectively:
- Repeat Distinct Elements: Choose one unique plant form (like an upright columnar evergreen), texture (like spiky ornamental grass), or a limited palette of 2-3 colors and repeat them strategically across your design. These repeated elements act as visual cues.
- Place Focal Points Thoughtfully: Use plants with particularly strong forms or textures as focal points. Repeat these focal points in a pattern (like a triangle across three different beds) to lead the eye through the garden.
- Create Movement: Stagger repeated plants along a pathway in a zigzag pattern. This simple technique subtly draws the viewer forward and into the garden space.
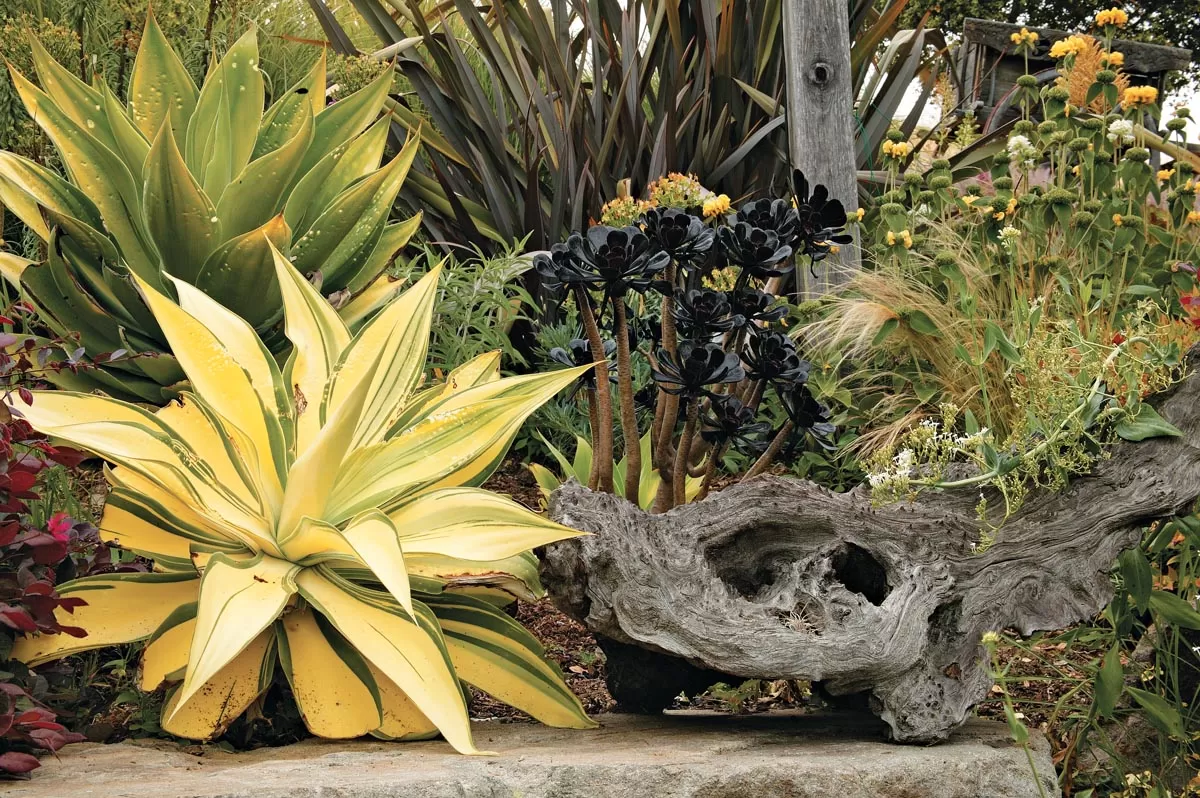
Repetition with Form
Plant form is the most enduring characteristic; we recognize many plants instantly by their silhouette. Strong forms (often upright, irregular, or architectural) have high visual weight.
- Use strong forms sparingly – repeat one or two types in beds dominated by simpler, less visually dominant forms.
- A single dramatic plant can be a focal point, surrounded by simpler forms. Balance it with a couple of less dramatic repeated focal points elsewhere.
- Avoid clumping too many strong forms together, which can make an area feel unbalanced.
- Establish a pattern by repeating one or two strong forms in key locations the eye is drawn to.
Repetition with Texture
Texture is perceived through the size and shape of leaves, stems, and the overall plant density. Textures are broadly categorized as coarse, medium, or fine, and this perception changes with viewing distance and light. Coarse textures usually have the highest visual weight.
- Use texture to play with perceived space size: coarse texture in the background can make a space feel smaller, while bringing it forward can make it feel larger.
- Background texture can emphasize foreground plants: fine texture makes coarse stand out; coarse texture makes fine look delicate.
- Bold colors can make texture seem coarser; muted colors often appear finer.
- Repeating one texture throughout layers can create unity, balanced by varied forms or colors.
Repetition with Color
Color is the most temporary but often most impactful characteristic. It demands careful planning due to seasonal changes and light. It’s often best used after establishing the structure with form and texture.
- Use a color scheme (like analogous or complementary) as a guide when choosing and placing plants for color.
- Avoid scattering different colors in small, isolated spots. Allow colors to flow through the layers and masses. Repetition comes from using the same color or color scheme, not just placing color everywhere.
- Be cautious using strong color on a plant that already has high visual weight (strong form/texture); it could make the composition feel unbalanced.
- Consider all sources of color – flowers, foliage, fruit, bark, stems – to ensure interest throughout the year. Plan for bloom times to distribute color evenly across seasons.
Bringing It All Together
Mastering layered greenery groupings is about understanding that plants aren’t just individuals; they are components of a larger, living picture. By intentionally creating vertical and horizontal layers, grouping plants into cohesive masses that touch and overlap, and repeating key forms, textures, and colors, you can design garden beds that are full of depth, rhythm, and natural beauty. Remember to space plants so they connect at maturity, allowing masses to flow without awkward gaps. This approach will transform your garden into a visually stunning landscape that feels both lush and harmoniously designed.
Ready to start layering and grouping your own garden? Share your plans in the comments below or discover more plant care tips and design ideas on Thelittle.garden!