- Tiered planters are a fantastic way to maximize planting space and add vertical interest to any area.
- They are surprisingly simple to create, even for beginner DIYers.
- Customizing your planters with paint and embellishments allows you to match your personal style and home decor.
- Choosing the right plants based on light conditions is key to a thriving display.
Imagine stepping out onto your porch or patio and being greeted by a vibrant cascade of blooms and foliage, all rising beautifully in a compact footprint. That’s the magic of tiered planters! These stacked beauties are a game-changer for anyone looking to add serious visual impact and maximize their planting space, whether you have a sprawling garden or just a small balcony. What’s even better? Creating your own DIY tiered planter is an achievable project that brings immense satisfaction and curb appeal. Let’s explore how you can build and plant one of these vertical wonders.
Contents
- Why Choose Tiered Planters?
- Your DIY Tiered Planter Project
- Choosing and Preparing Your Pots
- Personalizing Your Planters
- Assembling Your Tiered Planter
- Planting Your Tiered Masterpiece
- Potting Mix and Drainage
- Planting Process
- Plant Spotlight: Ideas for Your Tiered Planter
- Care and Maintenance
- Tips for Success
Why Choose Tiered Planters?
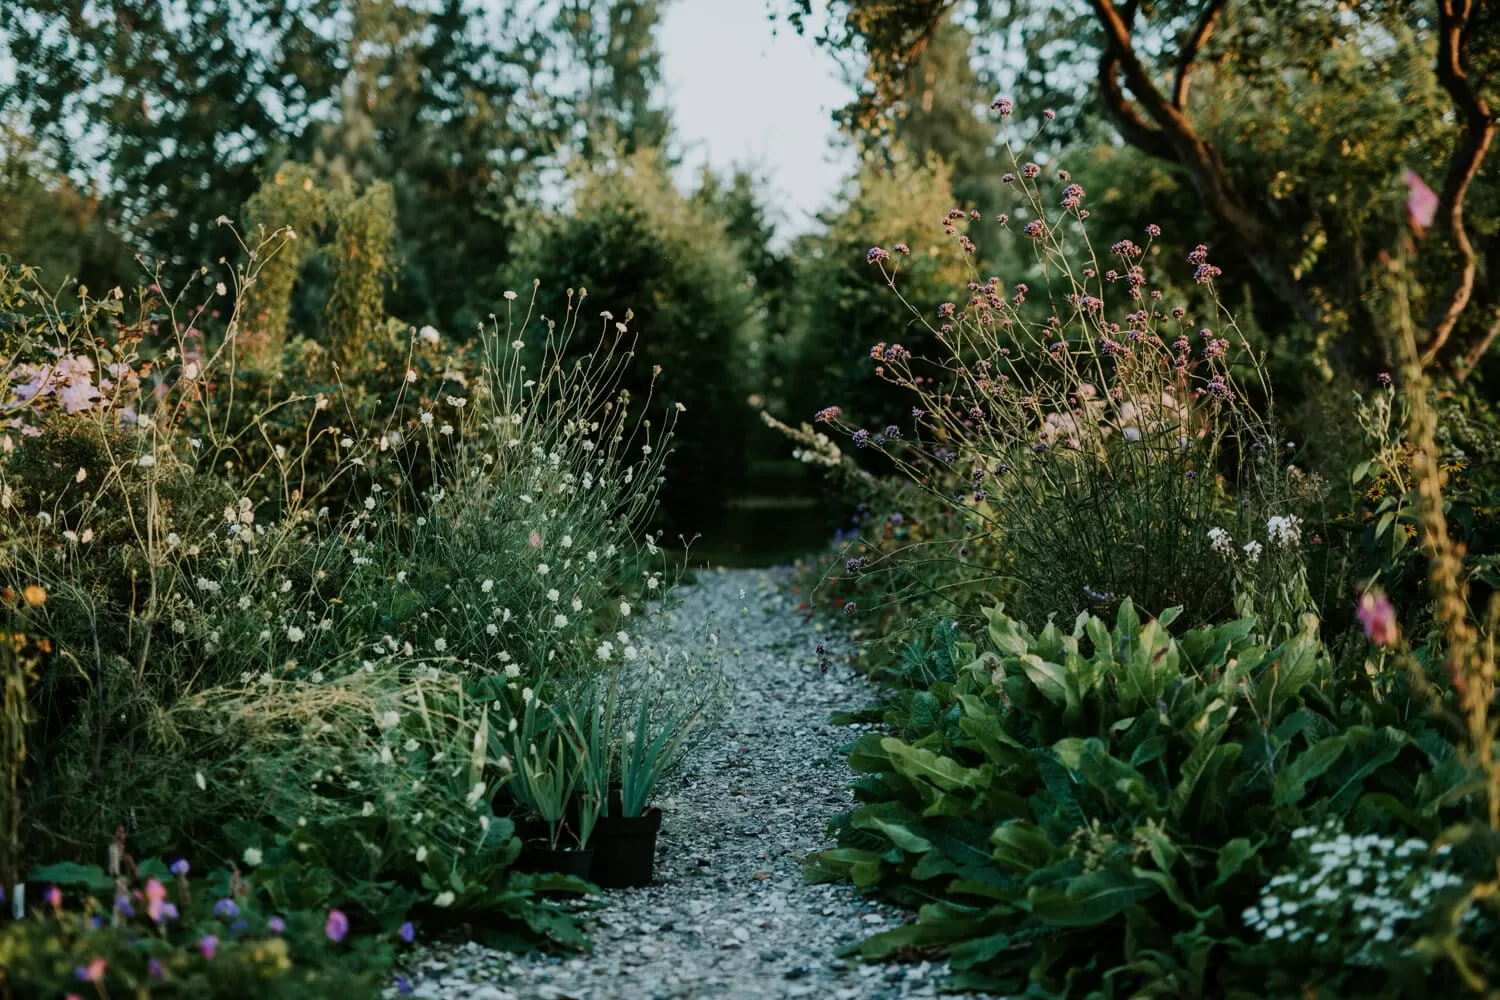
Tiered planters offer a unique blend of practicality and aesthetic appeal. They allow you to grow a variety of plants in a relatively small area by utilizing vertical space – essentially, creating a mini vertical garden. This makes them perfect for patios, balconies, small yards, or even just adding a focal point to a garden bed or entryway.
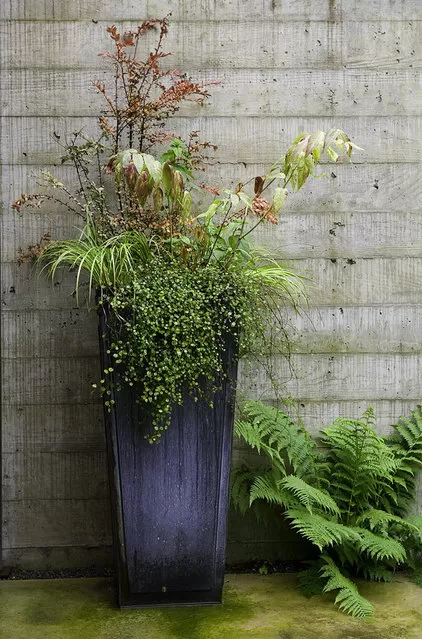
Beyond saving space, tiered planters add dynamic structure and height to your plant displays. You can combine plants with different textures, colors, and growth habits (like trailing plants cascading over the edges) to create a truly stunning visual. I remember when I first put one on my front porch; the compliments were immediate! People love the lush, layered look it creates.
Your DIY Tiered Planter Project
Creating a tiered planter, especially using readily available materials like terracotta pots, is a rewarding DIY project. You can transform simple pots into a personalized garden feature.
Choosing and Preparing Your Pots
Terracotta pots are a popular choice due to their classic look and breathability, but you can use other materials like plastic or lightweight concrete as well. You’ll need pots of varying sizes – typically three or four, decreasing in size from bottom to top.
Before painting, it’s a good idea to clean your pots thoroughly. If reusing old pots, remove any loose soil or peeling paint. For painting, especially on porous materials like terracotta, applying a primer first is a step you won’t regret. A spray primer specifically designed for multiple surfaces works wonders and helps the paint adhere evenly, saving you from needing multiple coats later on.
Personalizing Your Planters
Here’s where the creativity really shines! You can paint your pots any color to match your outdoor decor or garden theme. Solid colors are elegant, or you could get playful like with polka dots or stripes. Use outdoor-grade paints for durability.
Once your paint is dry, consider adding embellishments. Outdoor-grade vinyl cutouts, stencils, or even hand-painted designs can add a unique touch. Sealing your painted pots with a clear polyurethane spray or a specific pottery sealer is highly recommended. This helps protect the paint from the elements, preventing chipping and fading and ensuring your beautiful design lasts longer.
 Colorful polka dot tiered terracotta planter
Assembling Your Tiered Planter
The basic principle of assembling a tiered planter involves stacking smaller pots on top of larger ones, using a stable support in the center.
- Start with the largest pot: Place it in your desired location. Ensure it has drainage holes.
- Add the central support: Place a smaller pot, a brick, or even a sturdy, heavy rock upside down in the center of the largest pot. This provides the elevation for the next tier. Fill the space around the support with gravel or empty cans to aid drainage and reduce the amount of potting mix needed (though ensuring good drainage in the main pot is key).
- Place the next pot: Center the next largest pot on top of your support structure.
- Repeat: Continue adding supports and pots, decreasing in size, until you have your desired number of tiers.
- Stabilize: Ensure each pot is stable and level before proceeding.
This method creates the classic stacked look, allowing plants to spill over the edges of each tier.
 Assembled tiered terracotta planter structure
Planting Your Tiered Masterpiece
Choosing the right plants is crucial for a stunning and healthy tiered planter. Consider the location’s light exposure (full sun, partial shade, or shade) and select plants that thrive in those conditions. Mixing upright “thriller” plants, mounding “filler” plants, and trailing “spiller” plants creates a dynamic and full look.
Potting Mix and Drainage
Use a good quality potting mix designed for containers. Avoid using garden soil, which can compact and drain poorly in pots. Proper drainage is essential to prevent root rot. Ensure all your pots have drainage holes, and consider adding a layer of gravel at the bottom of each pot (or using the support method described above) to improve drainage further.
Planting Process
A helpful tip is to plant from the top tier down. This prevents you from dropping soil and potentially damaging plants in the lower tiers as you work your way up. Fill each pot with potting mix, leaving an inch or two of space at the top. Arrange your plants in each tier to visualize the final look, then plant them gently, watering thoroughly after planting.
Plant Spotlight: Ideas for Your Tiered Planter
Here are some popular choices often used in tiered planters, considering different light conditions:
For Sunny Spots (6+ hours of direct sun):
-
Petunias
- Scientific Name: Petunia × atkinsiana
- Common Name: Petunia
- Zone: Typically grown as annuals in most climates, Perennial in zones 9-11
- Light: Full sun
- Humidity: Moderate
- Water: Regular, keep soil evenly moist but not soggy
-
Sweet Potato Vine
- Scientific Name: Ipomoea batatas
- Common Name: Sweet Potato Vine
- Zone: Typically grown as annuals, Perennial in zones 9-11
- Light: Full sun to partial shade (best color in sun)
- Humidity: Moderate
- Water: Regular, keep soil consistently moist
-
Begonias (Wax Begonias)
- Scientific Name: Begonia semperflorens-cultorum
- Common Name: Wax Begonia, Fibrous Begonia
- Zone: Typically grown as annuals, Perennial in zones 10-11
- Light: Full sun to partial shade
- Humidity: Moderate to High
- Water: Keep soil evenly moist, drought tolerant once established
For Shady Spots (less than 4 hours of direct sun):
-
Coleus
- Scientific Name: Plectranthus scutellarioides (formerly Solenostemon scutellarioides)
- Common Name: Coleus
- Zone: Typically grown as annuals, Perennial in zones 10-11
- Light: Partial shade to full shade (best leaf color in shade)
- Humidity: Moderate to High
- Water: Regular, keep soil consistently moist
-
Begonias (Tuberous Begonias)
- Scientific Name: Begonia × tuberhybrida
- Common Name: Tuberous Begonia
- Zone: Typically grown as annuals, Perennial in zones 9-10 (bulbs can be overwintered elsewhere)
- Light: Partial shade to full shade
- Humidity: High
- Water: Keep soil evenly moist, avoid wetting leaves
-
Asparagus Fern
- Scientific Name: Asparagus densiflorus
- Common Name: Asparagus Fern, Sprenger’s Asparagus
- Zone: 9-11 (often grown as houseplants or annuals elsewhere)
- Light: Partial shade to full shade (can tolerate some sun but foliage may yellow)
- Humidity: Moderate to High
- Water: Regular, allow soil to dry slightly between waterings
-
Spike Plant
- Scientific Name: Dracaena indivisa (often used in annual containers) or Cordyline australis
- Common Name: Spike Plant, Blue Dracaena (or Cabbage Palm for Cordyline)
- Zone: 9-11 (Dracaena), 8-11 (Cordyline) – often used as annuals elsewhere
- Light: Full sun to partial shade
- Humidity: Moderate
- Water: Moderate, keep soil consistently moist but not waterlogged
Mixing upright plants in the center or top tier with trailing plants around the edges creates that beautiful cascading effect tiered planters are known for.
 Tiered terracotta planter filled with shade-loving plants
Care and Maintenance
Container plants generally require more frequent watering than plants in the ground because the soil dries out faster. Check the soil moisture regularly, especially during warm or windy weather. Water thoroughly until water drains from the bottom.
Feed your plants with a balanced liquid fertilizer every few weeks during the growing season to ensure they have the nutrients they need to flourish in their limited soil space. Deadheading spent flowers will encourage more blooms, and pruning can help maintain the shape and density of your plants.
Tips for Success
- Prime and Seal: Don’t skip priming before painting and sealing after painting, especially on terracotta, for lasting beauty.
- Plant Top-Down: This simple tip makes planting much easier and neater.
- Ensure Drainage: Crucial for healthy roots. Make sure pots have holes and consider gravel or supports to aid drainage.
- Don’t Overcrowd: Give plants enough space to grow and fill out.
- Water Consistently: Container plants dry out quickly; monitor moisture levels frequently.
Building and planting tiered planters is a fantastic way to add height, color, and charm to any outdoor space. It’s a project that combines creativity with the joy of gardening, resulting in a beautiful and rewarding display.
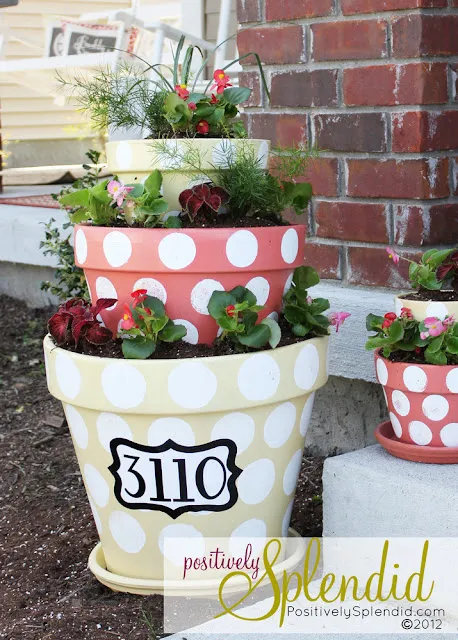
 Completed vibrant tiered planter on a porch
Tiered planters are more than just stacked pots; they’re vertical canvases for your gardening passion. They offer a practical solution for small spaces while creating a stunning visual statement. By following these steps and tips, you can create a vibrant, multi-level garden display that will be the envy of your neighbors and bring you joy throughout the season.
Have you created a tiered planter? What plants did you choose? Share your experience or questions in the comments below! And be sure to explore other garden ideas on The Little Garden for more inspiration.