

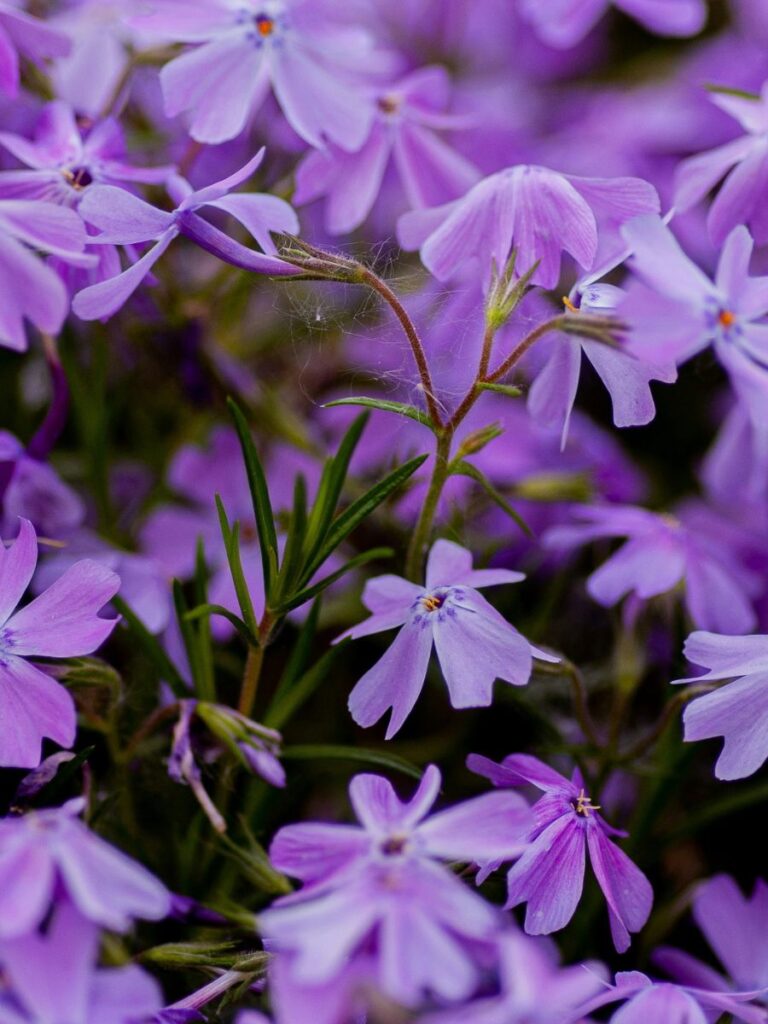
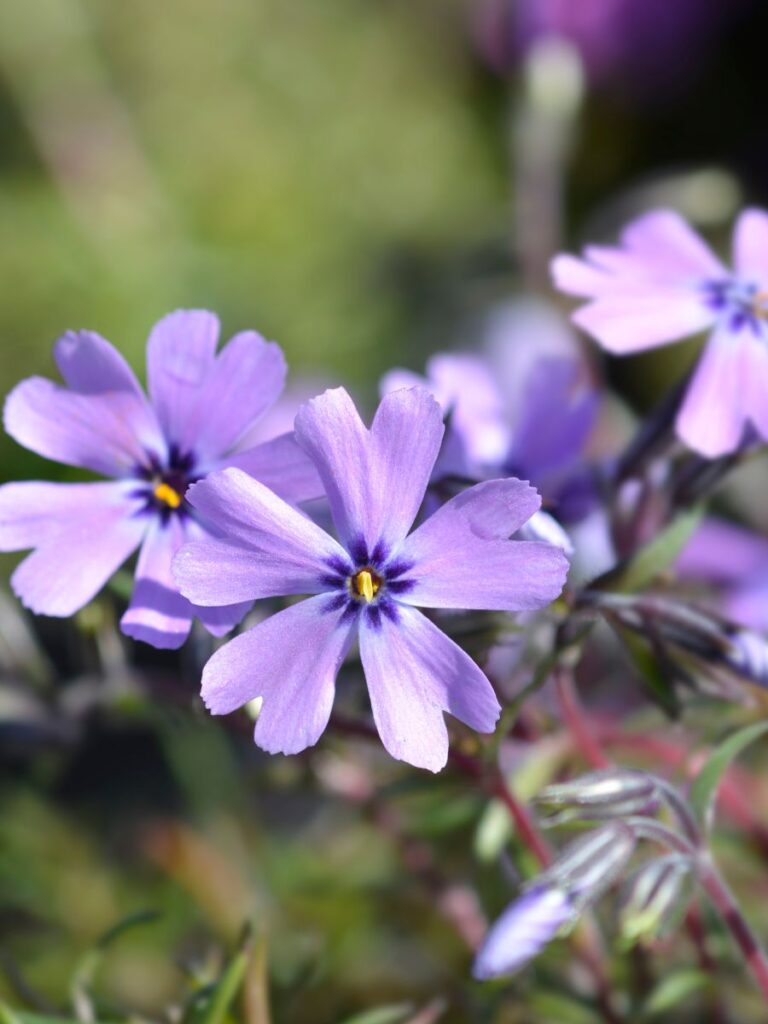
If you’re aiming to infuse your outdoor space with some delightful floral charm, consider planting Creeping Phlox.
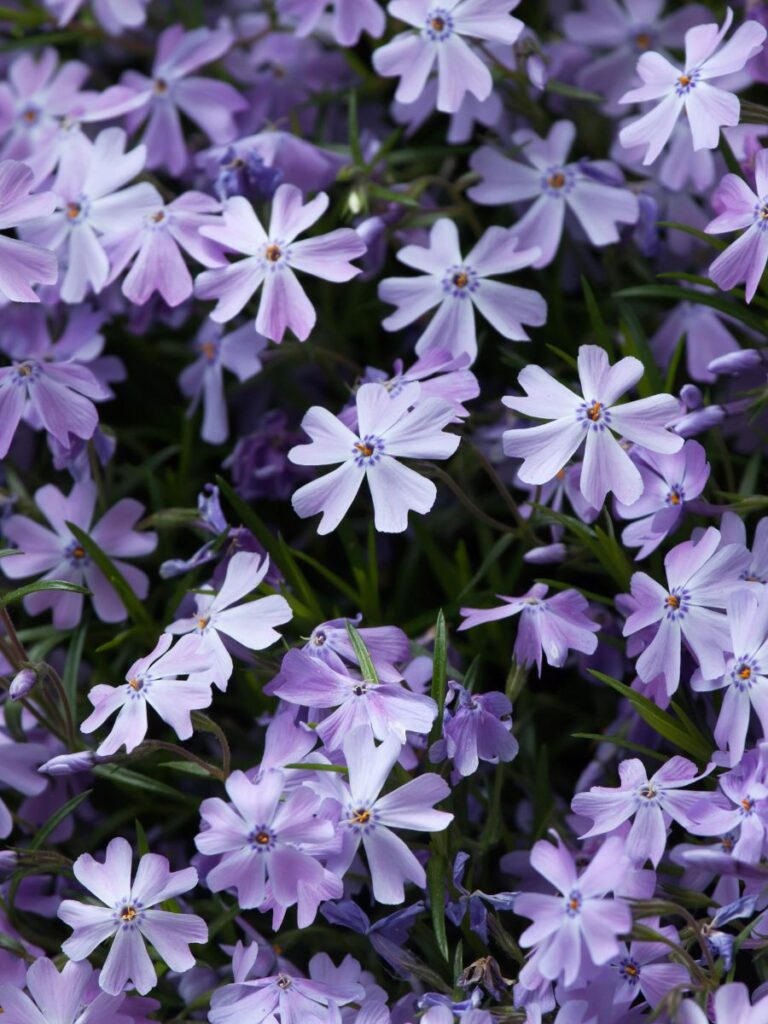
Known scientifically as Phlox subulata, this perennial is not only easy to grow but also boasts a profusion of blossoms once it blooms.
You're reading: How to Plant Creeping Phlox in Containers in 3 Ways
While it’s low-maintenance and thrives when planted directly into the ground, you might wonder about its suitability for containers.
After all, confined spaces can pose challenges for most plants and they’ll need more care and love.
However, for a ground cover as robust and vibrant as Creeping Phlox, container planting can be just as straightforward.
Dive into the details below to learn everything you need to know about how to plant Creeping Phlox in containers.
First, Let’s Revise The Basics of Growing Creeping Phlox
Growing any plant successfully involves understanding its specific needs and characteristics.
This includes assessing whether your area is suitable for Creeping Phlox, mastering watering techniques, and more.
The good news is, as mentioned earlier, this perennial beauty is quite self-sufficient (pest resistant even!).
So you don’t have to fret over providing the perfect conditions for it to thrive.
Let’s review some of the fundamental care facts about Creeping Phlox:
- Hardiness Zone: USDA 5-9, with preferred temperature ranging between 68 and 95 °F.
- Soil Type: Opt for soil rich in organic matter with a slightly acidic pH (6.0 to 8.0). Don’t forget to make sure it is well-drained.
- Water: Aim for watering once a week; adjust the frequency as needed, especially during hot and dry seasons.
- Fertilizer (for container): Twice a year, ideally in early spring and before summer, apply a water-soluble liquid fertilizer with a balanced NPK ratio (10-10-10).
- Sunlight: Thrives in full sun with at least 6 hours of exposure daily but can tolerate light shade.
How to Plant Creeping Phlox in Containers: Grow From Seeds
Before diving in, let me emphasize something paramount, a reminder I tend to highlight in every seed-growing discussion:
Invest in quality seeds from reputable suppliers, preferably newer batches.
While cheaper options might seem appealing, they often result in days of frustration trying to germinate unviable seeds.
The same applies to old seeds forgotten somewhere in your home for years.
Yes, there’s a slight chance some may still sprout. But time takes its toll, and it can diminish the viability of certain seeds over time.
Step 1: Start Your Seeds Early
It’s essential to remember that even though they’re potted, you can’t plant them at any time.
Phlox needs abundant direct sunlight and goes dormant in winter.
Therefore, planting them in late summer or fall won’t yield any results.
For optimal success, begin planting your seeds early.
Around six weeks before the ground thaws from frost, sow the seeds in small pots with a light layer of potting soil.
Give them a thorough watering, then enclose the pots in a plastic bag until the seeds start to sprout.
Step 2: Spacing
When planting Creeping Phlox from seeds, another factor to consider is proper spacing.
Read more : 5 Reasons Why Rhododendron Not Growing
While they may seem insignificant when the sprouts are still small, they’ll spread and compete with each other over time.
This competition often leads to plants dying off.
Therefore, I’d suggest you provide at least 6 inches of space between each seedling to allow them room to thrive.
After sowing the seeds, water the soil and ensure it remains consistently moist (but not overly wet) for the seedlings.
Sprouts usually emerge within a month or two, although timing may vary depending on the variety.
Step 3: Place on a Sunny Windowsill
Once the sprouts emerge, remove the pot from the plastic bag and feed the plants with all-purpose fertilizer.
Ensure they receive ample water.
Place the young phlox on a sunny windowsill where they can soak up plenty of sunlight with the soil temperature at least 65°F.
Step 4: Transplant Creeping Phlox to a Flower Box
Keep the new Creeping Phlox indoors until after the final frost and temperatures have stabilized enough for the young phlox to thrive outdoors.
Look for periods with minimal fluctuations between night and day temperatures.
Choose a flower box large enough to accommodate at least three to four plants.
Transplant your phlox into the box, ensuring they are spaced at least 15 inches apart for optimal growth. Avoid overcrowding the box.
Use all-purpose potting soil and water the plants generously.
You can also apply water-soluble fertilizer at this point to provide the necessary nutrients for robust blooming.
Step 5: Transplant to a Larger Container
If you prefer to keep your phlox near your deck, patio, or other favorite areas for easy viewing, consider placing them in a long container pot.
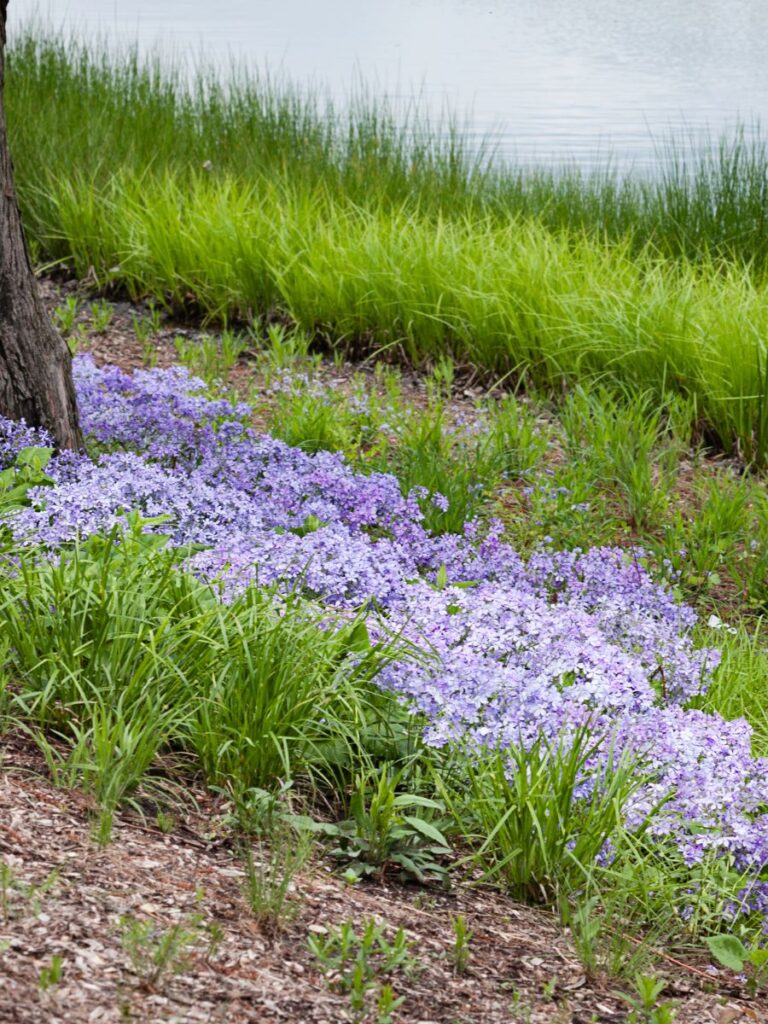
Phlox is a creeping groundcover that enjoys stretching out, and its low-growing blossoms create an impressive display when lined up in a row.
Remember to prune the vines and leaves to allow the blossoms to take center stage.
Fill the larger container with potting soil mixed with all-purpose fertilizer.
Transplant the young phlox flowers, ensuring they are spaced 6 to 8 inches apart.
As they grow, they will quickly cover the remaining space. Keep the soil moist by watering it regularly.
How to Grow Creeping Phlox in Containers from Propagation
Another way of introducing Creeping Phlox into your garden is by propagating from existing bushes.
It’s a simple and effective way to grow new plants, offering quicker results compared to growing from seeds.
Read more : Pansy vs Petunia: Unraveling the Charms of Your Garden’s Perfect Flower
To propagate new phlox, we have two options: division and cuttings.
Grow Creeping Phlox from Cuttings:
1. Select Healthy Parent Plants:
When you’re picking out Phlox plants for cuttings, go for the healthy ones with robust growth and lively leaves.
Take your time to check the stems and leaves closely, making sure they’re clear of any disease or pest issues.
I stumbled upon this gem of advice from Gardener’s World, which recommends going for softwood cuttings from the fresh, young shoots—especially those from this season’s growth and ones that haven’t started flowering yet.
It’s a great tip to keep in mind!
2. Timing:
The optimal window for taking cuttings from Phlox is during late spring to early summer, when the plants are in their prime growth phase.
It’s best to steer clear of extreme temperature conditions, be it scorching heat or chilling cold, as these can cause undue stress to the parent plants.
3. Prepare Tools and Materials:
- Sharp, sterilized pruning shears or scissors: bruised cuttings will severely affect them from quick adaptation.
- Rooting hormone: to encourage root formation.
- Potting mix or propagation medium: I’d recommend mixing in some organic manure to assist with the cuttings.
- Don’t forget your pots!
4. Take Cuttings:
- Use sterilized pruning shears or scissors to make a clean cut just below a leaf node (where a leaf attaches to the stem).
- Remove any lower leaves along the bottom third of the cutting to expose the leaf nodes.
5. Apply Rooting Hormone (Optional): To encourage root development, dip the cut end of each cutting into powdered or liquid rooting hormone. This step is optional but can improve the success rate of rooting.
6. Prepare Potting Mix: Fill small pots or containers with a well-draining potting mix or propagation medium. Moisten the potting mix slightly to ensure good contact with the cuttings.
7. Plant Cuttings:
- Insert the cut end of each cutting into the prepared potting mix, pressing it gently to ensure good soil contact.
- Space the cuttings evenly in the pots, leaving space between them to allow for airflow and prevent crowding.
8. Provide Care:
- Place the pots in a bright, indirect light location. Avoid direct sunlight, as this can cause the cuttings to wilt or dry out.
- Keep the potting mix consistently moist but not waterlogged. Mist the cuttings regularly to maintain humidity around them.
- Monitor the cuttings for signs of new growth, indicating that roots are forming. This process typically takes several weeks.
9. Transplanting: Once the cuttings have developed a healthy root system and are actively growing, they can be transplanted into larger pots or outdoor garden beds.
Grow Creeping Phlox from Division
Propagating creeping phlox through division is the way to go. It involves simply splitting clumps of thriving Phlox into smaller sections to grow new bushes.
This method not only relieves stress from overgrown bushes but also provides newly separated phlox with a fresh environment to thrive.
Since they already have roots, all you need to do is wait for them to settle into their new home.
- Wait for spring or fall when the plant isn’t actively growing, typically after it has finished flowering.
- Select plants that are at least two to three years old.
- Carefully dig up the entire plant, ensuring not to damage the root ball.
- Shake off excess soil.
- Using a sterile, sharp spade, cut through the roots to divide the plant in half.
- Loosen the soil in the planting area and incorporate organic matter.
- Space the divisions about 12 to 18 inches apart if planting in a large pot; otherwise, one division per pot is sufficient.
- Water thoroughly to settle the soil and place the pots in a location with ample sunlight.
- Provide regular soil moisture to the newly planted phlox for about a month.
Final Thoughts
Growing creeping phlox in a container offers a convenient and attractive way to enjoy this beautiful plant.
Now, you can cultivate phlox in containers, adding a burst of color and beauty wherever you choose to place them.
Read more:
- How to Prune Pinky Winky Hydrangea – A Complete Care Guide
- How to Plant Munstead Lavender: Everything You Should Know
- How to Grow Nagoya Red Kale (Flowering Kale)
- Agapanthus Over Winter: Number 1 Key To Success
- Japanese Maple Bugs & How to Keep It Pest-Free
Source: https://thelittle.garden
Category: Gardening