Ready to ditch the soil and dive into the future of gardening? Setting up your own DIY hydroponic kit is an exciting way to grow fresh produce, herbs, or flowers right at home, year-round. It might sound complex, but with a little guidance and the right approach, it’s incredibly rewarding and surprisingly accessible for beginners.
- Discover the magic of growing plants without soil.
- Learn the essential components of a simple hydroponic system.
- Gain confidence to build your own home garden setup.
- Unlock the potential for fresh harvests regardless of space or season.
Let’s explore how you can embark on this incredible journey and transform a corner of your home into a thriving green space with a DIY hydroponic kit setup. It’s more than just a project; it’s an opportunity to connect with nature and enjoy the fruits (or vegetables!) of your labor in a whole new way.
Why Choose DIY Hydroponics?
There’s a unique satisfaction that comes from building something with your own hands, and a DIY hydroponic setup doubles that feeling when you start harvesting your first plants. Beyond the pride of creation, hydroponics offers significant advantages over traditional soil gardening. It typically uses less water, allows for faster plant growth, and eliminates common soil-borne pests and diseases. For urban dwellers or those with limited outdoor space, an indoor hydroponic system is a game-changer, bringing the garden right into your living room or kitchen. It opens up possibilities you might never have considered, turning unused spaces into productive green zones.
Getting Started: Understanding Your DIY Hydroponic Kit
At its core, a DIY hydroponic kit setup involves creating an environment where plants receive nutrient-rich water directly to their roots, bypassing the need for soil. While commercial kits exist, building your own allows for customization, learning, and often, cost savings by repurposing materials. Think of it as a tailored suit for your plants! A basic system doesn’t require a science degree; many simple setups can be built using common household items or readily available materials from a local hardware store. The complexity can vary greatly, from a simple container with a net pot to more elaborate systems with pumps and timers.
 Simple floating raft hydroponic system for beginners
Common Types of DIY Hydroponic Setups
When exploring DIY hydroponics, you’ll encounter various methods, each with its own charm and suitability for different plants and spaces. Understanding these types helps you decide which approach is best for your first DIY hydroponic kit setup.
Deep Water Culture (DWC)
This is one of the simplest and most popular methods for beginners. Plants are suspended in net pots with their roots immersed directly in a nutrient solution reservoir. An air stone and pump provide oxygen to the water, crucial for preventing root rot. DWC is fantastic for leafy greens like lettuce and herbs. Building a small DWC system can be as simple as using a plastic tote, net pots, and a small aquarium air pump.
 DIY Deep Water Culture system built indoors
Nutrient Film Technique (NFT)
NFT systems involve plants placed in channels or tubes through which a shallow stream of nutrient solution flows constantly. The roots access water, nutrients, and oxygen from this thin film. These systems are efficient for growing smaller plants like lettuce and strawberries. While slightly more complex than basic DWC due to the need for a pump and return system, small-scale NFT can still be a great DIY project.
 Compact NFT hydroponics setup
Drip Systems
In a drip system, nutrient solution is pumped from a reservoir and delivered directly to the base of each plant using small drip emitters. The excess solution can either drain away (non-recirculating) or return to the reservoir to be reused (recirculating). Drip systems offer flexibility and can support larger plants. A DIY version requires a reservoir, pump, tubing, and drippers, often built into containers or a grow bed.
 DIY hydroponic drip garden designed for various plants
Other methods like Aeroponics, Ebb and Flow (Flood and Drain), and Aquaponics exist and offer varying levels of complexity and benefits, often explored by those with more experience.
Essential Components for Your DIY Setup
Regardless of the specific type of DIY hydroponic kit you decide to build, several key components are usually involved:
- Reservoir: A container to hold the nutrient solution (e.g., plastic tote, bucket, large tub).
- Growing Media: Inert materials that support the plant roots and provide aeration (e.g., rockwool, perlite, coco coir, clay pebbles).
- Net Pots: Small mesh pots or baskets to hold the growing media and plant, allowing roots to grow into the solution.
- Submersible Pump: Used to circulate the nutrient solution (needed for NFT, Drip, Ebb and Flow, and some DWC setups).
- Air Pump and Air Stone: To oxygenate the water in DWC and some other systems.
- Nutrient Solution: Specially formulated hydroponic nutrients mixed with water.
- Timer: To control the pump cycles (for systems that don’t run continuously).
- Grow Lights: Essential for indoor growing to provide the necessary light spectrum and intensity.
- pH and EC Meters: Tools to measure the acidity (pH) and nutrient concentration (Electrical Conductivity) of your solution, crucial for plant health.
Building a simple system often starts with the reservoir, net pots, growing media, and potentially an air pump. As you gain confidence, you can add lights, timers, and more complex pumping systems.
 High power LED grow lights for indoor hydroponics
Setting Up Your First DIY Hydroponic Kit: A General Guide
While specific steps vary depending on the system type, here’s a general sequence for setting up a basic DIY hydroponic kit:
- Gather Your Materials: Source your reservoir, net pots, growing media, pumps (if needed), and any other structural components. Consider using recycled materials where possible, like old containers or bottles for net pots.
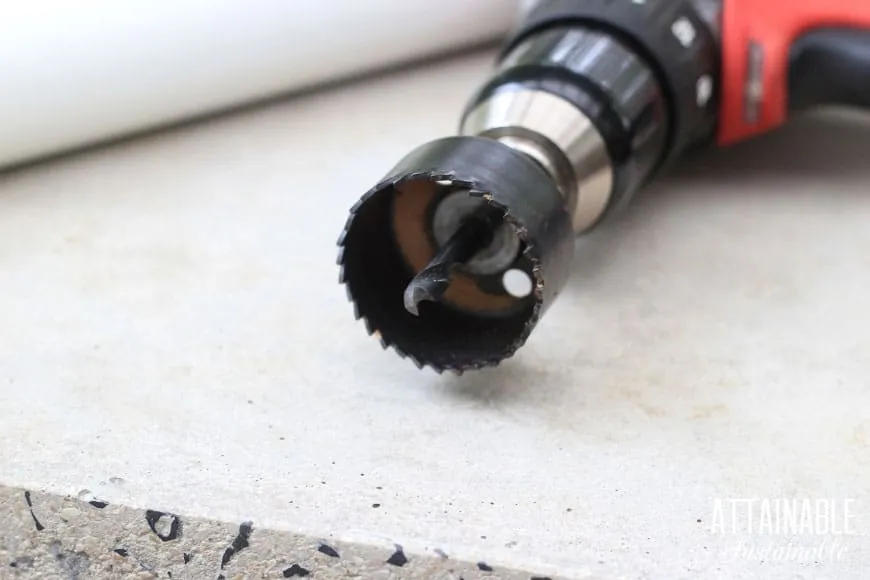
- Prepare the Reservoir: Clean your container thoroughly. If needed, cut holes in the lid for net pots, ensuring they fit snugly.
- Assemble the System: Install any pumps, tubing, or air stones according to your chosen system’s design. Ensure everything is secure and leak-free.
- Prepare Your Plants: Seeds can be started in rockwool cubes or other starting media. Once they sprout and show initial roots, they can be transferred to net pots filled with your chosen growing medium.
- Mix the Nutrient Solution: Follow the instructions on your hydroponic nutrient package to mix the solution with water in the reservoir. Use a pH meter to adjust the pH to the appropriate range for your plants (typically 5.5 to 6.5).
- Place Plants in System: Carefully place the net pots containing your seedlings into the designated spots in your system, ensuring roots can reach the nutrient solution.
- Install Lights (If Indoors): Position your grow lights above the plants at the recommended height. Set a timer for the appropriate light cycle (usually 12-18 hours per day depending on the plant).
- Monitor and Maintain: Regularly check the water level, pH, and EC. Top up the solution as needed and perform periodic reservoir changes (typically every 1-3 weeks) to prevent nutrient imbalances. Observe your plants daily for signs of growth or distress.
Setting up is the first step, but the real fun is in the growing and harvesting! Each setup teaches you valuable lessons about plant needs and system dynamics.
 Recirculating hydroponic system example
Tips for Success with Your DIY Kit
- Start Simple: Don’t try to build a massive, complex system for your first project. A small DWC or basic drip system is a great starting point.
- Choose the Right Plants: Beginners often have success with leafy greens like lettuce, spinach, and herbs like basil and mint. These plants have relatively simple nutrient needs.
- Water Quality Matters: Use filtered water or tap water that has sat out for 24 hours to allow chlorine to dissipate. Test and adjust pH and EC regularly.
- Observe Your Plants: They will tell you what they need! Yellowing leaves, slow growth, or unusual spots can indicate nutrient deficiencies or other issues.
- Keep it Clean: Algae can grow in nutrient solution exposed to light. Use opaque containers and keep your system clean to maintain a healthy environment.
Embarking on a DIY hydroponic kit setup is an empowering journey. It combines the joy of gardening with a bit of engineering know-how, leading to fresh produce and a deeper understanding of plant growth.
Your Hydroponic Adventure Awaits
Building your own DIY hydroponic kit setup might seem daunting at first glance, but it’s a rewarding process that puts you in control of your indoor garden. From simple setups using recycled materials to more automated systems, the possibilities are vast and adaptable to your space and budget. It’s about experimenting, learning, and enjoying the process of growing your own food or beautiful plants without soil.
Are you ready to give DIY hydroponics a try? Have you built a system before, or are you just starting to explore the idea? Share your thoughts and questions in the comments below! And if you found this guide helpful, share it with fellow plant enthusiasts. Explore more content on Thelittle.garden for inspiration and advice on all your gardening adventures!