Here’s how implementing no-dig techniques can transform your container gardening:
- Build Richer Soil: Layers of organic matter create a living, fertile environment in your pots.
- Improve Water Retention: Healthy soil structure means less frequent watering is needed.
- Reduce Compaction: Avoid disturbing the soil, letting beneficial microbes and roots thrive.
- Minimize Weeds: A simple mulch layer keeps unwanted growth at bay in your containers.
- Less Work, More Reward: Spend less time mixing soil and more time enjoying your plants.
Are you dreaming of lush, productive plants in your pots, but dreading the endless cycle of repotting, soil mixing, and battling compacted dirt? What if there was a simpler, more effective way to grow stunning container gardens that actually improves the soil over time? Get ready to discover the magic of implementing no-dig container gardening techniques for soil health – a game-changer for any balcony, patio, or small space gardener. It’s about mimicking nature’s incredible ability to build rich, vibrant soil without ever lifting a shovel inside your pots!
Contents
What is No-Dig Container Gardening?
At its heart, no-dig gardening, whether in the ground or in a container, is about letting nature do the hard work. Instead of turning or tilling the soil – which disrupts soil structure, harms beneficial microbes, and can bring dormant weed seeds to the surface – the no-dig method involves adding layers of organic material to the surface. Over time, earthworms, fungi, bacteria, and other soil life break down these layers, incorporating them into the soil structure from the top down.
In the context of container gardening, implementing no-dig techniques means you build your pot’s soil by layering materials like cardboard, compost, and mulch, rather than mixing everything together initially or replacing the soil every year. It’s a gentle, sustainable approach that focuses on feeding the soil life, which in turn feeds your plants.
 Healthy plants growing in raised beds, demonstrating the lush results of no-dig gardening techniques.
Why Soil Health is Paramount in Containers
Container gardening presents unique challenges that healthy soil can solve. Unlike in-ground beds where soil volume is vast and natural processes constantly replenish nutrients and structure, containers are confined spaces. Soil in pots can quickly become:
- Compact: Limited space and gravity can lead to dense soil that roots struggle to penetrate.
- Nutrient Depleted: Frequent watering can leach nutrients out the drainage holes.
- Poorly Drained or Too Dry: The wrong soil mix or poor structure leads to either soggy roots or soil that dries out too fast.
- Lifeless: Without active soil biology, the soil becomes inert, offering little support beyond physical structure.
Implementing no-dig techniques directly addresses these issues by fostering a living, breathing soil ecosystem within your container, leading to healthier, more resilient plants.
Benefits of Implementing No-Dig Techniques for Container Soil Health
Adapting no-dig principles to your pots unlocks a surprising number of advantages:
- Superior Soil Structure: Layering creates pockets for air and water, preventing the compaction common in traditional container mixes. Organic matter binds soil particles, improving drainage while also retaining moisture.
- Increased Water Retention: The sponges of organic matter and improved structure mean water is absorbed more efficiently and held in the pot longer, reducing your watering frequency.
- Thriving Soil Life: By not disturbing the soil, you create a stable habitat for earthworms (if your container is large enough and connected to the ground, or if you add them!), microbes, and fungi that break down organic matter and make nutrients available to plants.
- Natural Nutrient Cycling: As layers decompose from the top, they continuously feed the soil and your plants, creating a slow-release fertilizer system.
- Fewer Weeds: A final layer of mulch suppresses weed seeds that might blow into your pots. Any weeds that do appear are usually easy to pull from the loose, healthy soil structure.
- Reduced Need for Soil Replacement: Instead of emptying and refilling pots yearly, you simply top-dress, building soil fertility over time.
- It’s Easier! Once set up, maintenance is minimal – just add compost and mulch as needed.
Getting Started: Building Your No-Dig Container
Ready to try it? Building a no-dig container is simpler than you might think. The basic idea is to create layers that will break down over time to form rich soil.
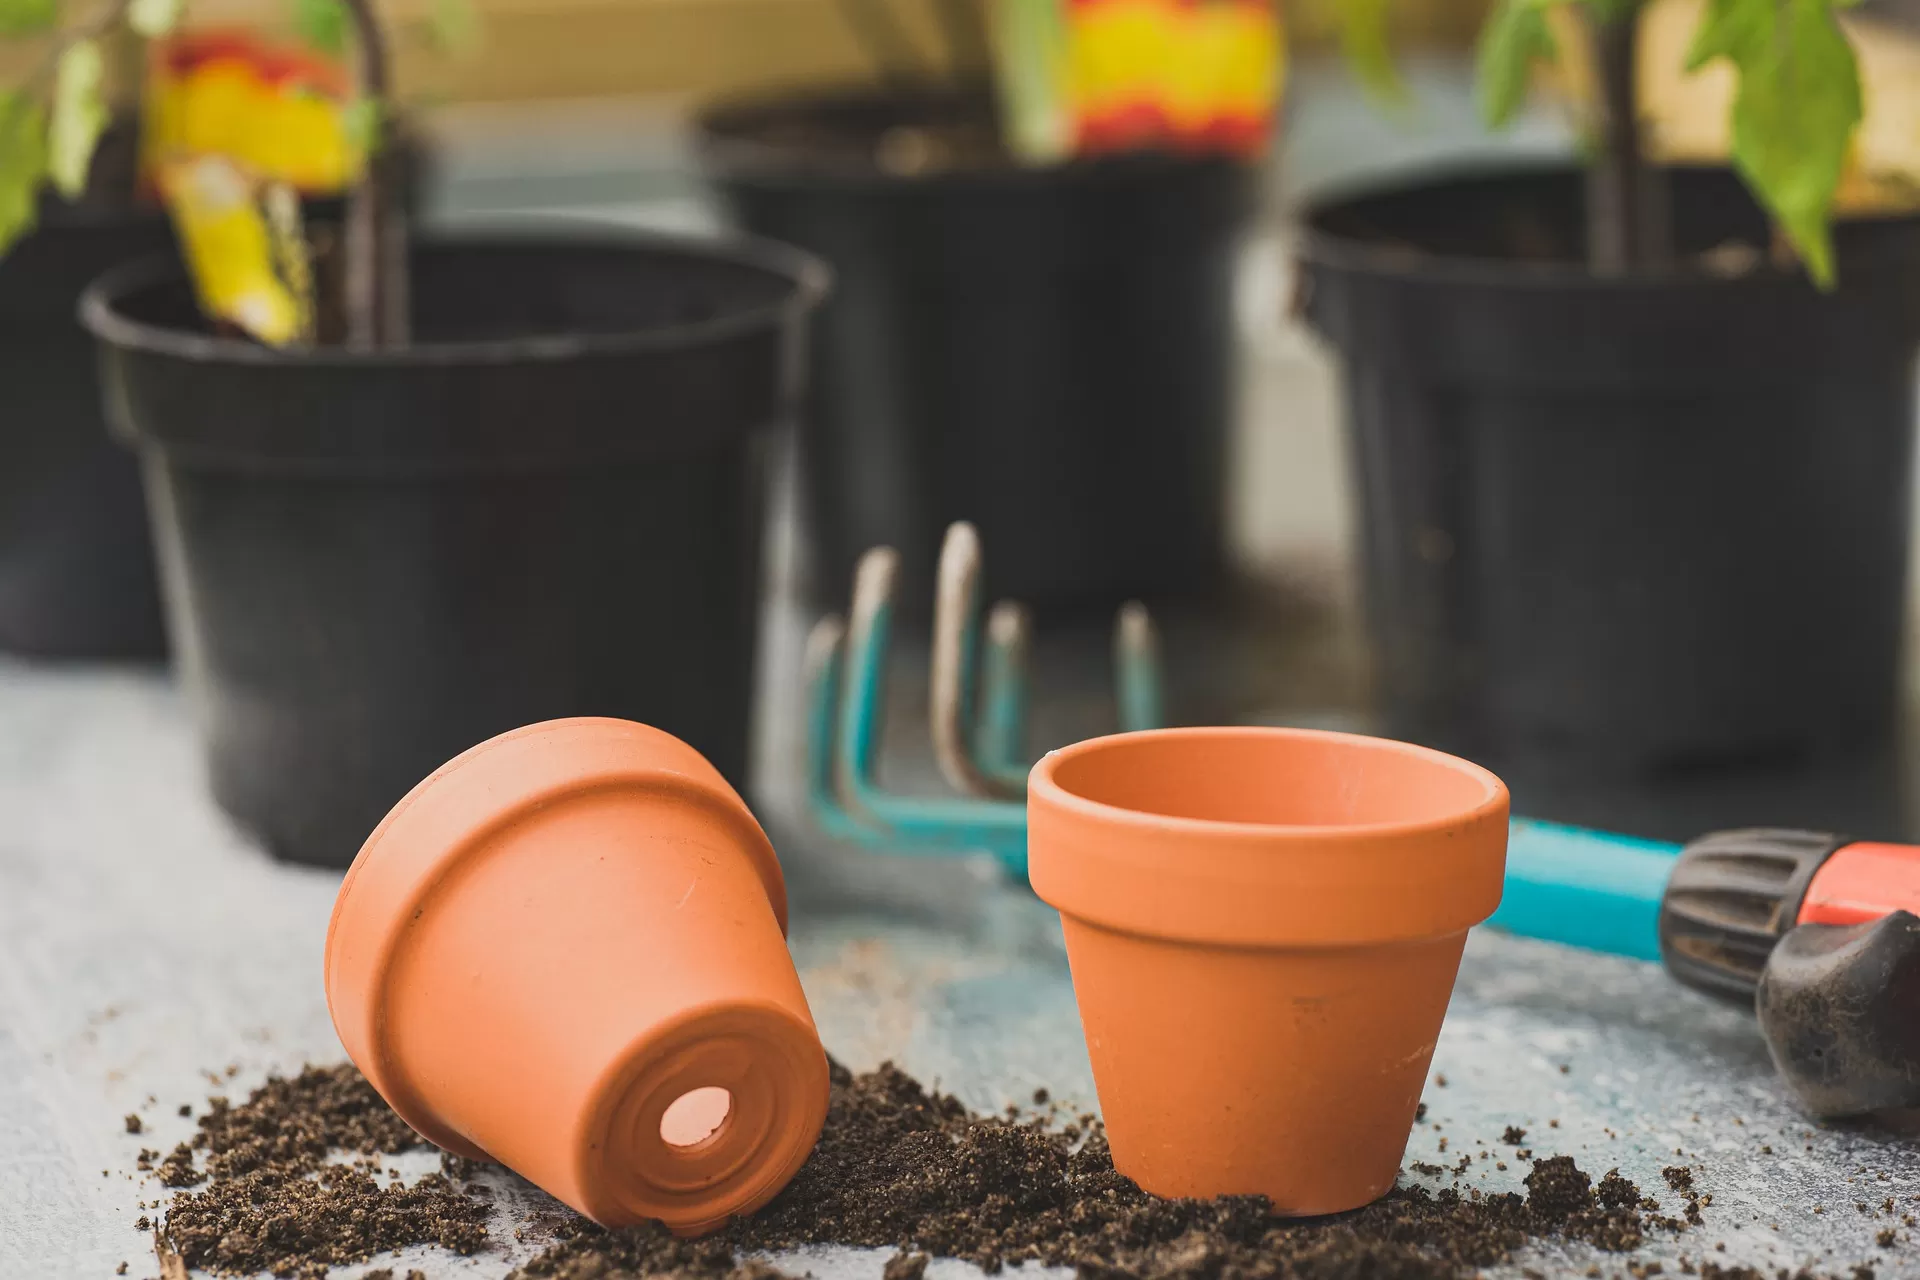
- Choose Your Container: Ensure it has adequate drainage holes. Size matters – larger pots offer more stable environments for soil life.
- Optional Base Layer: You can start with a layer of coarse organic matter like twigs, small branches, or straw at the bottom. This helps with drainage and adds bulk material that will decompose slowly.
- Add a Carbon Layer (Optional but helpful): If you’re starting with poor soil or want extra weed suppression, a layer of plain cardboard or newspaper (remove tape/labels) can be placed over the base or directly on existing soil. Wet it thoroughly. This acts as a weed barrier initially and breaks down.
- Layer in the Good Stuff: Add a generous layer (3-4 inches minimum, more if your container allows) of high-quality compost or a rich organic potting mix. This is where your plants will initially grow and provides the food for soil life.
- Water Well: Soak the layers thoroughly. This helps them settle and kickstarts the decomposition process.
- Add Your Mulch Layer: Top everything off with 1-2 inches of organic mulch. This could be shredded leaves, straw, grass clippings, or fine wood chips suitable for containers. This layer conserves moisture, suppresses weeds, and will eventually break down to feed the soil.
- Planting: You can plant directly into the compost layer after building your container. If using cardboard, you might need to poke a hole through it to ensure your plant roots can easily access the layers below as the cardboard decomposes.
 Layering rich compost over cardboard base for building healthy soil in a no-dig container garden.
 Large supply of wood chips ready for use as a soil-retaining mulch layer in no-dig gardens.
 Soaking corrugated cardboard to create a weed-suppressing and base layer for a no-dig container garden.
Maintaining Your No-Dig Containers
The beauty of the no-dig method is low maintenance. As the layers break down and your plants grow, the soil level in your container might drop slightly. Simply add more compost and refresh the mulch layer on top each season or as needed. Avoid turning or stirring the soil. Let the soil life do the mixing for you. This simple act of ‘top-dressing’ is how you continue implementing no-dig container gardening techniques for soil health year after year.
 A wheelbarrow filled with wood chips, ready to be spread as mulch for moisture retention in no-dig container gardening.
Tips from My Little Garden
I’ve found that implementing no-dig techniques in my own containers has made a huge difference, especially with our challenging climate. The soil stays moist longer during dry spells, and the plants just seem happier, with more vibrant growth and fewer issues. Don’t be afraid to experiment with different organic materials for your layers – kitchen scraps (buried deeper), shredded leaves from your yard, or even spent growing media can all become valuable soil building blocks. The key is the layering and the commitment to not disturbing that precious, developing soil ecosystem. Seeing the soil structure improve and finding beneficial life like earthworms even in my pots is incredibly rewarding!
 A thriving earthworm in healthy, crumbly soil, indicating the success of no-dig practices for soil health.
Conclusion
Implementing no-dig container gardening techniques for soil health is more than just a method; it’s a philosophy that respects and works with natural processes. It’s about building living soil in your pots that gets better over time, providing your plants with everything they need for robust growth. Say goodbye to heavy digging and constant soil replacement, and hello to healthier plants, less work, and a truly sustainable way to garden in containers.
Ready to give your container gardens the gift of healthy, thriving soil? Try implementing these no-dig techniques this season and see the difference for yourself! Share your experiences in the comments below or explore more gardening tips on Thelittle.garden!