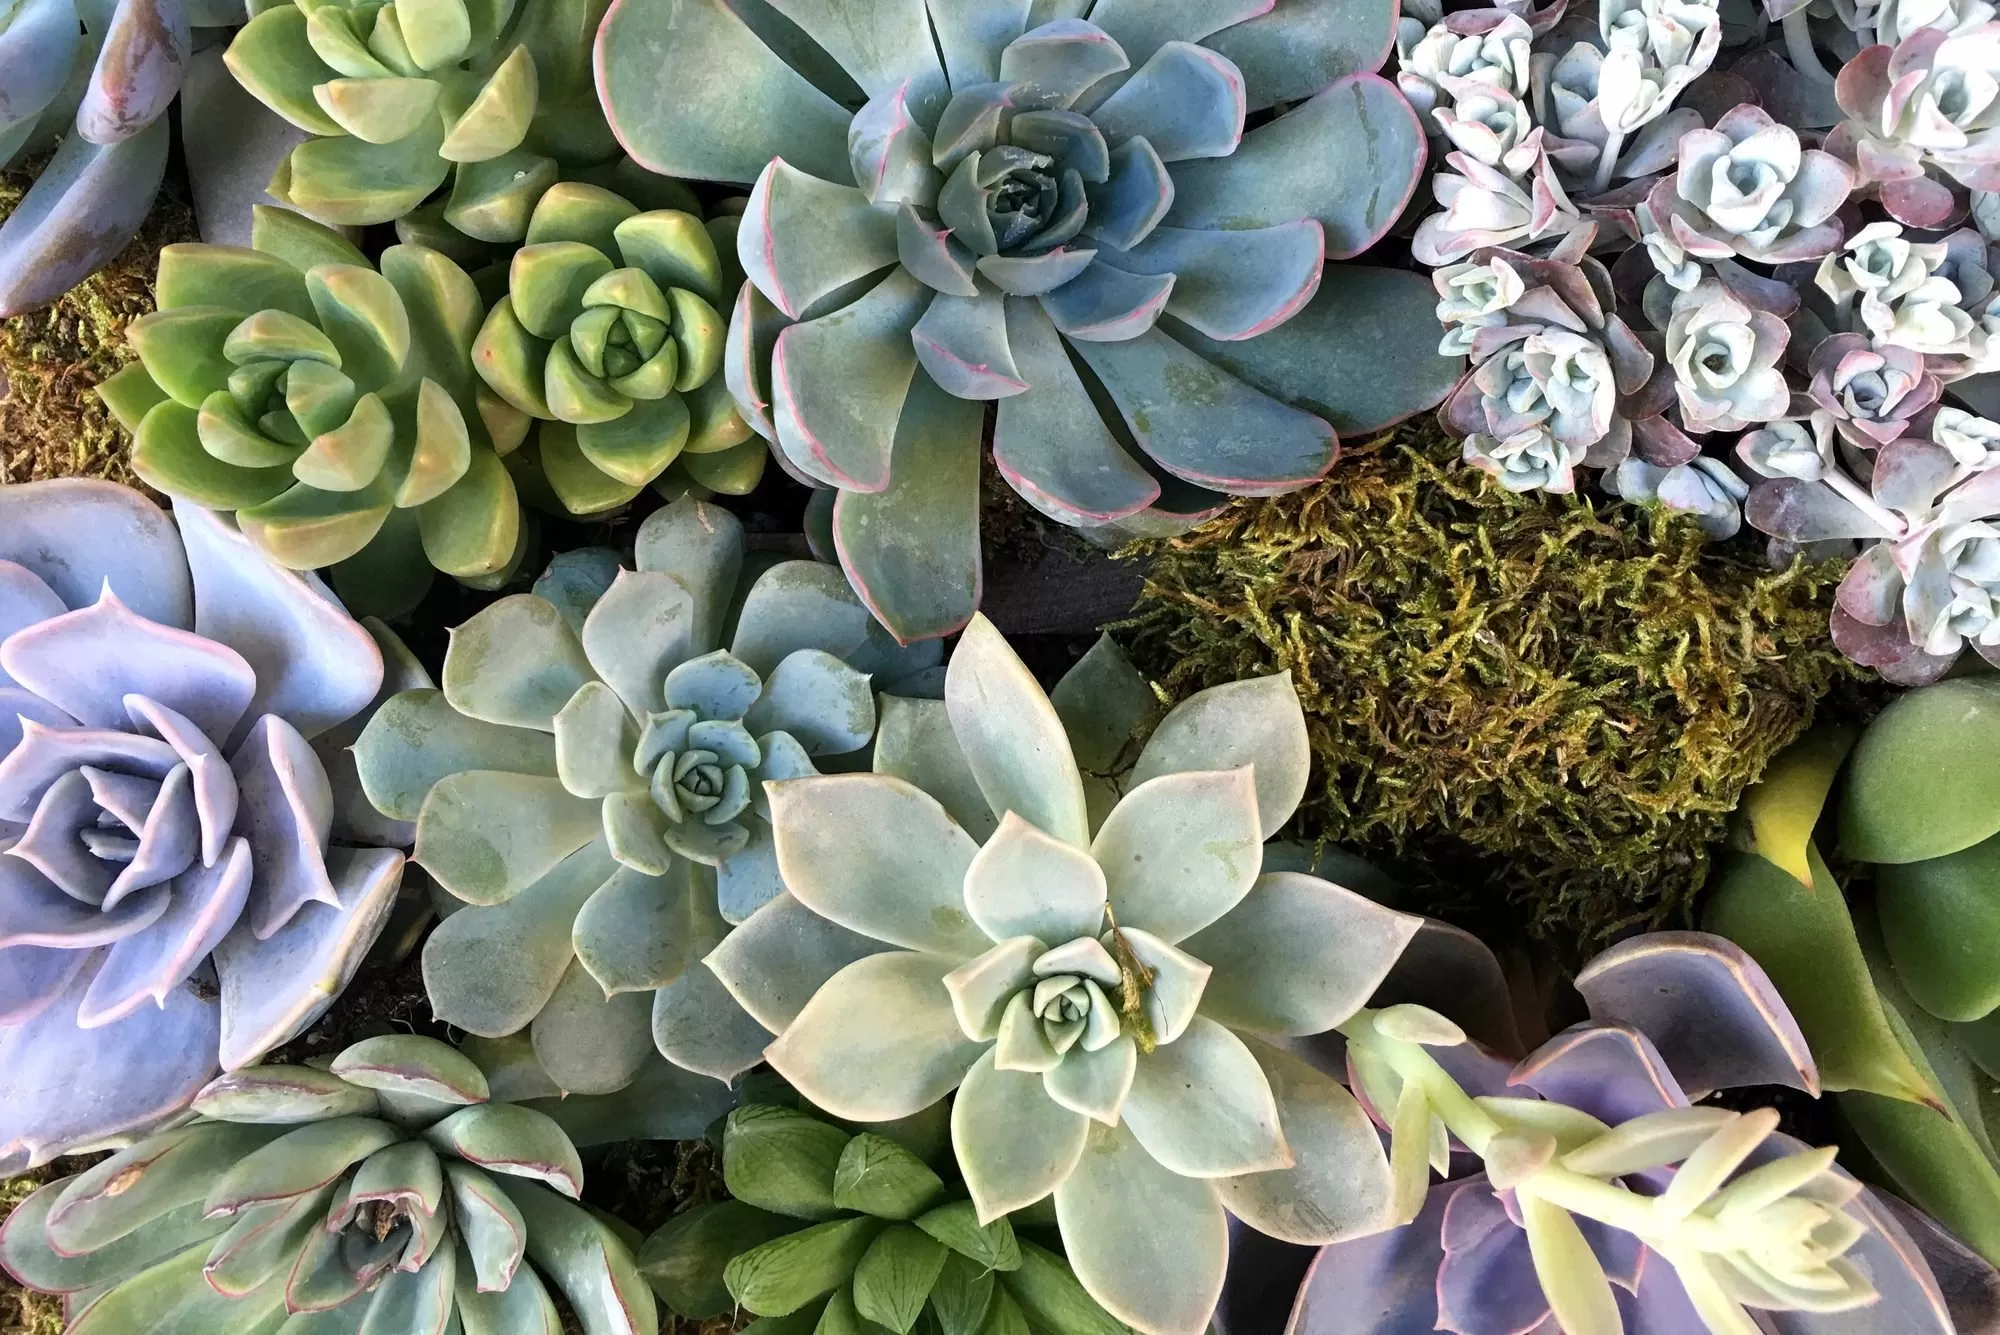
- Create stunning miniature succulent gardens right on your windowsill.
- Learn how to build stylish, durable planters from simple ceramic tiles.
- Get practical tips for planting and caring for tiny succulents in small spaces.
- Add a unique, handmade touch to your indoor plant collection.
There’s something undeniably captivating about miniature gardens. They offer a slice of nature’s beauty in a compact form, perfect for brightening up small spaces like windowsills or desks. And when it comes to easy-care indoor plants, succulents and cacti are hard to beat. Combining these two loves, crafting mini indoor succulent garden displays becomes a rewarding project that’s both fun and incredibly stylish. Forget generic pots – let’s create something truly special! Building your own planters from humble materials like ceramic tiles is easier than you might think and results in a modern, eye-catching display perfect for showcasing your tiny plant collection.
Contents
- Why DIY Tile Planters for Mini Succulents?
- Gathering Your Materials
- Crafting Your Ceramic Tile Planter
- Preparing Your Tiles
- Assembling the Cube Pots
- Creating the Base Planter
- Planting Your Mini Succulents
- Preparing Your Plants
- Ensuring Drainage
- Planting Technique
- Adding Finishing Touches
- Enjoying Your New Display
Why DIY Tile Planters for Mini Succulents?
Building your own planters allows for customization and a sense of accomplishment. Ceramic tiles offer a unique aesthetic – clean lines, varying textures, and a sturdiness that makes them ideal for small pots. Plus, they are relatively inexpensive and readily available. These square tile pots, especially when grouped on a base, create a charming, modular look perfect for a modern home. They’re substantial enough that they won’t easily tip over, a definite plus if you have curious pets or live in a busy household.
Gathering Your Materials
To embark on this DIY gardening adventure, you’ll need a few key items. The core components are ceramic tiles and a suitable adhesive.
- Square Ceramic Tiles: You’ll need several small square tiles to form the sides of your pots. The original project used 5cm square tiles. Consider the size of the mini plants you plan to use.
- Rectangular Ceramic Tile (or piece): This will serve as the base for your grouped planters, providing stability and a cohesive look.
- Strong, Waterproof Adhesive: This is crucial! You need a glue that can bond non-porous surfaces like ceramic securely and withstand moisture from watering. Look for an ultimate strength repair glue designed for ceramics and suitable for damp environments.
- Optional but Recommended:
- Miniature succulent or cactus plants
- Small gravel or pebbles for drainage
- Suitable potting mix for succulents/cacti
- Decorative gravel or topping
- Small tools like chopsticks or skewers for planting
Crafting Your Ceramic Tile Planter
The process of turning simple tiles into charming pots is straightforward and doesn’t require complex tools.
Preparing Your Tiles
If your tiles come attached to a mesh backing, the first step is to carefully remove them. This is often as simple as peeling them off. Any residual glue can usually be washed away with warm water, leaving you with clean, individual tiles ready for assembly.
 Individual square ceramic tiles removed from a mesh backing, ready for crafting into small succulent pots
Using small, high-quality tiles, like the marble ones in the original project, adds a touch of elegance. Don’t hesitate to look for sale items or even ask tile suppliers if they have broken sheets they might part with cheaply – perfect for crafting projects!
 Closeup of a small stack of white marble ceramic tiles, perfect for constructing miniature planters
Assembling the Cube Pots
To create a square pot, you’ll use four square tiles for the sides. Apply your chosen strong adhesive along the edges of the tiles where they will join. Carefully hold the sides together to form a cube shape. A key benefit of some strong adhesives is their re-positionability for a few minutes, allowing you time to align the tiles perfectly before the final bond sets.
 Applying strong, waterproof adhesive to the edge of a ceramic tile while crafting a small cube planter
Once assembled, leave the cube pots to dry according to the glue manufacturer’s instructions. While they may feel set quickly, allowing ample time (like a couple of hours) ensures a strong initial bond. The full strength is often achieved after 24 hours. A robust, waterproof bond is essential as these pots will hold damp soil.
 Three finished square pots crafted from ceramic tiles, drying and ready to be attached to a base tile
You’ll notice that the assembled cubes don’t have a built-in base from a single tile because the side tiles overlap slightly. This leads us to the next step: adding a base tile.
Creating the Base Planter
Using the rectangular tile as a base is a smart way to group your individual tile pots and create a stable, multi-plant display unit. Arrange your dried tile cubes on the base tile to find the desired spacing. Once you’re happy with the arrangement, you can lightly mark the inside edges of the cubes on the base tile as a guide for applying the glue. Apply the adhesive to the bottom edges of the cube pots and press them firmly onto the marked spots on the base tile.
 Placing three square ceramic tile pots onto a rectangular ceramic base tile to form a window sill planter unit
Allow the entire structure to cure fully according to the glue’s instructions before adding soil and plants. This ensures maximum bond strength and durability for your finished mini indoor succulent garden display.
 The completed ceramic tile planter unit with three square pots attached to a rectangular base, ready for planting
Planting Your Mini Succulents
Now for the fun part – introducing your tiny plants to their new, stylish home!
Preparing Your Plants
Before planting, give your mini succulents or cacti a good drink of water. This helps the soil around their roots soften, making them easier to remove from their nursery pots and position in the new, small containers.
Ensuring Drainage
Succulents and cacti are extremely sensitive to sitting in wet soil, which can lead to root rot. Because these small tile pots don’t have drainage holes (a common challenge with DIY containers), adding a layer of gravel or small pebbles at the bottom of each pot is absolutely essential. This creates a reservoir space below the soil level where excess water can collect, keeping the plant’s roots out of standing moisture. The slightly grooved texture of the base tile can also help any minimal excess water spread out.
 Adding a layer of small gravel to the bottom of a square ceramic tile pot before planting a mini succulent
Planting Technique
Handling cacti requires a little care to avoid those prickly spines! If planting cacti, consider using a thick piece of paper or folded kitchen towel to gently hold the plant as you transfer it. Tip the plant out of its original pot and gently squeeze the soil around the roots to shape it to fit the square opening.
 Using folded kitchen towel to safely handle a spiky mini cactus while transferring it into a ceramic tile planter
Lower the plant into the tile pot. Since the pots are small and narrow, a chopstick or skewer can be a useful tool to gently push the plant down into place and carefully firm the succulent/cactus potting mix around the roots. Fill the pot with soil, leaving a small gap at the top.
Adding Finishing Touches
For a polished look and to help retain moisture (or simply for aesthetics), add a layer of decorative gravel or small stones on top of the soil. This top dressing also helps keep the soil in place when watering.
 Using a chopstick to gently firm the soil around a mini cactus planted in a square ceramic tile pot
Enjoying Your New Display
Once planted, your stylish new ceramic tile planter is ready to be displayed! These planters are perfect for windowsills because they offer the stability needed for taller plants and, more importantly, allow your sun-loving succulents to soak up the light they crave. The weight of the tiles also adds a nice counterbalance, making it difficult to accidentally knock over, even with a curious cat around.
 Three square ceramic tile pots planted with mini cacti and succulents, arranged on a rectangular base tile and displayed on a windowsill
This crafting mini indoor succulent garden display project is a fantastic way to combine DIY creativity with your love for plants. The result is a unique, handmade piece that adds beauty and life to any room.
 A close-up view of the charming finished mini indoor succulent garden display in the ceramic tile planter
Creating your own planters opens up a world of possibilities for designing beautiful indoor gardens. Whether you’re short on space or just love the look of tiny plants, crafting mini indoor succulent garden displays is a rewarding and accessible hobby. Give this tile planter project a try and watch your mini garden flourish!
What other materials have you used to create unique plant displays? Share your ideas in the comments below!