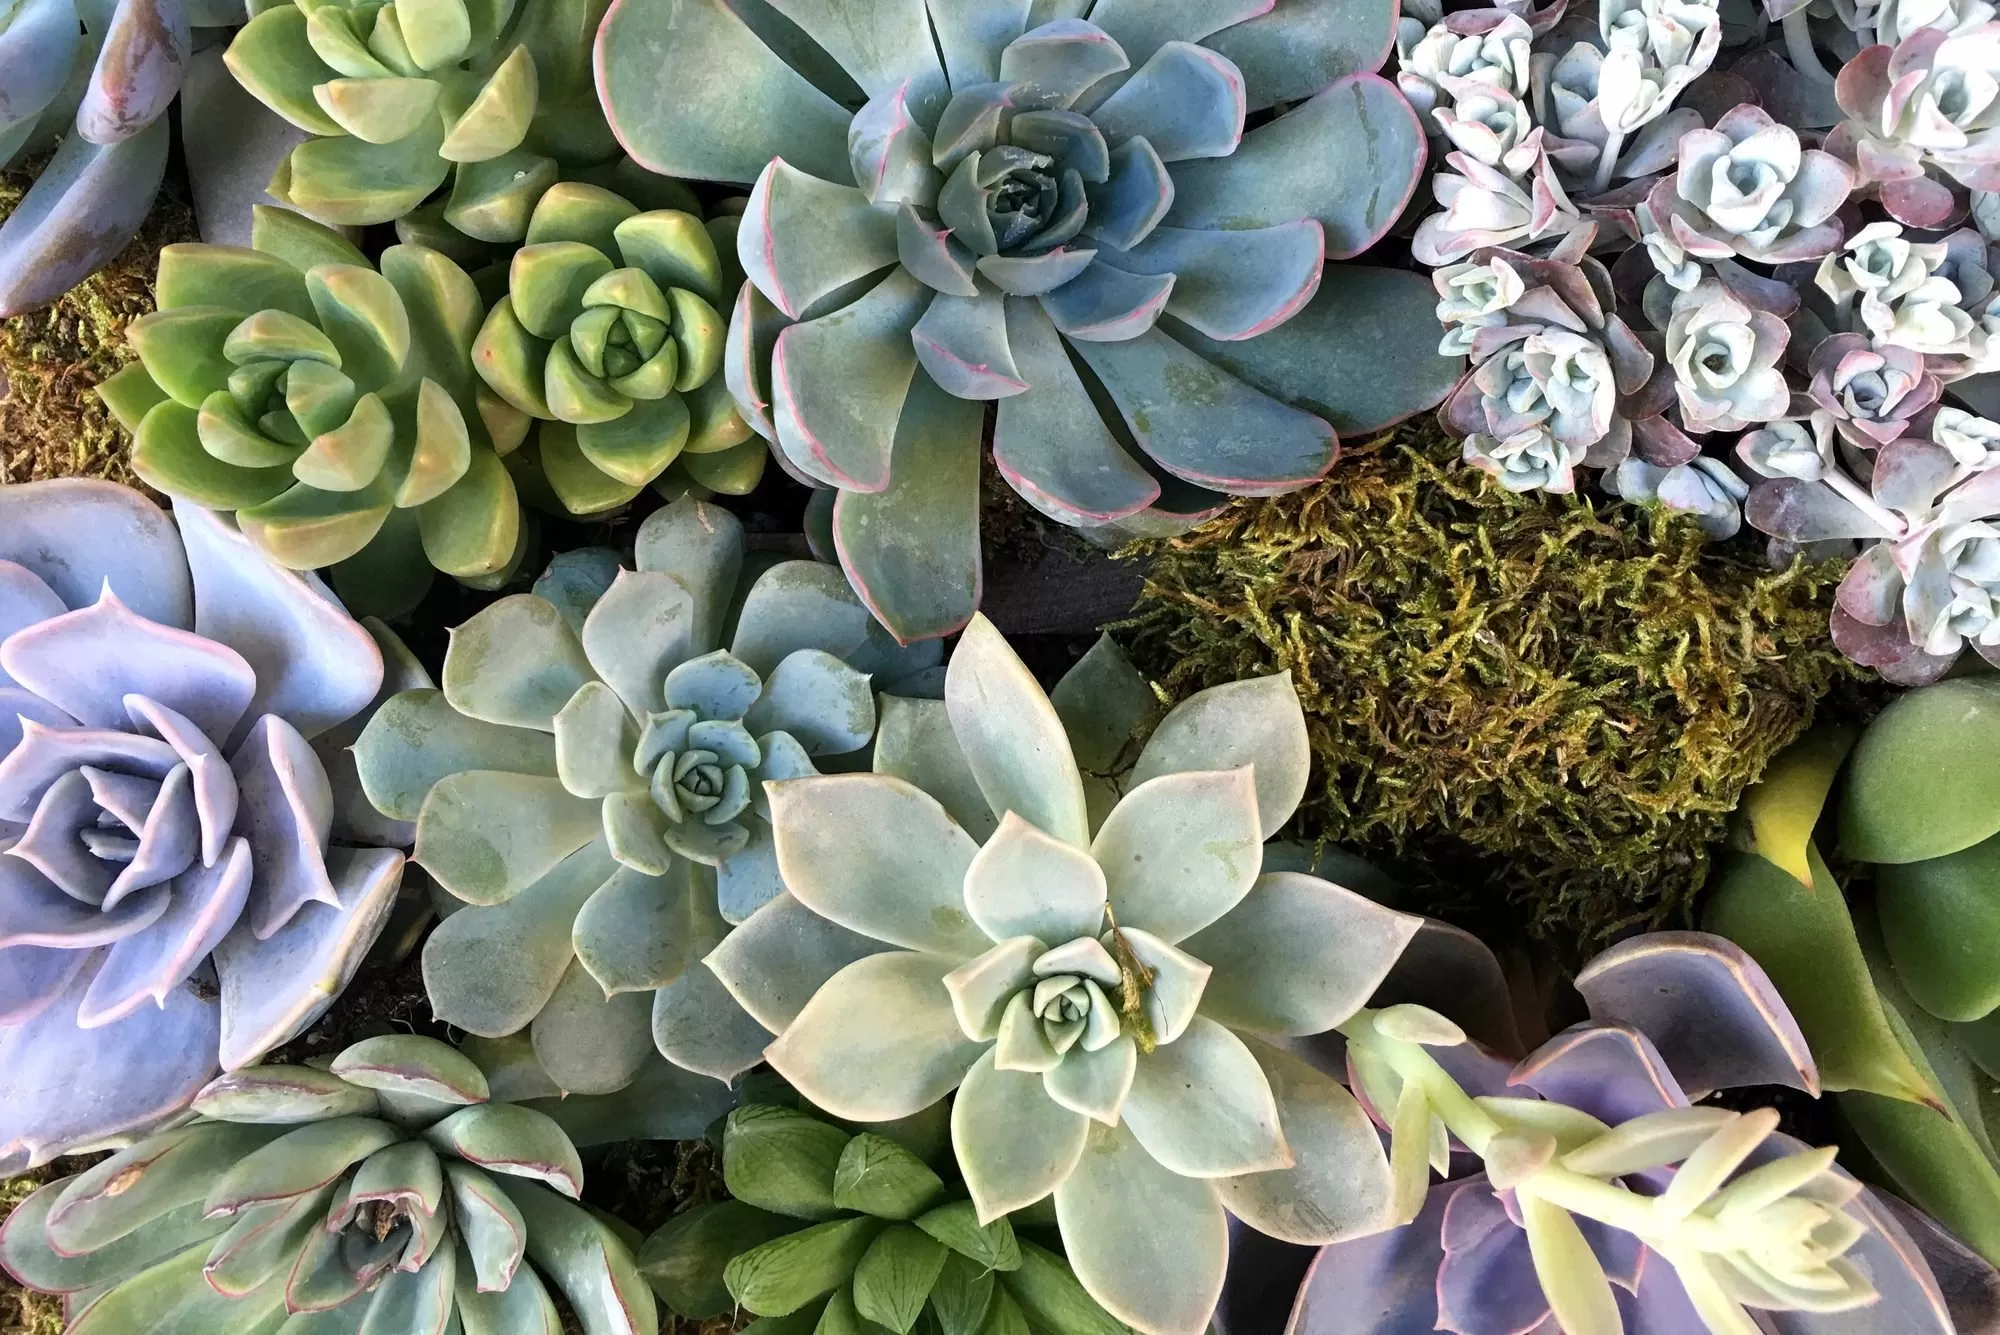
Succulents are beloved for their unique shapes and low-maintenance reputation, but sometimes they can get a bit… tall. If your once-compact succulent is now looking gangly and reaching for the sky, you’re likely dealing with stretching, also known as etiolation. The good news? It’s a common issue with a simple succulent stretching fix that not only solves the problem but can also give you new plants!
Here’s what you’ll learn:
- Why succulents stretch and become leggy.
- A step-by-step guide to fixing a stretched succulent.
- How to use the removed parts to propagate new plants.
- Tips for preventing your succulents from stretching again.
Like many plant lovers, I learned about this fix out of necessity. I had a small succulent arrangement that started to look utterly ridiculous, stretching taller and taller on my windowsill. It seemed intimidating at first, but once I tried it, I realized how incredibly easy and satisfying the process is. It’s a skill every succulent enthusiast should have in their toolkit!
Contents
- Why Your Succulents Are Reaching for the Sky (Etiolation)
- The Step-by-Step Succulent Stretching Fix
- Step One: Make the Cut (Beheading)
- Step Two: Remove Lower Leaves
- Step Three: Callus the Cutting
- Step Four: Replant in Well-Draining Soil
- Caring for Your Newly Replanted Succulents
- Give Your Leggy Succulents a Second Chance!
Why Your Succulents Are Reaching for the Sky (Etiolation)
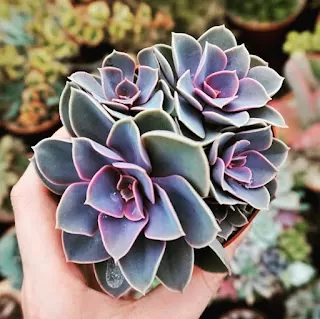
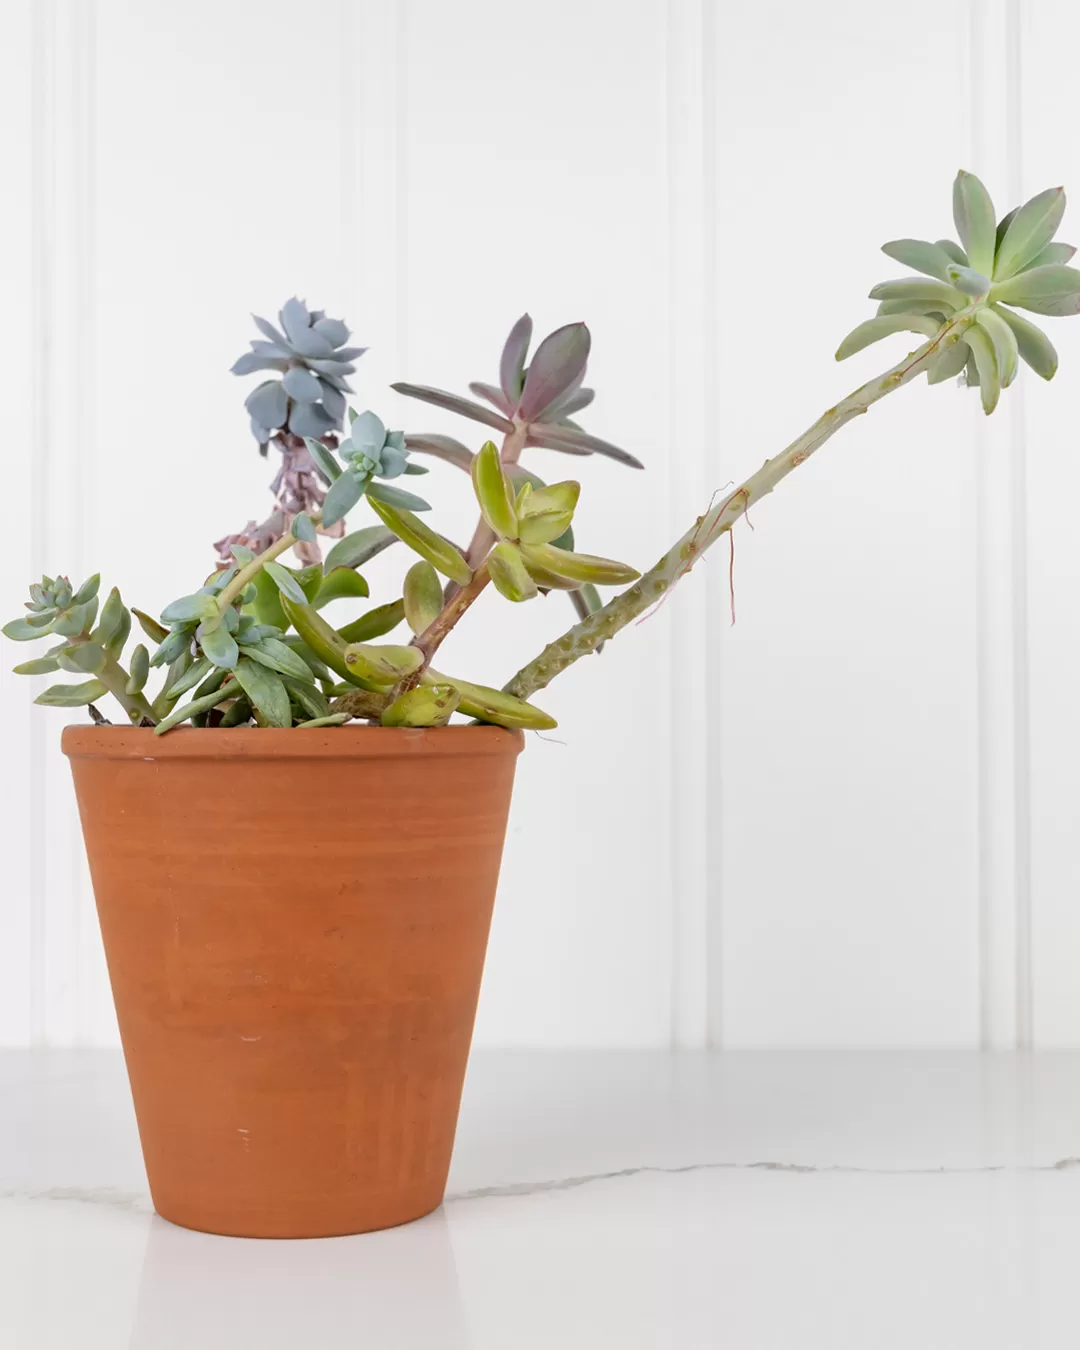 Example of a leggy succulent reaching for light.
The primary reason succulents become leggy and stretched out is insufficient light. Succulents are native to environments where they receive abundant, direct sunlight. When they don’t get enough light indoors, their natural instinct is to grow rapidly towards the nearest light source. This growth isn’t healthy or compact; instead, the stem elongates, and the leaves become more widely spaced, resulting in that stretched or “leggy” appearance. This process is called etiolation.
Even a seemingly sunny windowsill in a home might not provide the intense light succulents crave. They need bright, indirect light for many hours a day, and often, indoor conditions are simply too low-light for them to maintain their naturally tight, rosette form. Understanding this cause is the first step in both fixing stretched succulents and preventing the problem from recurring.
The Step-by-Step Succulent Stretching Fix
Ready to give your leggy succulent a makeover? This process is often referred to as “beheading” the succulent and is surprisingly simple. It involves four main steps to refresh your plant and encourage bushier growth.
Step One: Make the Cut (Beheading)
 Using pruning shears to cut a stretched succulent stem.
Choose a healthy section of the stem below the stretched part, ideally just below a node or where leaves were previously attached. Use clean, sharp pruning shears or a knife to make a clean cut through the stem. The goal is to remove the healthy rosette head, leaving behind the stretched stem (which can also sprout new growth!).
You can leave a short stem of an inch or two attached to the rosette, or even cut it right below the leaves. A longer stem provides better anchorage when you replant, but even just the rosette can root. Always use clean tools to prevent introducing disease to the plant.
Step Two: Remove Lower Leaves
 Removing lower leaves from the severed succulent head.
Carefully remove the lower leaves from the stem you just cut. You want to expose a small section of the stem (about an inch) where new roots can form. Gently twist or pull the leaves off the stem. These removed leaves aren’t waste – they are perfect for propagation! Save them to grow brand new succulents later.
Removing these leaves helps create a clean stem for replanting and encourages the plant to focus its energy on developing new roots from this area, rather than trying to support the lower leaves.
Step Three: Callus the Cutting
 Severed succulent head and leaves left to callus.
This is a crucial step to prevent rot. Before replanting the severed head, you need to allow the cut end of the stem to “callus over.” Think of it like forming a scab. Place the cutting in a dry spot away from direct sun for one to two days, or even up to a week for thicker stems. This allows the cut surface to dry and heal, creating a barrier against potential fungal or bacterial infections in the soil.
Placing the cutting directly into moist soil before it has callused significantly increases the risk of the stem rotting before it can root. Patience here pays off!
Step Four: Replant in Well-Draining Soil
 Replanting the callused succulent cutting in fresh soil.
Once the cut end has callused, your succulent cutting is ready for its new home. Choose a pot with drainage holes and fill it with a specialized cactus or succulent potting mix. This type of soil is formulated for excellent drainage, which is vital for succulent health.
Make a small hole in the soil with your finger or a stick and gently insert the callused end of the cutting into the soil. You can bury the stem up to where you removed the lowest leaves. Gently press the soil around the stem to support it. Do not water immediately after replanting; wait about a week to allow the cutting to settle and begin the rooting process without the risk of rot.
Caring for Your Newly Replanted Succulents
After performing the succulent stretching fix and replanting your cuttings, proper aftercare is key to ensuring they root successfully and prevent future stretching.
- Light: Provide ample bright, indirect light. A south-facing window (in the Northern Hemisphere) or supplementing with a grow light is often necessary indoors. Aim for 6-8 hours of bright light daily. This is the most important step to prevent future etiolation.
- Watering: Wait about a week after replanting before the first watering. Once rooted (you can gently tug on the plant to feel resistance after a few weeks), water thoroughly when the soil is completely dry. For many indoor environments, this might be every 2-4 weeks, less often in winter. Be careful not to overwater. Using a spray bottle for shallow-rooted cuttings initially can help avoid dislodging them, but once established, deep watering is better.
- Soil & Pot: Always use well-draining soil and pots with drainage holes. Succulents hate sitting in soggy soil.
By addressing the light issue that caused the stretching in the first place and providing the right care, your newly replanted succulents should grow into compact, healthy plants.
Give Your Leggy Succulents a Second Chance!
Seeing your favorite succulent stretch can be disheartening, but thankfully, the succulent stretching fix is a simple and effective solution. By beheading the plant, allowing it to callus, and replanting in appropriate soil with better light conditions, you can restore its attractive shape and even multiply your collection through propagation! Don’t let stretched succulents discourage you; embrace this easy technique and enjoy your thriving, compact plants.
Have you tried fixing a leggy succulent before? Share your experiences in the comments below! Or perhaps you have other tips for preventing stretching? We’d love to hear them!
Looking for more gardening tips and tricks? Explore other articles on Thelittle.garden for inspiration and advice on keeping your green friends happy.