Unlock the secret to beautiful, fragrant lavender right outside your door! This beloved herb, known for its calming scent and vibrant purple blooms, isn’t just for sprawling fields. It thrives wonderfully in containers, bringing a touch of the Mediterranean to your patio, balcony, or small garden space. Getting lavender potting right is key to enjoying its beauty and fragrance year after year.
- Lavender is a fantastic choice for containers, even in limited spaces.
- Choosing the right pot size and drainage is crucial for success.
- A gritty, well-draining soil mix is essential to prevent root rot.
- Understanding when and how to water is vital for healthy potted lavender.
- Proper sunlight ensures abundant blooms and strong growth.
If you’ve ever dreamed of having fragrant lavender but thought you didn’t have the space or the right soil, think again! Learning how to successfully grow lavender in pots opens up a world of possibilities. With the right guidance on lavender potting, you can cultivate these stunning plants and enjoy their beauty and aroma up close. Let’s dive into the simple steps to make your potted lavender dreams a reality.
All About Lavender Varieties for Containers
Lavender is a diverse group of plants, with many species and cultivars offering different sizes, scents, and bloom times. While most lavenders can adapt to container life, some varieties are better suited to pots, especially if space is limited. Understanding their characteristics helps you choose the best plant for your needs.
-
Lavandula angustifolia (English Lavender):
- Common Name: English Lavender
- Zone: 5-9
- Light: Full sun (at least 6 hours daily)
- Humidity: Prefers low to moderate humidity
- Water: Drought tolerant once established; needs well-draining soil.
- Notes: Known for strong fragrance, cold hardiness, and compact varieties like ‘Munstead’ and ‘Hidcote’ which are excellent for containers.
-
Lavandula stoechas (Spanish Lavender):
- Common Name: Spanish Lavender
- Zone: 7-10
- Light: Full sun
- Humidity: Tolerant of slightly higher humidity than English varieties
- Water: Needs good drainage, less drought tolerant than English lavender.
- Notes: Features distinctive “bunny ear” bracts atop the flower spikes.
-
Lavandula intermedia (Lavandin):
- Common Name: Lavandin, French Lavender (often confused with L. stoechas)
- Zone: 5-9 (depending on cultivar)
- Light: Full sun
- Humidity: Prefers low to moderate humidity
- Water: Drought tolerant once established.
- Notes: A hybrid cross, typically larger than English lavender with a strong fragrance, often used for essential oils. ‘Grosso’ is a popular type.
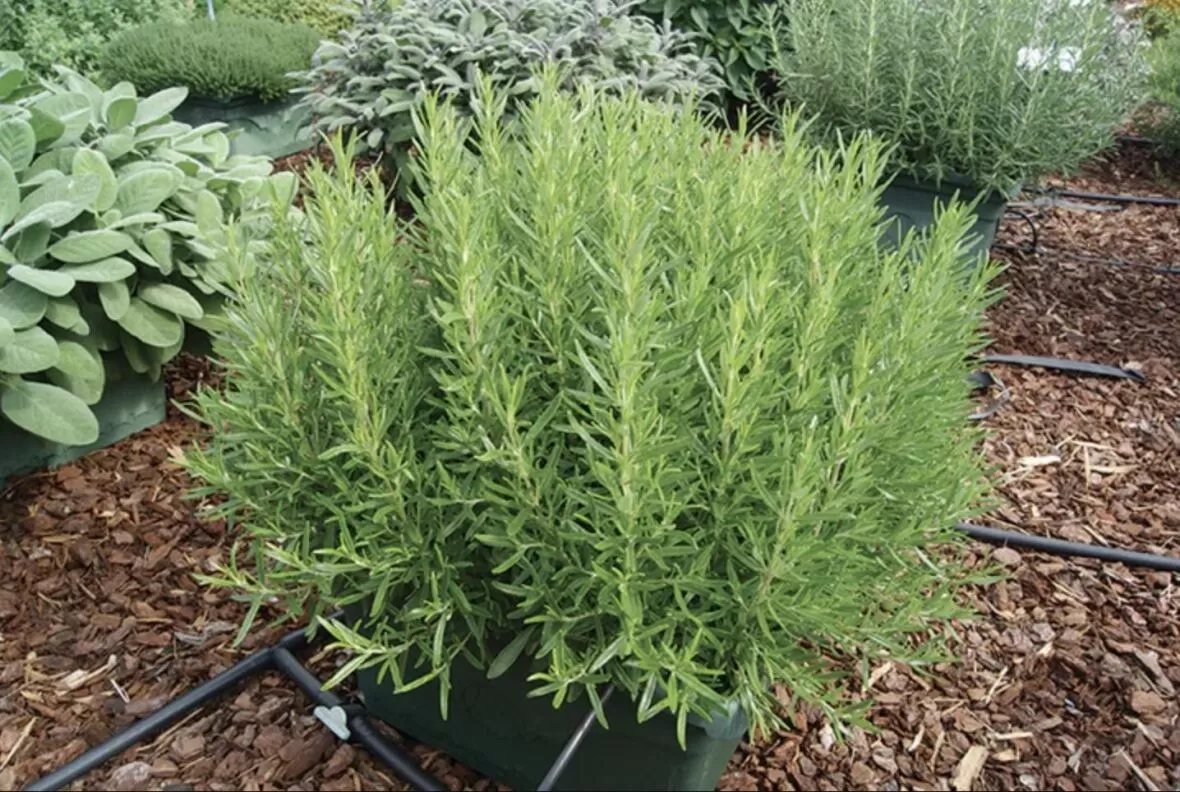
When choosing a lavender plant for potting, consider its mature size. Dwarf varieties like ‘Munstead’ or ‘Hidcote’ typically reach around 18 inches tall and wide, fitting comfortably in smaller pots (12-14 inches). Larger lavenders or Lavandins can grow to 3 feet or more and require substantial containers (20-24 inches) to support their root system and overall size for optimal blooming.
Picking the Perfect Pot and Preparing for Planting
The container you choose plays a significant role in the success of your lavender potting project. Lavender hates wet feet, so drainage is paramount.
Choosing the Right Pot
The size of your pot should accommodate the mature size of the lavender variety you select. As a general rule:
- For dwarf varieties (18″ mature size): A 12-14 inch diameter pot is suitable.
- For larger varieties (2-3 ft+ mature size): Choose a pot 16-24 inches in diameter or larger.
More important than size is drainage. Your pot absolutely must have drainage holes. Without them, water will sit at the bottom, inevitably leading to root rot, a common killer of potted lavender. Terracotta pots are often recommended because their porous nature allows excess moisture to evaporate through the sides, providing better air circulation to the roots. However, ceramic, plastic, or metal pots can work just as well, provided they have adequate drainage holes.
Crafting the Ideal Soil Mix
Lavender hails from rocky, alkaline soils in the Mediterranean, so mimicking those conditions in a pot is key. Forget rich, heavy potting mixes or garden soil straight from the ground – these hold too much moisture for lavender. The best soil for lavender potting is gritty and well-draining.
Here’s a simple recipe for a great lavender potting mix:
- Base: 3 parts standard potting soil (adds some structure and moderate fertility)
- Drainage Boosters: 1 part pumice, perlite, or coarse horticultural sand, PLUS 1 part clay pebbles or small gravel (these provide excellent aeration and drainage)
Mix these components thoroughly in a bucket or wheelbarrow. The resulting mix should feel light and chunky, allowing water to flow through quickly. Adding a small amount (a handful or two) of compost or worm castings can provide some nutrients, but avoid overdoing it, especially in humid climates, as it can increase moisture retention. In very dry climates, a light topdressing of worm compost (about 1/4 inch) after planting can help retain just enough moisture initially.
 Soil ingredients used for planting lavender in pots.
 Looking down into a blue pail full of soil mix used for planting lavender in pots.
Step-by-Step Lavender Potting
Once you have your pot and soil mix ready, planting your lavender is a straightforward process.
- Hydrate the Plant: Water your lavender plant thoroughly in its original nursery pot a day or two before you plan to pot it. This ensures the roots are hydrated and reduces transplant shock.
- Prepare the Pot: Add a layer of your well-draining soil mix to the bottom of the new pot. The goal is to set the plant so the top of its root ball sits about 1/2 inch to 1 inch below the rim of the new pot. This gap is crucial for watering, preventing water and soil from spilling out.
- Remove from Nursery Pot: Gently tip the lavender plant on its side and slide it out of its nursery container. You may need to lightly squeeze the sides of the pot to loosen the root ball.
- Loosen the Roots: If the roots are circling tightly around the bottom and sides (root-bound), gently tease them apart with your fingers. This encourages them to grow outwards into the new soil.
- Place and Fill: Position the lavender plant in the center of the new pot on top of the base layer of soil. Add your prepared soil mix around the root ball, filling the pot up to the desired level (1/2 to 1 inch below the rim). Lightly firm the soil around the plant to remove large air pockets, but don’t compact it too tightly.
- Watering In: Water the plant thoroughly immediately after potting. Water until you see it draining freely from the bottom holes. This helps settle the soil around the roots.
 Nell foster plants a lavender plant in a ceramic pot with a southwestern motive.
Post-Potting Care Essentials
Successfully planting lavender in a pot is just the beginning! Proper care after lavender potting ensures your plant thrives and rewards you with beautiful blooms.
Location, Location, Location
Lavender craves sunshine. Place your potted lavender in a location that receives at least 6-8 hours of direct sunlight per day. Insufficient light leads to leggy growth and reduced flowering. Good air circulation around the plant is also beneficial, helping to keep the foliage dry and prevent fungal issues. In extremely hot climates (like deserts), filtered afternoon sun can sometimes be preferable to intense, scorching midday sun.
Watering Wisdom
This is perhaps the most critical aspect of caring for potted lavender. Potted plants dry out faster than those in the ground, but lavender is drought-tolerant and susceptible to root rot if overwatered.
- Initial Watering: Water more frequently for the first few weeks after potting while the plant establishes its root system. Keep the soil consistently slightly moist but never soggy.
- Established Plants: Once established (typically after 3-4 weeks), significantly reduce watering. Allow the soil to dry out completely between waterings. Check the soil moisture by sticking your finger about 2 inches deep into the pot. If it feels dry at that depth, it’s time to water. If it feels moist, wait.
- Seasonal Adjustments: You’ll need to water more often during hot, dry weather and less frequently during cooler periods or in humid conditions. In winter, potted lavender typically requires very little water.
Feeding Your Lavender
Lavender is adapted to lean soils and does not require heavy feeding. Over-fertilizing can lead to lush foliage growth at the expense of flowers and can make the plant less resilient. If you used a good potting mix with some compost, your lavender should have enough nutrients for the first growing season. In subsequent years, a light feeding with a balanced, slow-release fertilizer in the spring is usually sufficient. Avoid high-nitrogen fertilizers.
Pruning for Shape and Blooms
Pruning is essential for keeping potted lavender compact, encouraging bushy growth, and promoting abundant flowering.
- After First Bloom: After the main flush of flowers fades, prune back the flower stalks.
- Annual Pruning: In late summer or early fall (after the last bloom) or in early spring (after the last hard frost), prune the plant to maintain its shape and remove any dead or woody stems. Aim to remove about one-third of the plant’s size, but avoid cutting back into old, woody growth that has no leaves, as it may not regrow.
 A lavender plant with live & dead flower spikes grows in a tall opalescent pot.
Potted Lavender FAQs
Let’s address some common questions about growing lavender in containers.
What type of lavender is best suited for growing in pots?
Compact or dwarf varieties of English lavender (Lavandula angustifolia) like ‘Munstead’ and ‘Hidcote’ are excellent choices due to their smaller size and cold hardiness. Spanish lavender (Lavandula stoechas) is also a good option for warmer climates (Zones 7-10). Larger varieties or Lavandins can be grown, but they require significantly larger pots.
How much sunlight does potted lavender need?
Potted lavender requires at least 6-8 hours of direct sunlight daily to thrive and produce abundant flowers.
How often should I water my potted lavender?
Watering frequency depends on climate, pot size, soil mix, and weather. The golden rule is to let the soil dry out completely between waterings. New plants need more consistent moisture initially, but established plants are quite drought tolerant. Overwatering is the primary cause of problems like root rot.
What companion plants can I grow with lavender in pots?
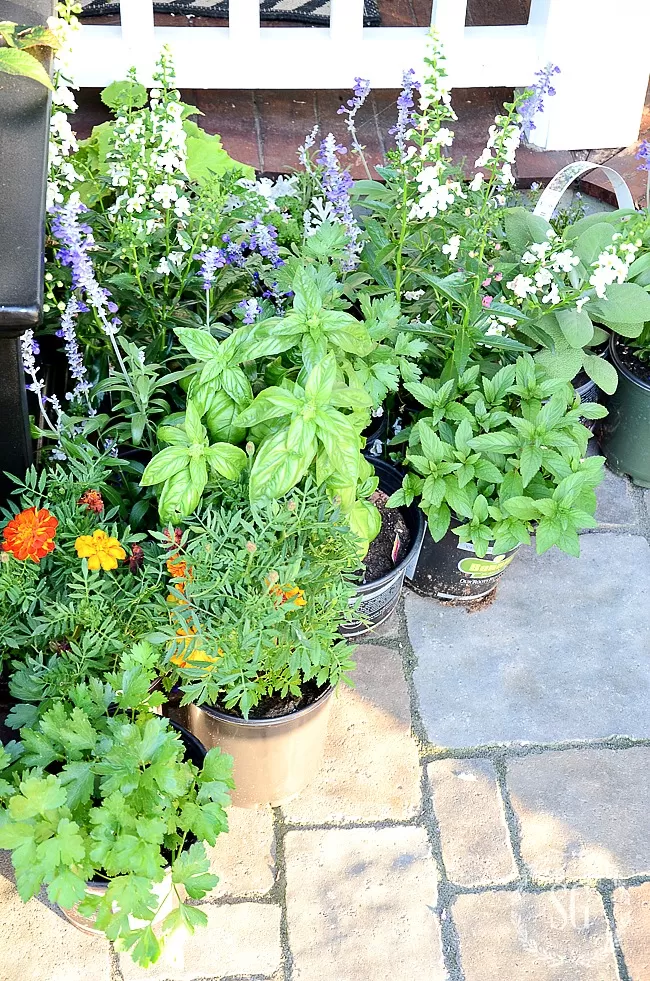
Choose companion plants that share lavender’s preference for full sun, well-draining soil, and relatively dry conditions. Good choices include other Mediterranean herbs like rosemary, thyme, and oregano, or flowering plants like salvia, yarrow, rudbeckia, echinacea, or certain drought-tolerant geraniums. Ensure the pot is large enough to accommodate multiple plants without crowding.
 Looking down into a low tin bucket full of bundles of stems of lavender flowers.
Bringing Lavender Indoors (Briefly)
While lavender is best grown outdoors, if you need to overwinter a plant in a cold climate (below Zone 5), you can attempt to bring it indoors. Choose a smaller plant in a manageable pot. Ensure the soil mix is extremely well-draining (you might add extra grit like perlite or sand). Find the sunniest spot possible (a south-facing window is ideal) and reduce watering significantly during its indoor stay. Be aware that indoor conditions (low light, dry air) are not ideal, and it can be challenging to keep them happy until spring.
Conclusion
Growing lavender in pots offers a fantastic way to enjoy this beautiful and fragrant plant, regardless of your garden size or soil type. By focusing on the key aspects of lavender potting – choosing the right pot with excellent drainage, using a gritty soil mix, providing plenty of sunlight, and watering judiciously – you can cultivate healthy, blooming lavender that enhances your outdoor space. With a little attention and care, your potted lavender will become a cherished part of your garden, filling the air with its soothing scent.
Happy gardening! Do you have questions about your own lavender potting adventure? Share your thoughts or experiences in the comments below!