- Save money and garden sustainably by repurposing common items into unique planters.
- Create beautiful, space-saving displays with DIY hanging container gardens.
- Learn how a simple upside-down planter system can yield bountiful harvests in small spaces.
- Discover companion planting secrets to protect your plants naturally.
Gardening doesn’t have to break the bank. In fact, some of the most rewarding garden projects come from getting a little creative and making the most of what you have. If you’re passionate about growing your own food or adding a splash of green to your space but are working with a tight budget, diving into penny-pinching planter ideas is the perfect solution. It’s amazing what you can achieve with some ingenuity, basic supplies, and a little bit of effort. Let’s explore one highly effective and budget-friendly method: DIY topsy-turvy hanging planters.
Why Get Creative with Penny-Pinching Planter Ideas?
Opting for affordable, DIY container solutions offers numerous benefits beyond just saving money. It allows you to:
- Maximize Small Spaces: Hanging planters utilize vertical space, perfect for balconies, patios, or small yards where ground space is limited.
- Control Soil Conditions: Containers allow you to tailor the soil mix precisely to your plant’s needs, leading to healthier growth.
- Reduce Pests and Diseases: Lifting plants off the ground can help deter certain ground-dwelling pests and improve air circulation, reducing disease risk.
- Personalize Your Space: Choose colors, sizes, and materials that match your aesthetic, creating a truly unique garden display.
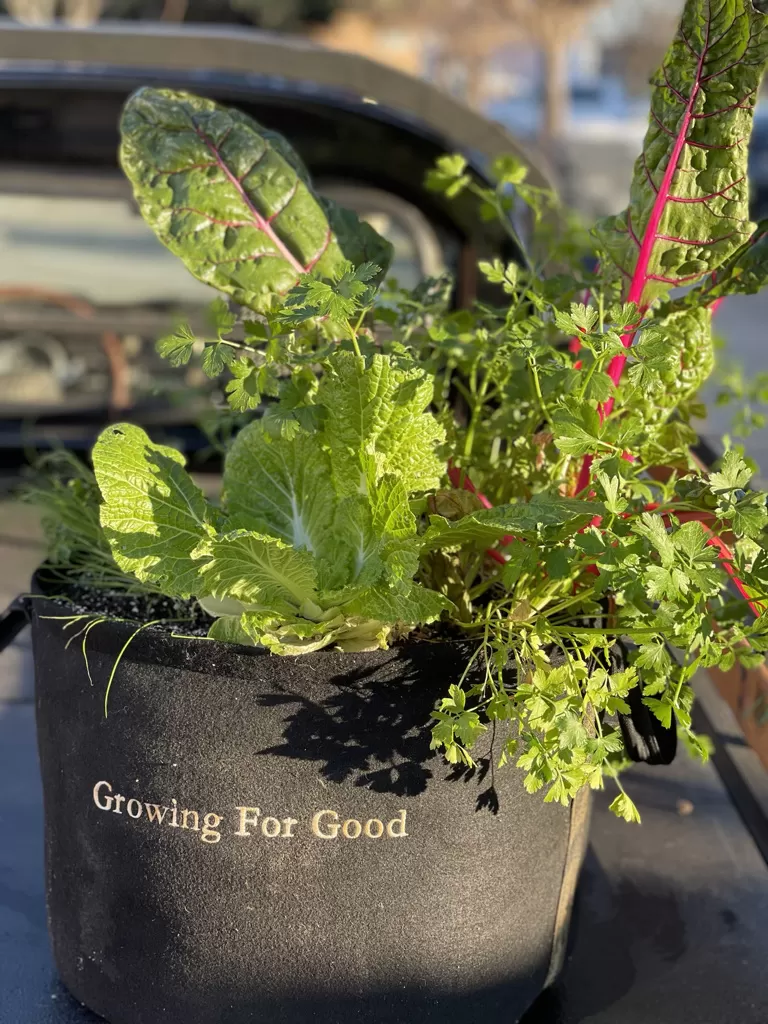
- Practice Sustainability: While our primary example uses plastic pots (chosen for durability and low cost), the spirit of penny-pinching planter ideas often involves repurposing items, reducing waste.
While store-bought upside-down planters are available, creating your own allows for greater customization, often using materials that are more durable for multi-year use.
DIY Topsy-Turvy Planters: A Prime Example
One clever way to save space and grow certain crops effectively is the topsy-turvy or upside-down planter. This method is particularly popular for tomatoes and other vining plants. Instead of growing upwards on stakes, the plant grows downwards through the bottom of the pot, hanging freely. Here’s how you can create your own using readily available, inexpensive supplies.
Gathering Your Penny-Pinching Supplies
You won’t need specialized equipment for this project. Look for:
- Durable plastic pots (choose a size appropriate for the mature plant – around 5 gallons is good for tomatoes). Inexpensive plastic pots are often available at garden centers or discount stores.
- Sturdy wire or cable for hanging.
- Basic tools: a drill with drill bits (one small for wire holes, one larger for the plant opening).
- Coconut fiber liner or similar material (optional, but helpful).
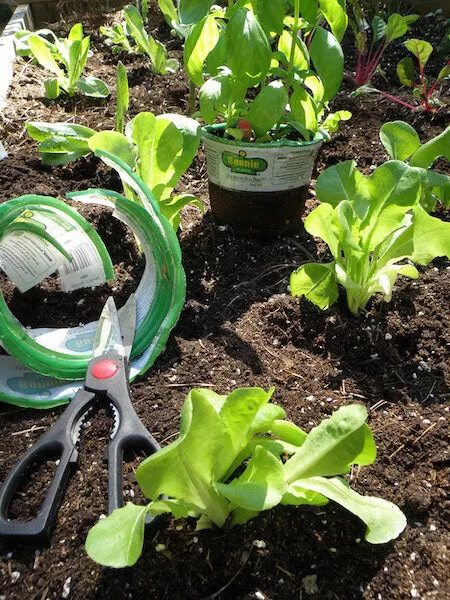
- Quality potting soil.
- Your chosen plant starts (like cherry tomatoes!).
Step-by-Step: Crafting Your Upside-Down Garden
Turning a regular pot into a hanging topsy-turvy planter is quite simple:
- Prepare for Hanging: Drill two small holes near the top rim of the pot, directly opposite each other. Thread your wire or cable through these holes, leaving enough length to hang the planter at your desired height. Secure the wire ends firmly.
- Create the Plant Opening: Drill or cut a larger hole in the center of the bottom of the pot. This hole needs to be big enough for your young plant to fit through comfortably, but not so large that the soil will fall out easily.
- Add Liner (Optional): If using a coconut fiber liner, cut a piece to fit the bottom of the pot and make an “X” cut in the center, aligning with the hole you just made. This helps retain soil while allowing the plant stem to pass through.
- Insert the Plant: Gently push your young plant’s root ball and stem up through the large hole in the bottom of the pot. Angle the stem slightly towards the direction where it will receive the most sun once hung. Be careful not to damage the stem.
- Add Soil: With the plant secured (perhaps held in place temporarily), fill the pot with potting soil around the plant’s root ball and all the way to the top rim. Gently compact the soil, but don’t pack it too tightly.
- Hang and Water: Hang your newly crafted topsy-turvy planter in its final sunny location. Water thoroughly until water drains from the bottom (around the plant stem).
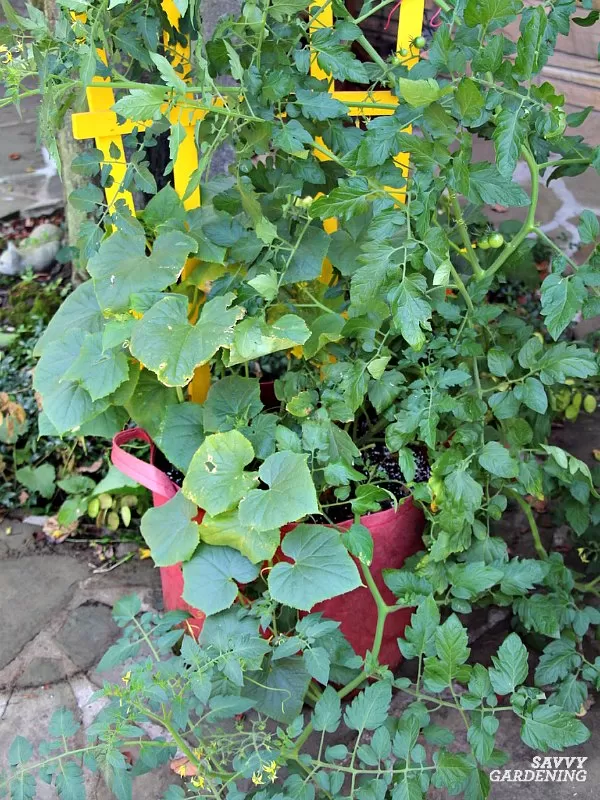
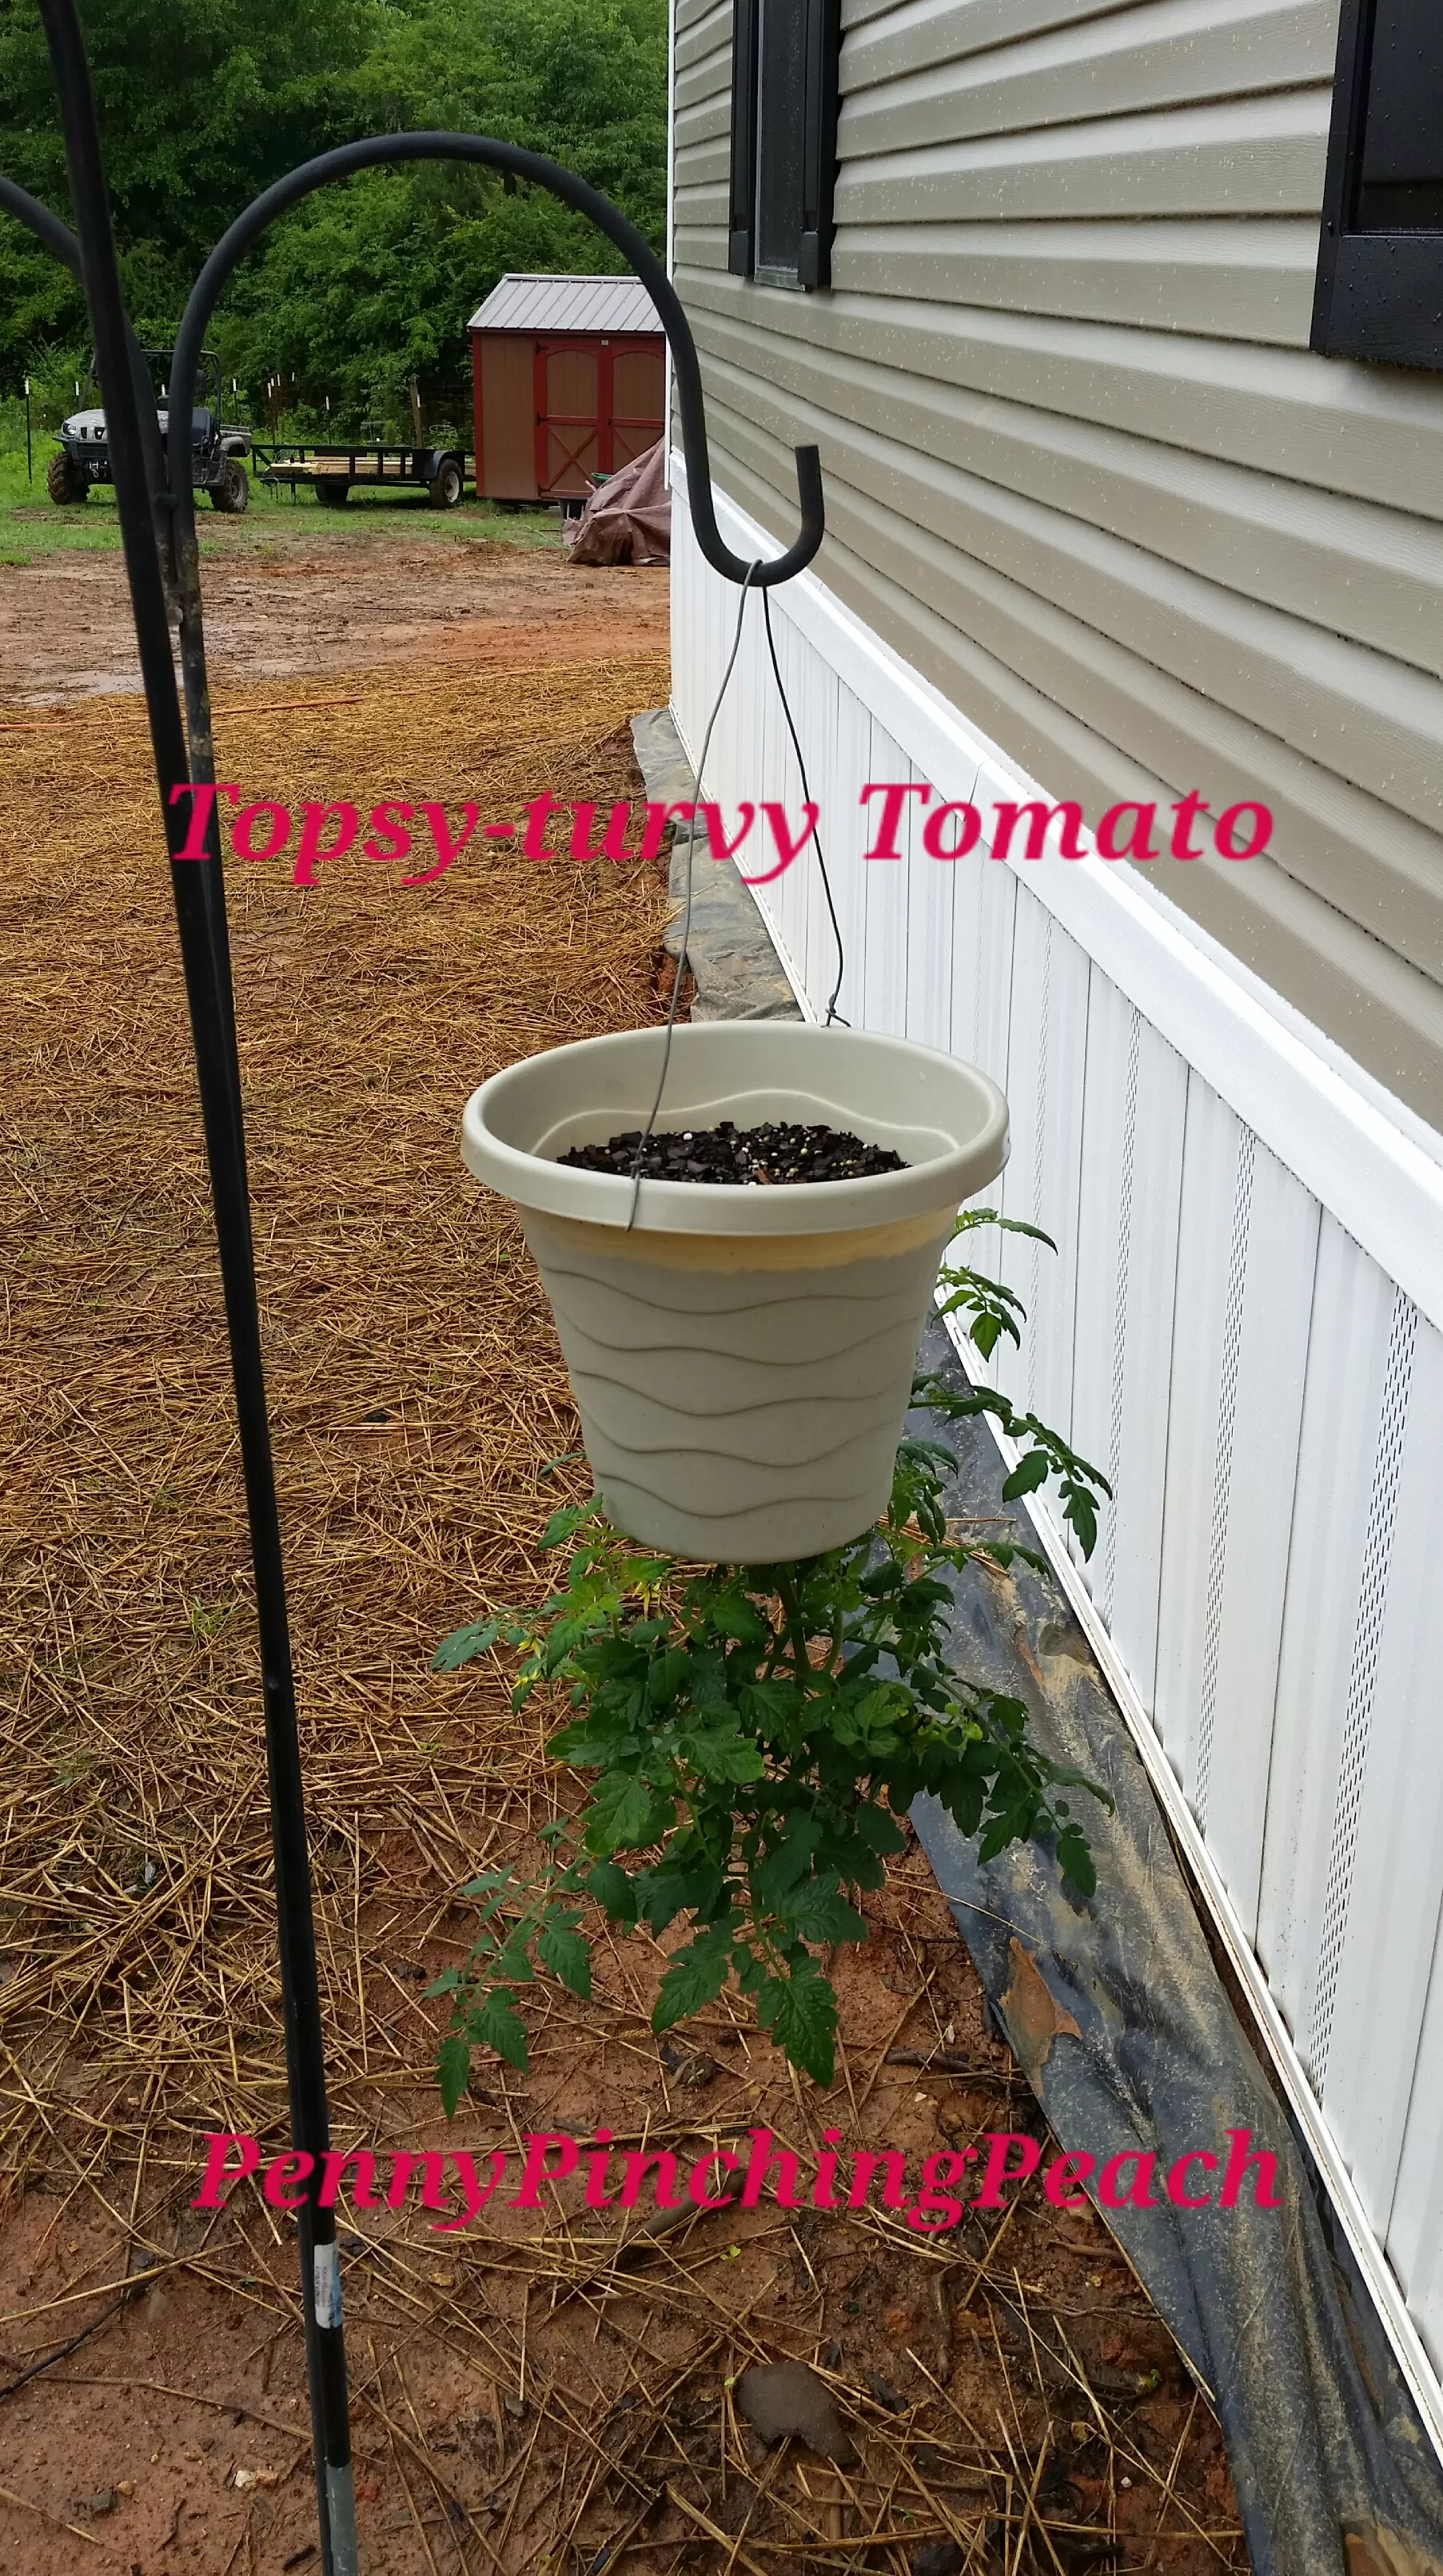 DIY topsy-turvy container garden made from an upcycled plastic pot hanging outdoors
Best Plants for Your DIY Topsy-Turvy Planters
While you might be tempted to try anything, some plants are better suited to this inverted growing method than others.
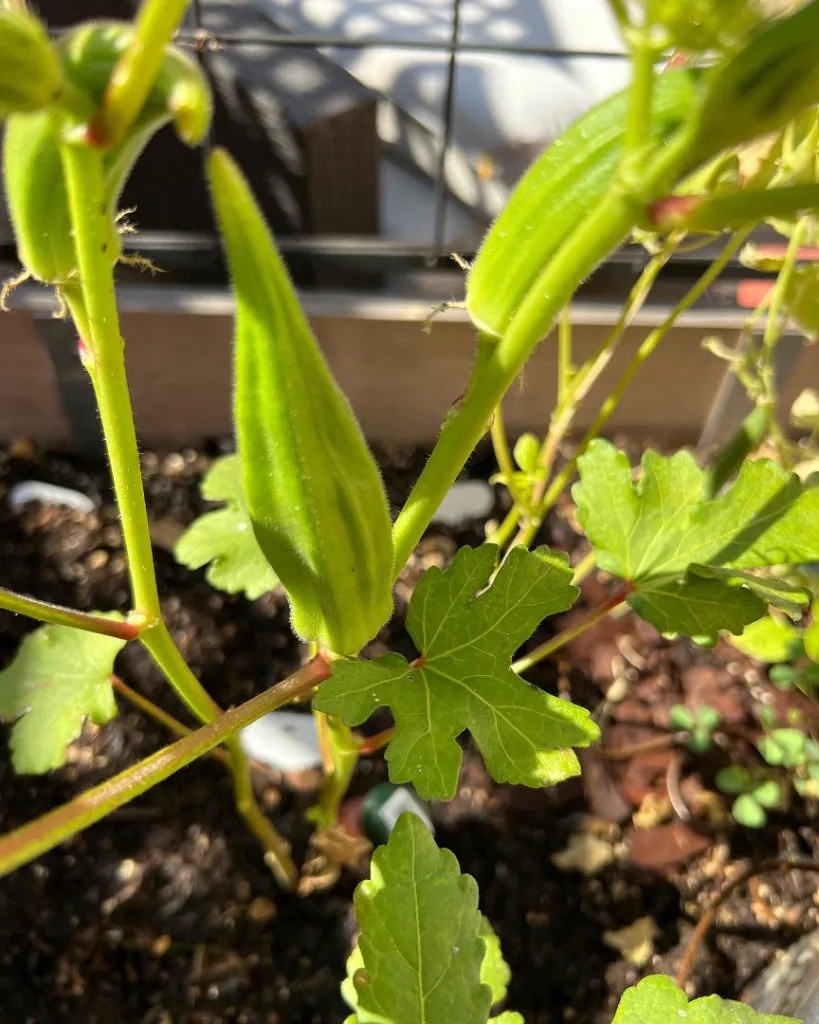
- Cherry Tomatoes: Based on experience, cherry tomatoes are often the superstars of topsy-turvy planters. Their vining habit and prolific fruiting make them ideal for hanging.
- Scientific Name: Solanum lycopersicum var. cerasiforme
- Common Name: Cherry Tomato
- Zone: Typically grown as annuals; requires warm weather.
- Light: Full sun (at least 6-8 hours per day).
- Humidity: Moderate.
- Water: Consistent moisture is key in containers; water thoroughly when the top inch of soil feels dry.
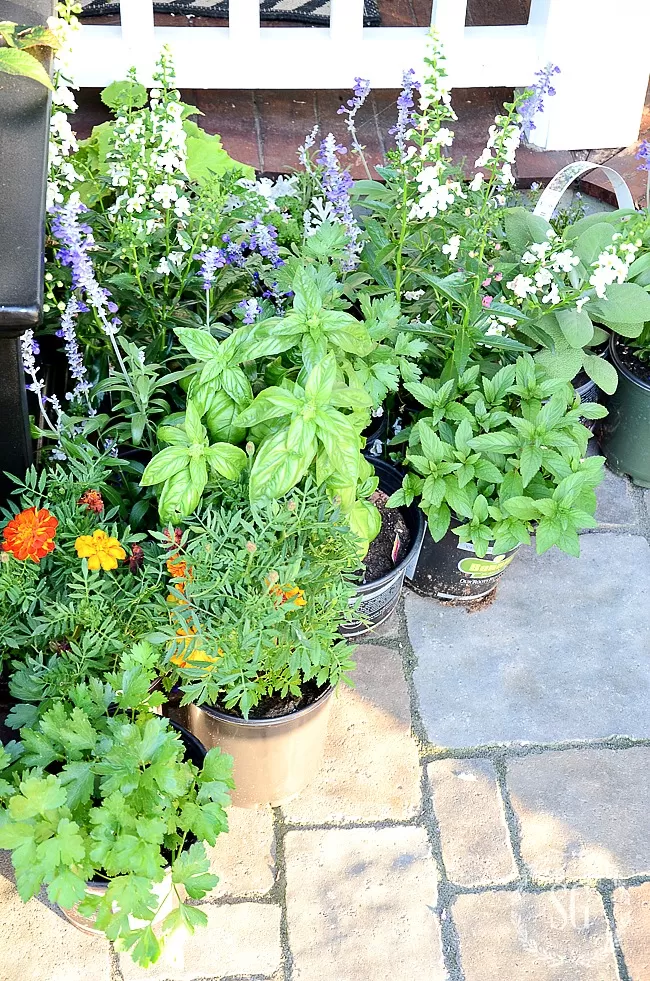
Other possibilities include certain varieties of peppers, strawberries, or even vining flowers, though results can vary. Experimentation is part of the fun of penny-pinching planter ideas!
Nurturing Your Hanging Garden: Care Tips
Once your topsy-turvy planter is hanging, ongoing care is crucial for a healthy harvest. Hanging baskets can dry out faster than in-ground gardens, so pay close attention.
Watering and Feeding Your Plants
Consistent watering is vital. Check the soil moisture daily, especially during hot or windy weather. Water deeply until you see water dripping from the bottom. As the plant grows and begins to flower and fruit, it will require more nutrients. Supplementing with a balanced liquid fertilizer or adding natural boosters can make a big difference. Adding crushed eggshells can provide calcium, beneficial for preventing blossom end rot in tomatoes, and a little “manure tea” (diluted liquid from composted manure) offers a nitrogen boost.
Pest Control with Companion Planting
A fantastic way to keep your plants healthy using simple, low-cost methods is companion planting. Planting certain beneficial plants near your crops can deter pests naturally.
- Marigolds: These cheerful flowers are renowned for their pest-repelling properties. Planting them near your tomato plants (or even in the same container if space allows) can help deter common tomato pests like nematodes and certain harmful insects.
- Scientific Name: Tagetes spp.
- Common Name: Marigold
- Zone: Typically grown as annuals.
- Light: Full sun.
- Humidity: Low to moderate.
- Water: Water when the soil is dry; tolerant of moderate drought once established, but consistent water improves flowering.
 Multiple DIY topsy-turvy tomato planters hanging with marigold flowers visible
Consider tucking a couple of marigold seedlings into the top of your topsy-turvy planter alongside your tomato for this natural pest protection!
Get Started with Your Own Penny-Pinching Planter Ideas!
Creating your own garden containers, like these DIY topsy-turvy planters, is a fantastic way to save money, make use of limited space, and enjoy the process of growing your own food or flowers. These penny-pinching planter ideas prove that you don’t need expensive equipment to cultivate a thriving garden.
Have you tried making your own unique garden containers? What are your favorite budget-friendly planting tips? Share your thoughts and experiences in the comments below!
Want to explore more ways to make the most of your harvest? Check out our other articles on preserving your homegrown produce!