- Grow your favorite vegetables indoors, year-round.
- Enjoy peak freshness right from your kitchen or living space.
- Hydroponics offers faster growth and uses less water than traditional soil gardening.
- Escape pests, diseases, and unpredictable weather.
- Perfect for small spaces or those with limited outdoor garden area.
Imagine plucking crisp lettuce leaves or juicy cherry tomatoes from your own indoor garden, even as the summer heat rages outside. The dream of enjoying peak freshness on demand is more achievable than you think! Forget the dirt, the weeds, and the garden pests. By starting indoor hydroponic vegetable systems for summer freshness, you can bring the bounty of the garden into your home, ensuring a steady supply of delicious, healthy produce regardless of the season or climate. If the idea of soilless gardening feels intimidating, don’t worry. Like any new skill, it just takes a little understanding and willingness to learn. Let’s dive into how you can cultivate your own slice of summer freshness, indoors.
Why Choose Indoor Hydroponics for Summer Freshness?
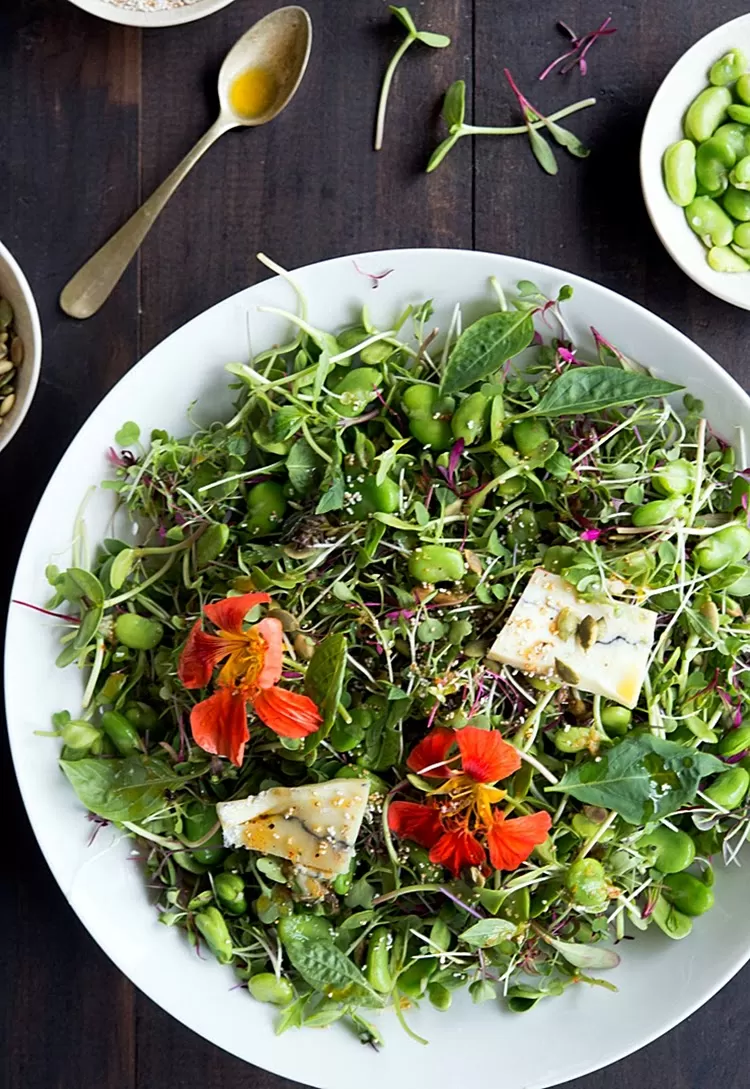
Summer is the season of salads, grilled veggies, and vibrant flavors. While outdoor gardens are fantastic, they’re subject to the whims of nature – heatwaves, sudden storms, or persistent pests can decimate a crop. Starting indoor hydroponic vegetable systems for summer freshness gives you complete control over the environment.
- Predictable Harvests: Consistent conditions mean reliable growth and yields.
- Faster Growth: Plants in hydroponic systems often grow faster than in soil because nutrients are readily available to the roots.
- Water Efficiency: Hydroponic systems use significantly less water than traditional gardening.
- No Soil, Fewer Pests: Eliminating soil drastically reduces issues with soil-borne diseases and many common pests.
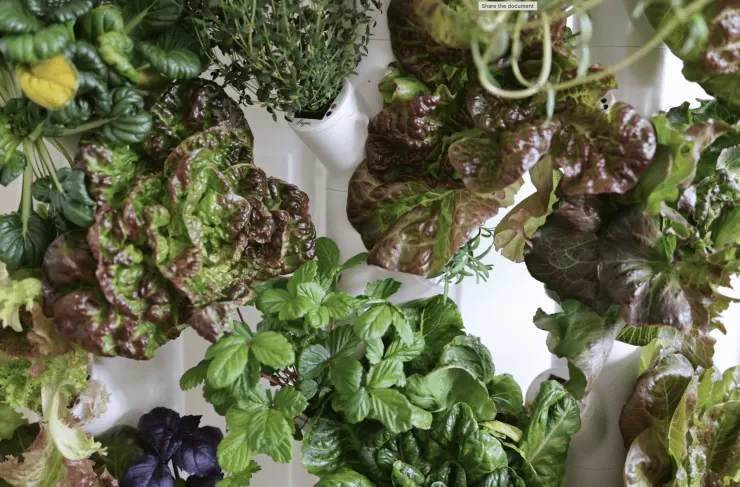
- Space Saving: Systems can be vertical, stacked, or placed in tight corners, making them ideal for apartments or small homes.
- Year-Round Potential: While we’re focusing on summer, once you have a system, you can grow anytime!
It’s about bringing the farmer’s market experience right into your living space, ensuring you have access to vibrant, nutrient-dense vegetables whenever you want them.
Getting Your Hydroponic System Started
The journey to your indoor veggie patch begins with selecting the right system and understanding the basic setup. There are several types of hydroponic systems suitable for home use, ranging in complexity and cost.
Choosing Your System
- Deep Water Culture (DWC): Plants are suspended with their roots immersed directly in a nutrient-rich water solution, usually in a bucket or reservoir. An air pump oxygenates the water. Simple and effective for leafy greens.
- Nutrient Film Technique (NFT): A thin stream of nutrient solution flows continuously over the roots in channels or tubes. Requires a pump and careful monitoring of flow rate. Good for fast-growing plants.
- Wick System: The simplest passive system, using wicks to draw nutrient solution from a reservoir up to the growing medium and plant roots. Suitable for smaller plants and beginners.
- Kratky Method: Another passive system where plant roots hang into a reservoir, gradually growing down into the diminishing nutrient solution. No pumps needed, but requires careful timing for refills (or starting plants that don’t require refilling like lettuce).
For beginners focused on starting indoor hydroponic vegetable systems for summer freshness, a simple DWC or Kratky system is often a great starting point for leafy greens and herbs.
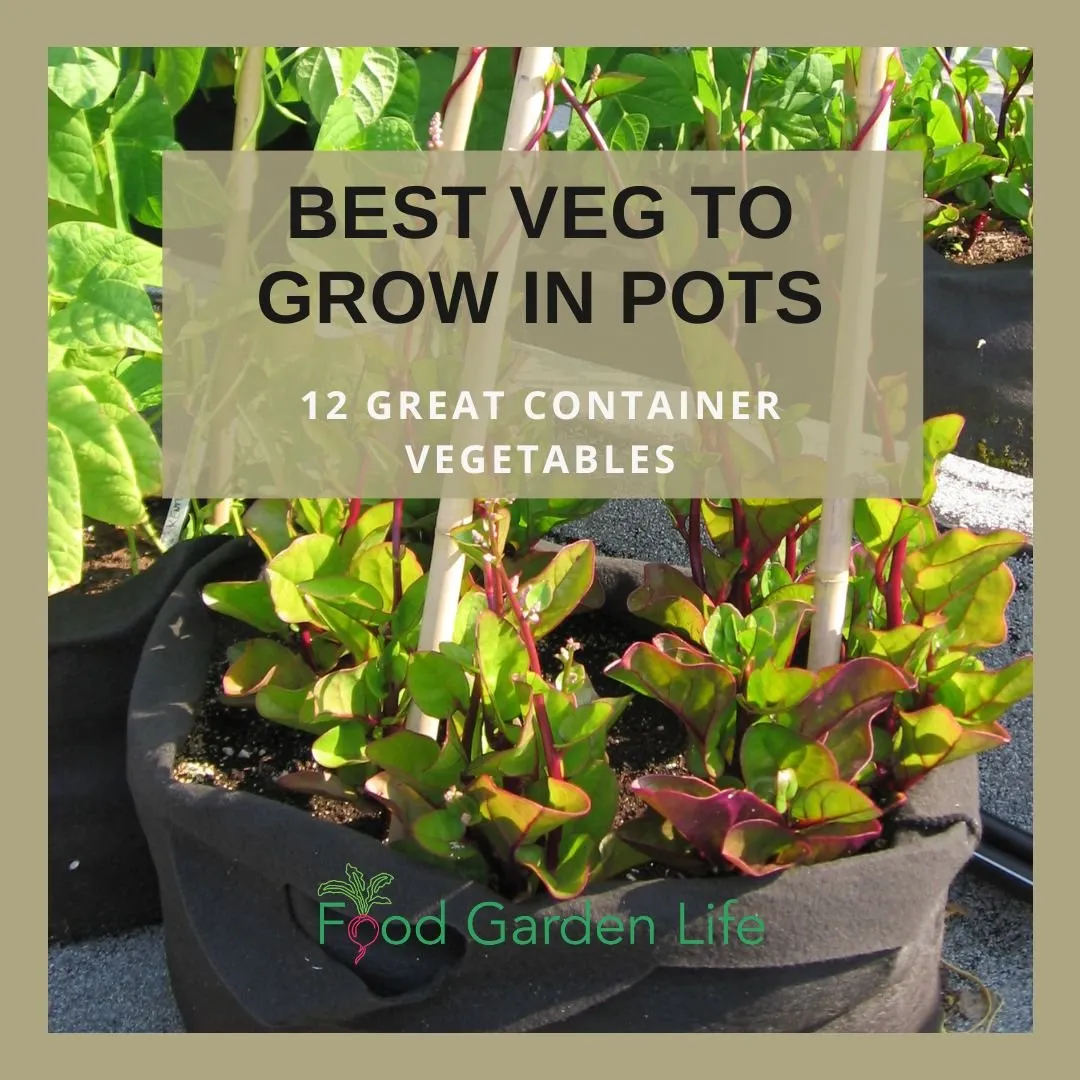
Picking the Right Vegetables
Not all vegetables are equally suited for indoor hydroponics. Focus on compact varieties or those that don’t require extensive pollination. Great choices for summer freshness include:
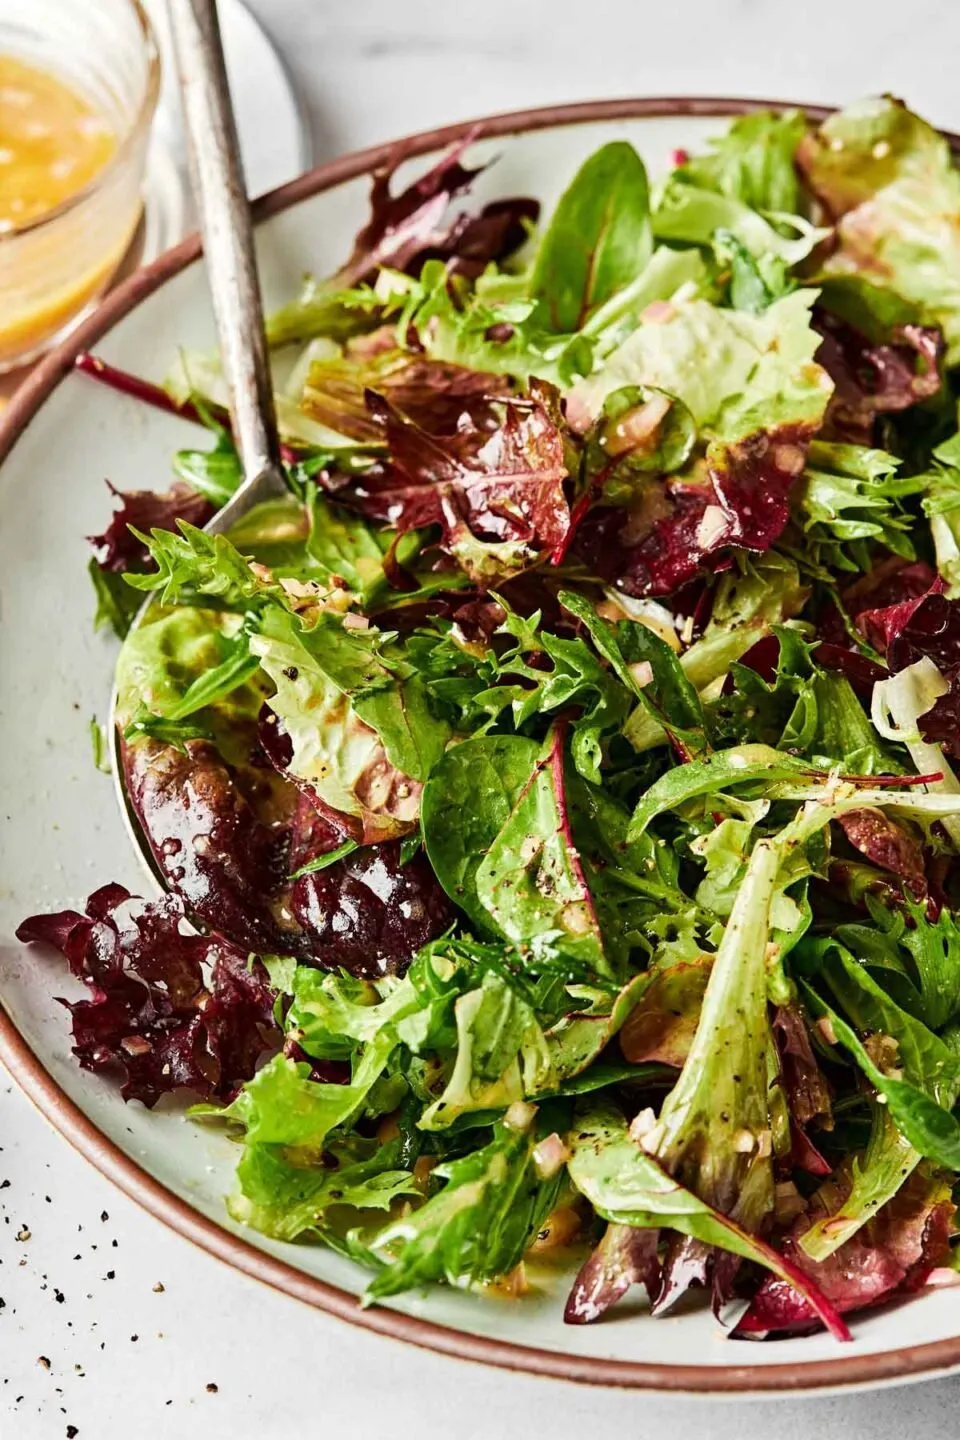
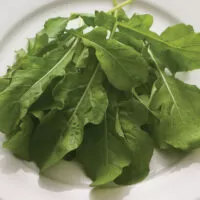
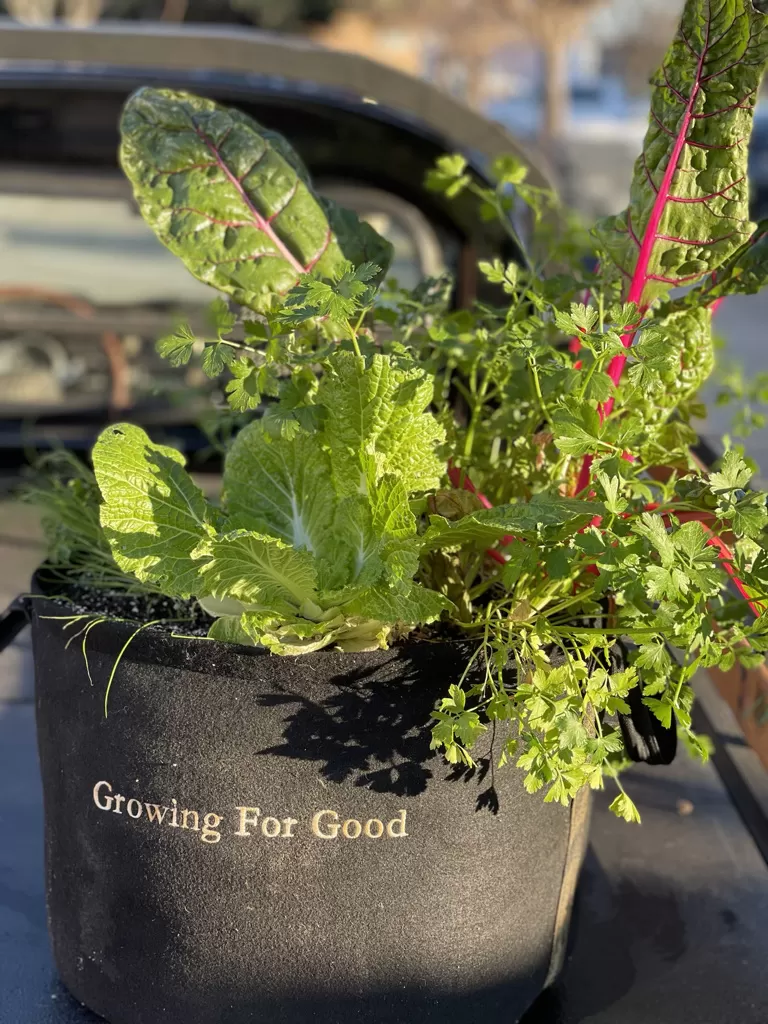
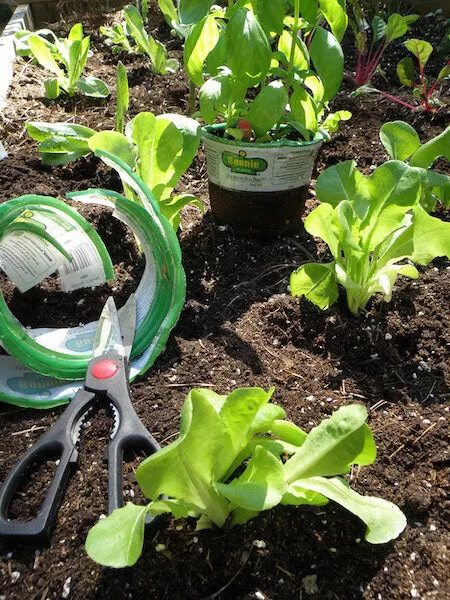
- Leafy Greens: Lettuce (various types), spinach, kale, arugula. These are fast-growing and perfect for salads.
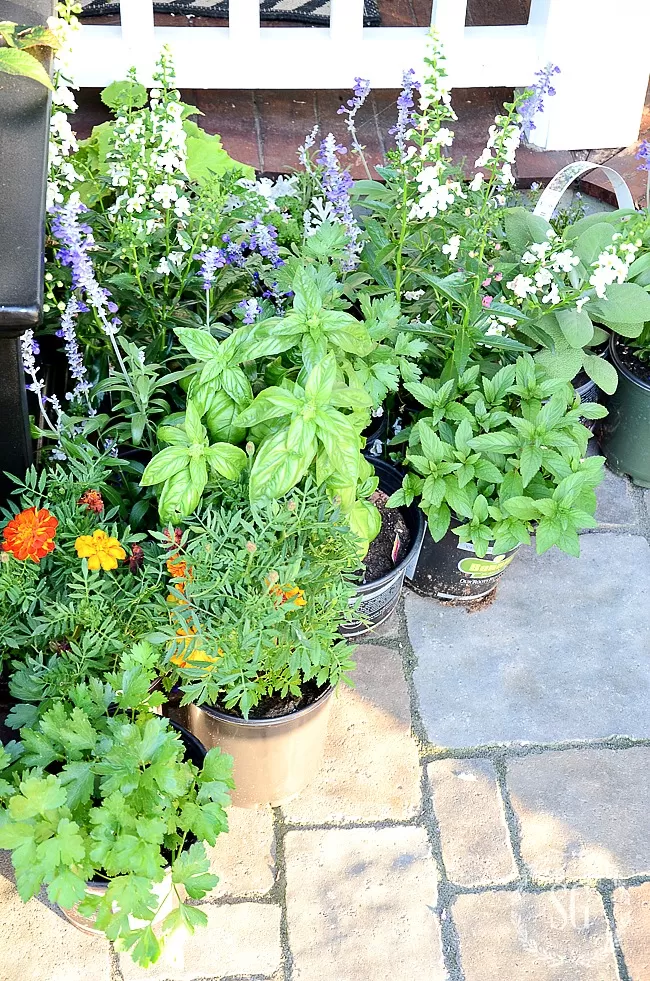
- Herbs: Basil, mint, cilantro, parsley. Essential for summer cooking.
- Fruiting Plants (Dwarf Varieties): Cherry tomatoes, small peppers, strawberries. These require more light and potentially manual pollination but are highly rewarding.
Consider the size of your system and the space you have when choosing what to grow. Don’t try to grow a full-sized pumpkin in a countertop unit!
Setting Up Your System
Once you have your system type and plants chosen, setting up is straightforward:
- Prepare Your Reservoir: Fill with water and add your hydroponic nutrients according to the manufacturer’s instructions.
- Adjust pH: Use a pH testing kit and pH adjusters to bring the solution to the optimal range for most vegetables (usually 5.5-6.5).
- Add Air/Water Flow: If using an active system (DWC, NFT), set up your air pump or water pump and ensure it’s running correctly. Oxygen is vital for roots.
- Provide Light: Plants need plenty of light indoors. Grow lights are essential. Position them appropriately for the plants you are growing.
 Seedlings under a humidity dome being lifted, representing initial stages of hydroponic seedling development.
Caption: Getting seedlings started is the first step in any garden, indoor or out. Here, a humidity dome is lifted from a tray, a common practice after germination.
Seed Starting for Hydroponics
Unlike soil gardening, you’ll typically start seeds in an inert medium like rockwool, coco coir, or specialized germination plugs.
- Soak Your Medium: Thoroughly soak your chosen medium in pH-adjusted water (around 5.5-6.0) before planting. This activates the medium and provides initial moisture.
- Sow Seeds: Place one or two seeds in each cube/plug according to seed packet instructions.
- Germination Area: Place the seeded plugs in a tray, often with a clear humidity dome, in a warm spot.
- Lighting After Germination: Once seedlings sprout, remove the humidity dome and place them under grow lights immediately to prevent legginess.
- Transfer to System: When seedlings have developed a few sets of true leaves and their roots begin to emerge from the bottom of the plug, they are ready to transfer to your main hydroponic system.
My own early attempts involved putting dry rockwool cubes directly into systems – a big mistake! Proper pre-soaking ensures the roots get the moisture they need from the start.
Nurturing Your Indoor Hydroponic Garden
Once your system is set up and your plants are happily growing, consistent care is key to a bountiful summer harvest.
DO Monitor Your Nutrient Solution
This is perhaps the most critical difference from soil. Your plants get everything they need from the water. Regularly check the pH and Electrical Conductivity (EC) or Total Dissolved Solids (TDS) of your solution.
- pH: Affects nutrient availability. Keep it in the optimal range (5.5-6.5 for most veggies).
- EC/TDS: Measures nutrient concentration. Follow guidelines for the specific plants you’re growing.
- Refill/Replace: Top off the reservoir with fresh water and nutrients as the plants use it. Periodically replace the entire solution (e.g., every 2-3 weeks) to prevent buildup of salts and imbalances.
Ignoring pH or EC is like driving a car without checking the fuel or oil – eventually, things go wrong.
DON’T Skimp on Light
Indoor plants, especially fruiting vegetables, need intense light. Natural window light is rarely sufficient. Invest in quality grow lights and ensure they are positioned correctly.
 Hydroponic seedlings under fluorescent grow lights, illustrating the necessity of supplemental lighting indoors.
Caption: Providing adequate light is crucial for healthy indoor plant growth, especially in hydroponic systems.
- Intensity: Lights should be strong enough for the plant’s needs (measured in PAR or PPFD).
- Duration: Most vegetables need 12-16 hours of light per day. Use a timer for consistency.
- Distance: Position lights at the recommended distance above the plants. Too far away leads to stretchy, weak growth (“legginess”). Too close can cause burning. Adjust light height as plants grow.
I learned this the hard way with my first attempt at growing peppers indoors – they became tall, spindly things reaching desperately for the weak light source. Proper positioning made all the difference.
DO Ensure Proper Air Circulation
Good airflow prevents stagnant air, which can lead to fungal issues and weak stems. A small oscillating fan helps strengthen plant stems and improve gas exchange (CO2 uptake and oxygen release).
DON’T Let Water Temperature Fluctuate Wildly
Ideal water temperature for most hydroponic vegetables is between 65-75°F (18-24°C). Temperatures outside this range can stress plants, reduce oxygen levels in the water, and encourage root diseases like pythium (“root rot”). Use a water heater or chiller if necessary to maintain stability, especially in fluctuating indoor temperatures.
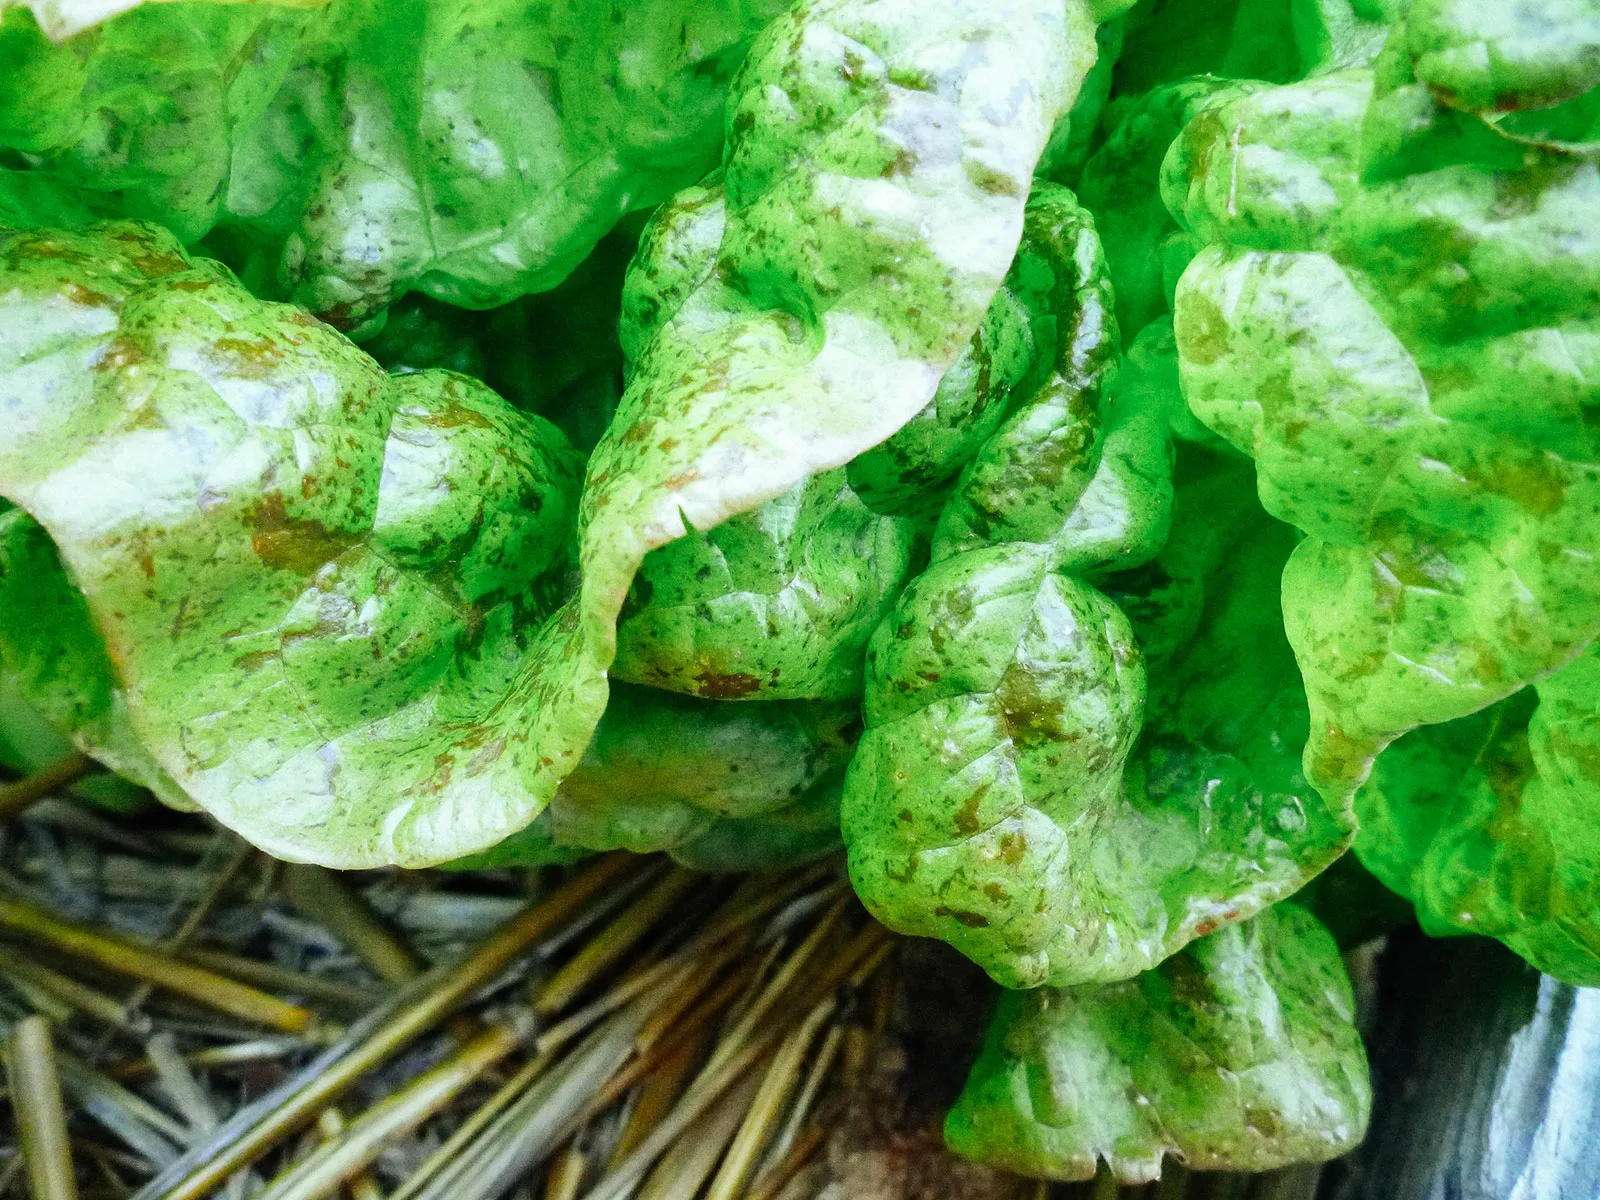
DO Watch for Pests and Diseases
While less common than in soil, pests and diseases can still appear. Regularly inspect your plants. Address issues promptly with appropriate organic treatments if needed. Healthy plants in optimal conditions are less susceptible.
DON’T Overcrowd Your System
Give your plants space! Overcrowding leads to competition for light and nutrients, reduces airflow, and increases the risk of problems. Research the mature size of your chosen varieties and space them accordingly.
DO Harvest Regularly
Harvesting leafy greens and herbs encourages the plant to produce more foliage. For fruiting plants, harvesting signals the plant to continue flowering and setting more fruit. Regular harvesting ensures a continuous supply of summer freshness.
Common Challenges and Troubleshooting
Even experienced growers encounter issues. Here are a few common problems and how to address them:
- Yellowing Leaves: Often indicates a nutrient deficiency or imbalance, or incorrect pH preventing nutrient uptake. Check pH and EC, ensure fresh solution, and check for root rot (lack of oxygen).
- Stunted Growth: Could be insufficient light, incorrect pH/EC, poor water temperature, or root problems. Review all environmental factors.
- Algae Growth: Usually caused by light hitting the nutrient solution. Cover your reservoir and channels to block light.
- Root Rot: Mushy, brown, or smelly roots. Caused by lack of oxygen, high water temperature, or pathogens. Ensure adequate aeration, correct temperature, and potentially use beneficial microbes.
Accepting that mistakes happen is part of the gardening journey, whether in soil or hydro. Each challenge is an opportunity to learn and refine your process.
Bringing the Garden Indoors
Starting indoor hydroponic vegetable systems for summer freshness is a rewarding endeavor that connects you directly to your food source. It offers a controlled, efficient, and space-saving way to enjoy fresh, vibrant produce year-round. From the simple joy of harvesting your first batch of crisp lettuce to the satisfaction of watching a dwarf tomato plant ripen indoors, the experience is unparalleled.
 A person gently tending to seedlings in trays, symbolizing the care involved in starting a garden, including indoor hydroponic systems.
Caption: Tending to young plants is a universal pleasure for gardeners, whether they are starting in soil or hydroponics.
Have you experimented with indoor hydroponics? What vegetables have you grown successfully? Share your experiences and questions in the comments below! And if you’re ready to dive deeper, explore our other guides on indoor gardening techniques.