- Microgreens are tiny powerhouses of nutrition, often containing significantly more vitamins than their mature counterparts.
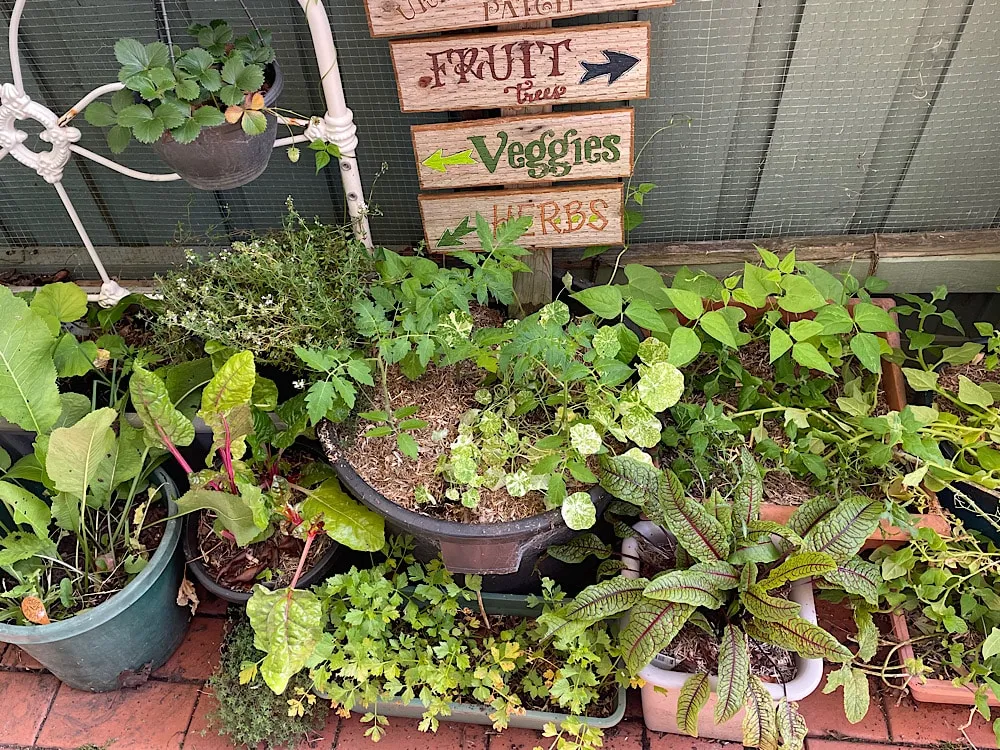
- Perfect for small spaces, urban dwellers, or anyone wanting fresh greens fast.
- Microgreens like radish and arugula are among the fastest and easiest to grow, making them ideal for beginners.
- Harvestable in just 7-14 days from seeding!
- Adds vibrant flavor and texture to salads, sandwiches, soups, and more.
Dreaming of a lush garden but living in a compact space? Or maybe you just want the instant gratification of growing something edible quickly? Let me tell you about microgreens, specifically how incredibly simple and rewarding it is to grow microgreens like radish & arugula. These miniature greens are packed with flavor and nutrition, and best of all, you can go from seed to harvest on your windowsill in about the same time it takes to finish a good book! Forget the long waitlists for community garden plots; your personal green oasis is just days away.
What Exactly Are Microgreens?
Often confused with sprouts, microgreens are a different stage of plant growth. While sprouts are seeds germinated purely in water and eaten root, stem, and seed hull, microgreens are grown in soil and harvested after their first true leaves appear, but before they develop into larger plants. This is typically when they are just a few inches tall.
Why bother with these tiny plants? Beyond their delightful, concentrated flavors, research has shown microgreens can be nutrient dense powerhouses. Studies, like one from the USDA and University of Maryland, have found that microgreens can contain four to forty times more vitamins and other phytochemicals than the mature leaves of the same plant. That means a tiny sprinkle can add a big nutritional boost!
Why Choose Microgreens Like Radish & Arugula for Your First Grow
If you’re new to growing things indoors, or even if you’re a seasoned gardener looking for a quick win, microgreens like radish & arugula are fantastic choices.
- Speed: They are incredibly fast growers. You’ll often see germination within a day or two, and they can be ready to harvest in as little as 7-10 days! This rapid turnaround is hugely motivating.
- Ease: They don’t require complex setups. A sunny windowsill and some basic supplies are all you need. Unlike some larger seeds that benefit from soaking, radish and arugula seeds can be sown directly onto the soil.
- Flavor: Radish microgreens offer a peppery, slightly spicy kick, reminiscent of mature radishes but in a milder, tender form. Arugula microgreens provide that signature peppery, slightly nutty bite that elevates any dish.
Getting to Know Your Speedy Growers
Let’s take a closer look at the stars of our windowsill garden:
Radish Microgreens
- Common Name: Radish microgreens
- Scientific Name: Raphanus sativus
- Light: Bright indirect light (sunny windowsill) or grow lights.
- Water: Keep soil consistently moist, but not waterlogged.
- Growth Time: Approx. 7-14 days to harvest.
Arugula Microgreens
- Common Name: Arugula microgreens, Rocket microgreens
- Scientific Name: Eruca vesicaria subsp. sativa (syn. Eruca sativa)
- Light: Bright indirect light (sunny windowsill) or grow lights.
- Water: Keep soil consistently moist, but not waterlogged.
- Growth Time: Approx. 7-14 days to harvest.
Simple Steps to Growing Microgreens at Home
You don’t need a green thumb to succeed with microgreens like radish & arugula. Here’s a simple guide based on my own experience and advice:
Gathering Your Supplies
- Organic potting soil mix
- Shallow trays or containers (anything with drainage or that you can water carefully) – old baking pans or takeout containers work well.
- Good quality organic radish and arugula seeds.
- Spray bottle
- Optional: Grow lights (a simple fluorescent shop light works)
Step-by-Step Growing Guide
- Prepare Your Trays: Fill your clean trays with about 1-1.5 inches of pre-moistened potting soil. The soil should be damp like a wrung-out sponge, not soaking wet. Level the surface gently with your hand.
- Sow the Seeds: Sprinkle your radish and arugula seeds evenly across the soil surface. For smaller seeds like these, aim for a dense layer, but try to avoid thick clumps. You want the seeds to be touching the soil.
- Water Gently & Cover: Lightly mist the seeds and soil surface with your spray bottle. This helps settle the seeds and ensures good contact with the soil. Once misted, you can lightly cover the trays with another tray or lid to create darkness and humidity, which encourages germination.
- Germination Period: Place the stacked or covered trays in a warm spot (around 70-75°F or 21-24°C) for 2-4 days. Check daily, misting if the soil surface looks dry. You’ll quickly see tiny seedlings starting to emerge and push up the cover.
- Provide Light: As soon as you see most of the seedlings emerging and showing signs of wanting light, it’s time to uncover them. Move the trays to a bright windowsill that gets several hours of indirect sunlight, or place them under grow lights. If using lights, position them about 4-6 inches above the trays for 12-14 hours a day. Rotate trays on a windowsill every day or two for even growth.
 Tray of bright green microgreens with some taller ones pushing up
 - Watering: Continue to keep the soil consistently moist. Avoid letting it dry out completely, but also don’t let water pool in the bottom of the tray. Watering from the bottom (placing the tray in a larger tray with an inch or two of water for 10-15 minutes) can also work well.
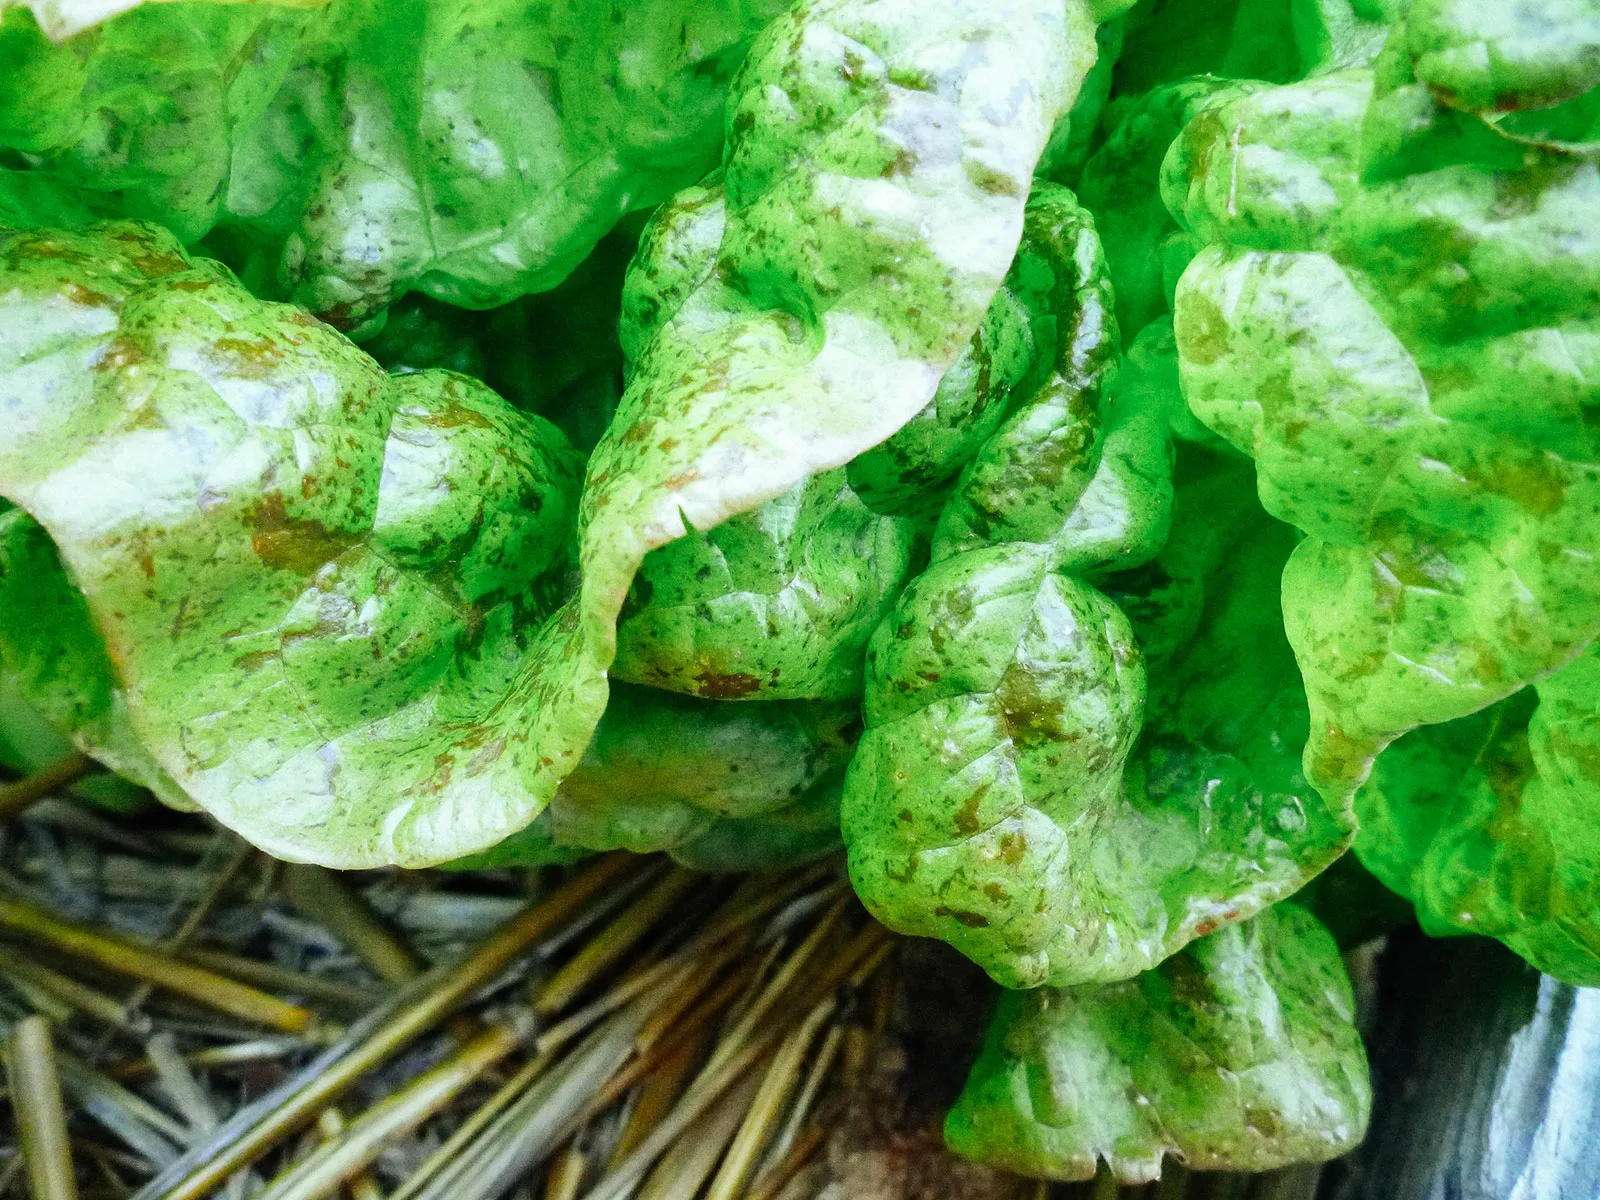
 Close-up of dense sunflower microgreens seedlings in a tray
 - Watch Them Grow! You’ll be amazed at how fast they shoot up. Radish and arugula are particularly speedy. In just a few days after getting light, they’ll be reaching for the sky!

Harvesting Your Microgreen Bounty
The magic moment arrives when your microgreens like radish & arugula are 2-4 inches tall and have developed their first set of ‘true leaves’ (these appear after the initial round, called cotyledons).
To harvest, simply take a clean pair of scissors and snip the stems just above the soil line. Harvest only what you need, or cut the whole tray if you’re ready to use a larger amount. Rinse gently before using.
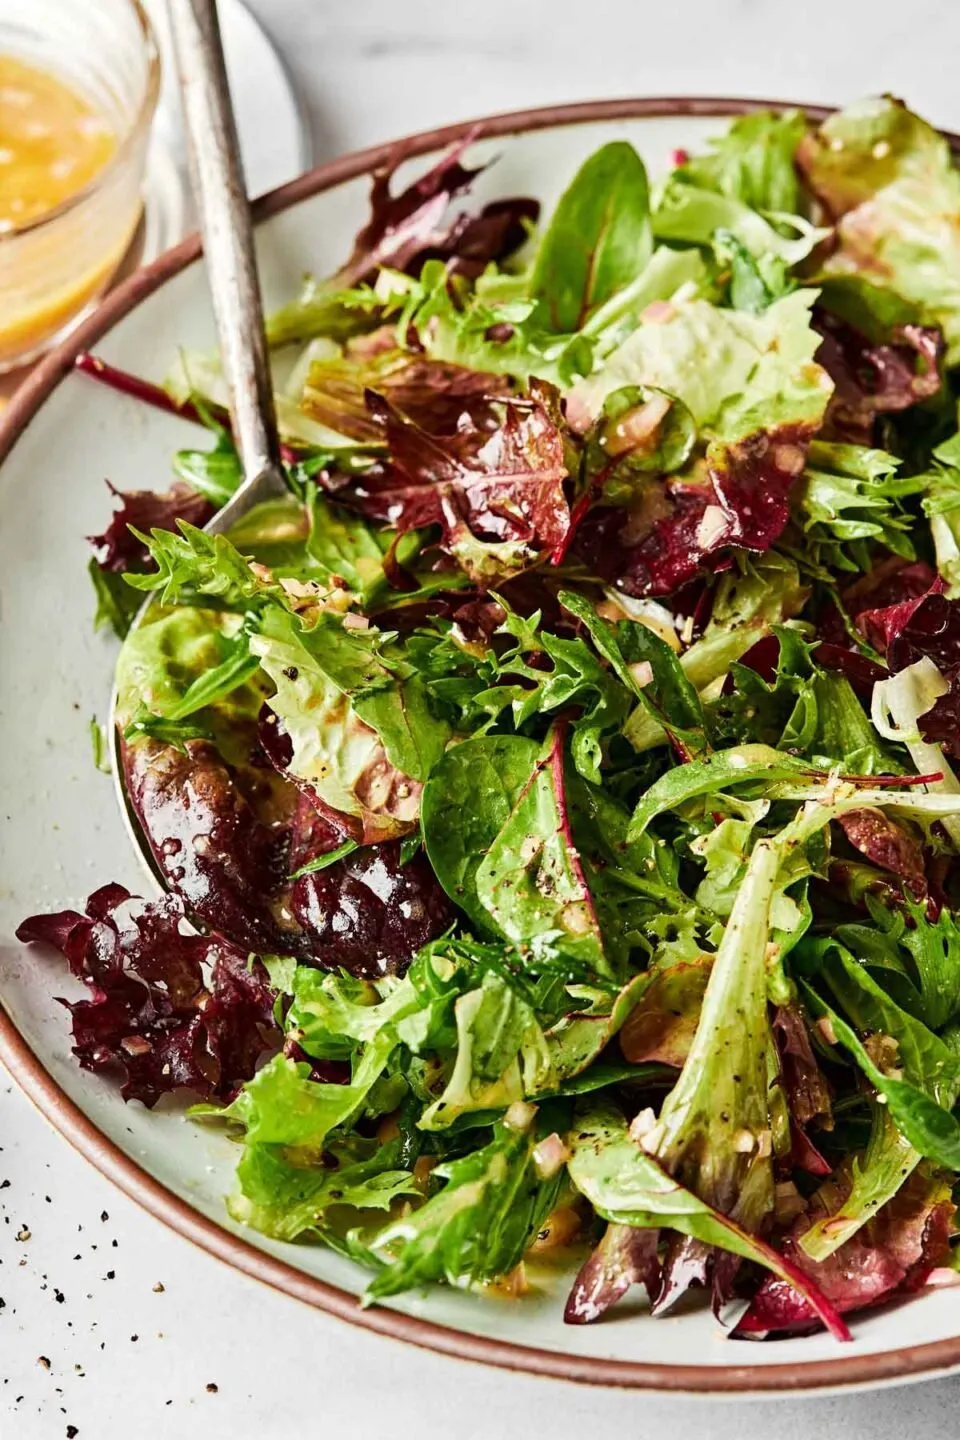
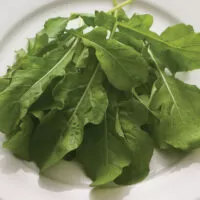
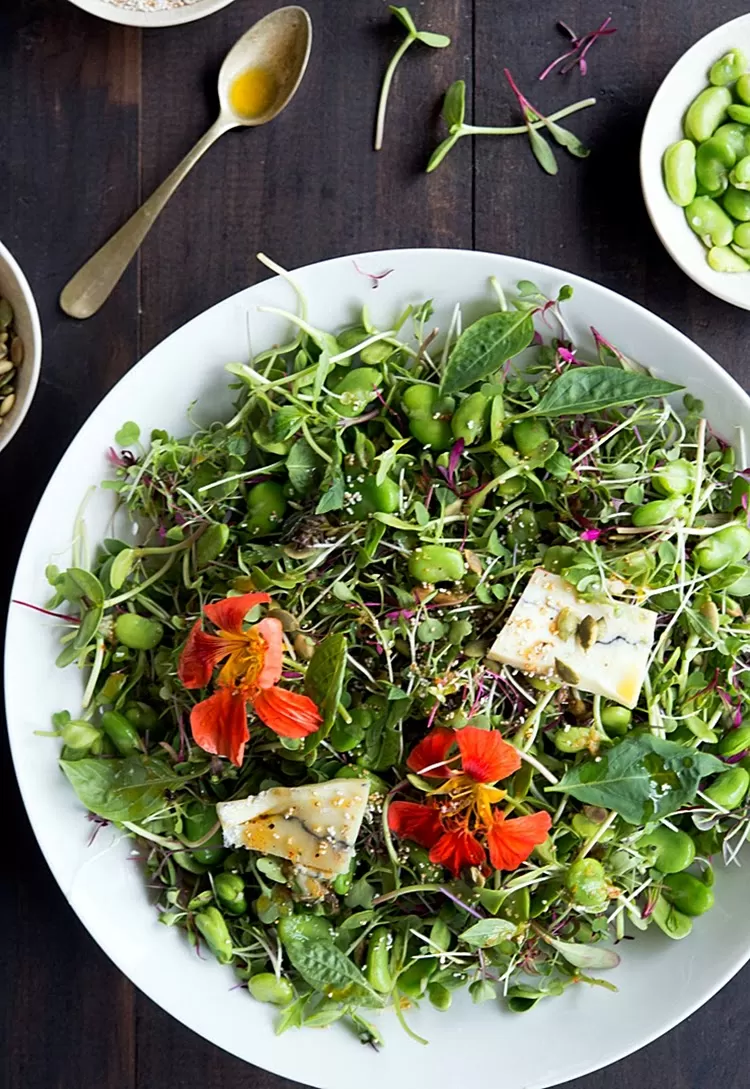
 A vibrant salad featuring a mix of colorful microgreens
 Closer view of a salad bowl highlighting diverse microgreen textures and colors
Once harvested, microgreens are best used immediately for peak flavor and nutrition. If you must store them, place them unwashed in a sealed container lined with a paper towel in the refrigerator and try to use them within a few days.
 Close up view of young onion microgreens growing in soil
Beyond the Salad Bowl
While they are fantastic tossed into salads, the uses for your homegrown microgreens like radish & arugula are endless! Sprinkle them generously on top of soups, sandwiches, wraps, tacos, or avocado toast. Blend them into smoothies for a nutrient boost (though the peppery flavor might dominate!). Use them as a vibrant, flavorful garnish on any dish. The quick turnaround means you can have a fresh supply constantly cycling!
 Detailed image of young beet microgreens with reddish stems
A Personal Note
My own journey with microgreens started much like many others – a desire to grow fresh food despite limited space. Setting up trays on my windowsill and watching the tiny seeds of radish and arugula spring to life almost overnight was incredibly satisfying. The only real challenge was keeping my curious cat from sampling them before I did! But the joy of adding a handful of vibrant, peppery radish or arugula microgreens to my meals, knowing I grew them myself in a tiny corner of my home, was absolutely worth it. It’s a simple pleasure that reconnects you with your food source, even in the middle of a city.
 Close up image of young broccoli rabe microgreens in a grow tray
From Seed to Snack: Watching Them Grow
It’s truly fascinating to see the rapid transformation of microgreens.
 View of sunflower seedlings just emerging from the soil with hulls attached
 Tray of bright green microgreens growing densely
 Close-up view of developing green microgreens in a tray
 Side profile view showing the height and density of growing microgreens
 Multiple trays of colorful microgreens on a surface
Once you’ve harvested, the spent soil can often be composted, giving back to the earth.
Ready to Grow Your Own?
Starting your journey with microgreens like radish & arugula is an incredibly rewarding experience. It’s simple, fast, and provides you with fresh, nutrient-dense greens right in your own home. Whether you have a sprawling garden or just a sunny windowsill, you can enjoy the satisfaction of growing and eating your own food in just about a week!
Have you tried growing microgreens? What are your favorites? Share your tips and experiences in the comments below! And don’t forget to share this article with anyone looking for a quick and easy gardening project. Happy growing!