Ready to transform your balcony, patio, or limited space into a lush, productive garden? Growing in containers is a fantastic solution, especially if you’re renting or have a small yard. But let’s be honest, constantly buying bags of potting mix can be expensive, unsustainable, and sometimes, the quality just isn’t there. What if you could build rich, living soil directly in your pots, using materials you might already have? This is where the magic of no-dig container layering comes in, offering a sustainable, cost-effective, and incredibly effective way to grow vibrant plants anywhere.
- Build healthy, living soil right in your pots, no digging required.
- A sustainable, plastic-free alternative to traditional potting mix.
- Uses readily available organic materials, turning “waste” into garden gold.
- Creates resilient plants by fostering beneficial soil life.
- Simple to implement for successful container gardening in any space.
For years, gardeners like The Urban Nanna have successfully used this method while moving between rental properties, demonstrating its power and portability. It’s about applying the principles of natural soil building – layering organic materials – to the unique environment of a container. Forget sterile mixes; let’s build a thriving ecosystem for your plants.
Contents
- Why Choose No-Dig Container Layering?
- Understanding the No-Dig “Lasagne” Method
- Carbon-Rich Materials (Browns)
- Nitrogen-Rich Materials (Greens)
- Adapting No-Dig for Containers: Key Differences
- Step-by-Step Guide: Building Your No-Dig Container
- Gathering Your Supplies
- Creating Your Moisture Reservoir
- Layering Greens and Browns
- Adding a Fertility Boost
- Repeating Layers Until Full
- Planting in Your Newly Built No-Dig Pot
- Planting Seedlings or Established Plants
- Planting Seeds Directly
- Maintaining Your No-Dig Container Garden
Why Choose No-Dig Container Layering?
The typical bags of potting mix you find at the store often rely on peat moss, processed wood products, and synthetic fertilizers. While they offer a quick start, their structure degrades rapidly, nutrients leach away, and they often come in plastic bags, contributing to waste. Plus, as some gardeners have unfortunately discovered, contamination with persistent herbicides can be a devastating risk.
No-dig container layering flips the script. Inspired by the success of no-dig garden beds, this method involves building layers of diverse organic materials directly into your pots. As these layers break down over time, they create a rich, crumbly, nutrient-dense soil that mimics healthy natural ecosystems. This process builds soil fertility and structure continuously, supporting robust plant growth year after year. By using garden scraps, kitchen waste (in moderation), and readily available organic matter, you reduce waste, save money, and nurture a living soil full of beneficial microbes and organisms. It’s a beautiful example of working with nature’s processes to create abundance, even in a pot.
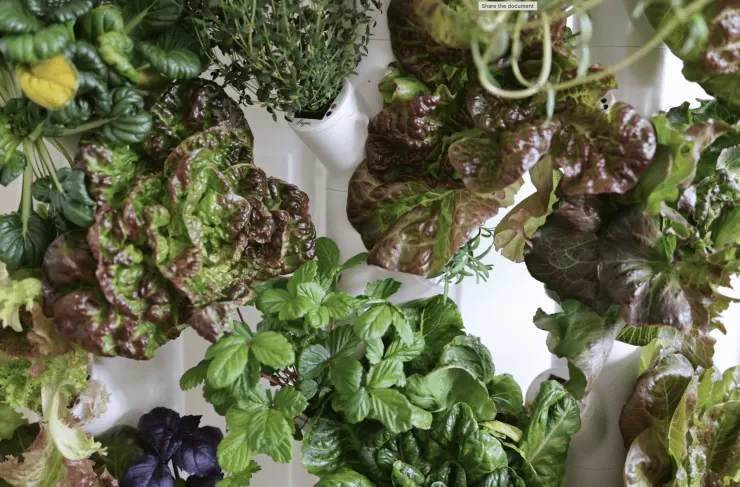
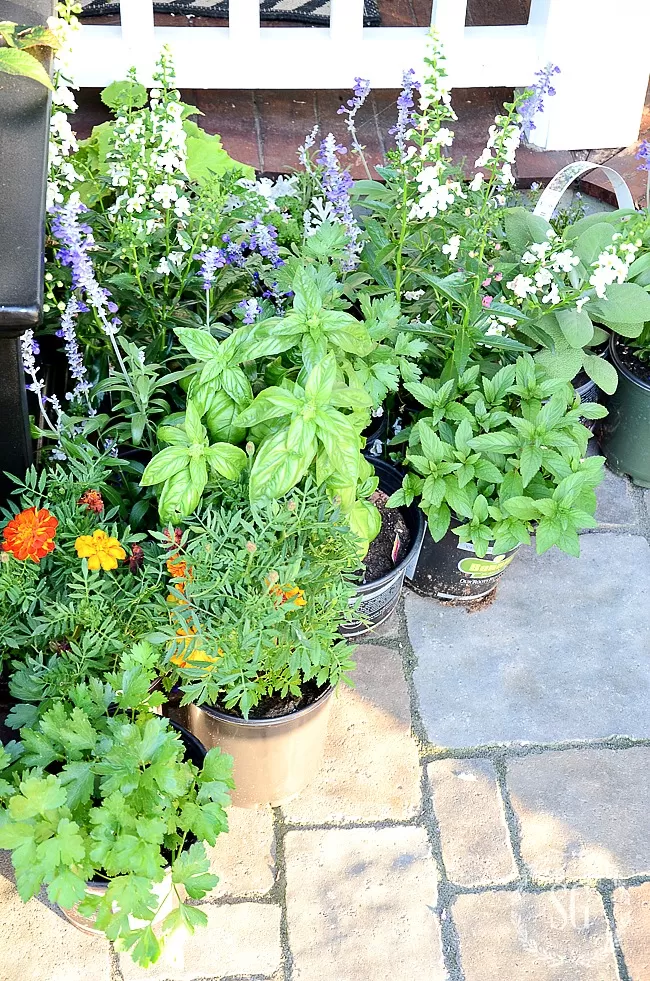
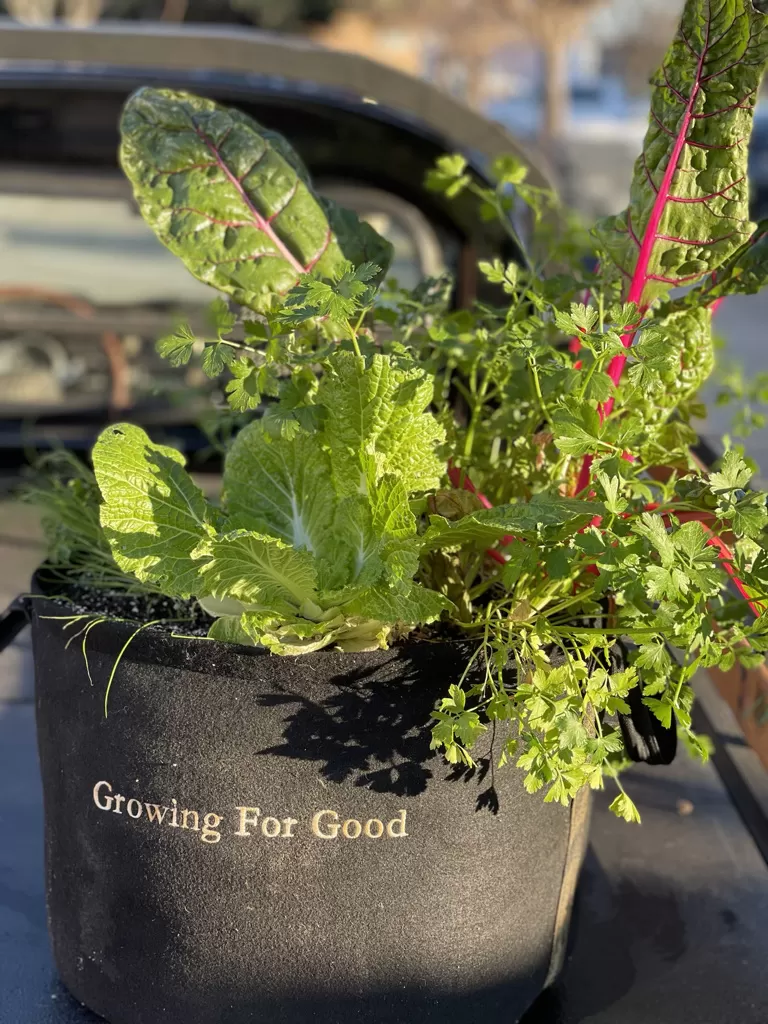
 Container garden filled with various plants thriving in pots built using the no-dig layering technique.
Understanding the No-Dig “Lasagne” Method
At its heart, no-dig gardening is about mimicking the forest floor, where leaves and organic matter pile up and decompose over time, building soil from the top down. When applied to containers, this means layering different types of organic materials, much like building a delicious lasagne. You alternate layers of carbon-rich “brown” materials and nitrogen-rich “green” materials.
The ideal ratio to aim for is roughly 3 parts carbon-rich material to 2 parts nitrogen-rich material. This balance helps ensure efficient decomposition without becoming overly slimy or smelly. As these layers are watered and settle, beneficial fungi, bacteria, worms, and other tiny creatures move in to break them down, transforming them into fertile soil.
Carbon-Rich Materials (Browns)
These materials are often dry and provide structure and energy for soil microbes. They are the bulk of your layers.
- Straw (pea straw is excellent)
- Dried leaves and small twigs
- Shredded paper or cardboard (avoid glossy or coated types)
- Lucerne hay
- Dried out grass clippings (if weed-free)
- Egg cartons (torn up, labels removed)
- Shredded human or pet hair (from natural fibers)
- Vacuum cleaner dust (only from natural carpets)
- Dried pine needles (best for acid-loving plants)
Nitrogen-Rich Materials (Greens)
These materials are typically more moist and provide nutrients, especially nitrogen, which fuels the decomposition process.
- Compost (well-rotted is best)
- Worm castings
- Aged animal manure
- Fresh grass clippings (if weed-free, use sparingly in layers)
- Kitchen scraps (avoid meat, dairy, and oils; use sparingly)
- Fresh green leaves, shredded
- Tea leaves (remove from bags)
- Coffee grounds
Once you have a diverse selection of these ingredients, you’re ready to begin building your living container soil!
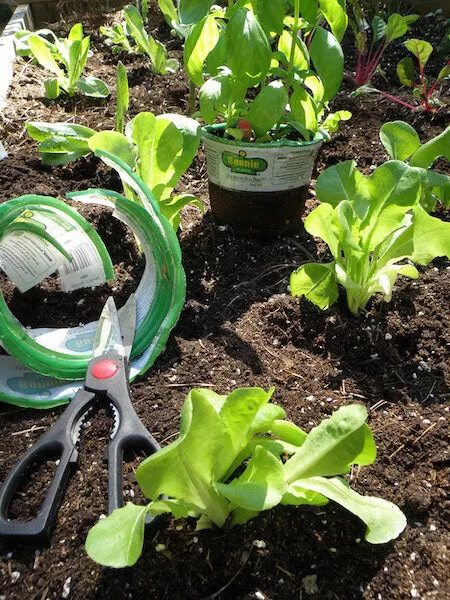
 Various containers filled with no-dig layers, supporting healthy plant growth transitioning between seasons.
Adapting No-Dig for Containers: Key Differences
While the core principle of layering remains the same, using the no-dig method in pots has a few practical differences compared to building larger garden beds on the ground.
Containers usually have drainage holes, so you typically don’t need the base layer of coarse sticks and branches often recommended for large in-ground or raised no-dig beds to ensure aeration and drainage. Similarly, if you’re starting with an empty pot, you don’t need a weed-suppressive layer like soaked cardboard, which is used when building over existing turf.
The primary challenge in containers is moisture retention. Potting mix or soil in pots dries out much faster than soil in the ground. Therefore, a key adaptation for no-dig container layering is to ensure each layer is thoroughly saturated with water as you build it. This helps kickstart decomposition and prevents layers from becoming hydrophobic (repelling water) once dry. Grouping your pots together can also help create a more humid microclimate and reduce water evaporation.
 Comparison showing the layered structure characteristic of both larger no-dig garden beds and smaller no-dig pots.
Step-by-Step Guide: Building Your No-Dig Container
Ready to build your own soil? Here’s a simple guide to filling your pots using the no-dig method.
Gathering Your Supplies
Collect your chosen carbon-rich (brown) and nitrogen-rich (green) materials. Have your pots ready – almost any container with drainage holes will work, from terracotta and plastic to recycled tubs. You’ll also need water and perhaps a trowel or scoop.
 Ingredients for no-dig container layering: Dried leaves (carbon), sifted compost (nitrogen), pea straw (carbon), and worm castings (nitrogen/fertilizer).
Creating Your Moisture Reservoir
Start with a generous base layer (about 4-6 inches) of a water-retentive carbon material like pea straw or shredded cardboard. Crucially, saturate this layer completely before adding the next. You can pre-soak it in a bucket or tub, or add it to the pot and water it thoroughly until it’s dripping wet. This is the only layer you should compact firmly, pushing it down into all corners to form a dense, spongy base that will hold moisture.
Layering Greens and Browns
Now, begin alternating your nitrogen and carbon layers, aiming for that 2:3 green-to-brown ratio in volume. Start with a layer of nitrogen-rich material like compost (about 2 inches). Add water until it’s saturated. Then add a thicker layer of carbon-rich material like fluffy pea straw or dried leaves (about 4 inches). Water this layer thoroughly. You can add slower-to-decompose items like small twigs or food scraps towards the bottom of the pot.
 Adding a scattering of nitrogen-rich fertilizer, such as worm castings or aged manure, over a carbon layer.
Adding a Fertility Boost
Periodically, scatter a thin layer (less than an inch) of a potent nitrogen source like worm castings or aged manure over a carbon layer. This acts as a fertilizer boost as the layers break down. Water this layer thoroughly to help the nutrients begin to integrate.
Repeating Layers Until Full
Continue adding alternating layers of browns and greens, remembering to thoroughly saturate each and every layer before adding the next. This step is critical for encouraging decomposition and ensuring water penetration throughout the pot. Fill the pot close to the top, finishing with a carbon layer like straw or leaves.
 Alternating layers of carbon (leaves) and nitrogen (compost, fertilizer) being added to a no-dig container, with each layer thoroughly watered.
Planting in Your Newly Built No-Dig Pot
One of the great advantages of the no-dig container layering method is that you can plant immediately! The layers need time to fully break down into homogeneous soil, but you can create a pocket of instant-ready growing medium for your plants or seeds to start in.
Think of this starting medium as a “cot” – a comfortable, familiar space for your young plants. By the time their roots grow out of the “cot,” the surrounding no-dig layers will have begun the decomposition process, providing a nutrient-rich “bed” for their long-term growth.
 Hand planting a small seedling into a hole filled with compost in a pot prepared with no-dig container layering.
Planting Seedlings or Established Plants
- Make a Pocket: Gently push aside the top carbon layer (straw/leaves). Burrow a hole down into the layers below. Make it roughly twice as wide and 1.5 times as deep as the root ball of the plant you are transplanting.
- Add the “Cot”: Fill the bottom of the hole with finely sifted, mature compost or high-quality potting mix. This is the nutrient-rich base your plant starts in.
- Position the Plant: Place your seedling or plant in the hole.
- Backfill: Fill the space around the root ball with more sifted compost or potting mix. Gently firm the soil around the roots to remove air pockets, but avoid compacting the underlying layers heavily.
- Re-cover and Water: Pull the displaced straw/leaves back around the base of the plant to act as mulch. Water thoroughly to help the plant settle in and connect with its new soil pocket.
 Checking the size of the planting hole created within the no-dig layers before adding compost and the seedling.
Planting Seeds Directly
- Prepare the Seed Bed: Gently push aside the top carbon layer. Create a small hole or a trench in the layers below, about fist-width and depth. For larger seeds (beans, peas), make individual holes. For sowing seeds thickly (lettuce, herbs), create a trench.
- Add the “Cot”: Fill the hole or trench with fine seed-raising mix.
- Sow Seeds: Sow your seeds according to the packet instructions. For very fine seeds, just scatter them on top of the seed mix and gently press or sprinkle a thin layer of mix over them.
- Water Gently: Water the seed bed carefully with a fine mist spray to avoid disturbing the seeds.
- (Optional) Provide Protection: Cover the seed bed with hessian, newspaper, or a cloche if needed to maintain moisture or protect from pests/weather until germination.
 Removing a protective cover from sprouted seedlings growing in a no-dig container.
Maintaining Your No-Dig Container Garden
As the organic layers in your pots decompose, the material will settle, and the soil level will naturally drop over time. This is a sign that the process is working! Don’t worry; the solution is simple: top up the pot with new layers.
A good rule of thumb is to add new layers (repeating steps 3-5 from the filling guide) every time you plant something new in the pot. If you’re replacing a small plant, you might just add layers around the new planting pocket. For long-term plants or larger pots, a more significant top-up may be needed periodically.
Consider adding a generous layer of carbon material like dried leaves or straw as a mulch layer, especially in autumn. This protects the surface, retains moisture, and provides material that will continue to break down, feeding your container soil over winter.
Building and maintaining your containers with no-dig container layering is a rewarding process. It’s not just about growing plants; it’s about cultivating healthy soil and creating a resilient, sustainable garden that thrives wherever you are. It’s easy, effective, and can be done affordably using resources from your own home and neighborhood.
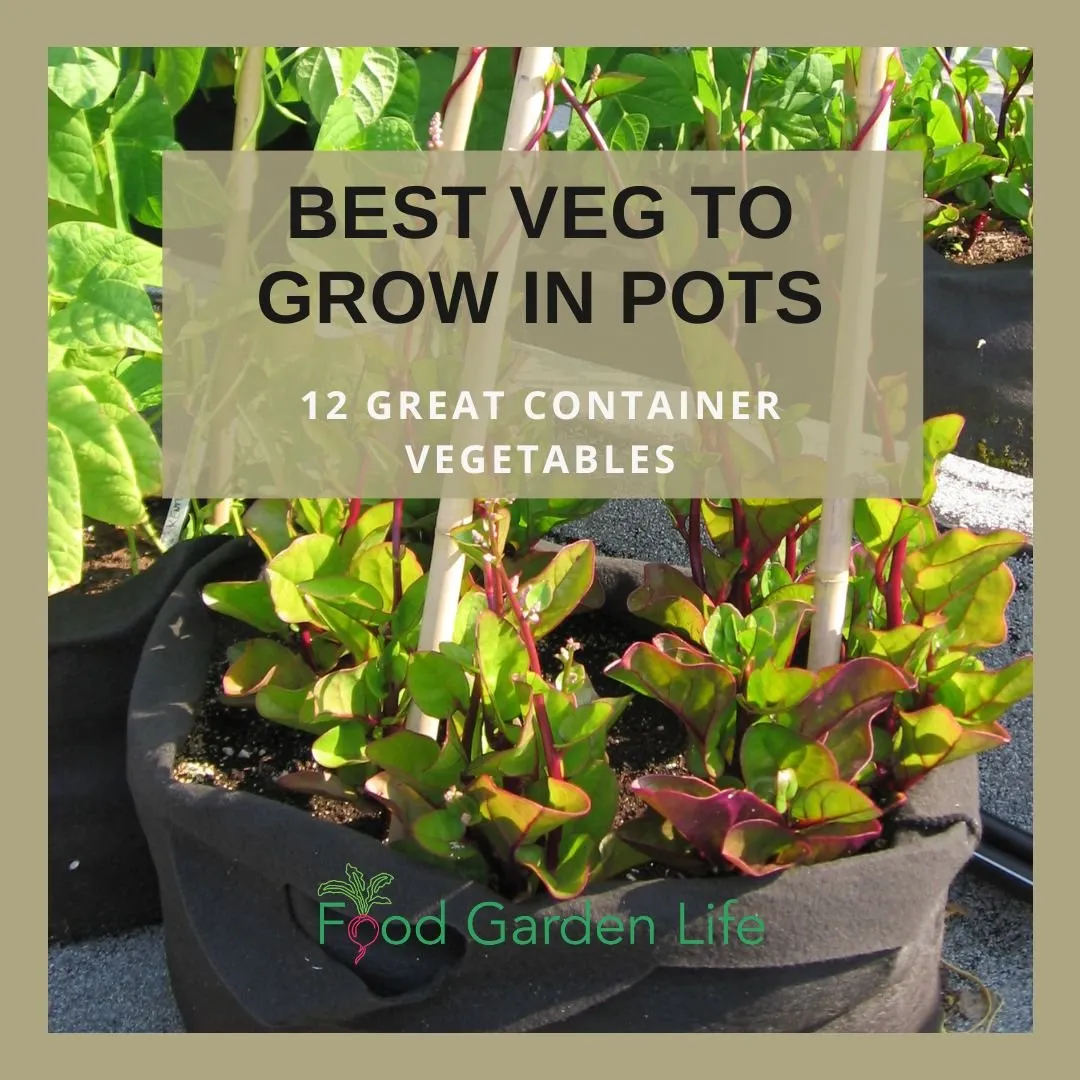
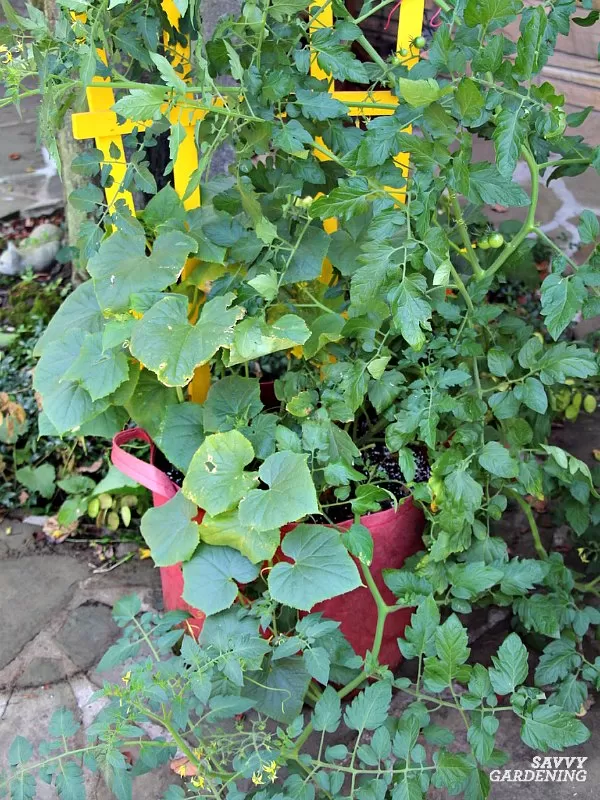
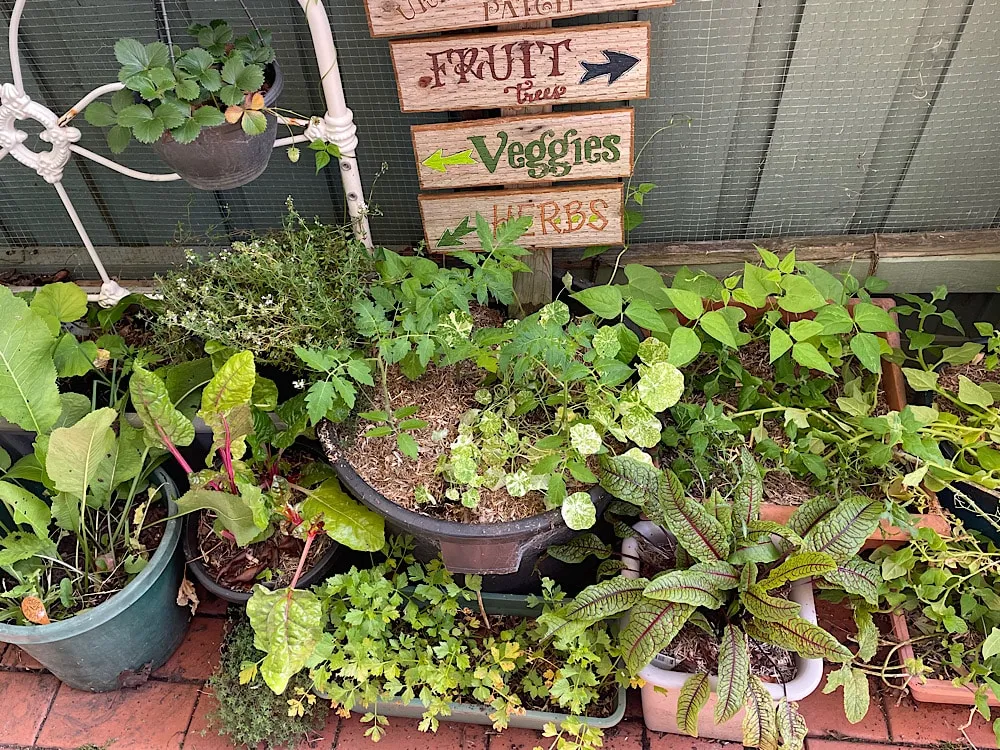
 Various vegetables growing successfully in numerous containers filled using the no-dig layering method.
Ready to give no-dig container layering a try? Share your experiences or questions in the comments below! Explore more sustainable gardening tips and techniques on Thelittle.garden.